Set up a webhook to an event
Optimize your processes by subscribing to events in this end-to-end guide
Read this topic, and you’ll learn how to use webhooks to subscribe to events. While setting up webhooks is the same for every type of event, you’ll specifically learn how to set up a document completion webhook in this guide. Thus, this webhook alerts you when a document has finished rendering – an everyday use case for many organizations.
At the end of this guide, you should have a functioning webhook that notifies you whenever you’ve generated a document.
Note: You will need your API testing tool or code environment handy as you need to generate a sample document to test this webhook. We recommend Insomnia or Postman.
Prerequisites:
- You are able to generate PDF documents through the Inkit Render API
- You have a mock request tool like Postman or Insomnia available
- Your API key has the appropriate permissions (Renders.create)
- Your user sign in has the appropriate permissions (Webhooks.create)
- (Optional): Your API key has access to the private folder to which you are rendering your sample document
Read more about:
- Generating PDFs with the API
- Folders and their settings
- Creating API keys
- Adding roles to your API keys
- Sharing folders
Getting ready to create a document complete webhook
Before you create your webhook, you should have all the necessary data to test it. To help you, we’ve created this small overview. Please take a look at it.
-
Make sure you have an HTML document at hand so that you can generate a PDF. You will test your webhook with this document
-
Ensure your API key has the appropriate permissions to render
- Optional: Give your API key access to your folder if you wish to render to a private folder
Even though the previous steps are specific to the document complete webhook, it is crucial to replicate the process when setting up any webhook. As a rule of thumb, you should first determine which data or steps you need to take in order to test.
Creating your webhook
Setting up a webhook is straightforward. While in this example, you will discover how to add a document complete webhook, the process is the same for any webhook.
Continue by following these steps:
- In the Inkit web environment, browse to the Development tab
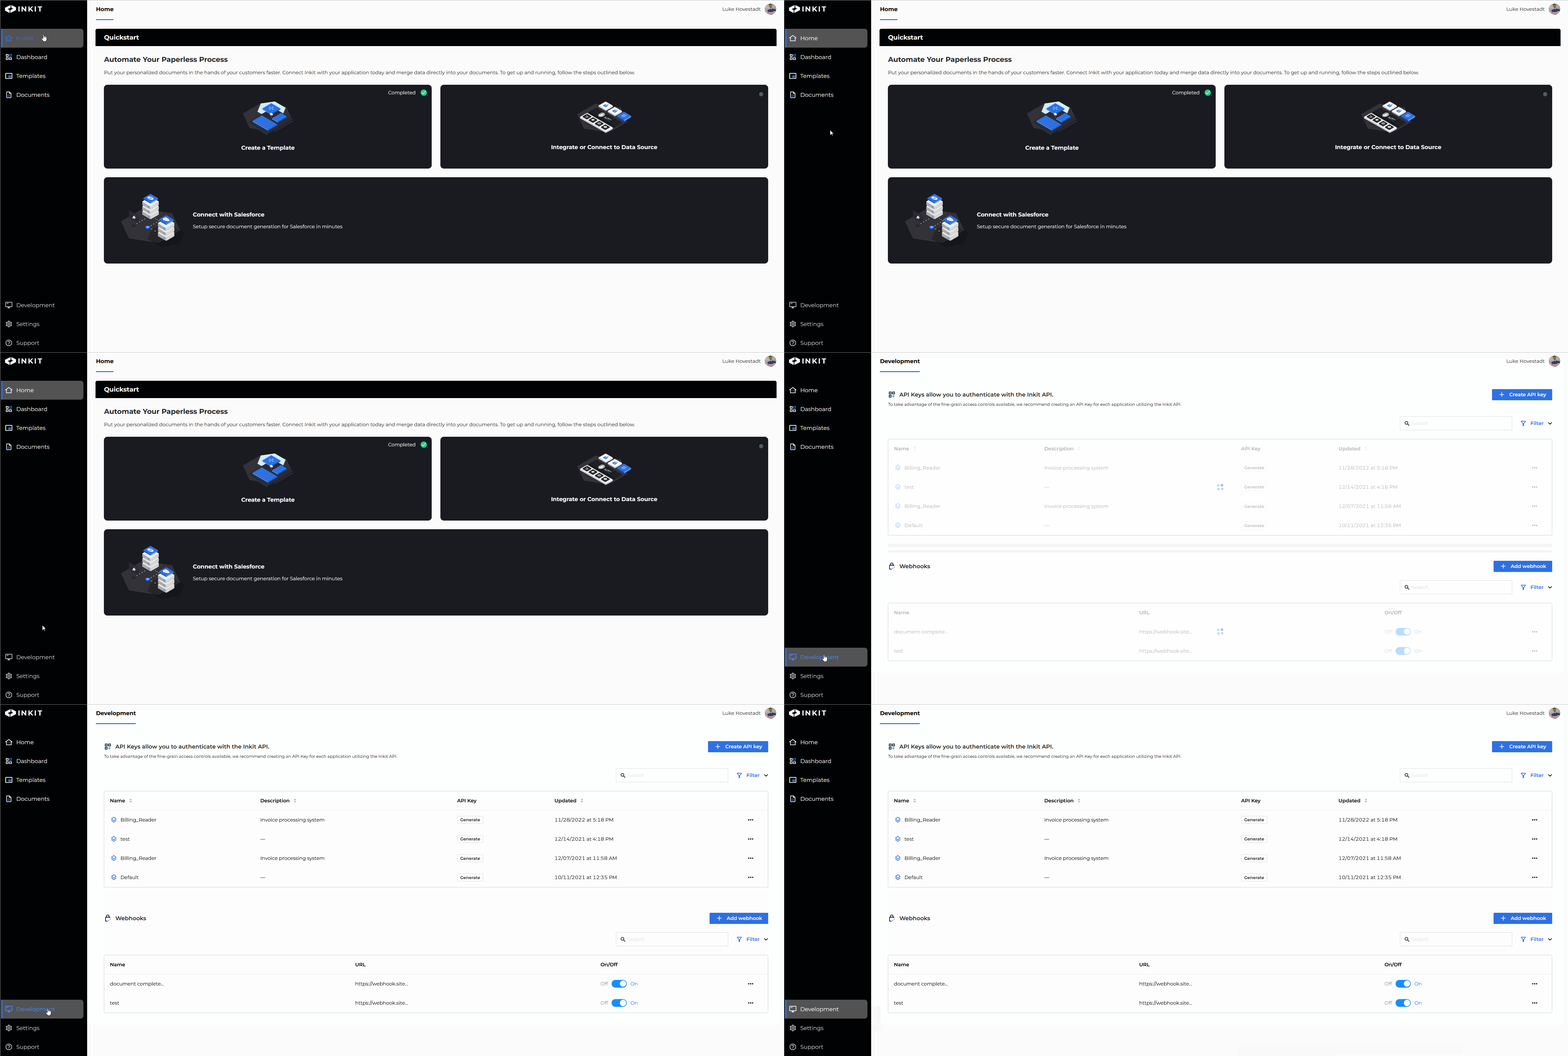
- Press the ‘Add webhook’ button and choose a name for your webhook
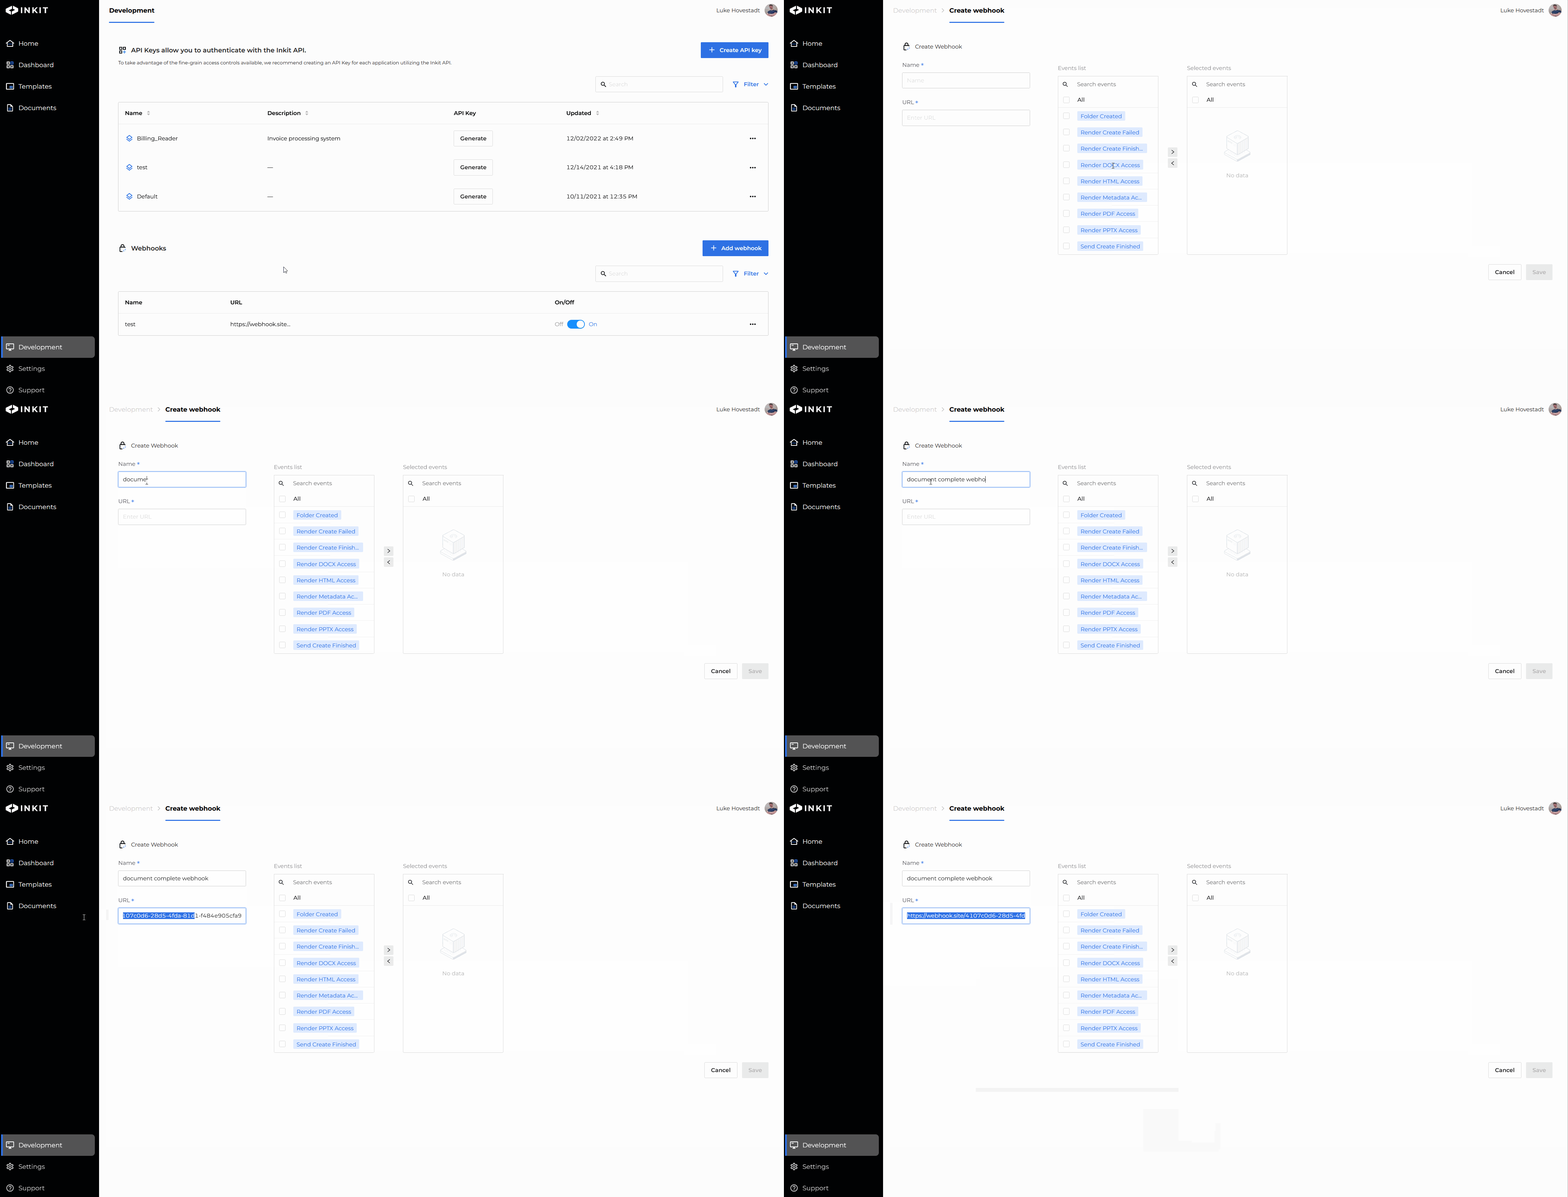
- Include the URL that the Inkit API should notify you on
Note: This is the URL you will receive your event notifications on. For testing purposes, you may wish to use a mock webhook URL. We usehttps://webhook.site for this.
- Add the events you wish you be subscribed to
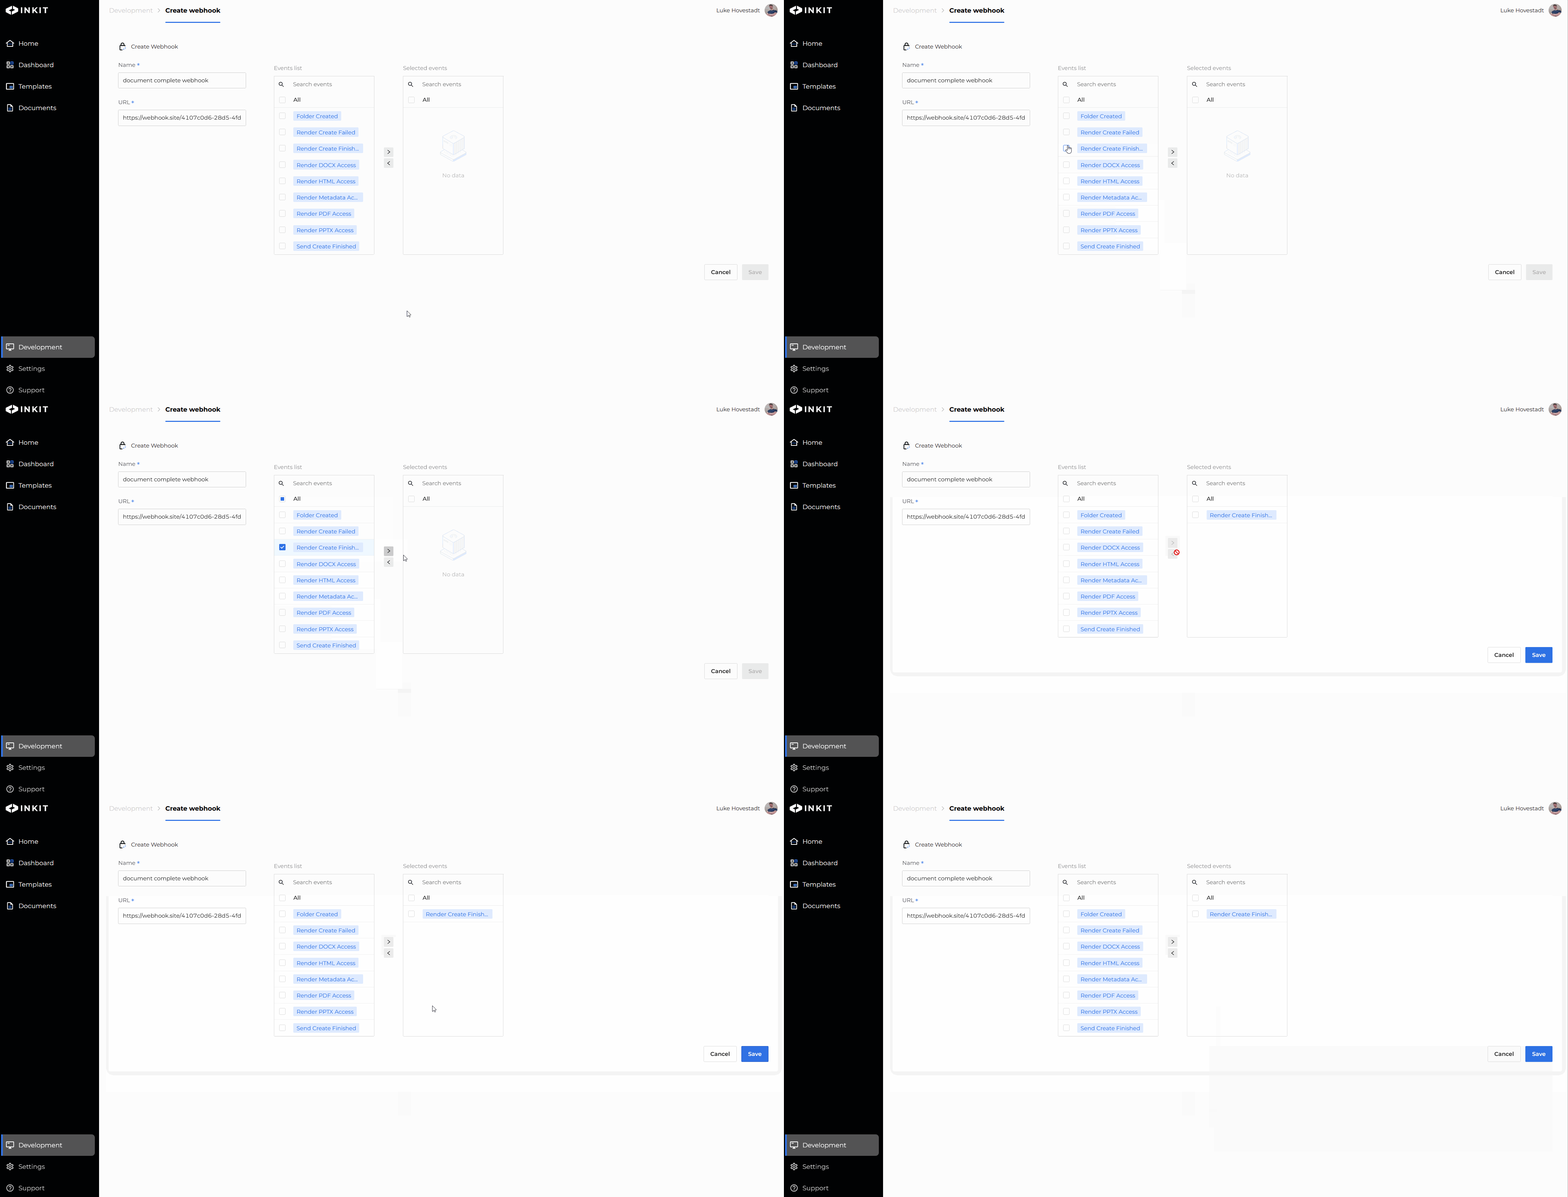
- Confirm by pressing save and save your webhook secret securely
You should have now set up a webhook. In this particular case, the webhook will notify you when a document is generated.
Use the HTML document you prepared earlier and send a create request if you would like to test your webhook.
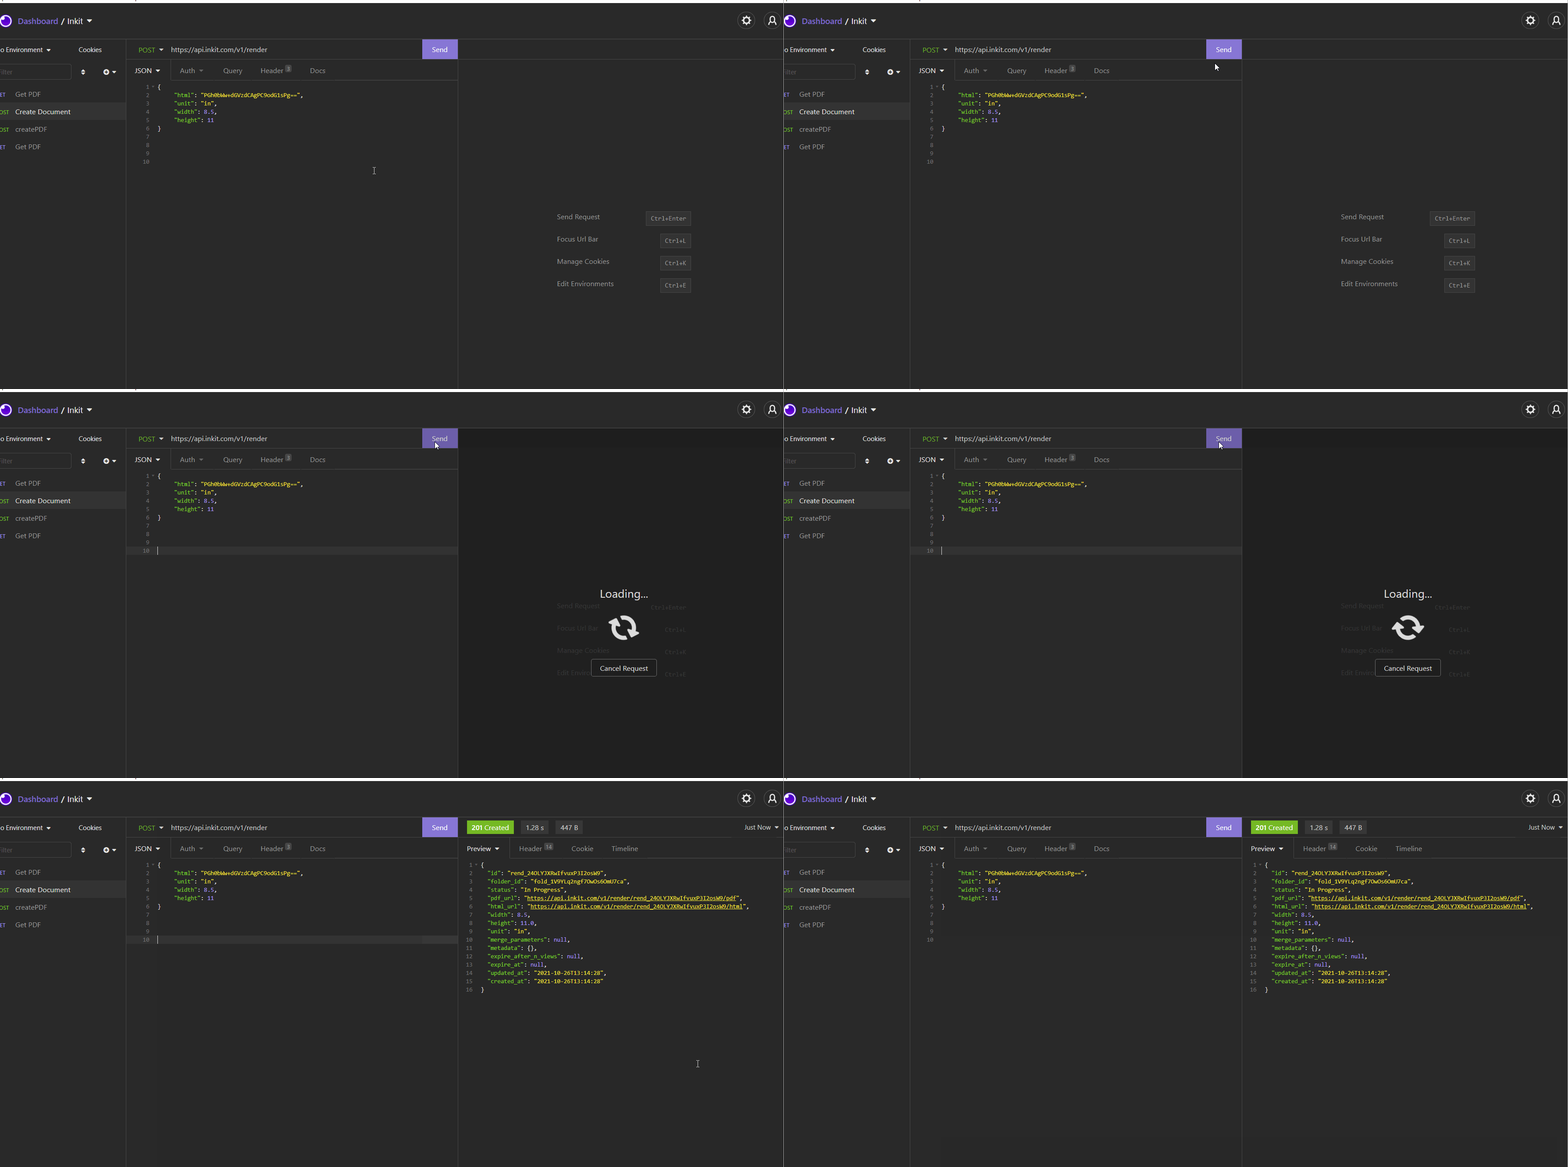
If all goes well, you should receive a document complete notification on your webhook.
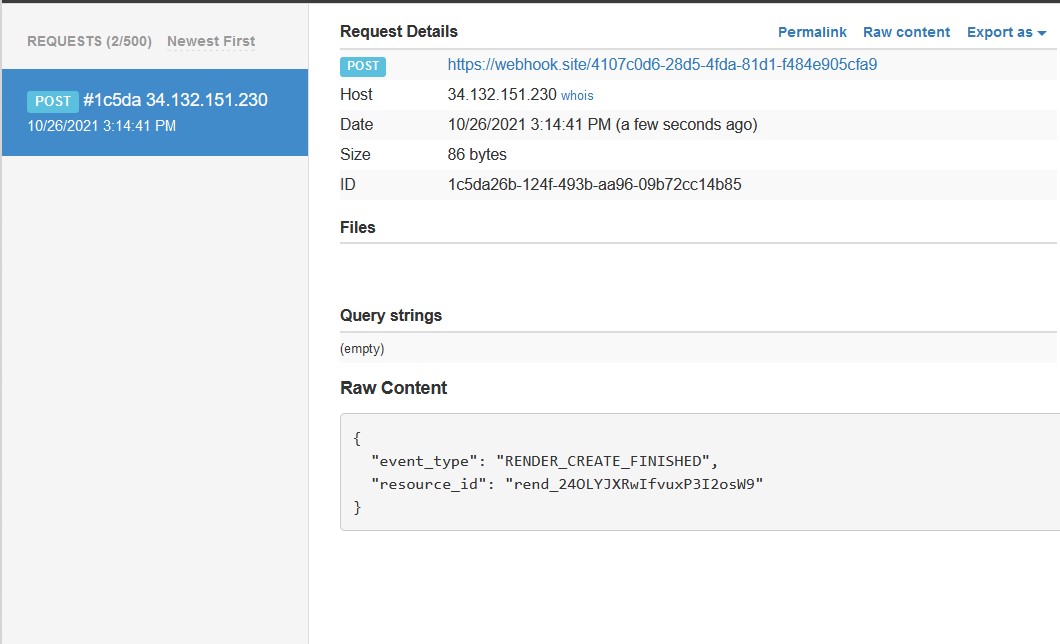
Are you unsure how to send a document create request?
Updated 5 months ago