Using the Digital Signature Dashboard
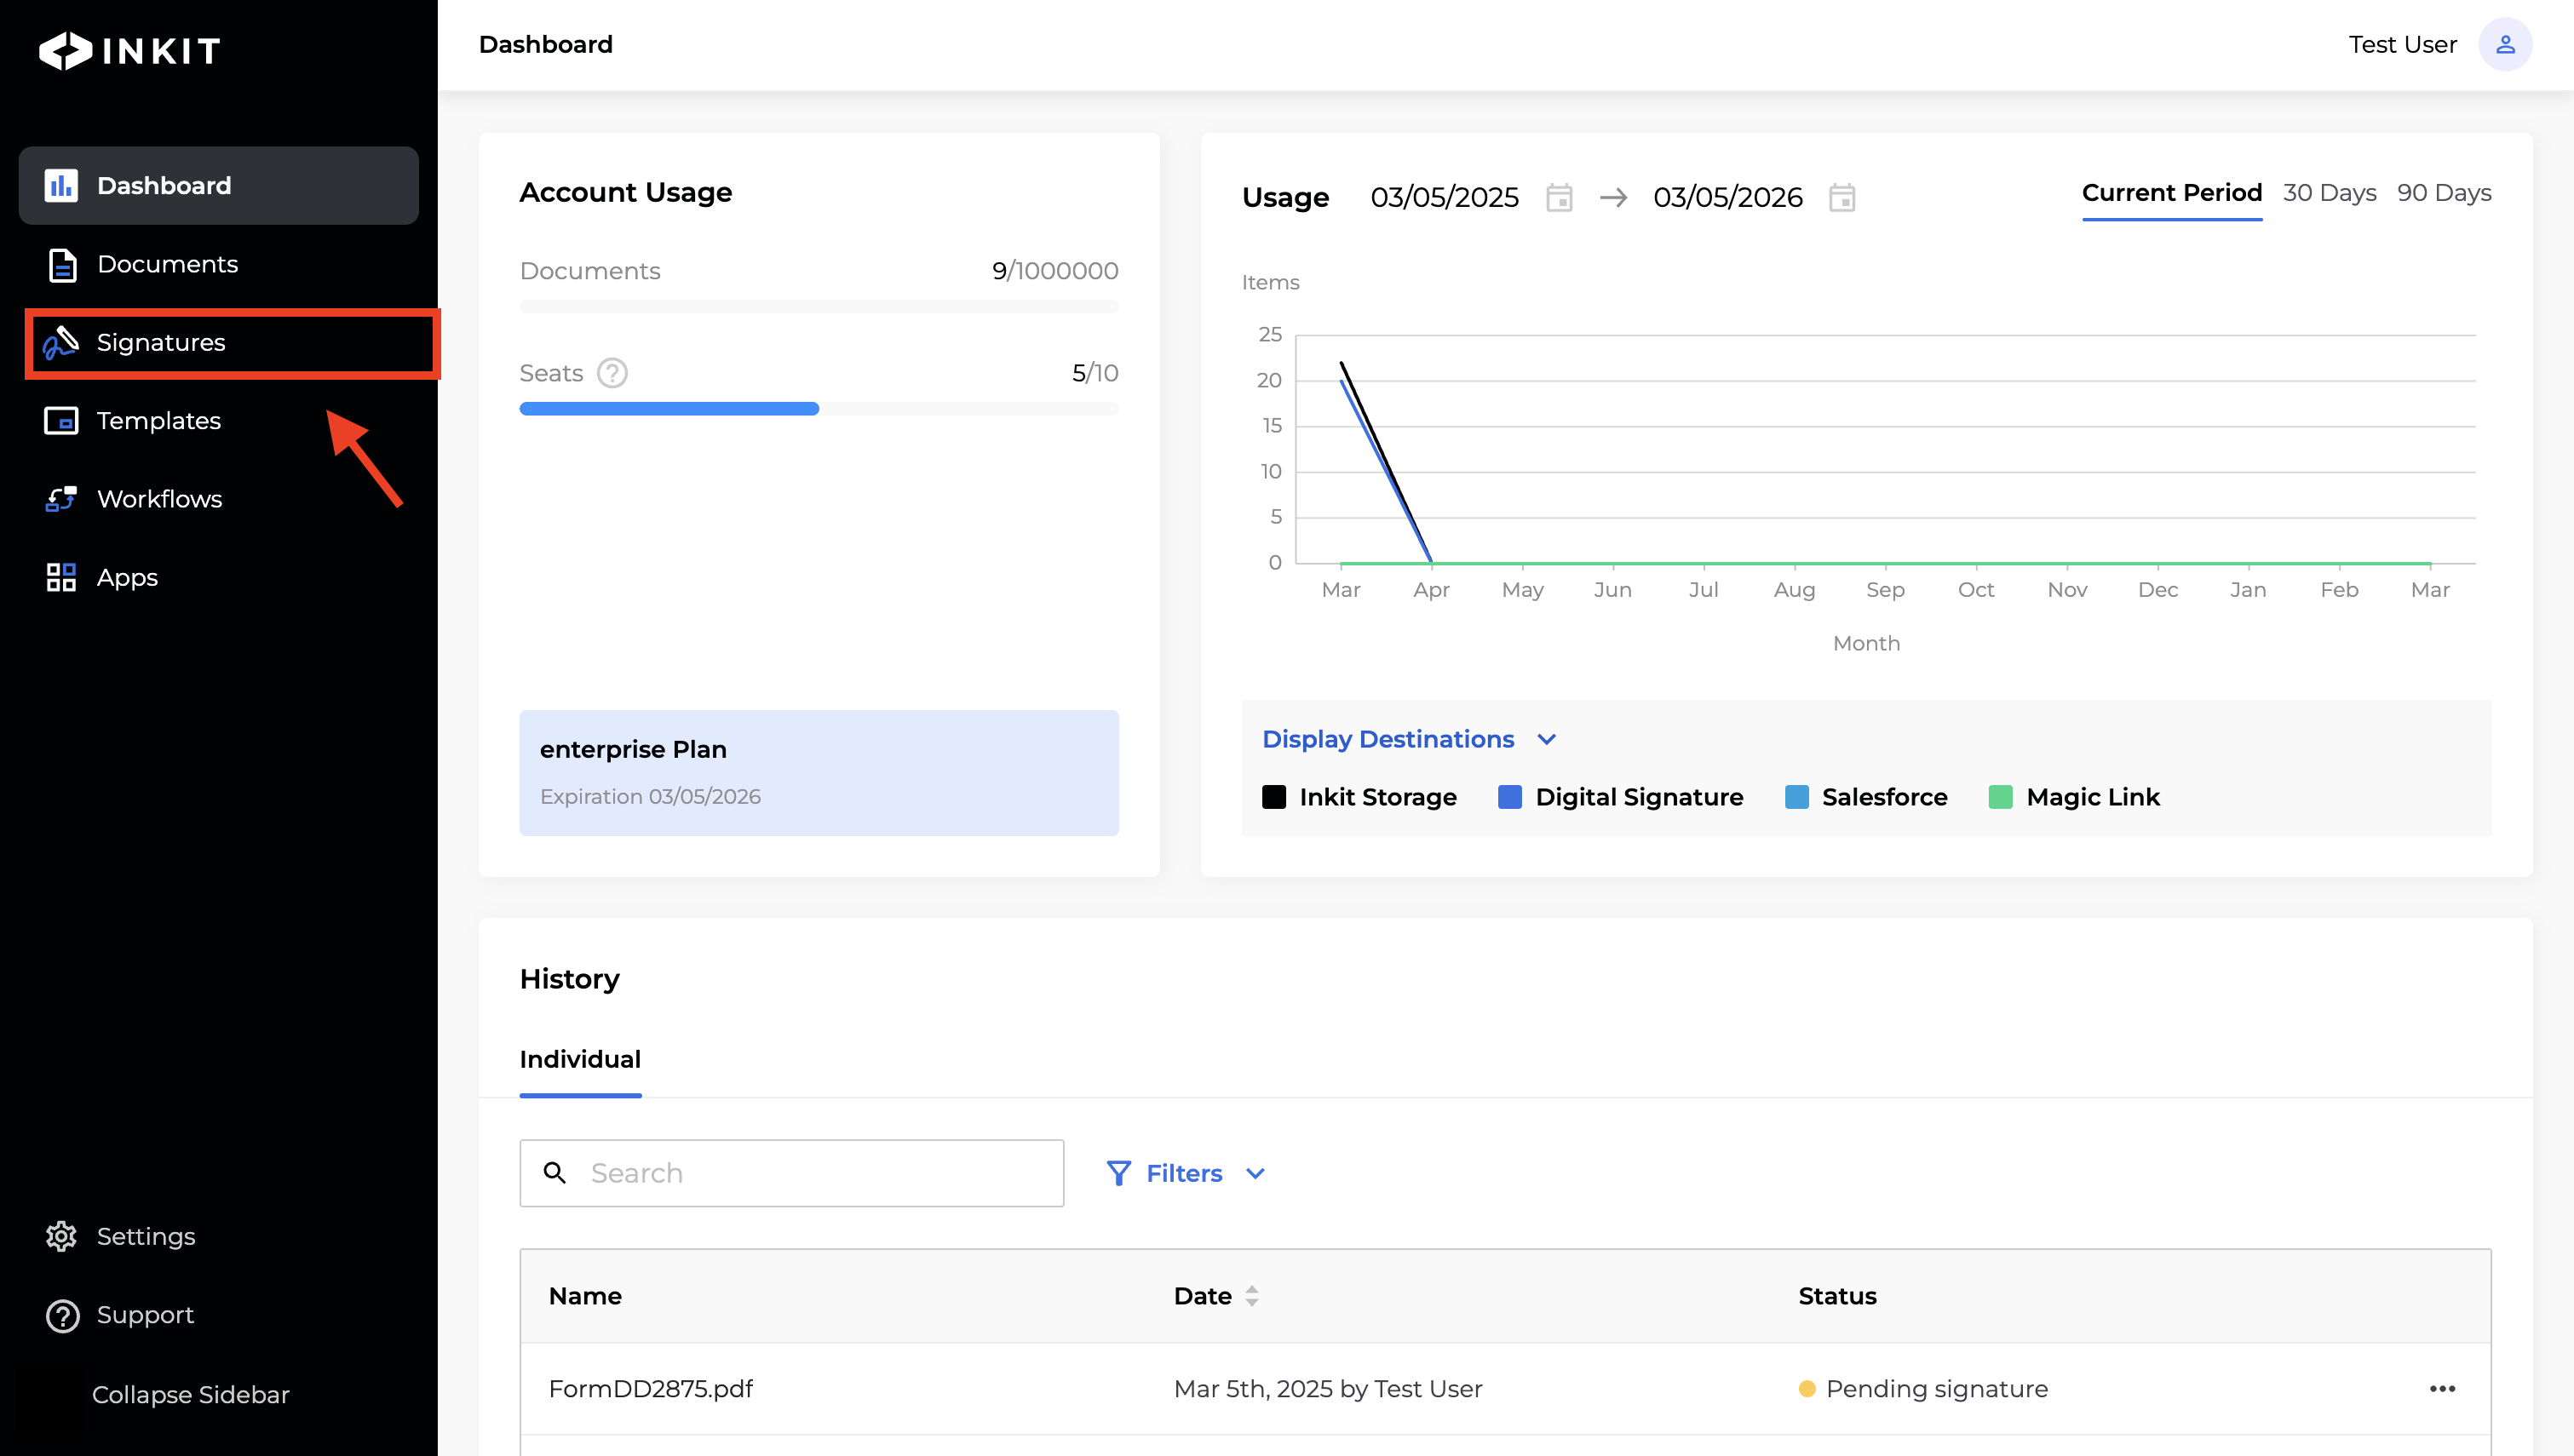
- To open the Digital Signature Dashboard, in the Inkit web app select Signatures in the left sidebar.
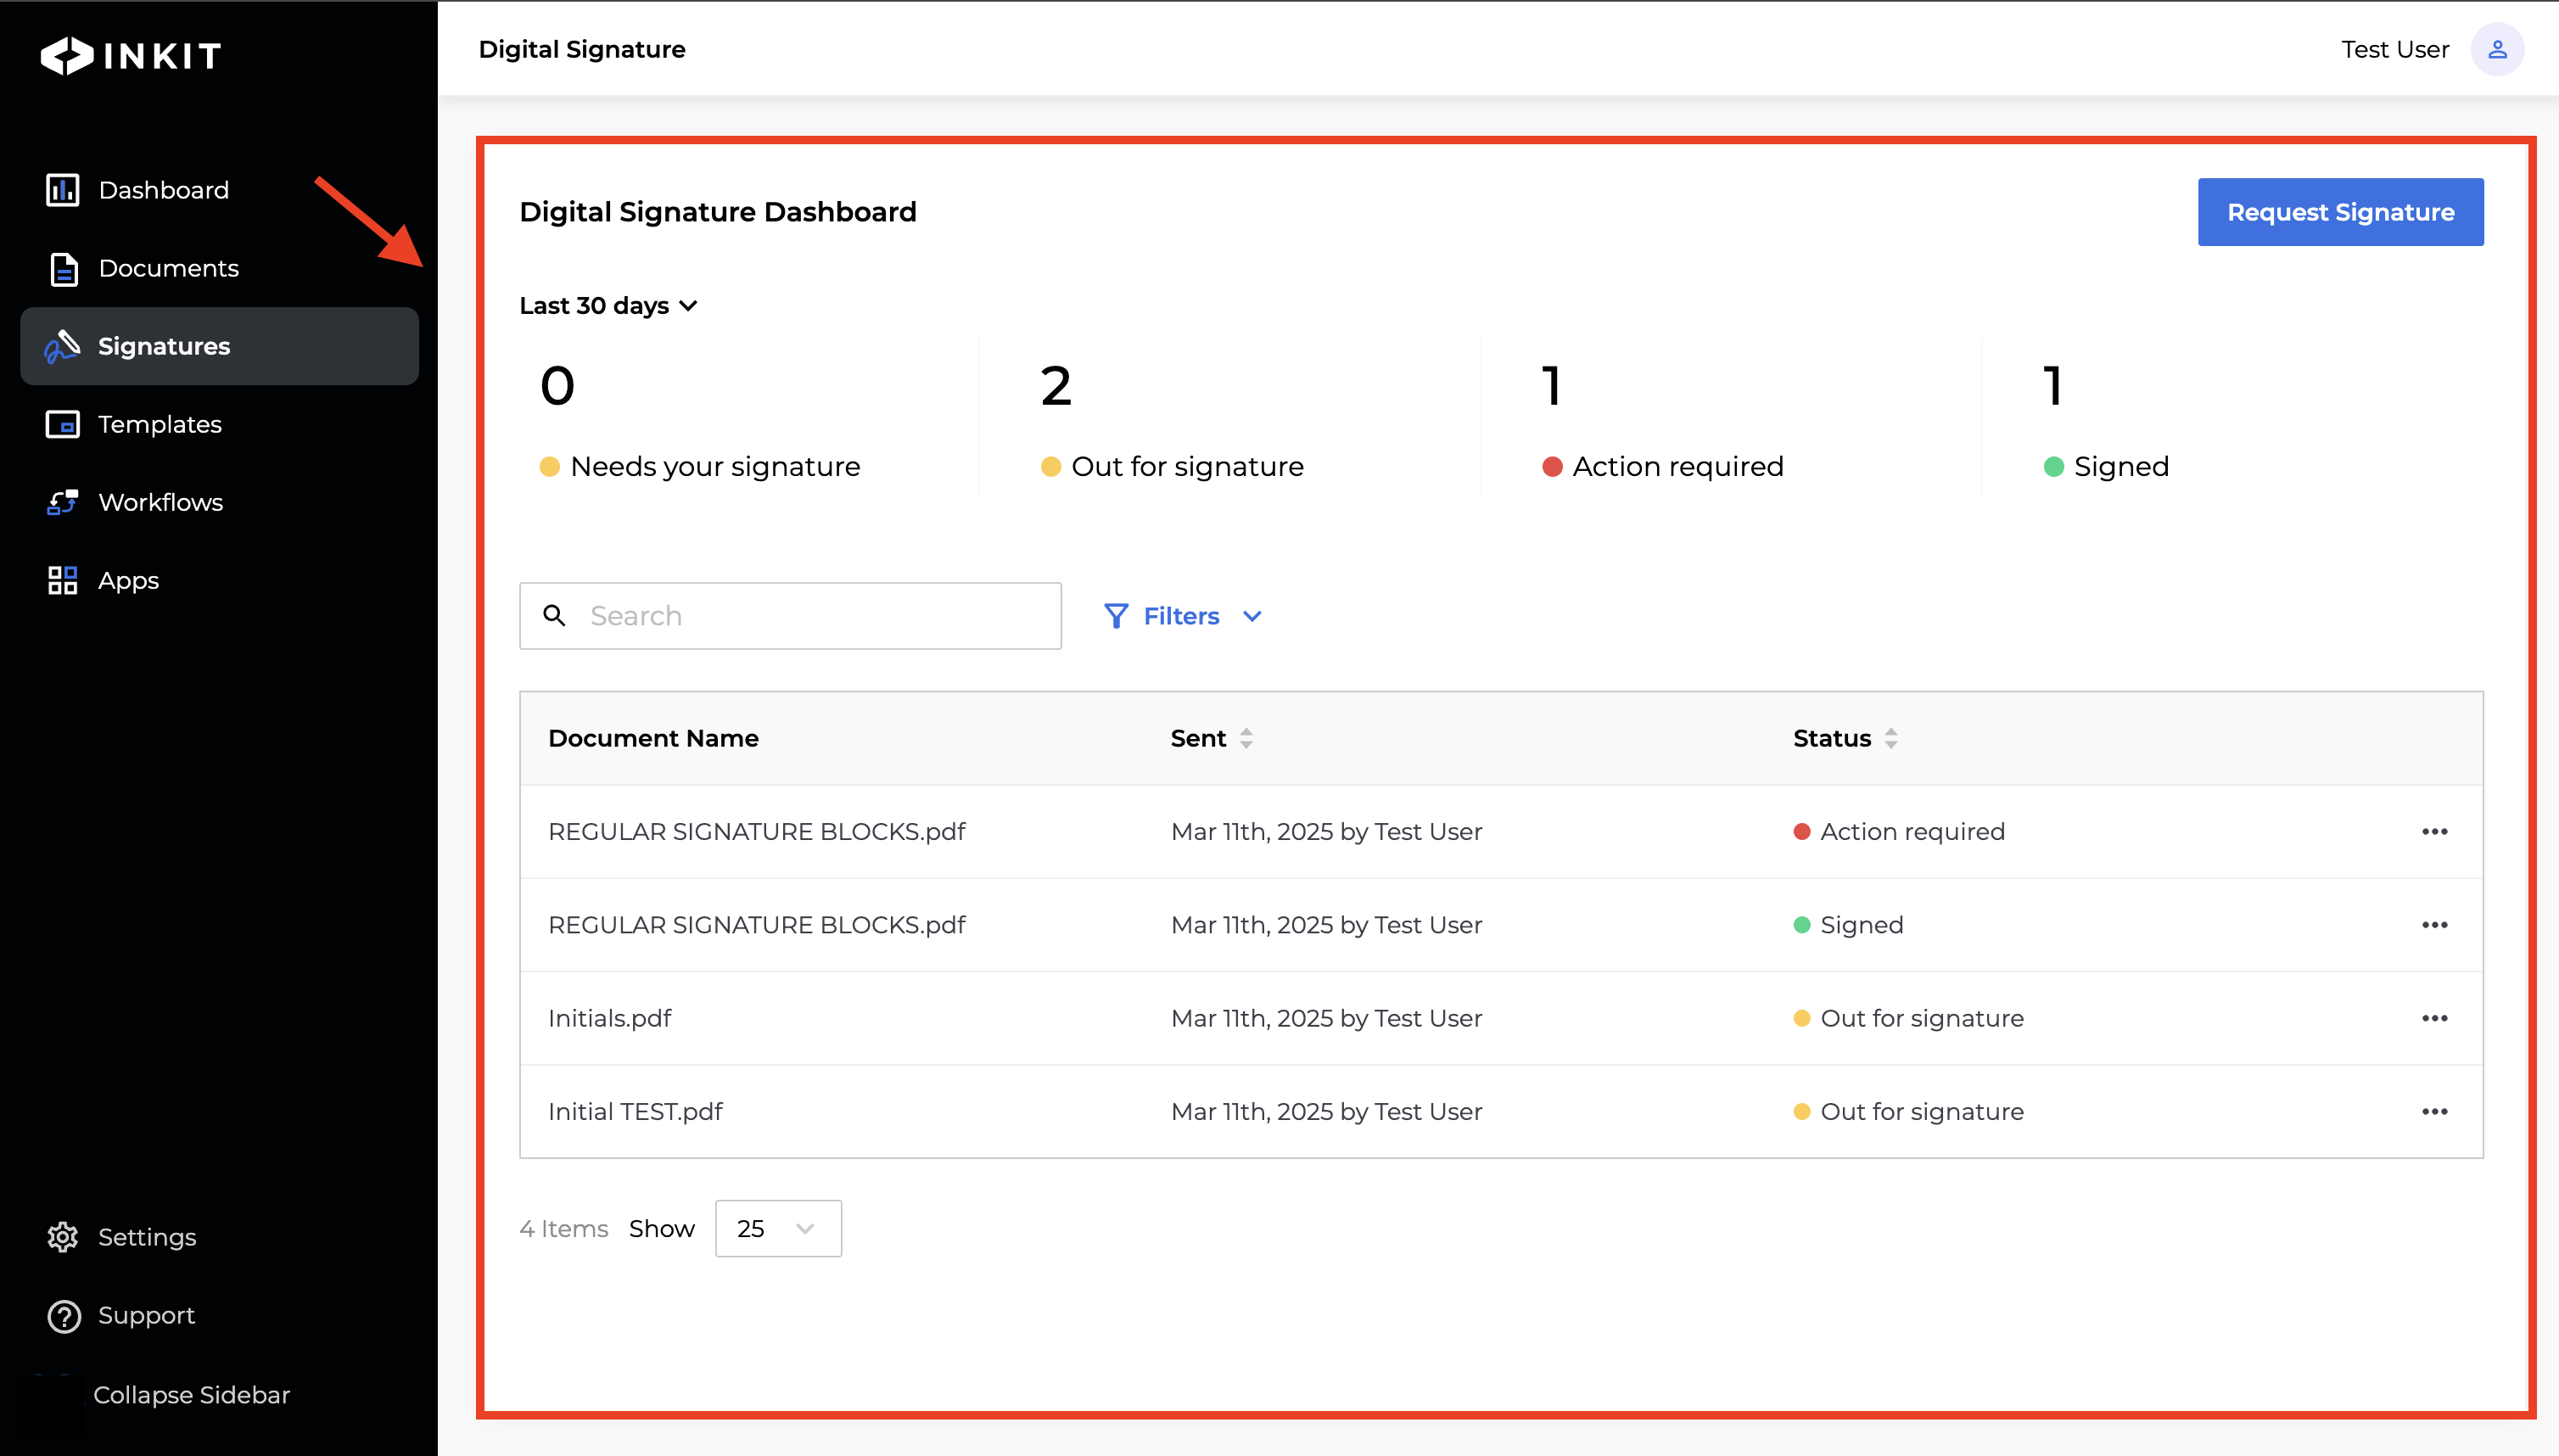
- You will be taken to the Digital Signature Dashboard, where you'll see a list of documents you've sent for signature. Each document includes the following details:
- Document Name
- Sent
- Status
Applying Filters to Refine Your Document List using the Digital Signature Dashboard
Below, you will find various filters that allow you to refine and organize your document list further. These filters help you narrow down the documents based on specific criteria, such as time period or status.
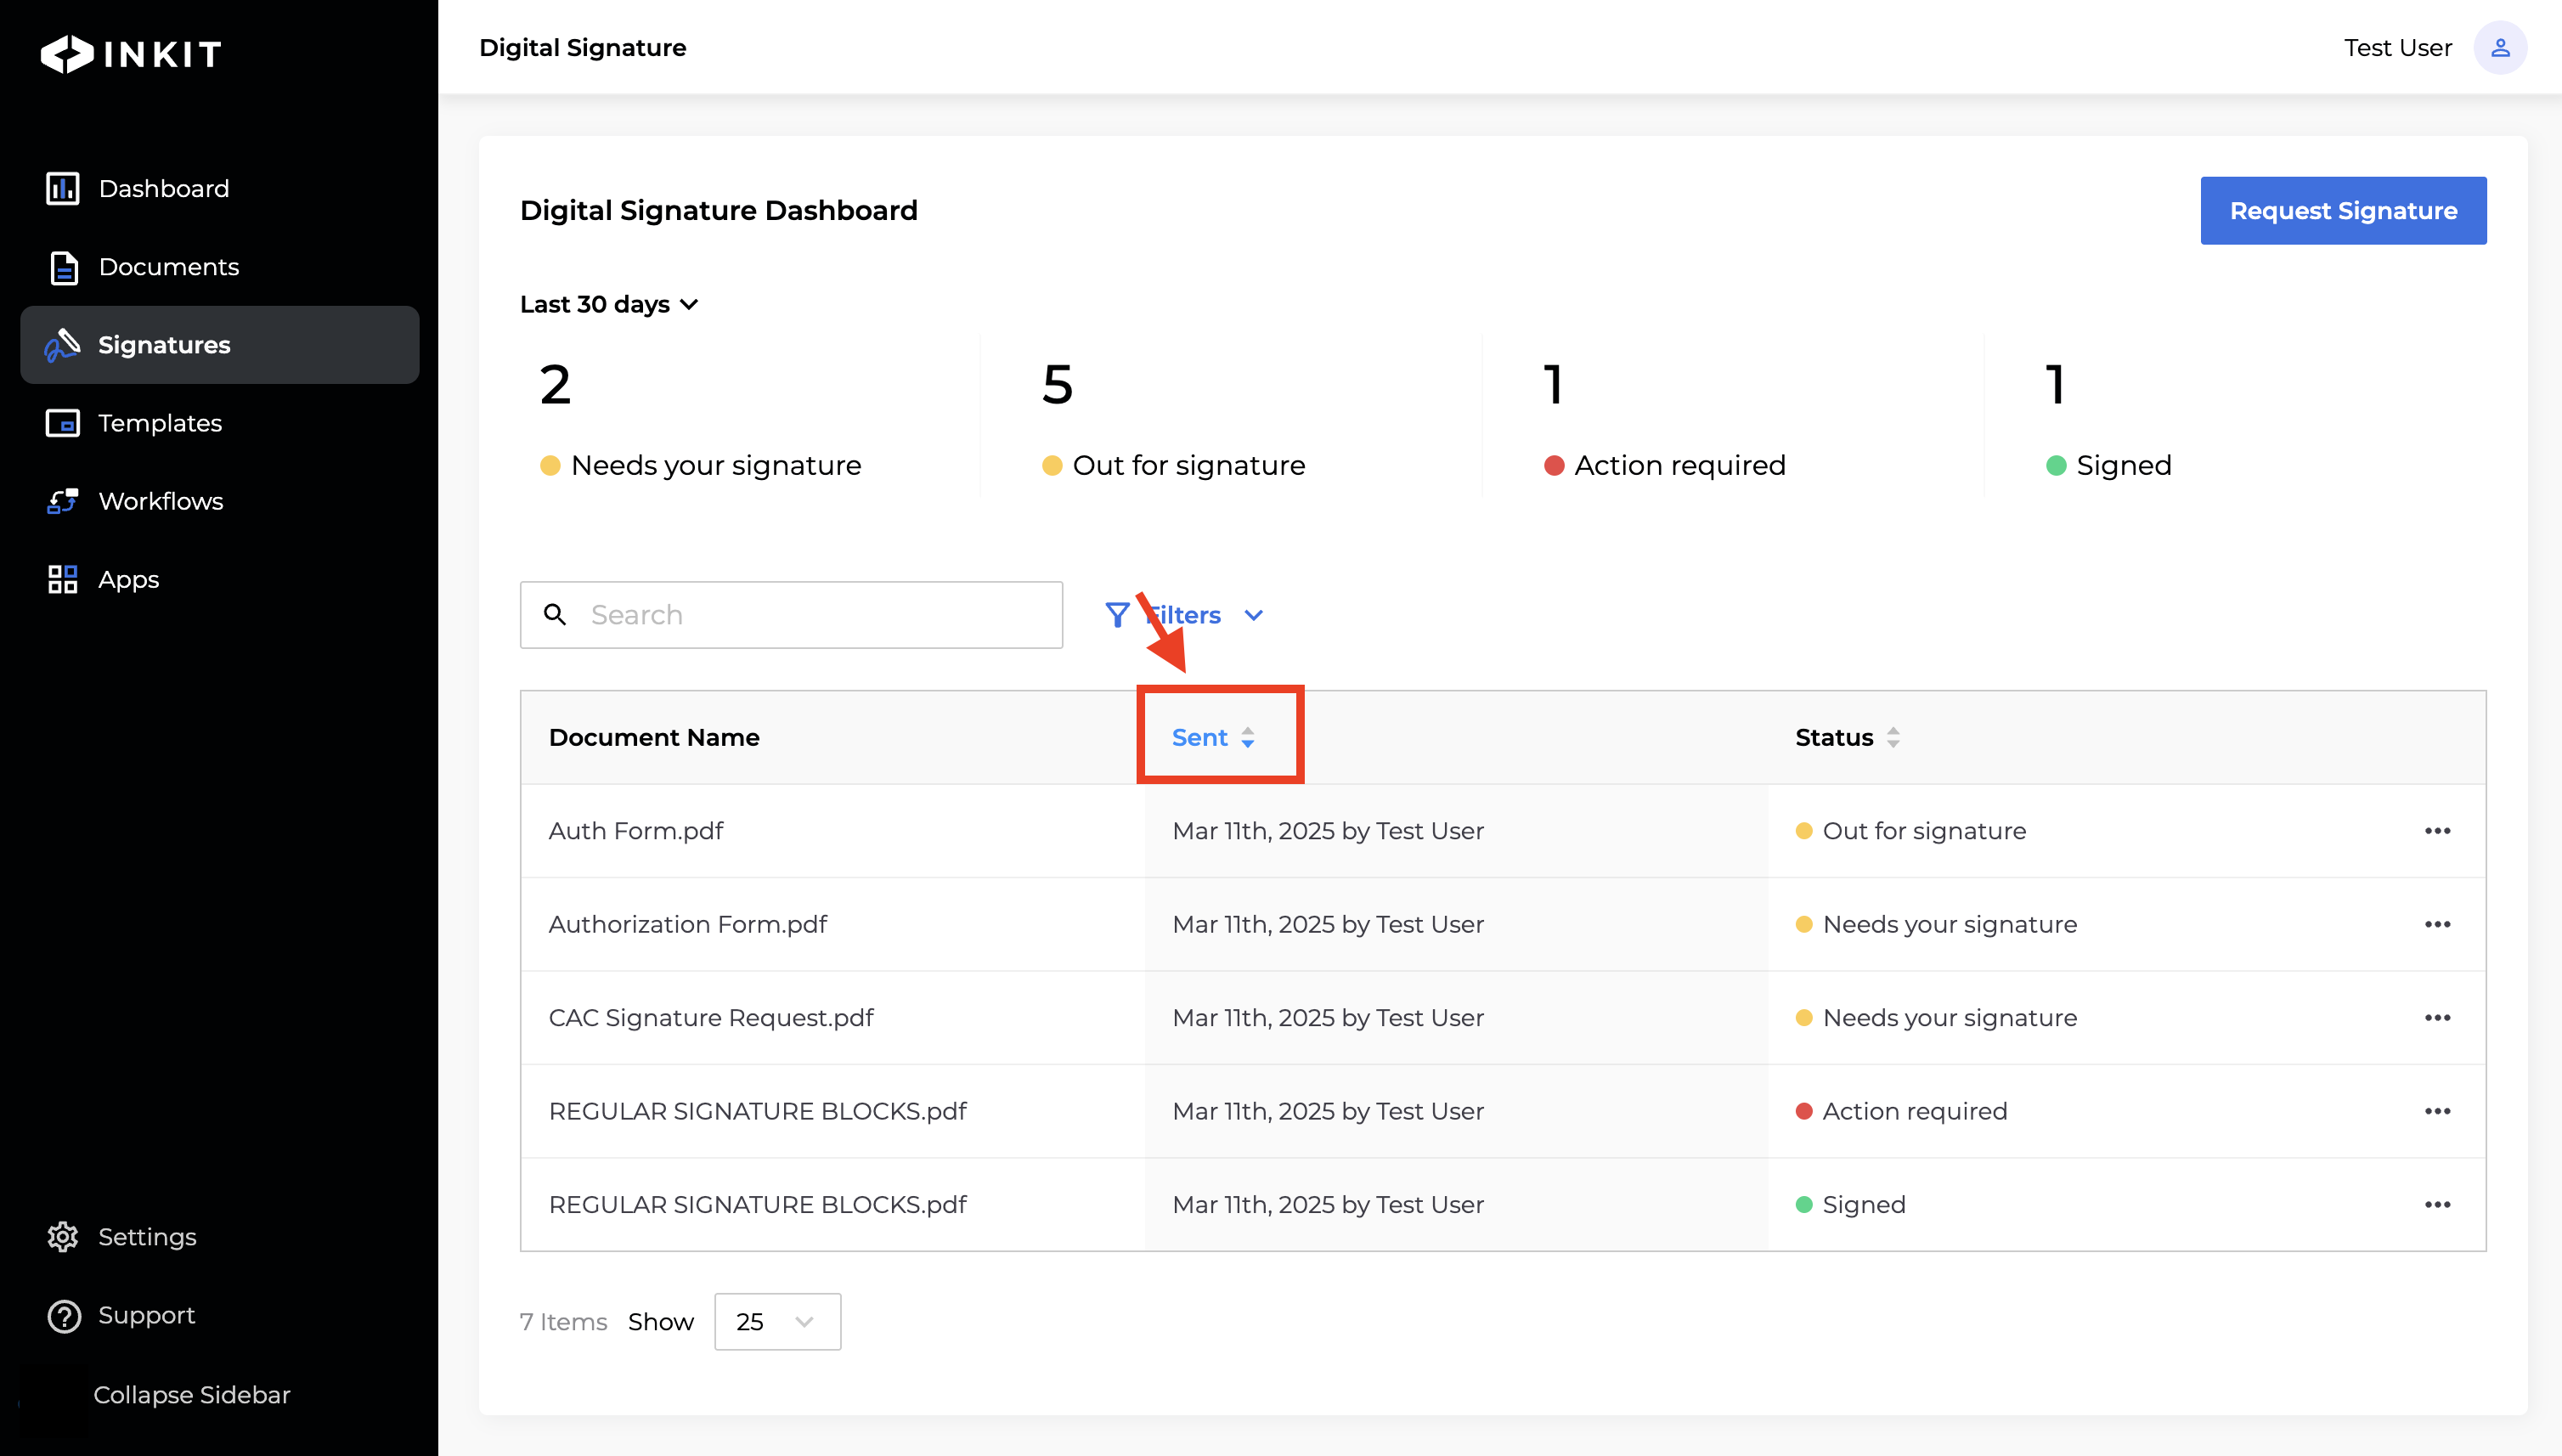
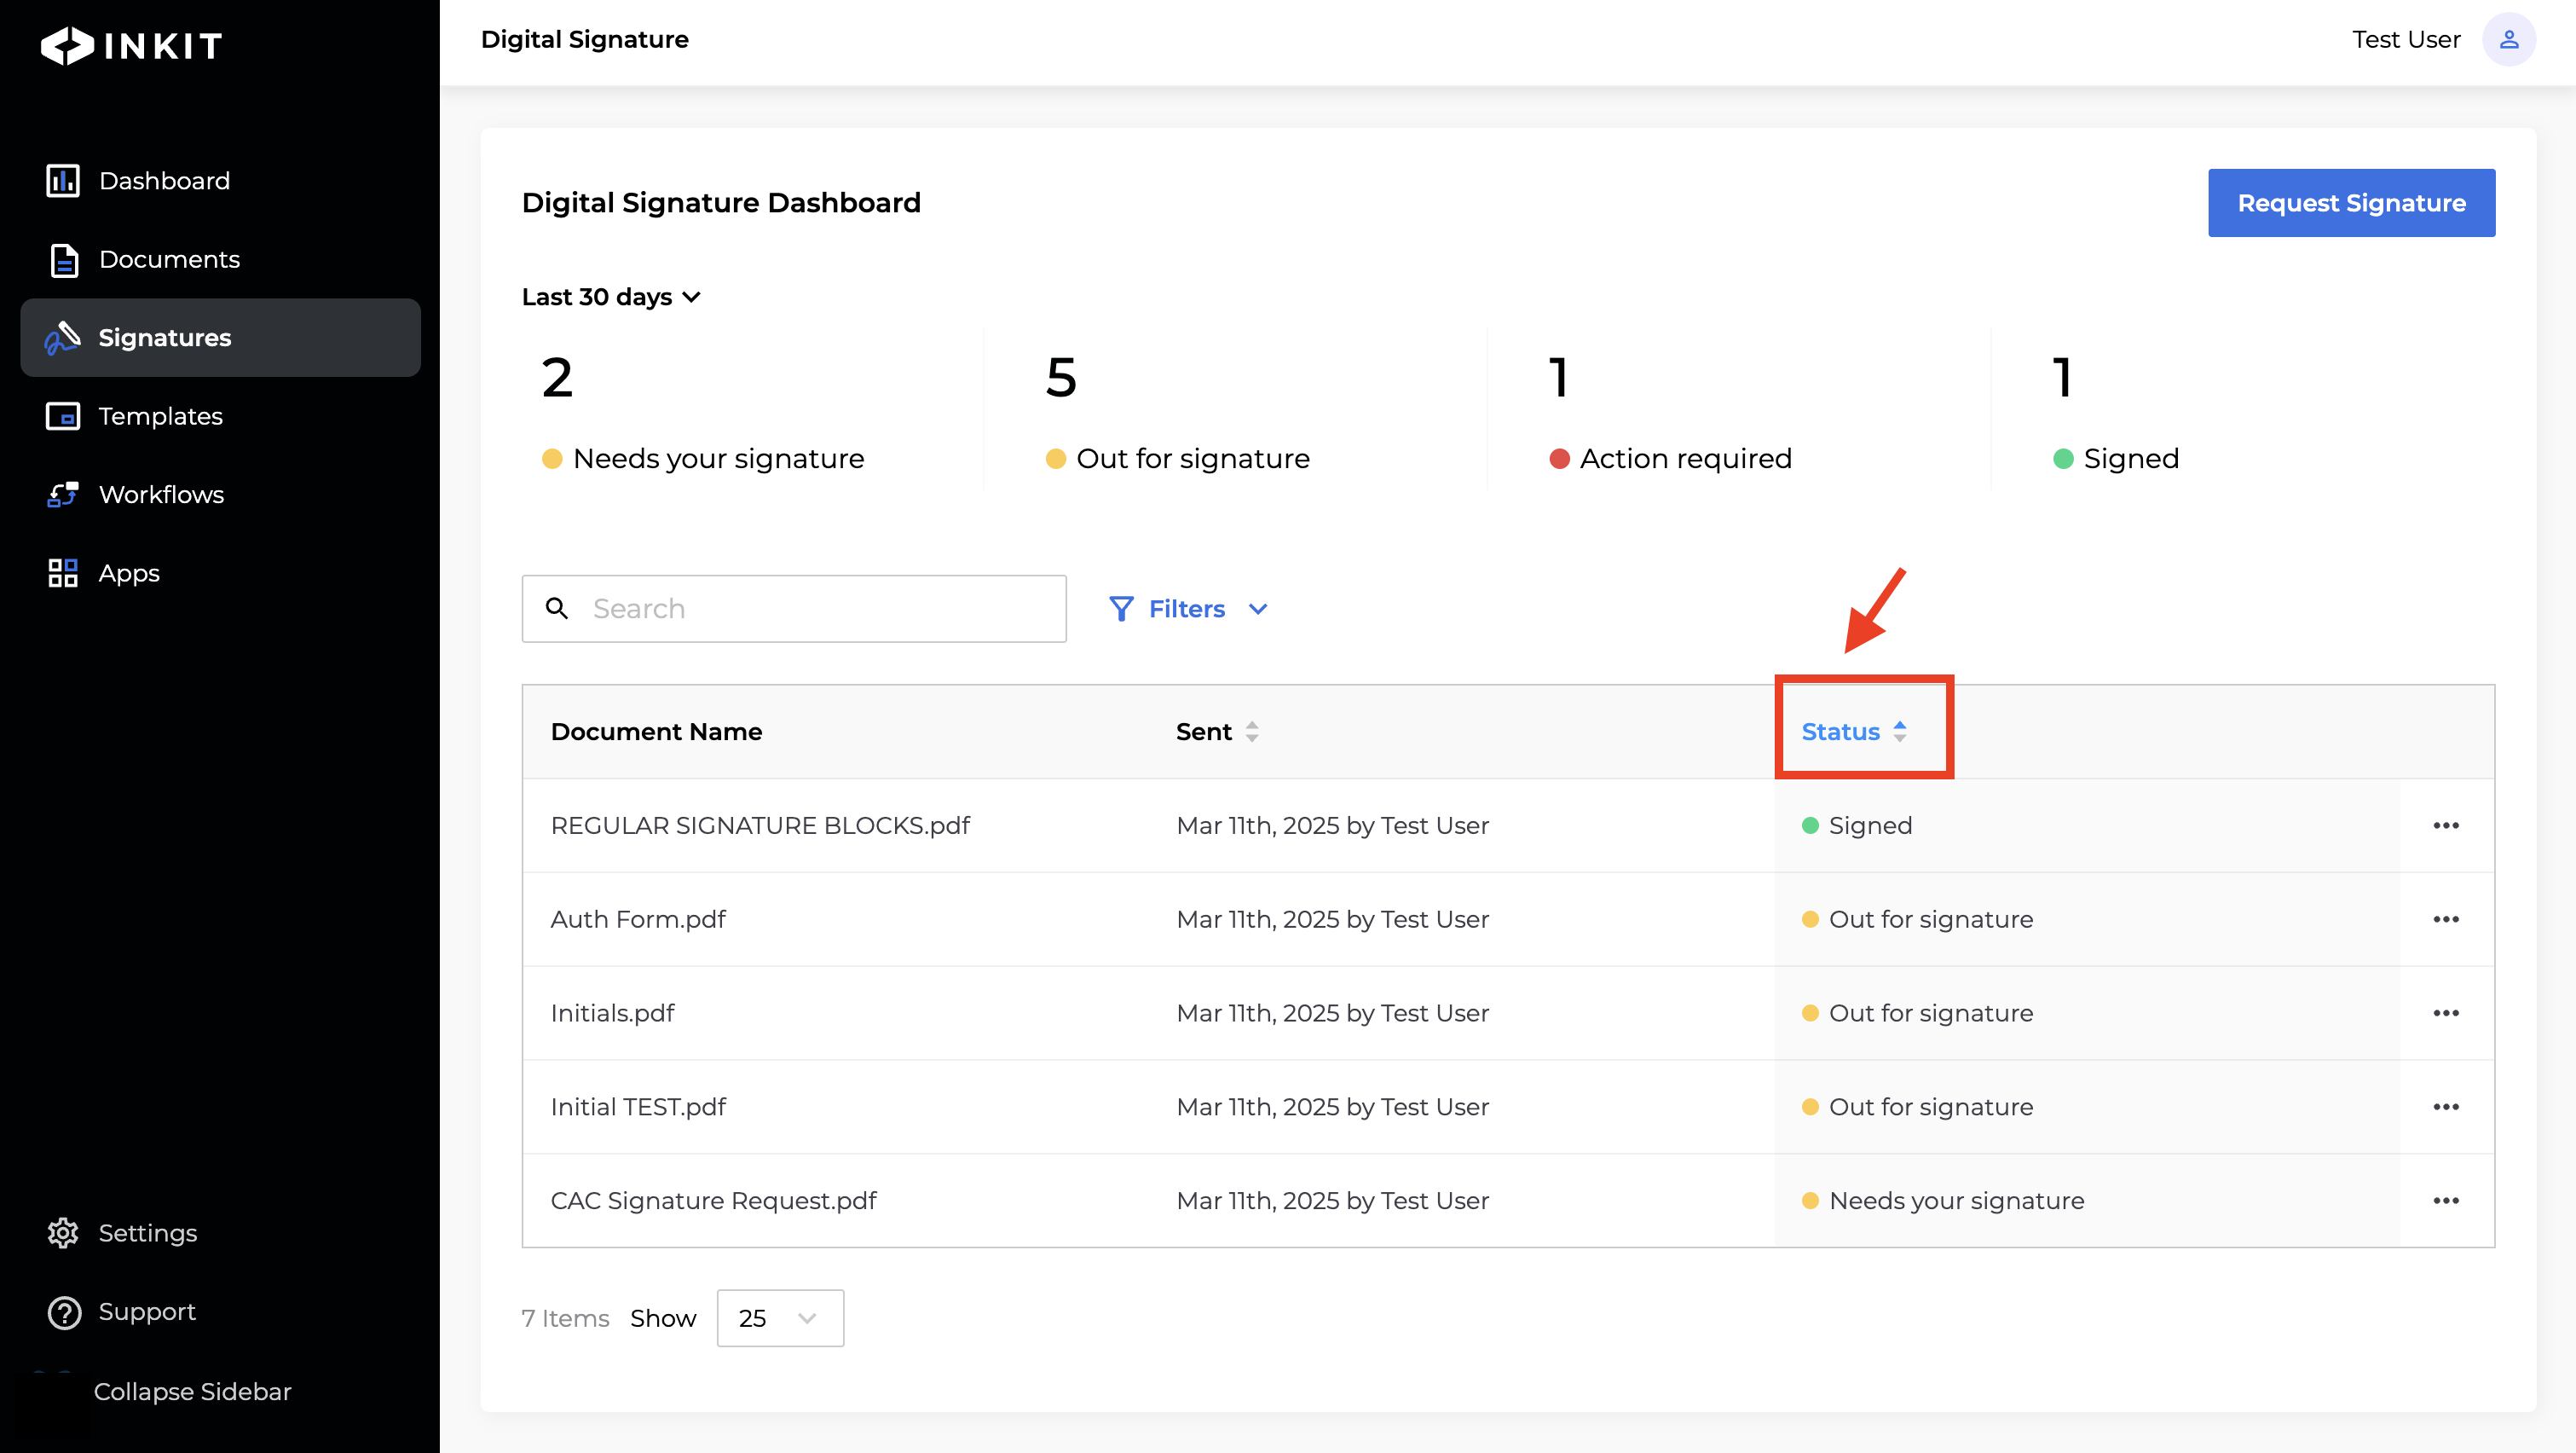
Sorting Documents by Fields
You can sort the list by clicking on Sent or Status to change the order of the documents.
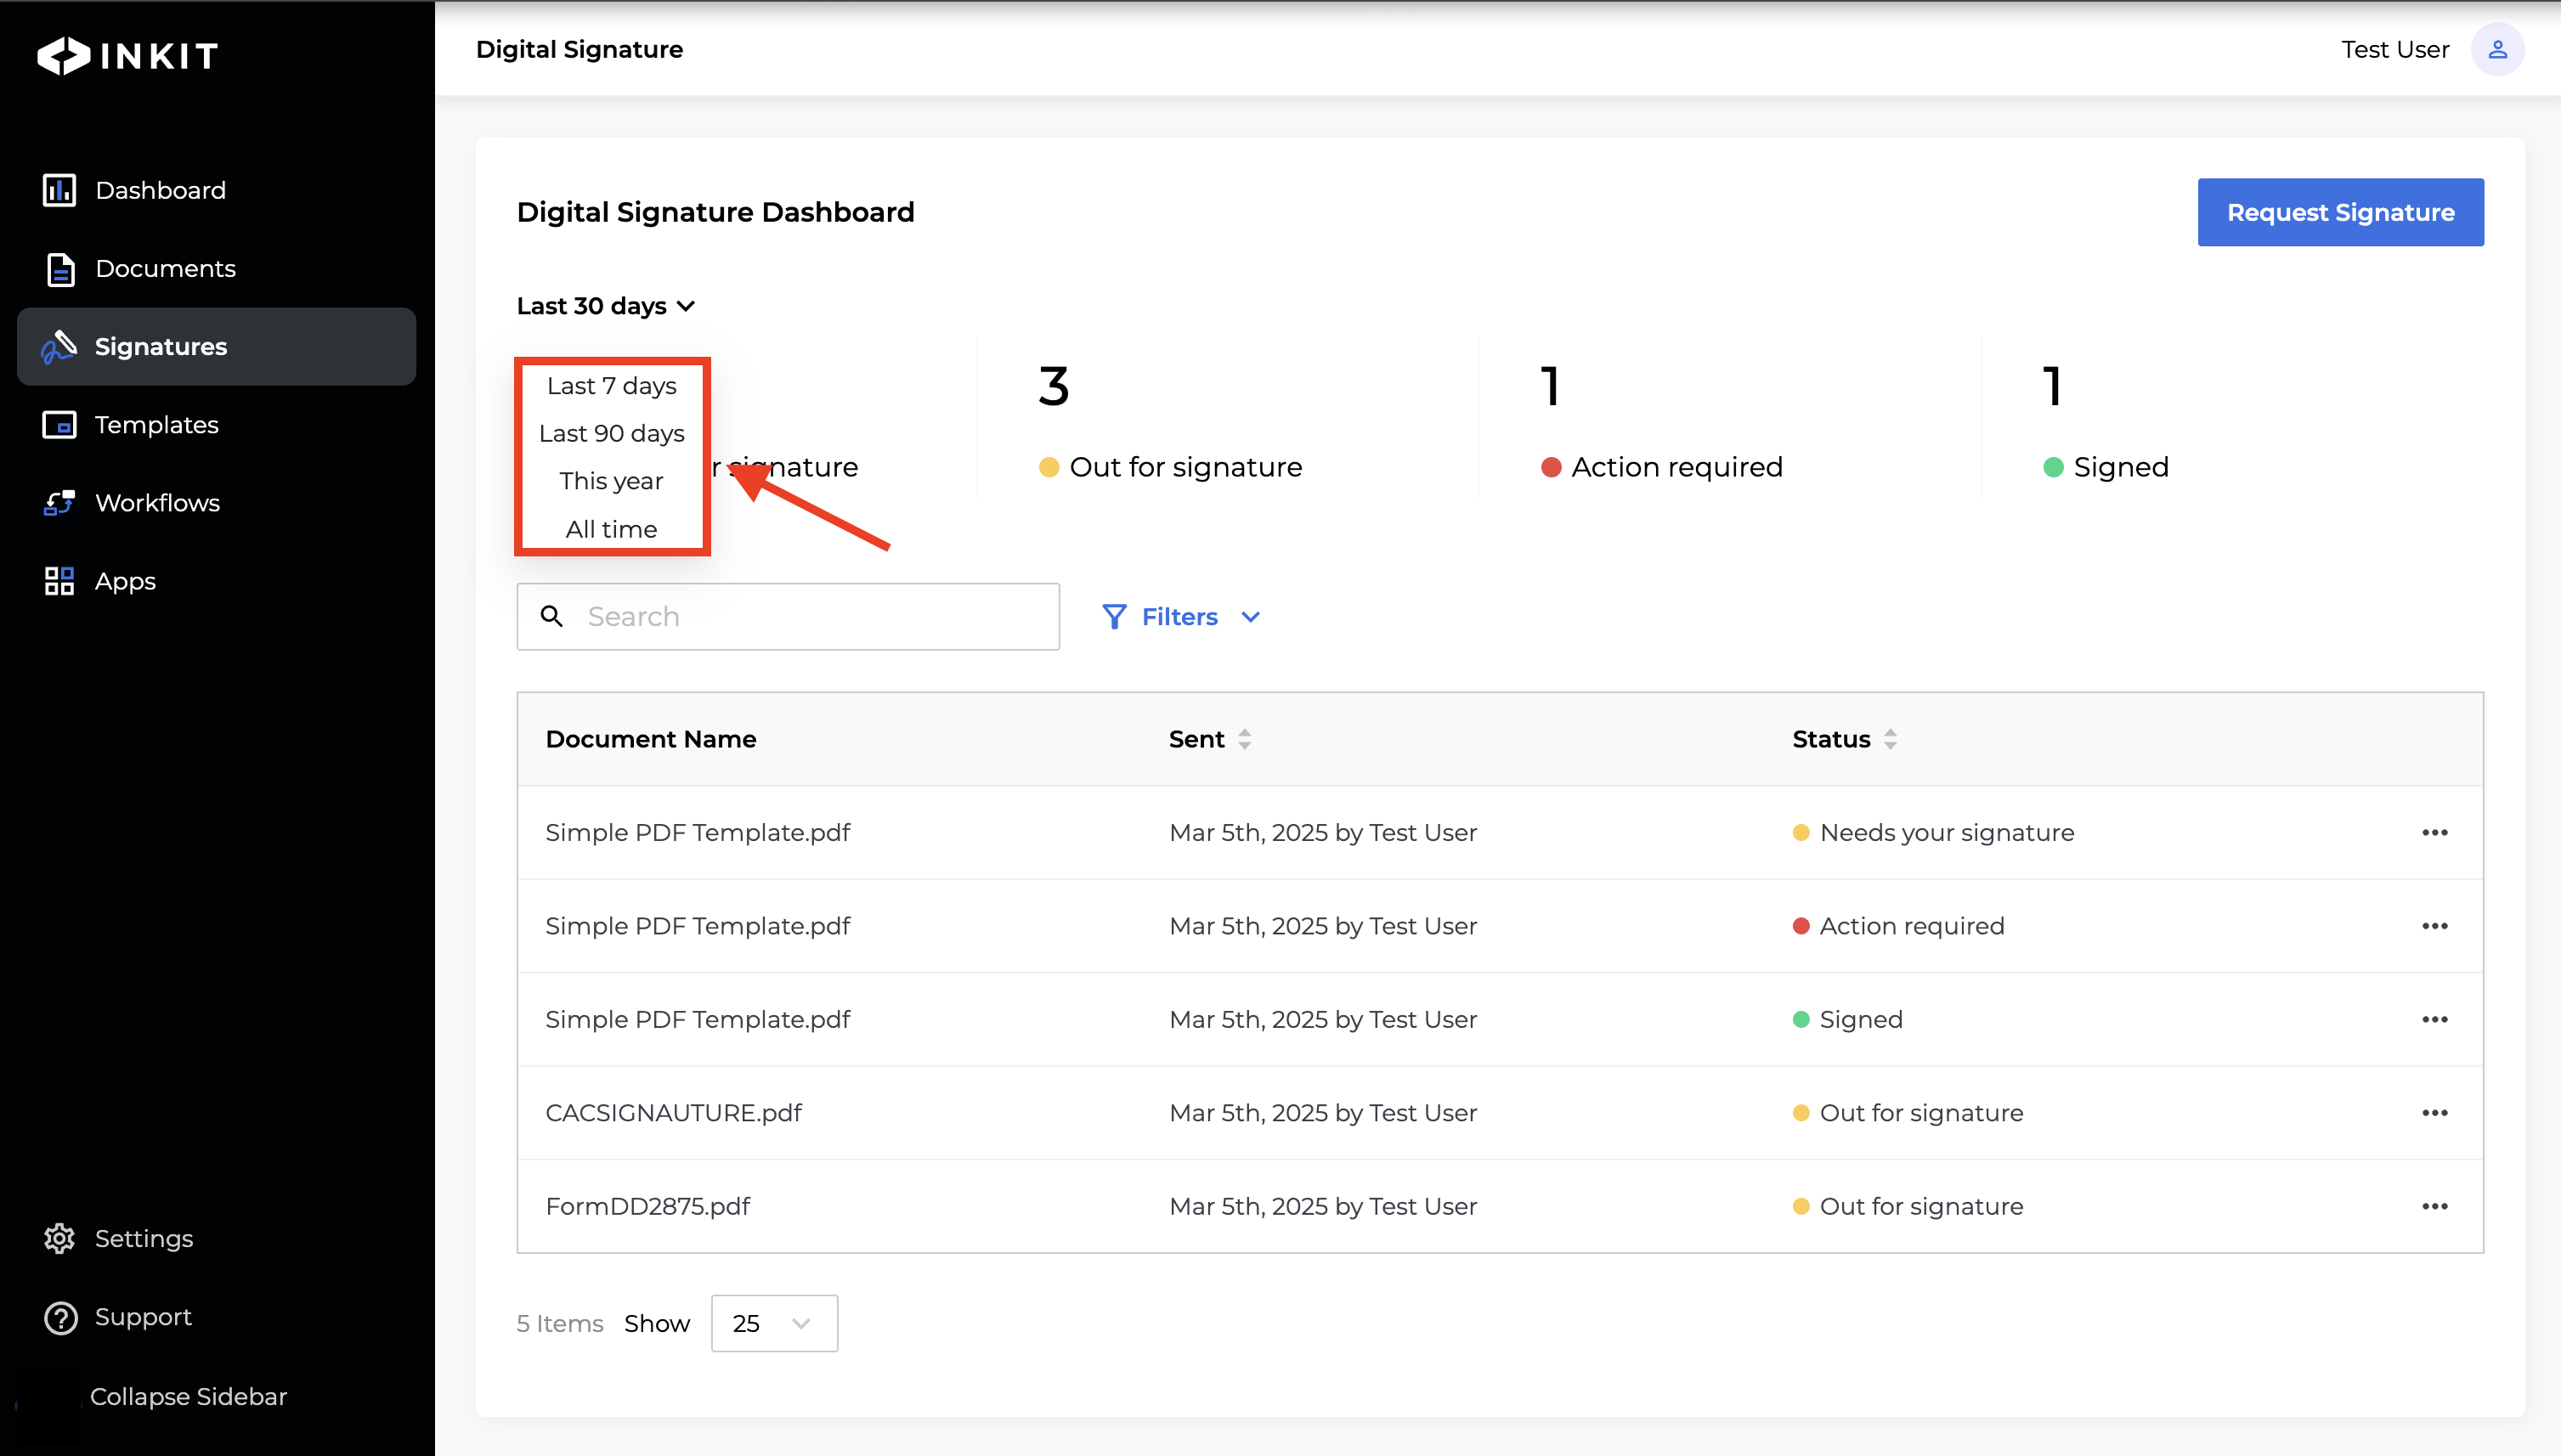
Filtering Documents by Time Period
To select the period of the statuses, click the period accordion and chose from the following:
- Last 7 days
- Last 30 days
- Last 90 days
- This year
- All time
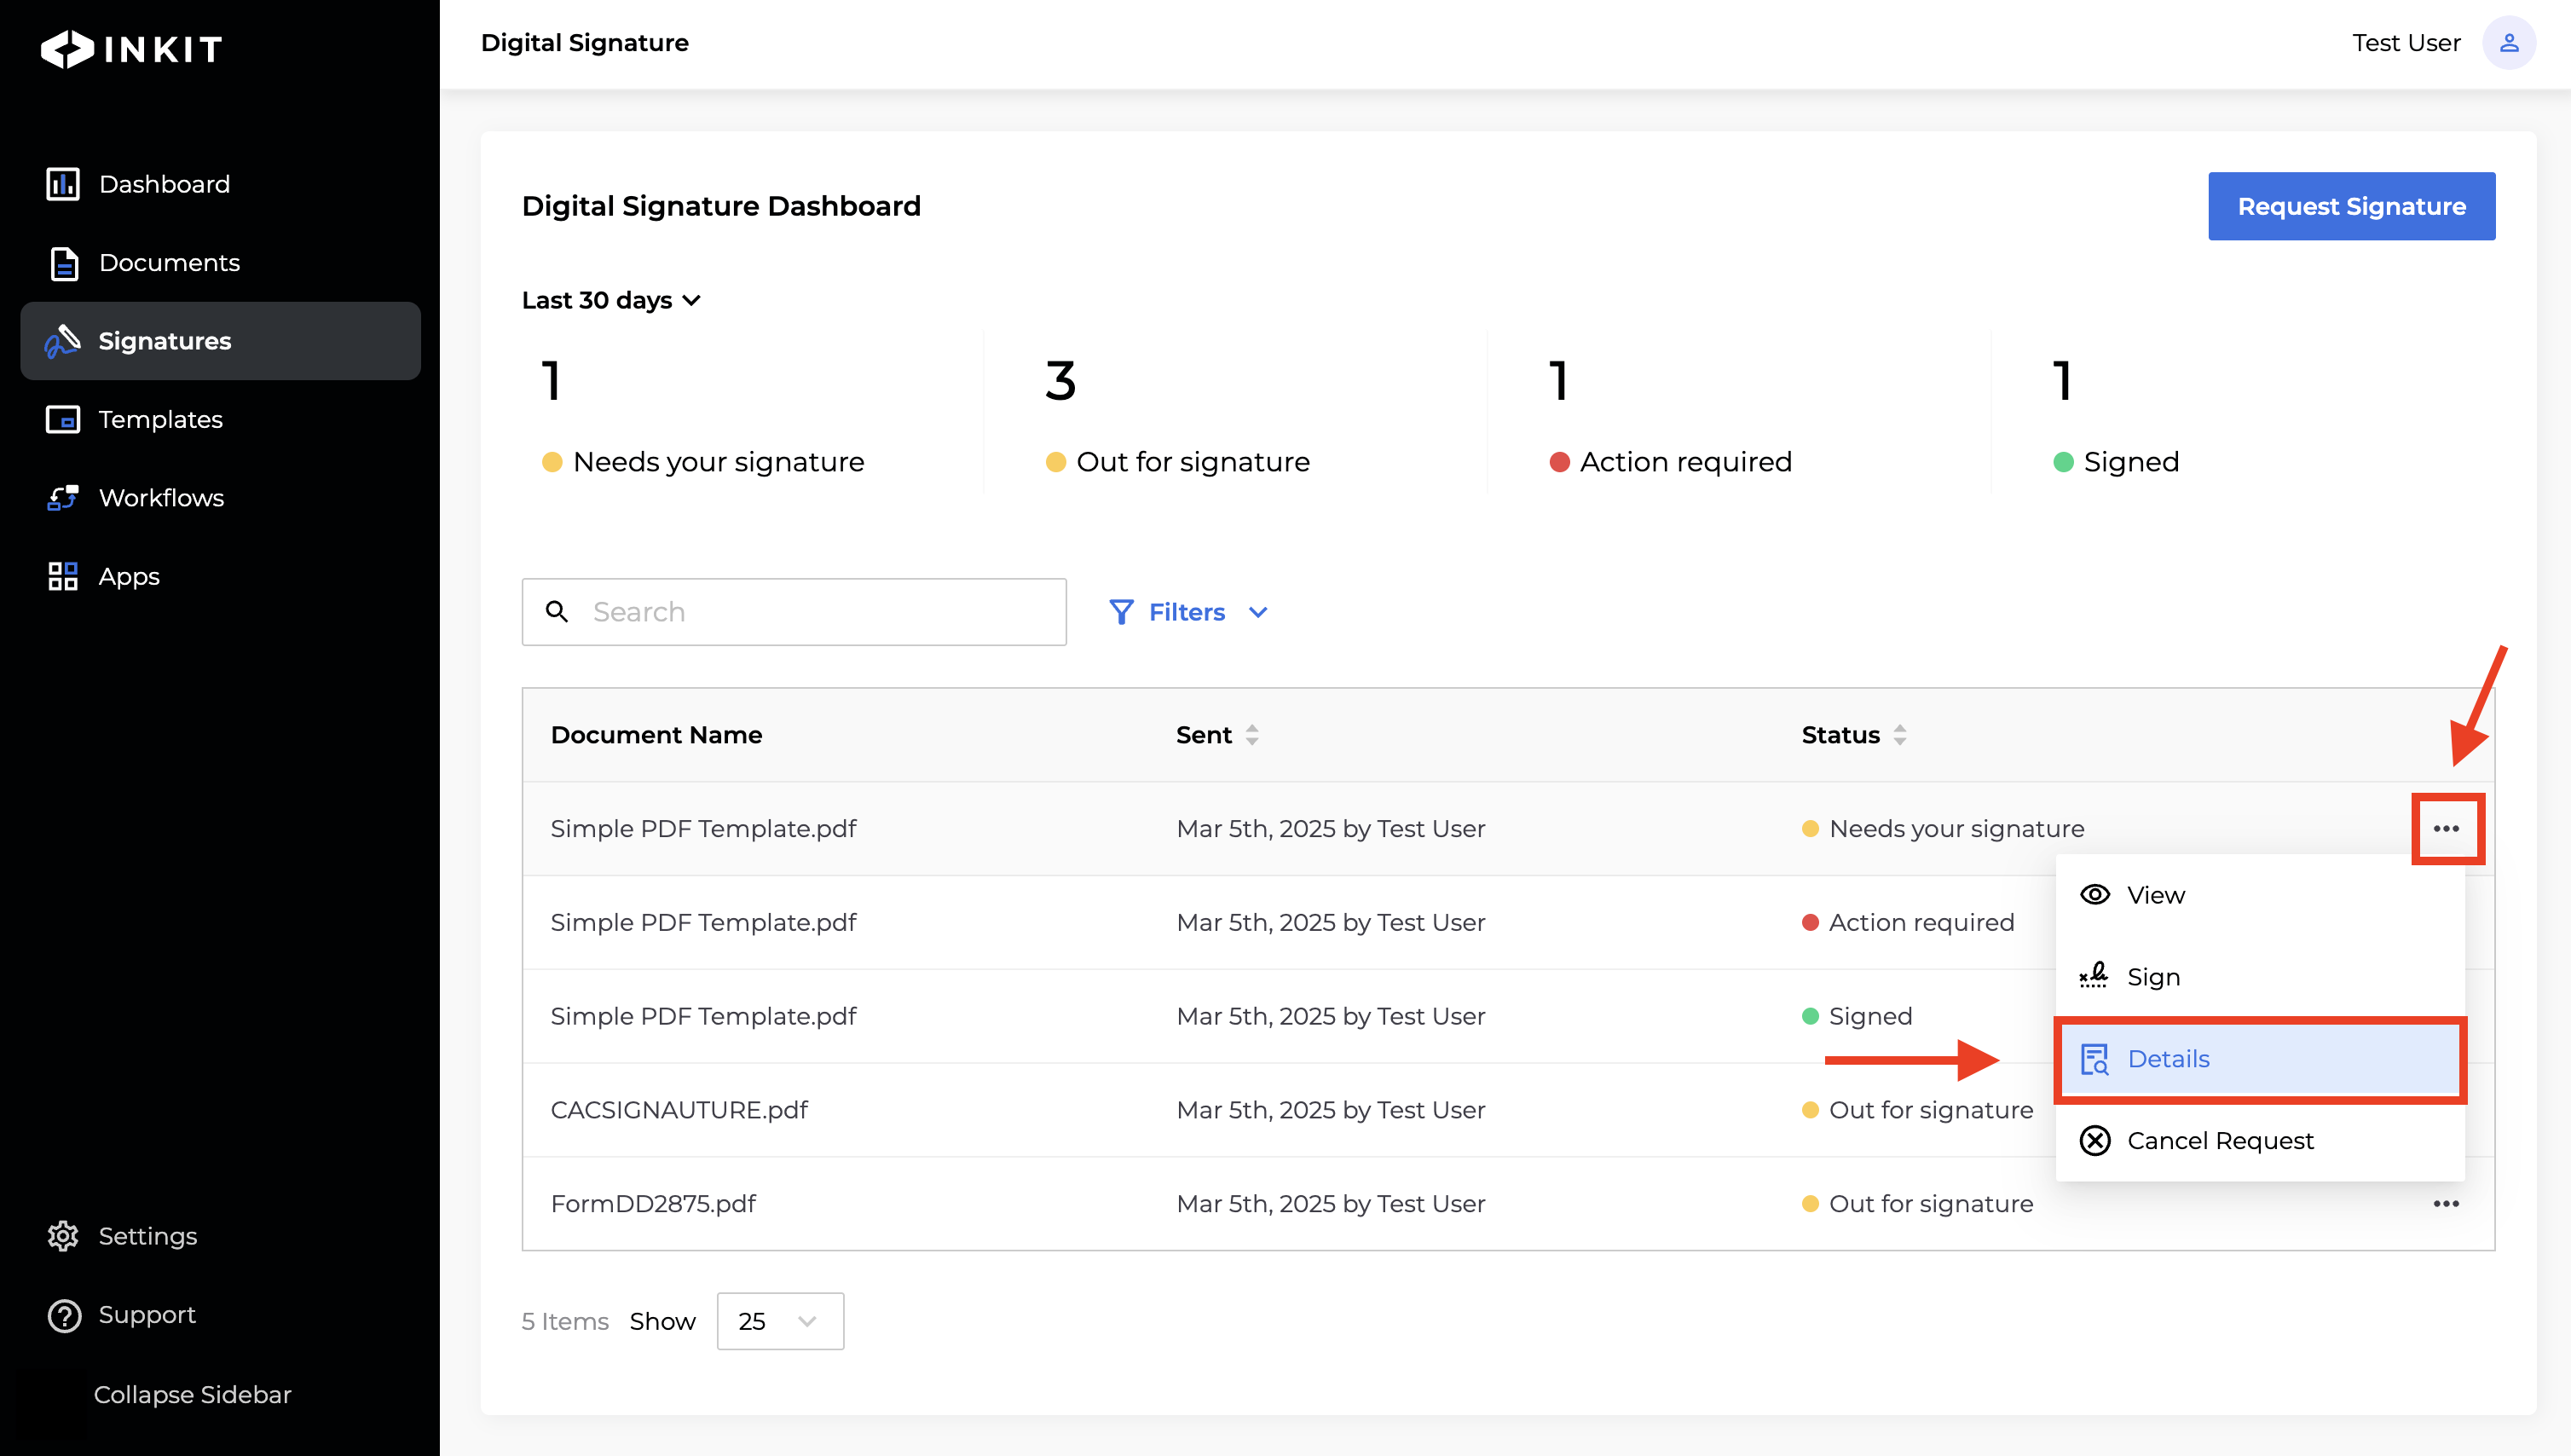
Viewing Document Details and History
To get detailed information about a document that you sent out for signature, click the ... menu beside the document and select Details.
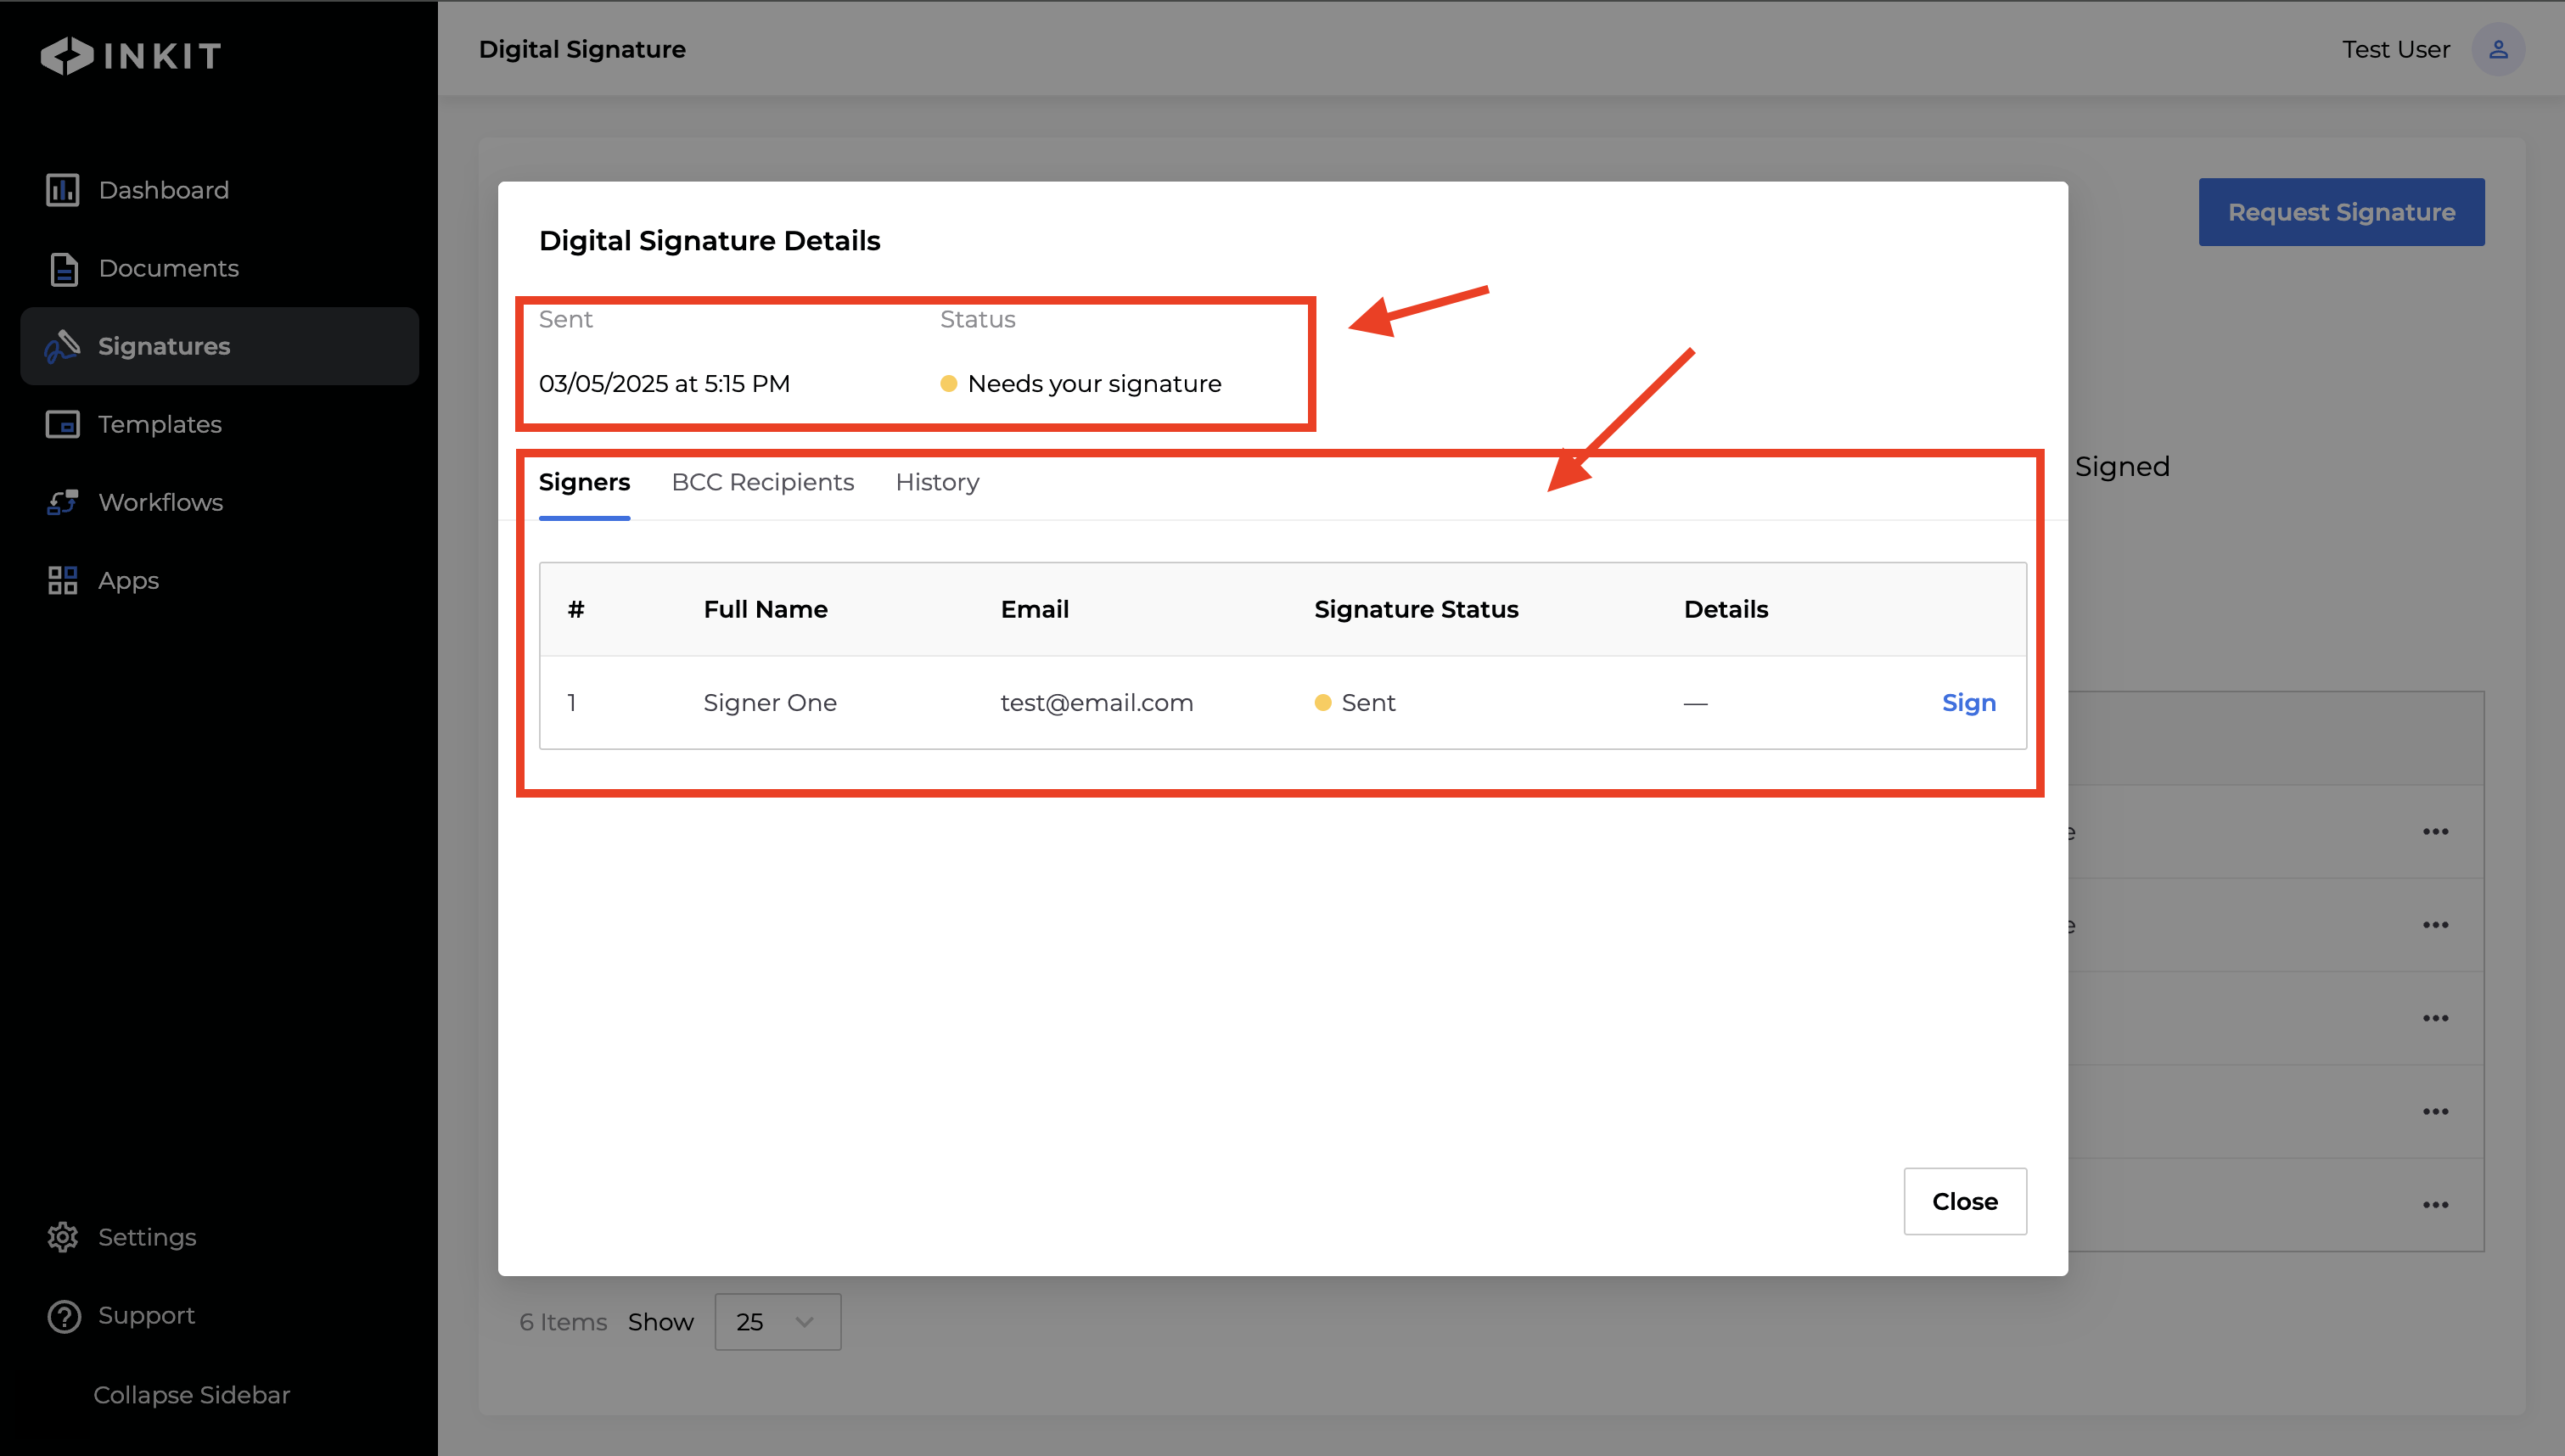
The Digital Signature Details dialog box displays with the date and time the signature request was Sent and the Status of the signature request. It also display the following information about the signers:
- Signer #
- Full Name
- Signature Status
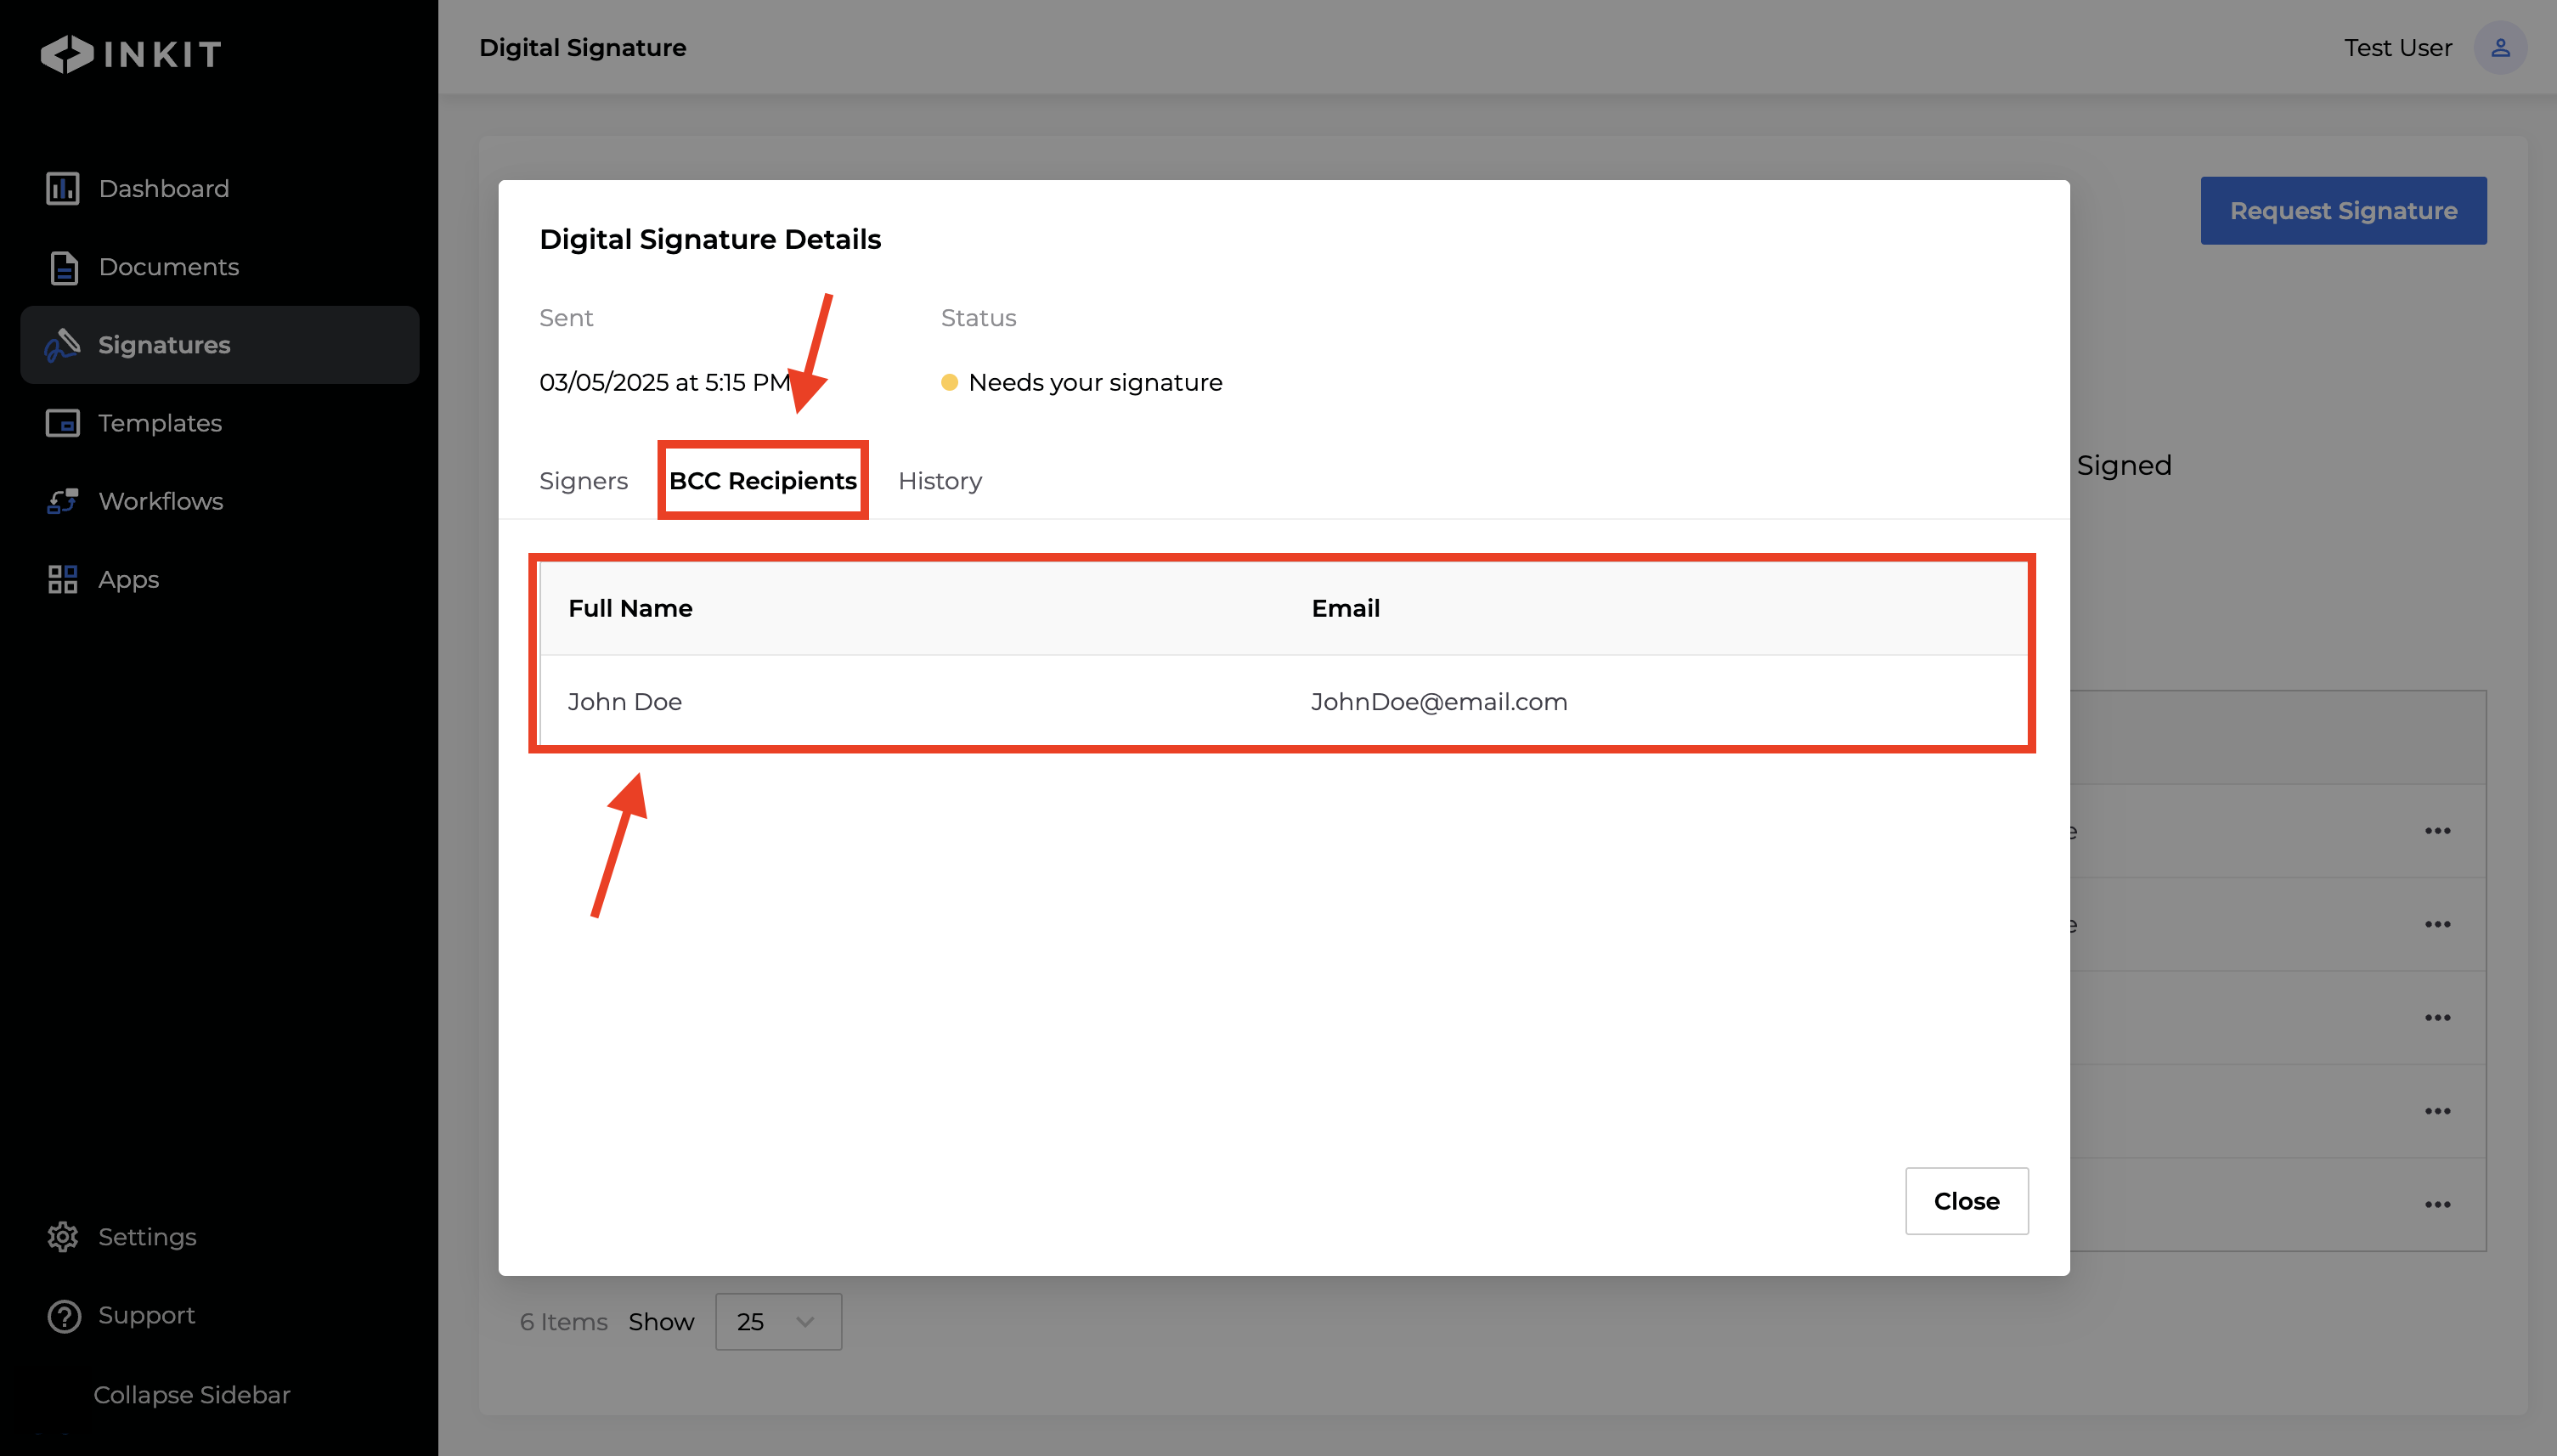
To get information about BCCs of the document, click the BCC Recipients tab and the following information will display:
- Full Name
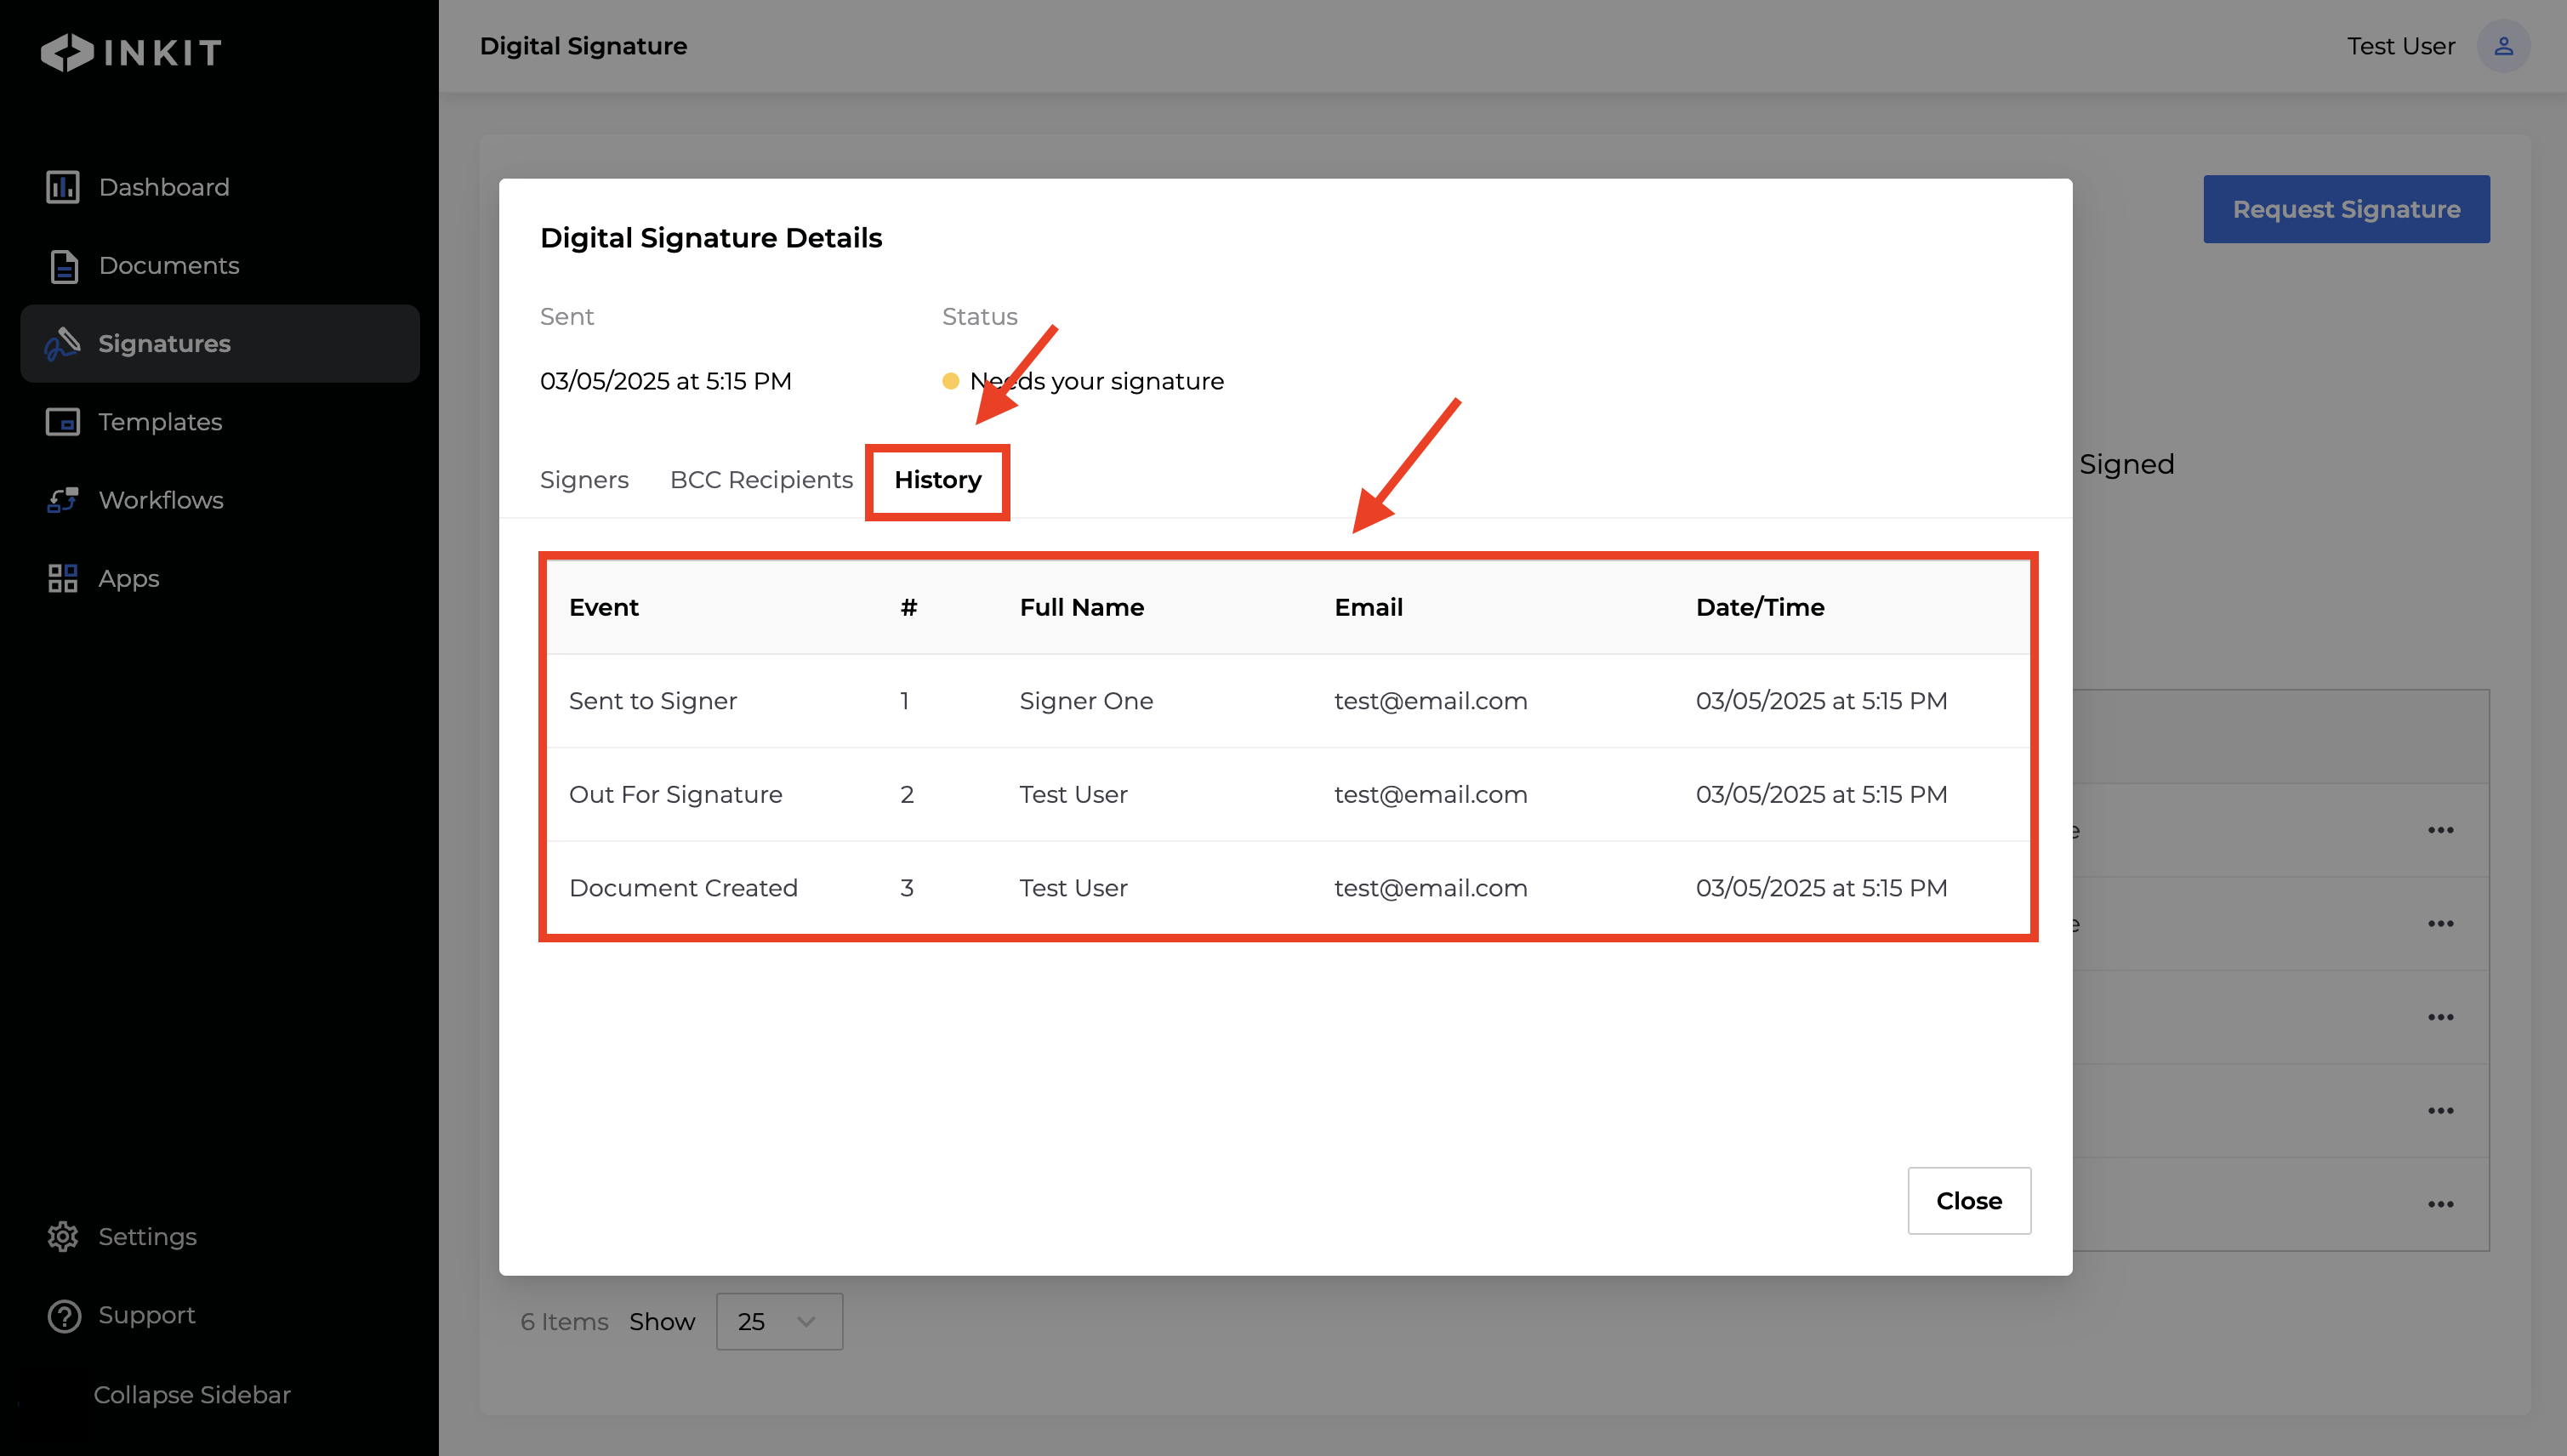
To get information about the History of the Digital Signature Document, click the History tab and the following information will display:
- Event
- Signer #
- Full Name
- Date/Time
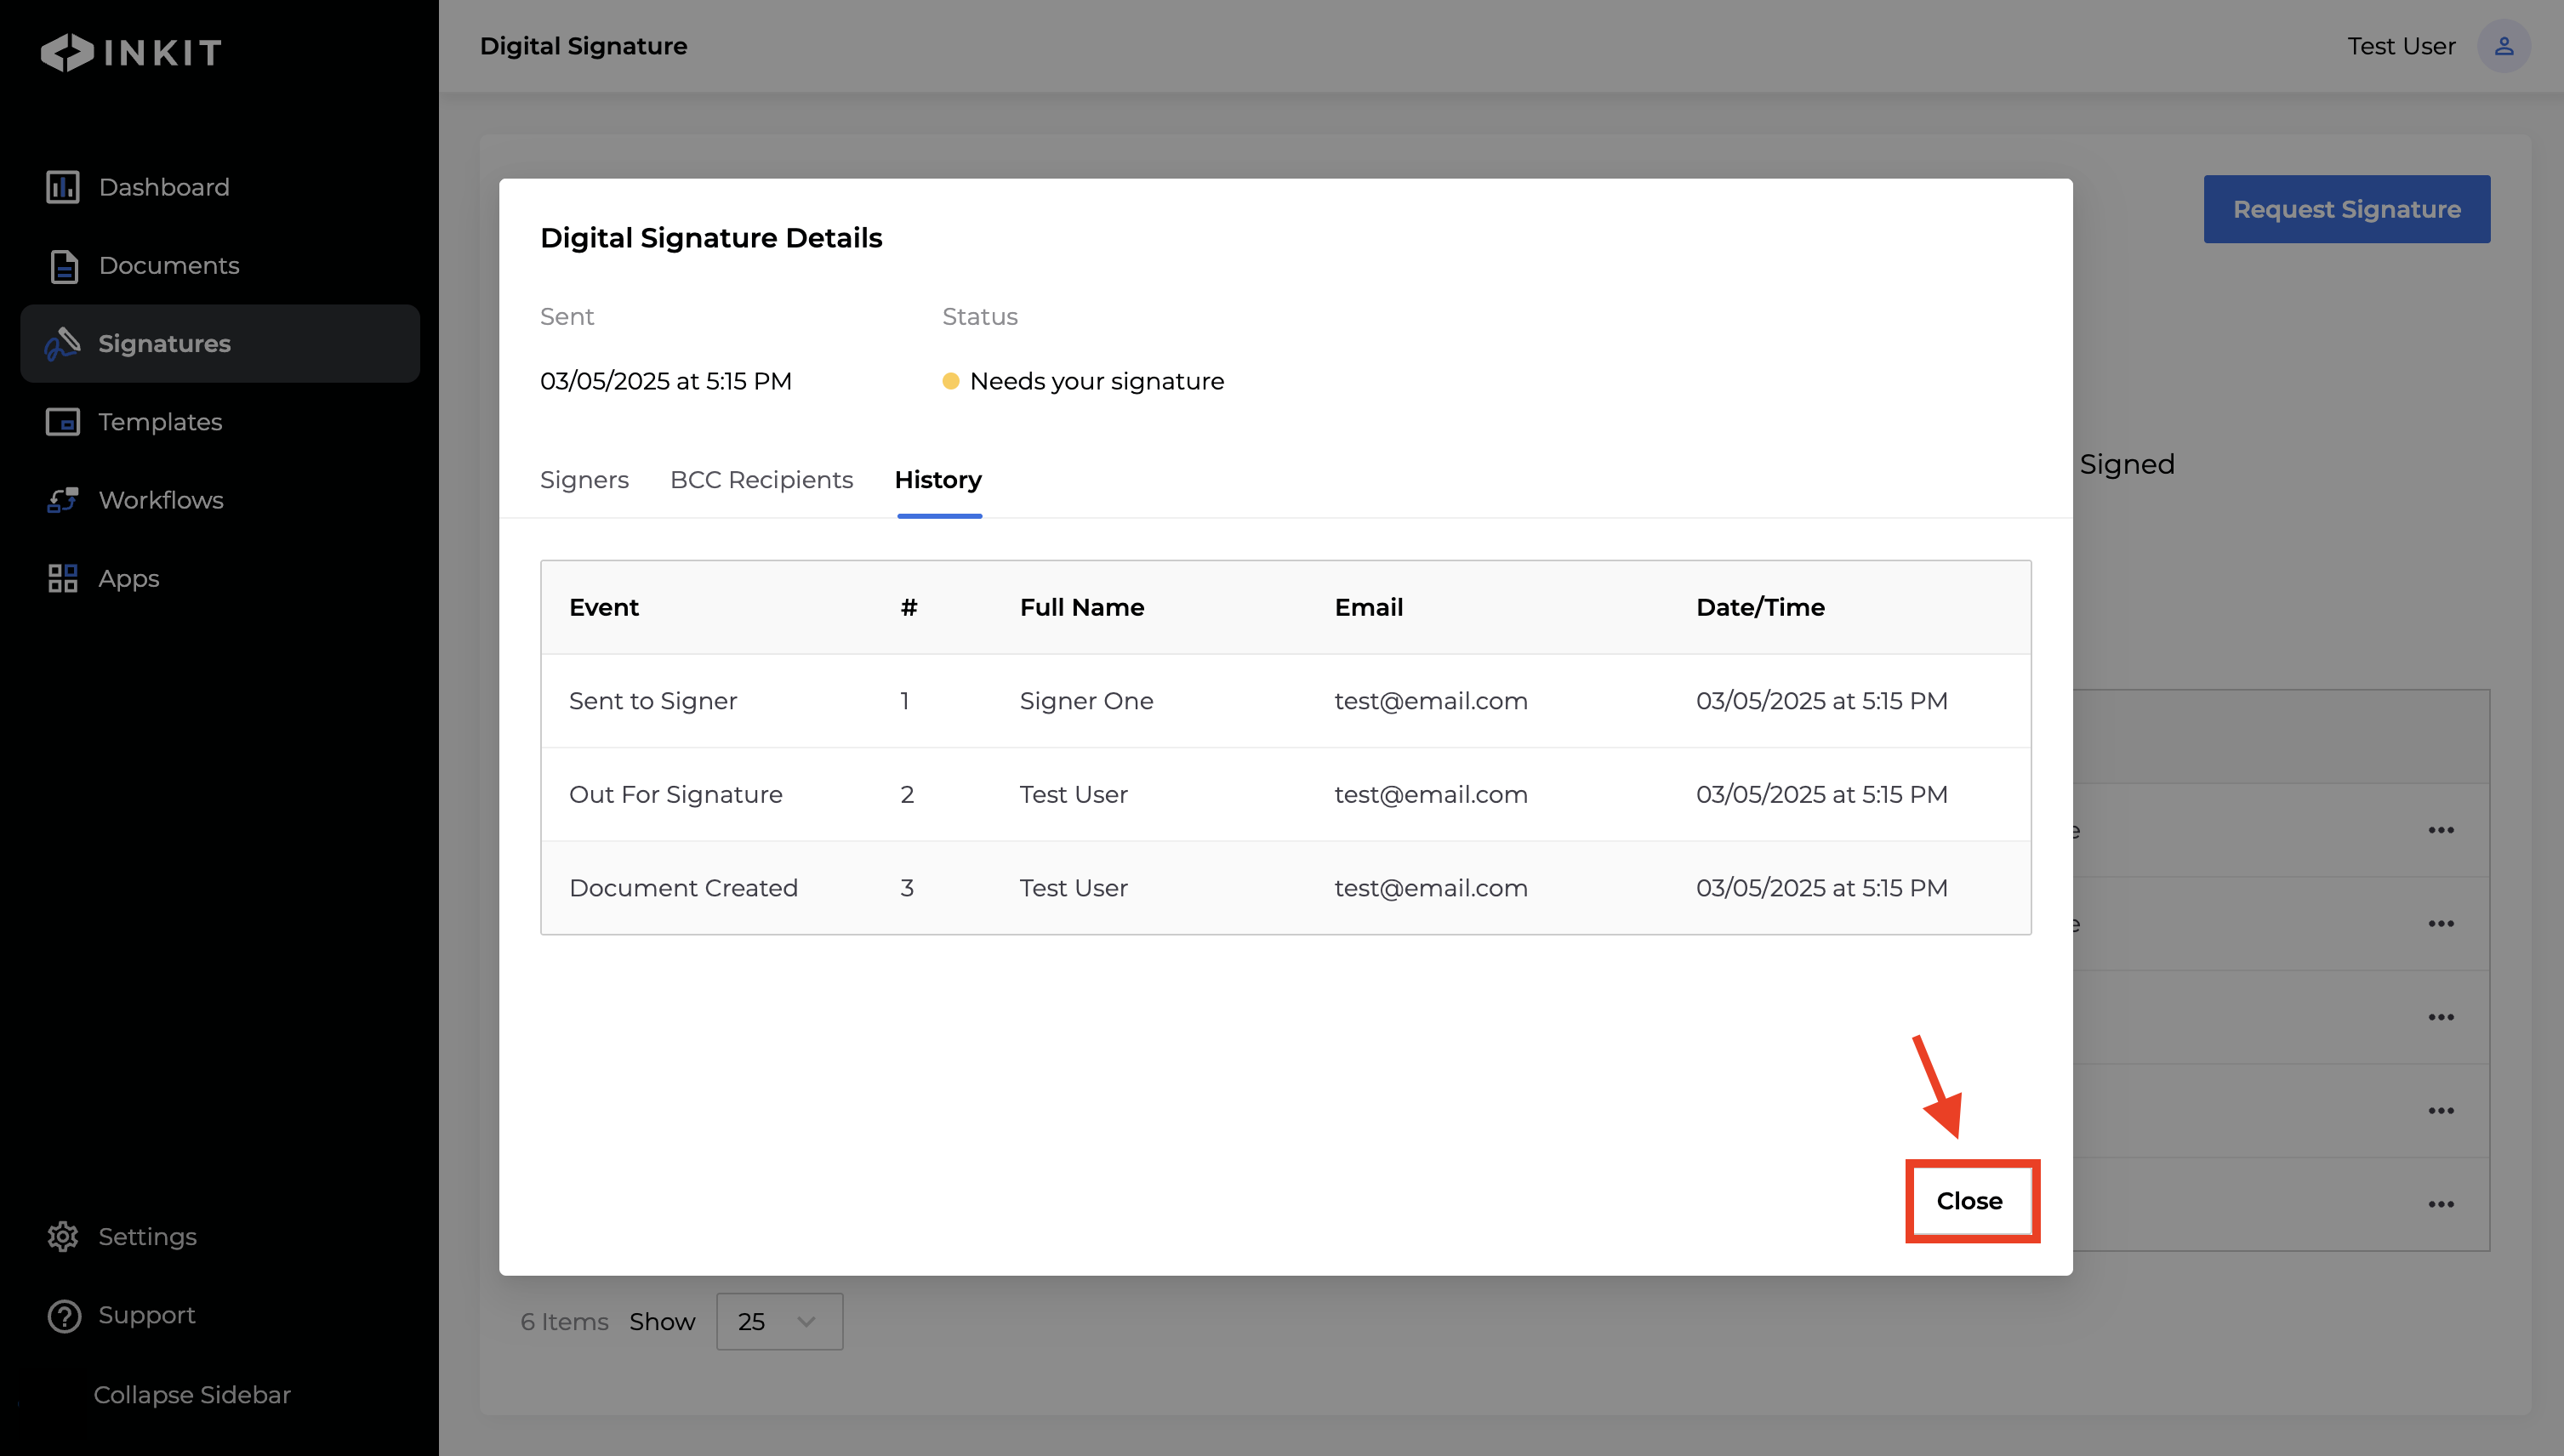
To close the dialog box, click Close.
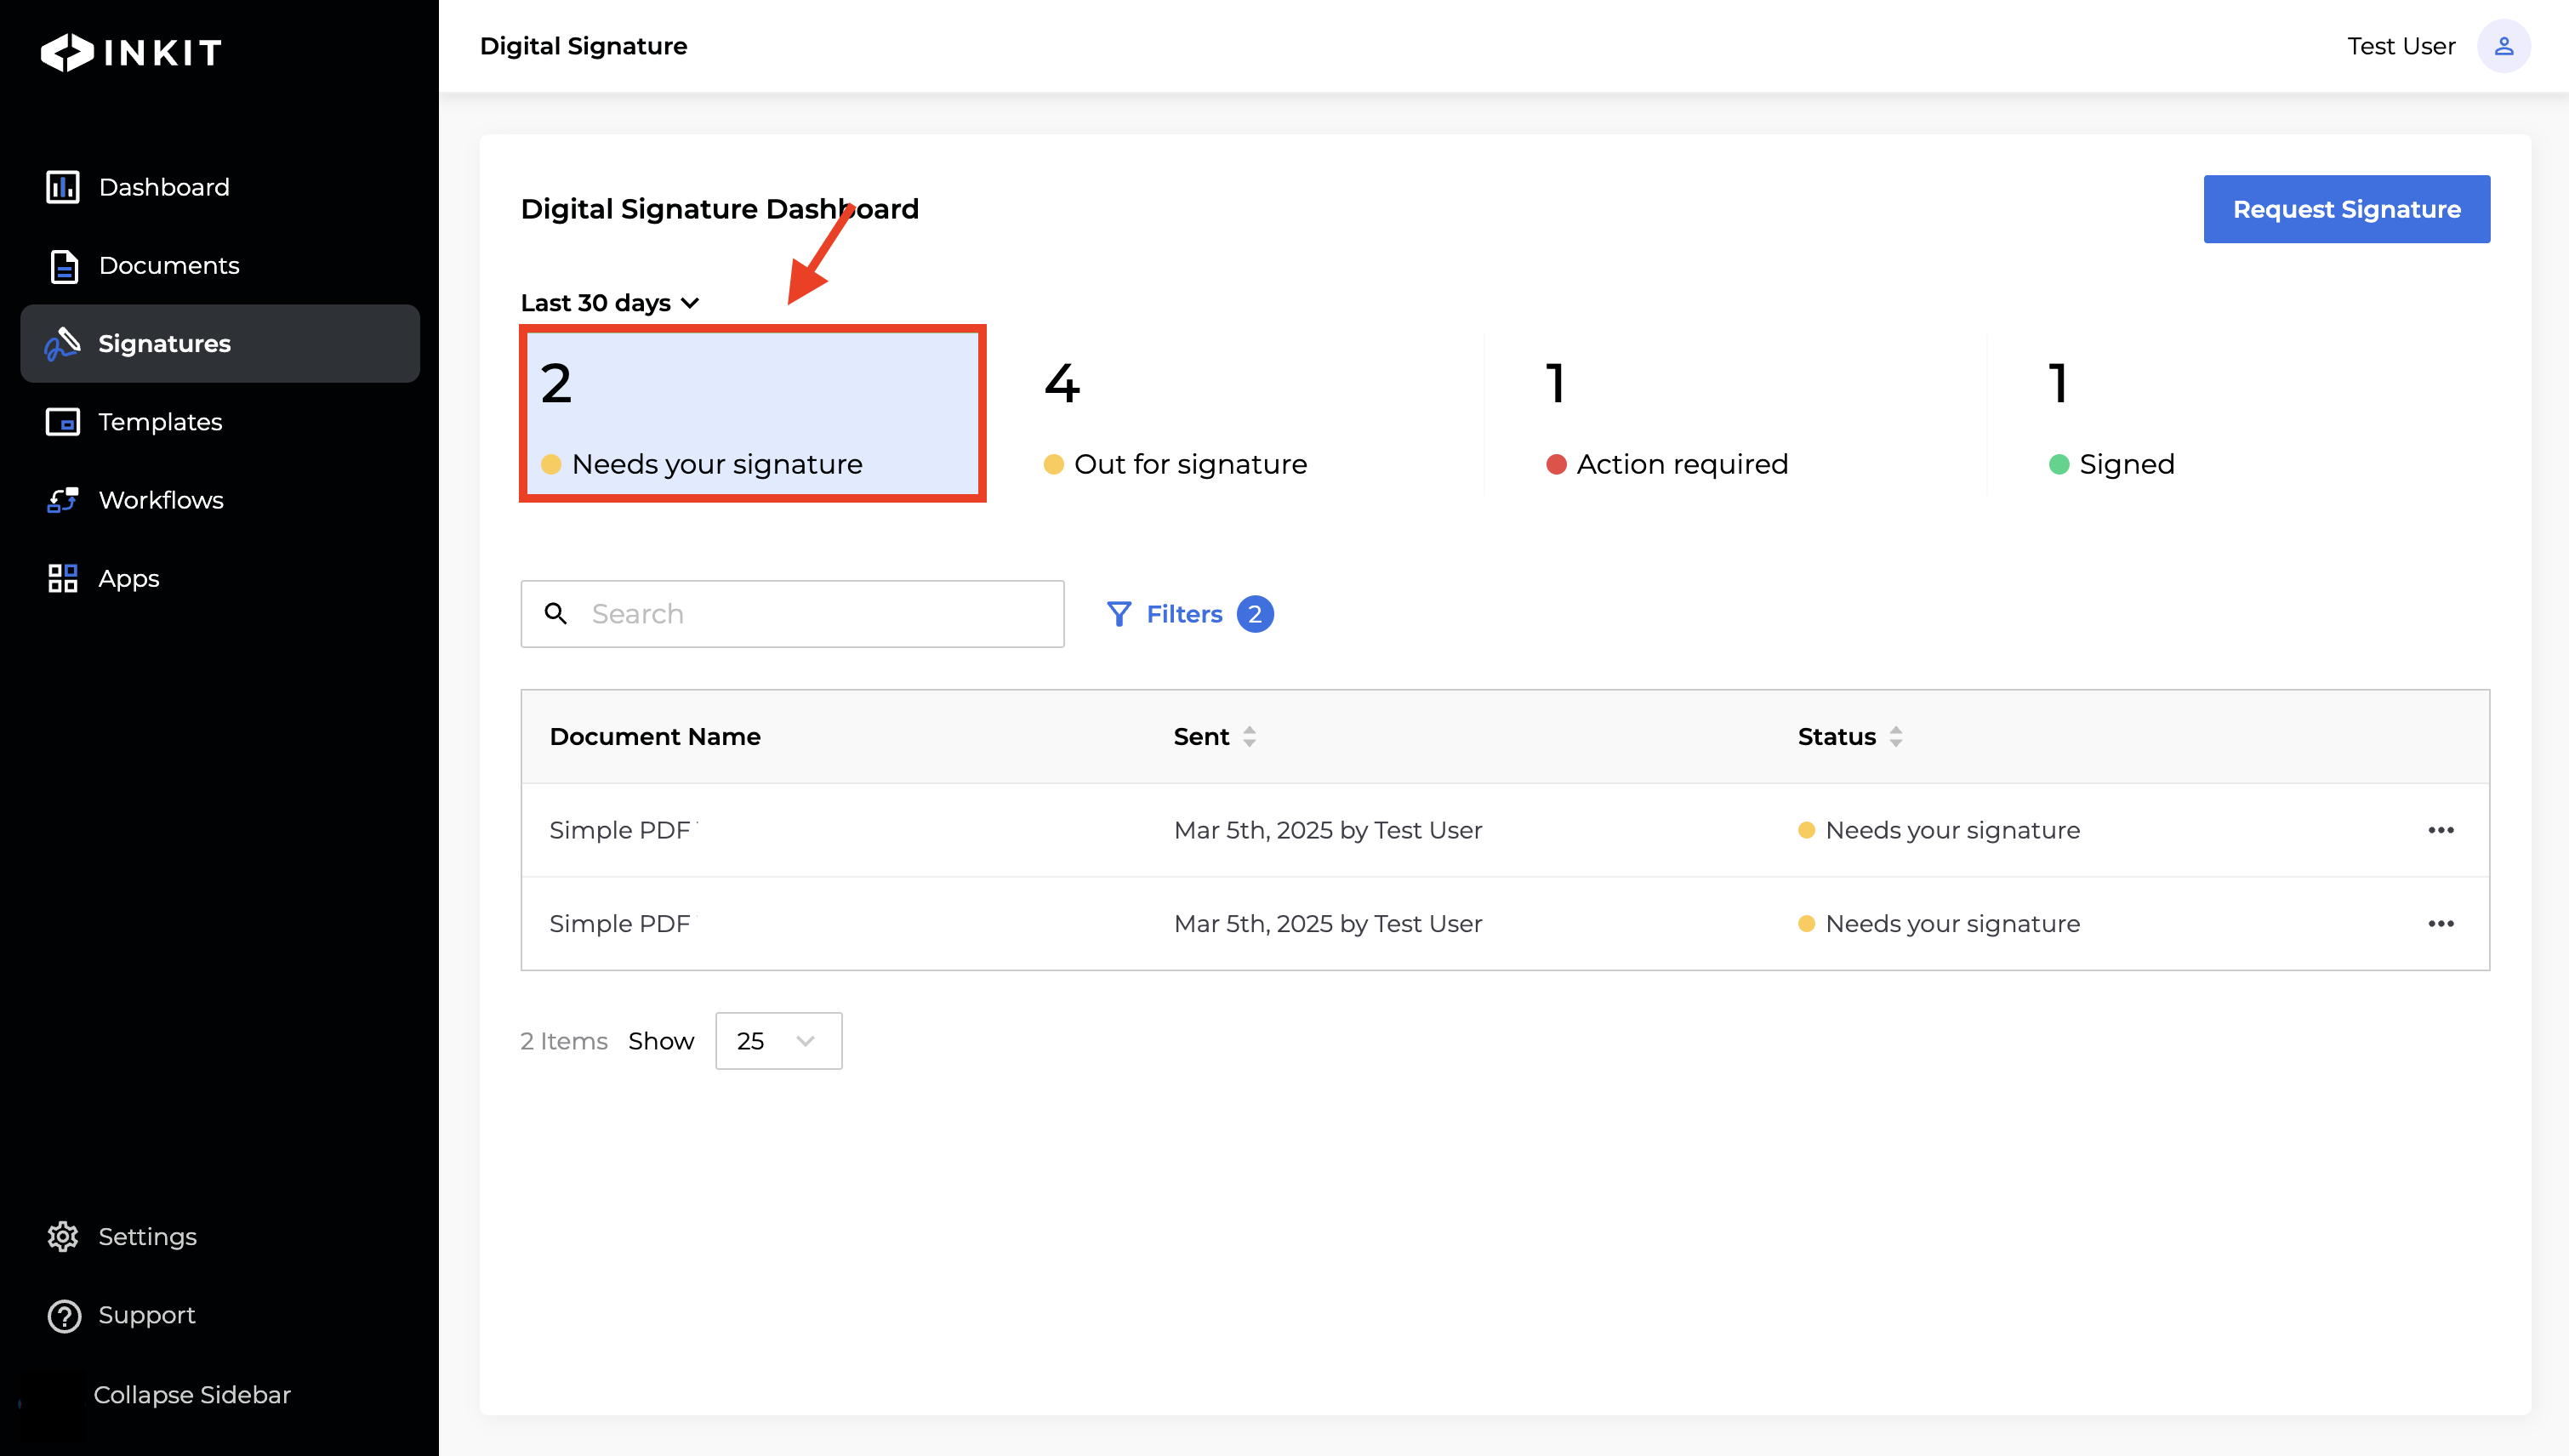
Filtering by status
By clicking on a status, you can filter documents that have that status. You can click multiple statuses and remove them by clicking them again. Active filters are highlighted in blue.
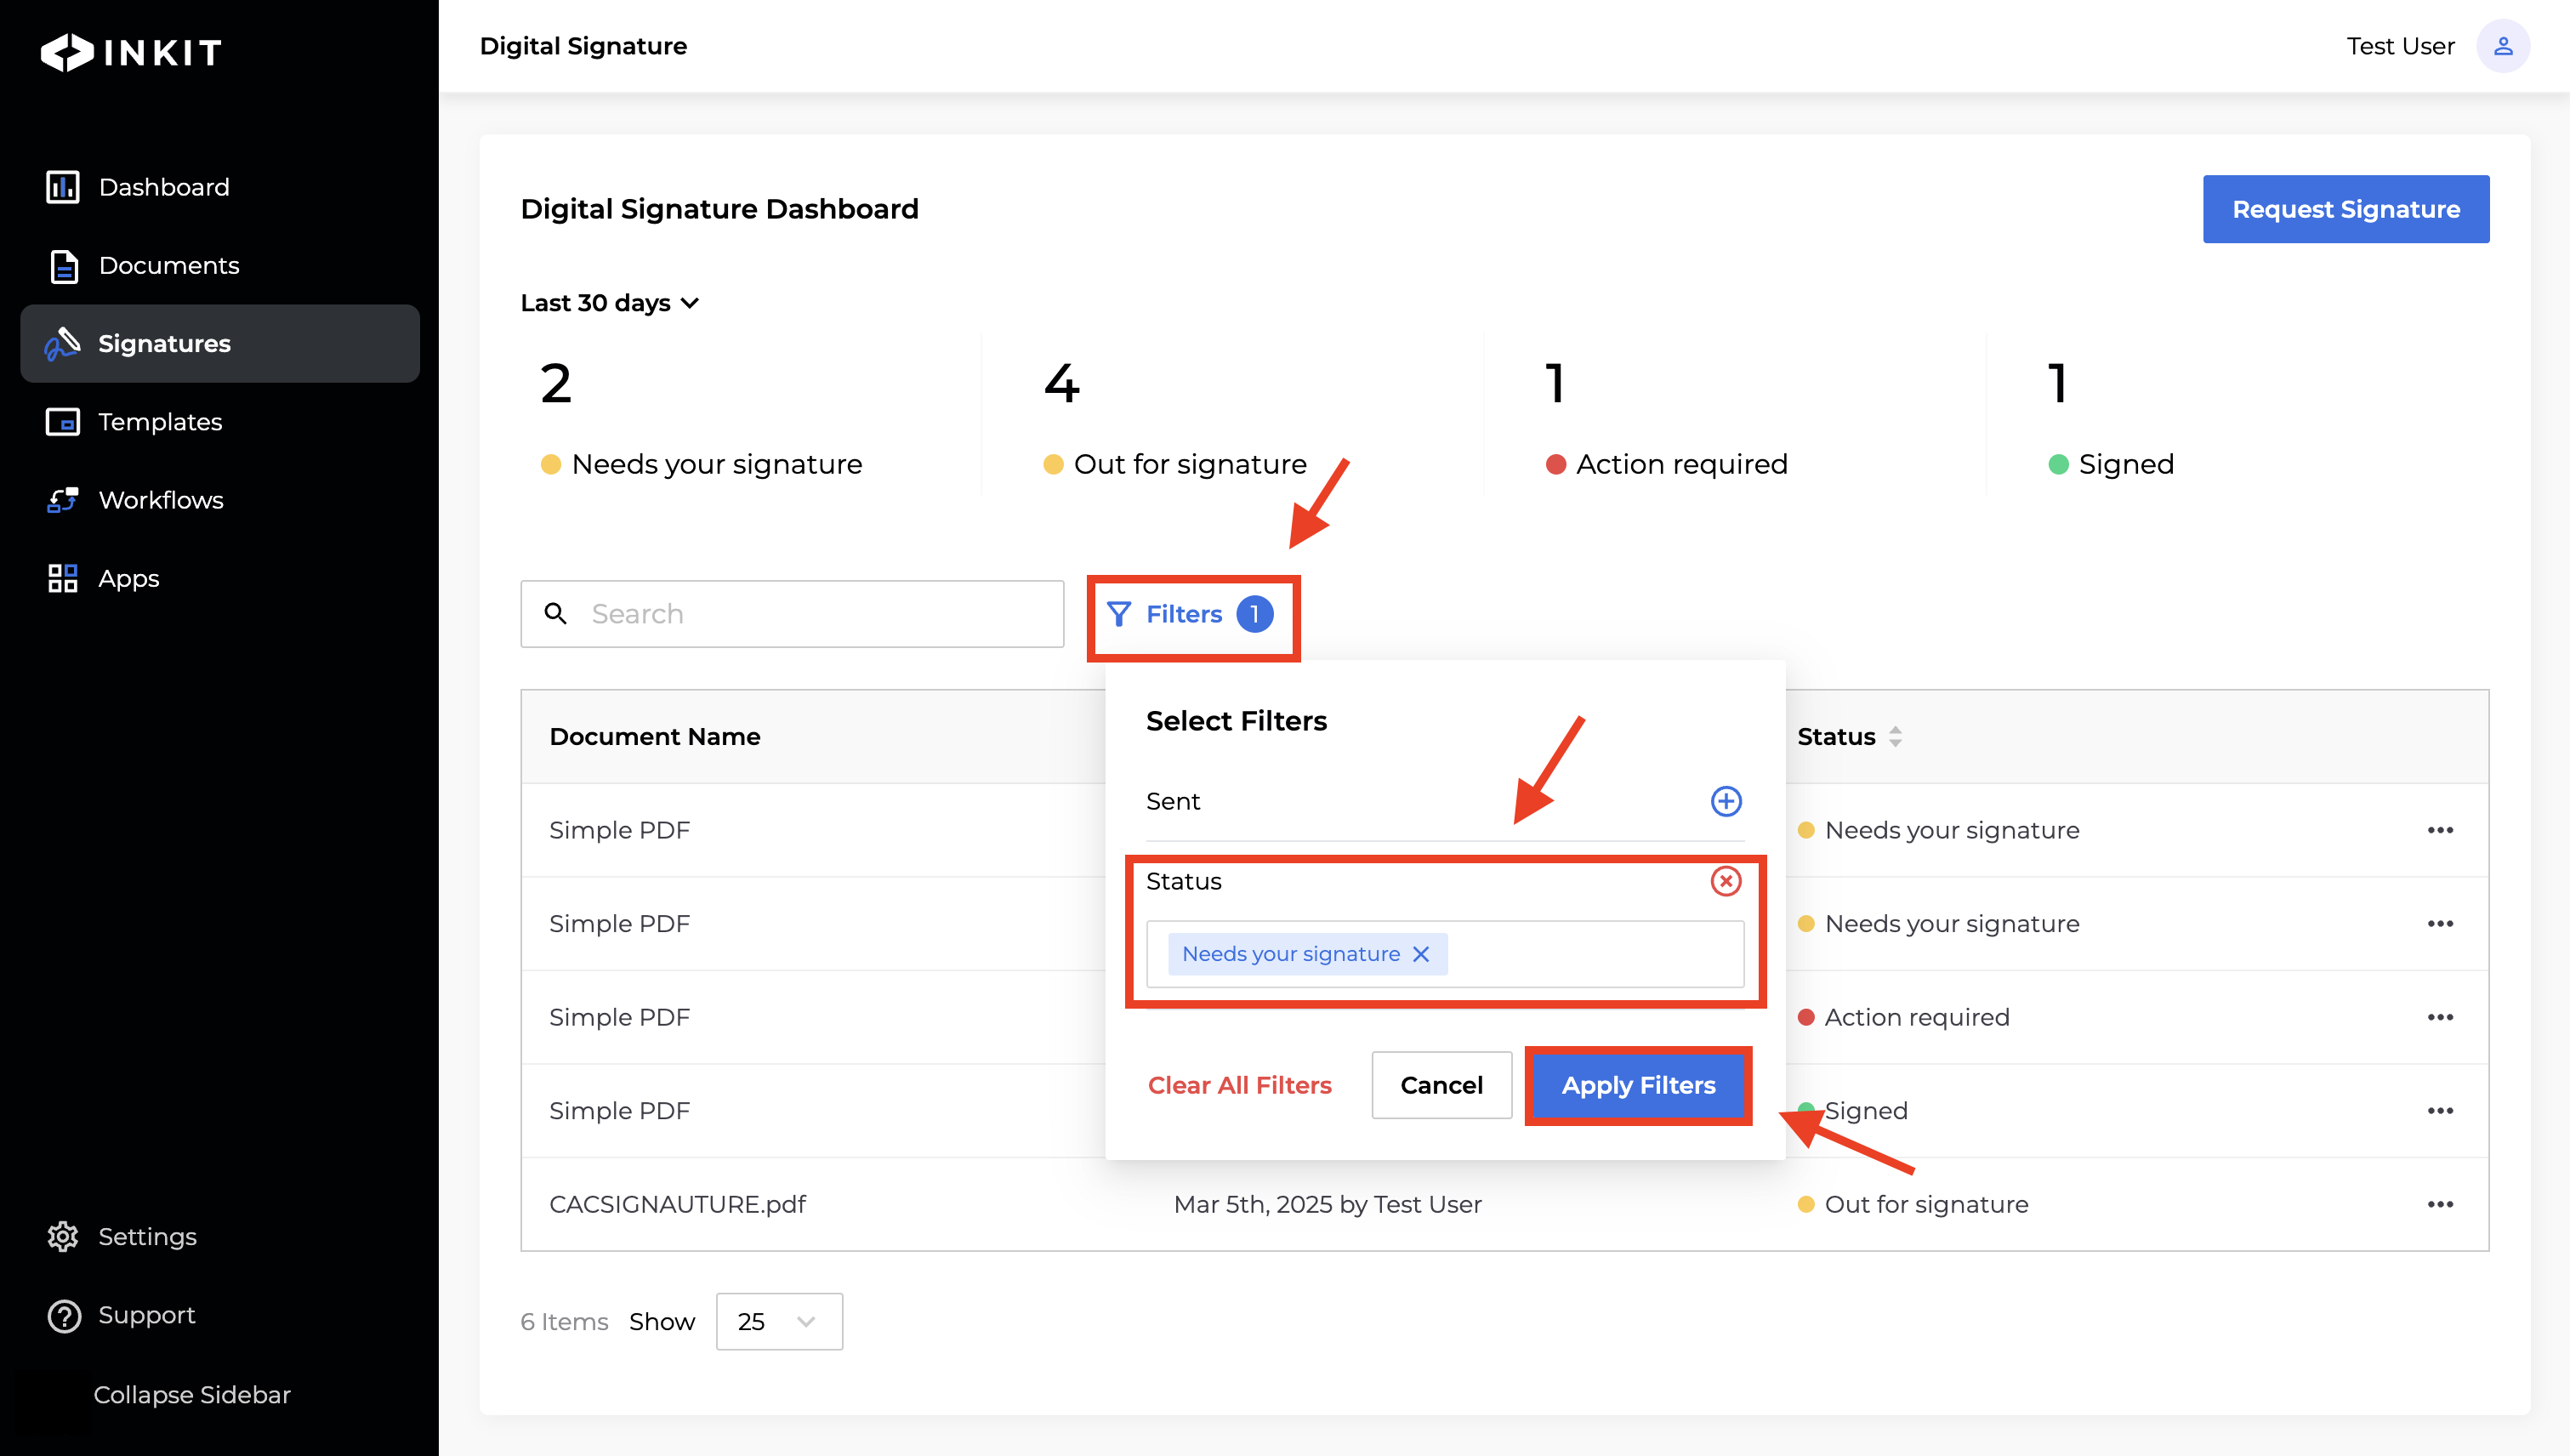
You can also filter documents by status by clicking Filters and then clicking the + button by Status and selecting one of the following values from the dropdown box:
- Needs your signature
- Out for signature
- Action required
- Signed
Finally, click Apply Filters.
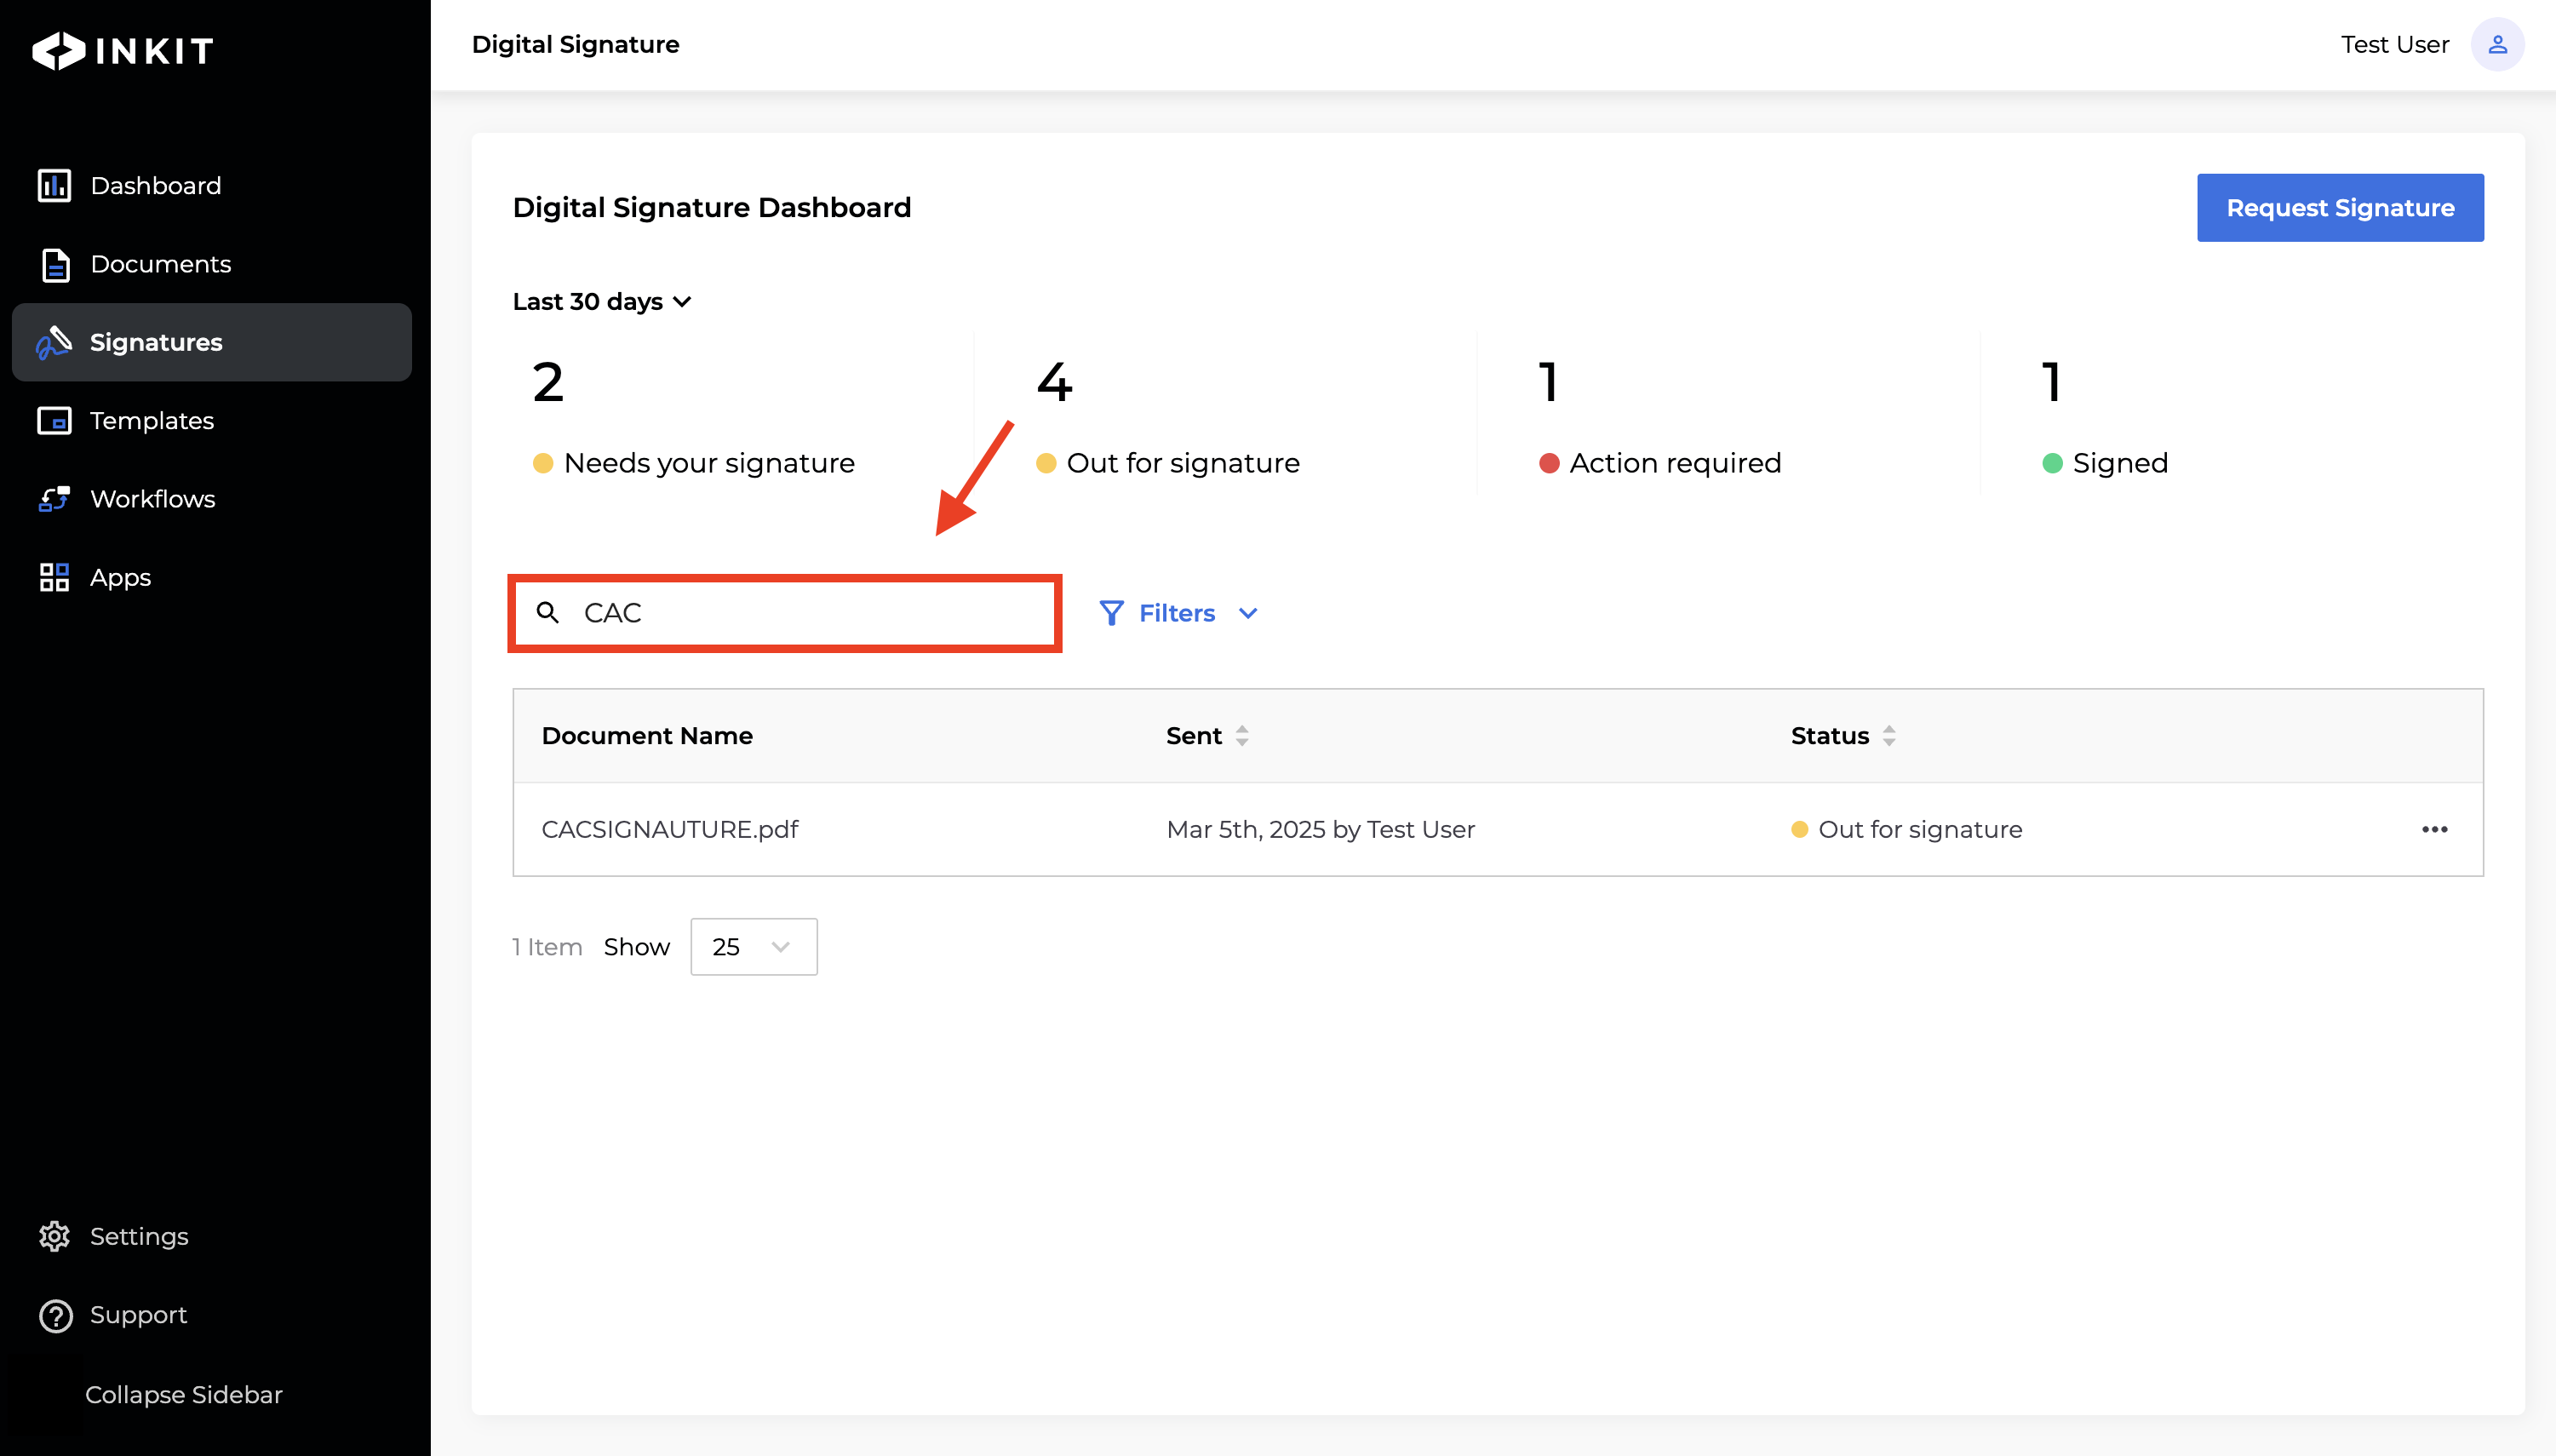
Searching by document name
To filter documents by keyword, enter the keyword in the Search box.
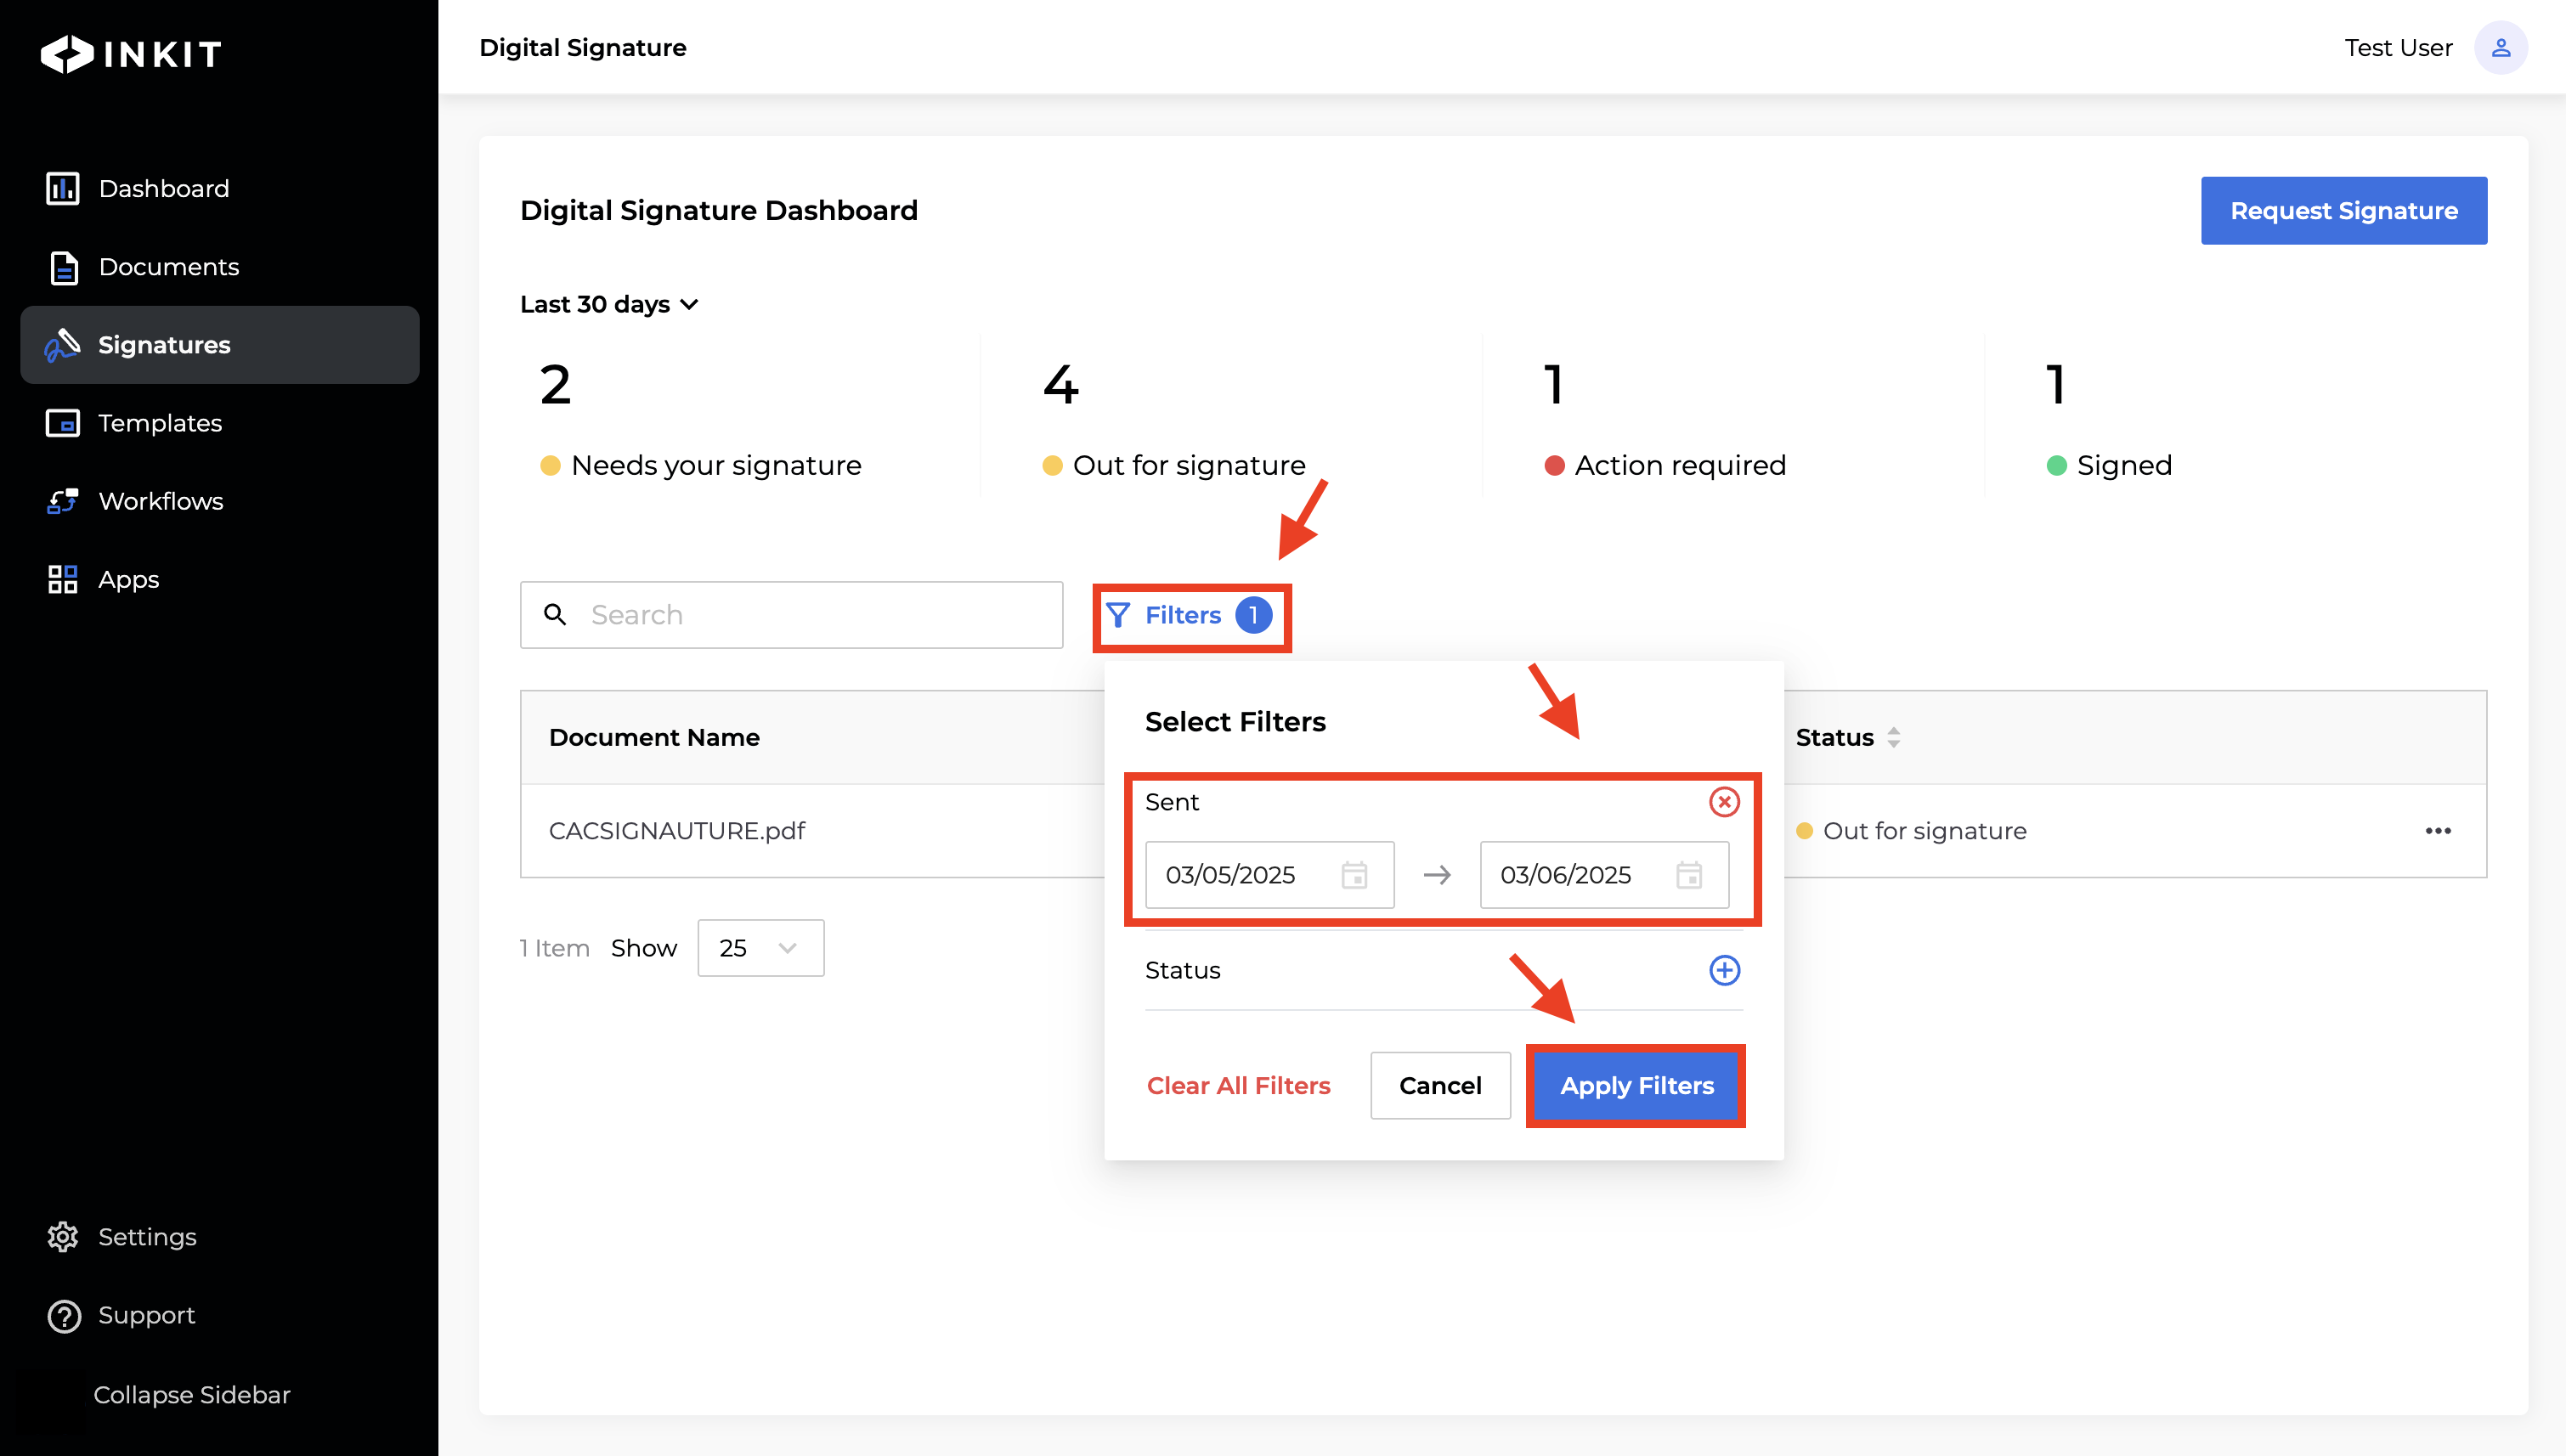
Filtering by sent date
To filter documents by sent date, click Filters.
Then click the + button by Sent Date and enter a range of document sent dates. Finally, click Apply Filters.
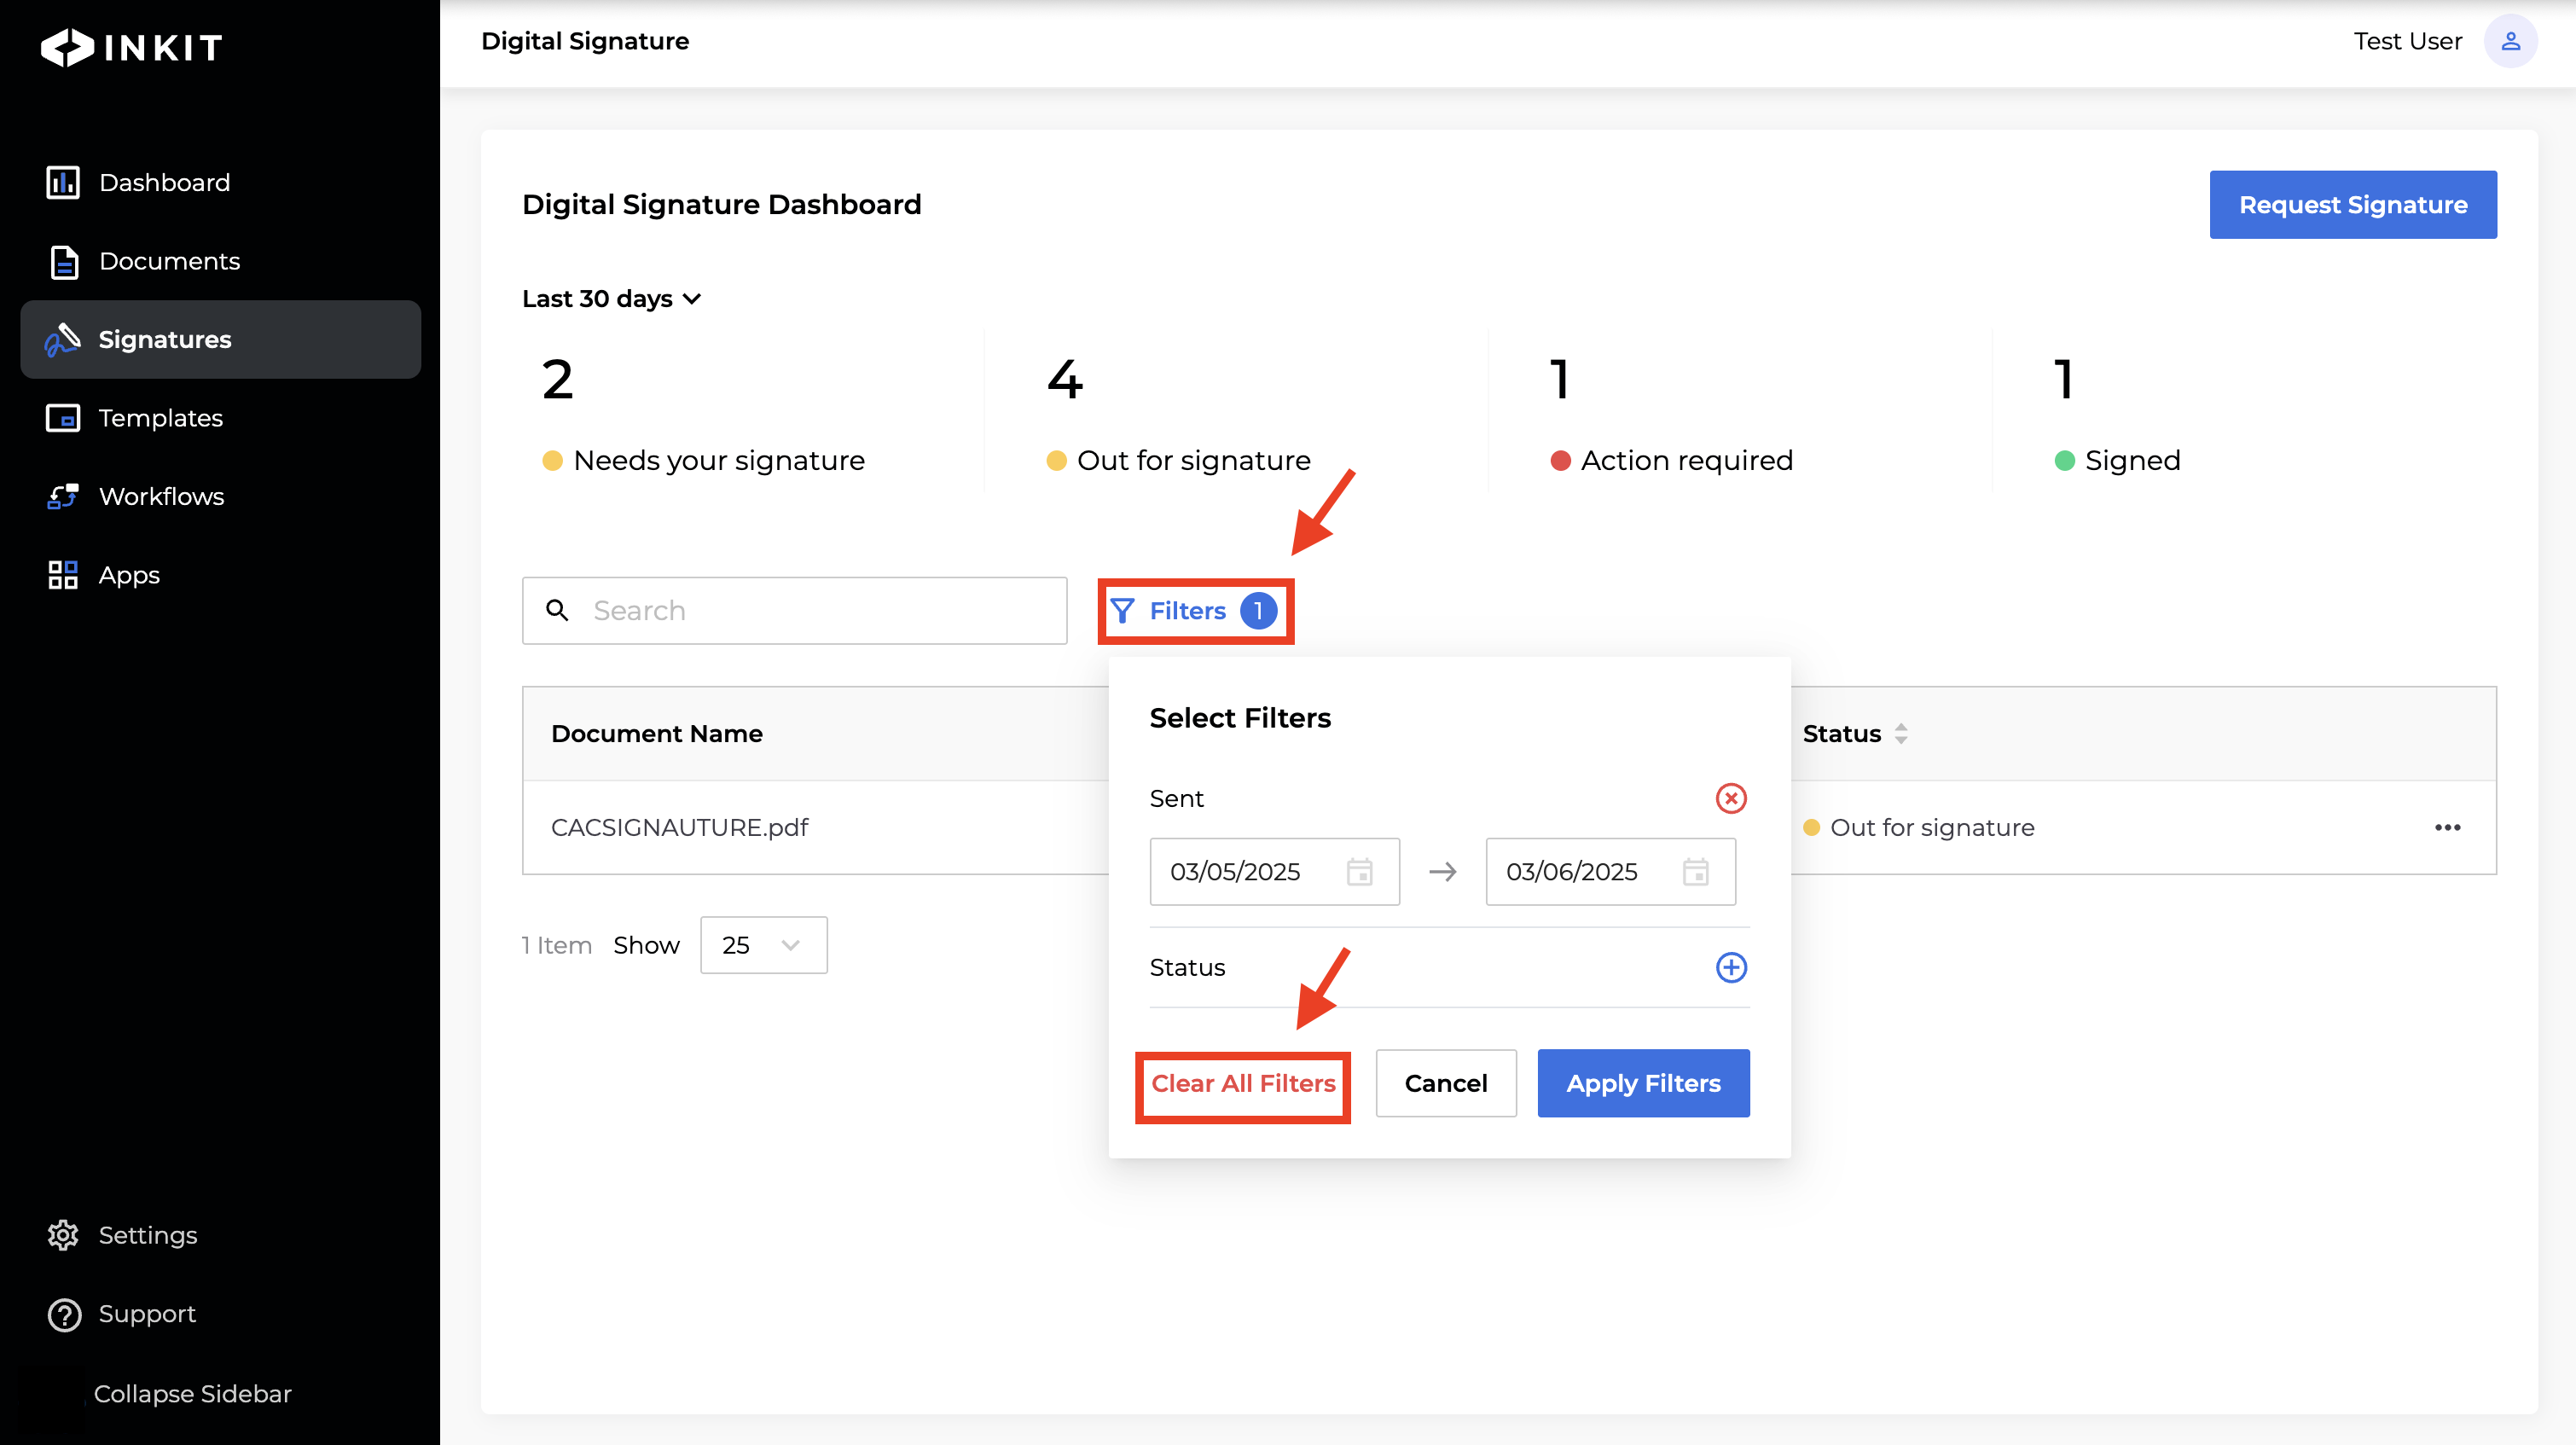
Clearing filters
To clear all filters you've added, click Filters.
Then click Clear All Filters.
Updated 10 months ago