

Making API requests
Send the API key as an HTTP header on every request:
export INKIT_BASE_URL='https://apps.inkit.com'
# Set INKIT_API_KEY securely in your environment.
curl --fail-with-body "$INKIT_BASE_URL/api/v1/files?page_size=10" \
  --header "X-Inkit-API-Token: $INKIT_API_KEY"
API keys represent service accounts. Their account subscription, role permissions, and folder access affect the result. Possessing a key does not grant access to every resource or feature.
Use Content-Type: application/json for JSON request bodies. For multipart uploads, let your HTTP client generate the boundary. Do not put the key in URLs or request bodies. Do not send X-Inkit-User-ID, X-Inkit-Account-ID, or X-Inkit-API-Source; the server derives these from authentication.
The older Authorization: Inkit ... examples do not describe this API-key authentication flow. Session endpoints may use bearer/cookie authentication, but an API key does not make those endpoints available. The endpoint catalog covers API-key routes.
A 401 indicates authentication failed. A 403 can indicate missing permissions, an inactive subscription, or an unavailable feature. A 404 can mean a resource is inaccessible as well as nonexistent. See errors and retries.
Prepare an API key
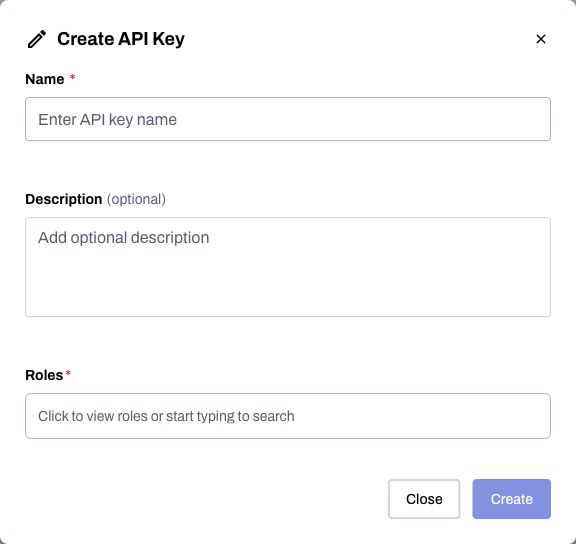
Open Developers → API Keys → Add Key and assign the roles your integration needs. Store the one-time key securely, then supply it in the header shown above. See Adding and removing API keys.
Updated 10 days ago