Adding, editing and removing webhooks
Adding a webhook
To add a webhook, do the following:
-
In the Inkit web app, select Settings in the left sidebar, then click the Development tab and click + Create in the Webhooks panel.

-
In the Add Webhook dialog box, enter the Name of the webhook and the URL of the server that will process the events, and select the Inkit events the webhook will process from the Events dropdown box. Then click Save.
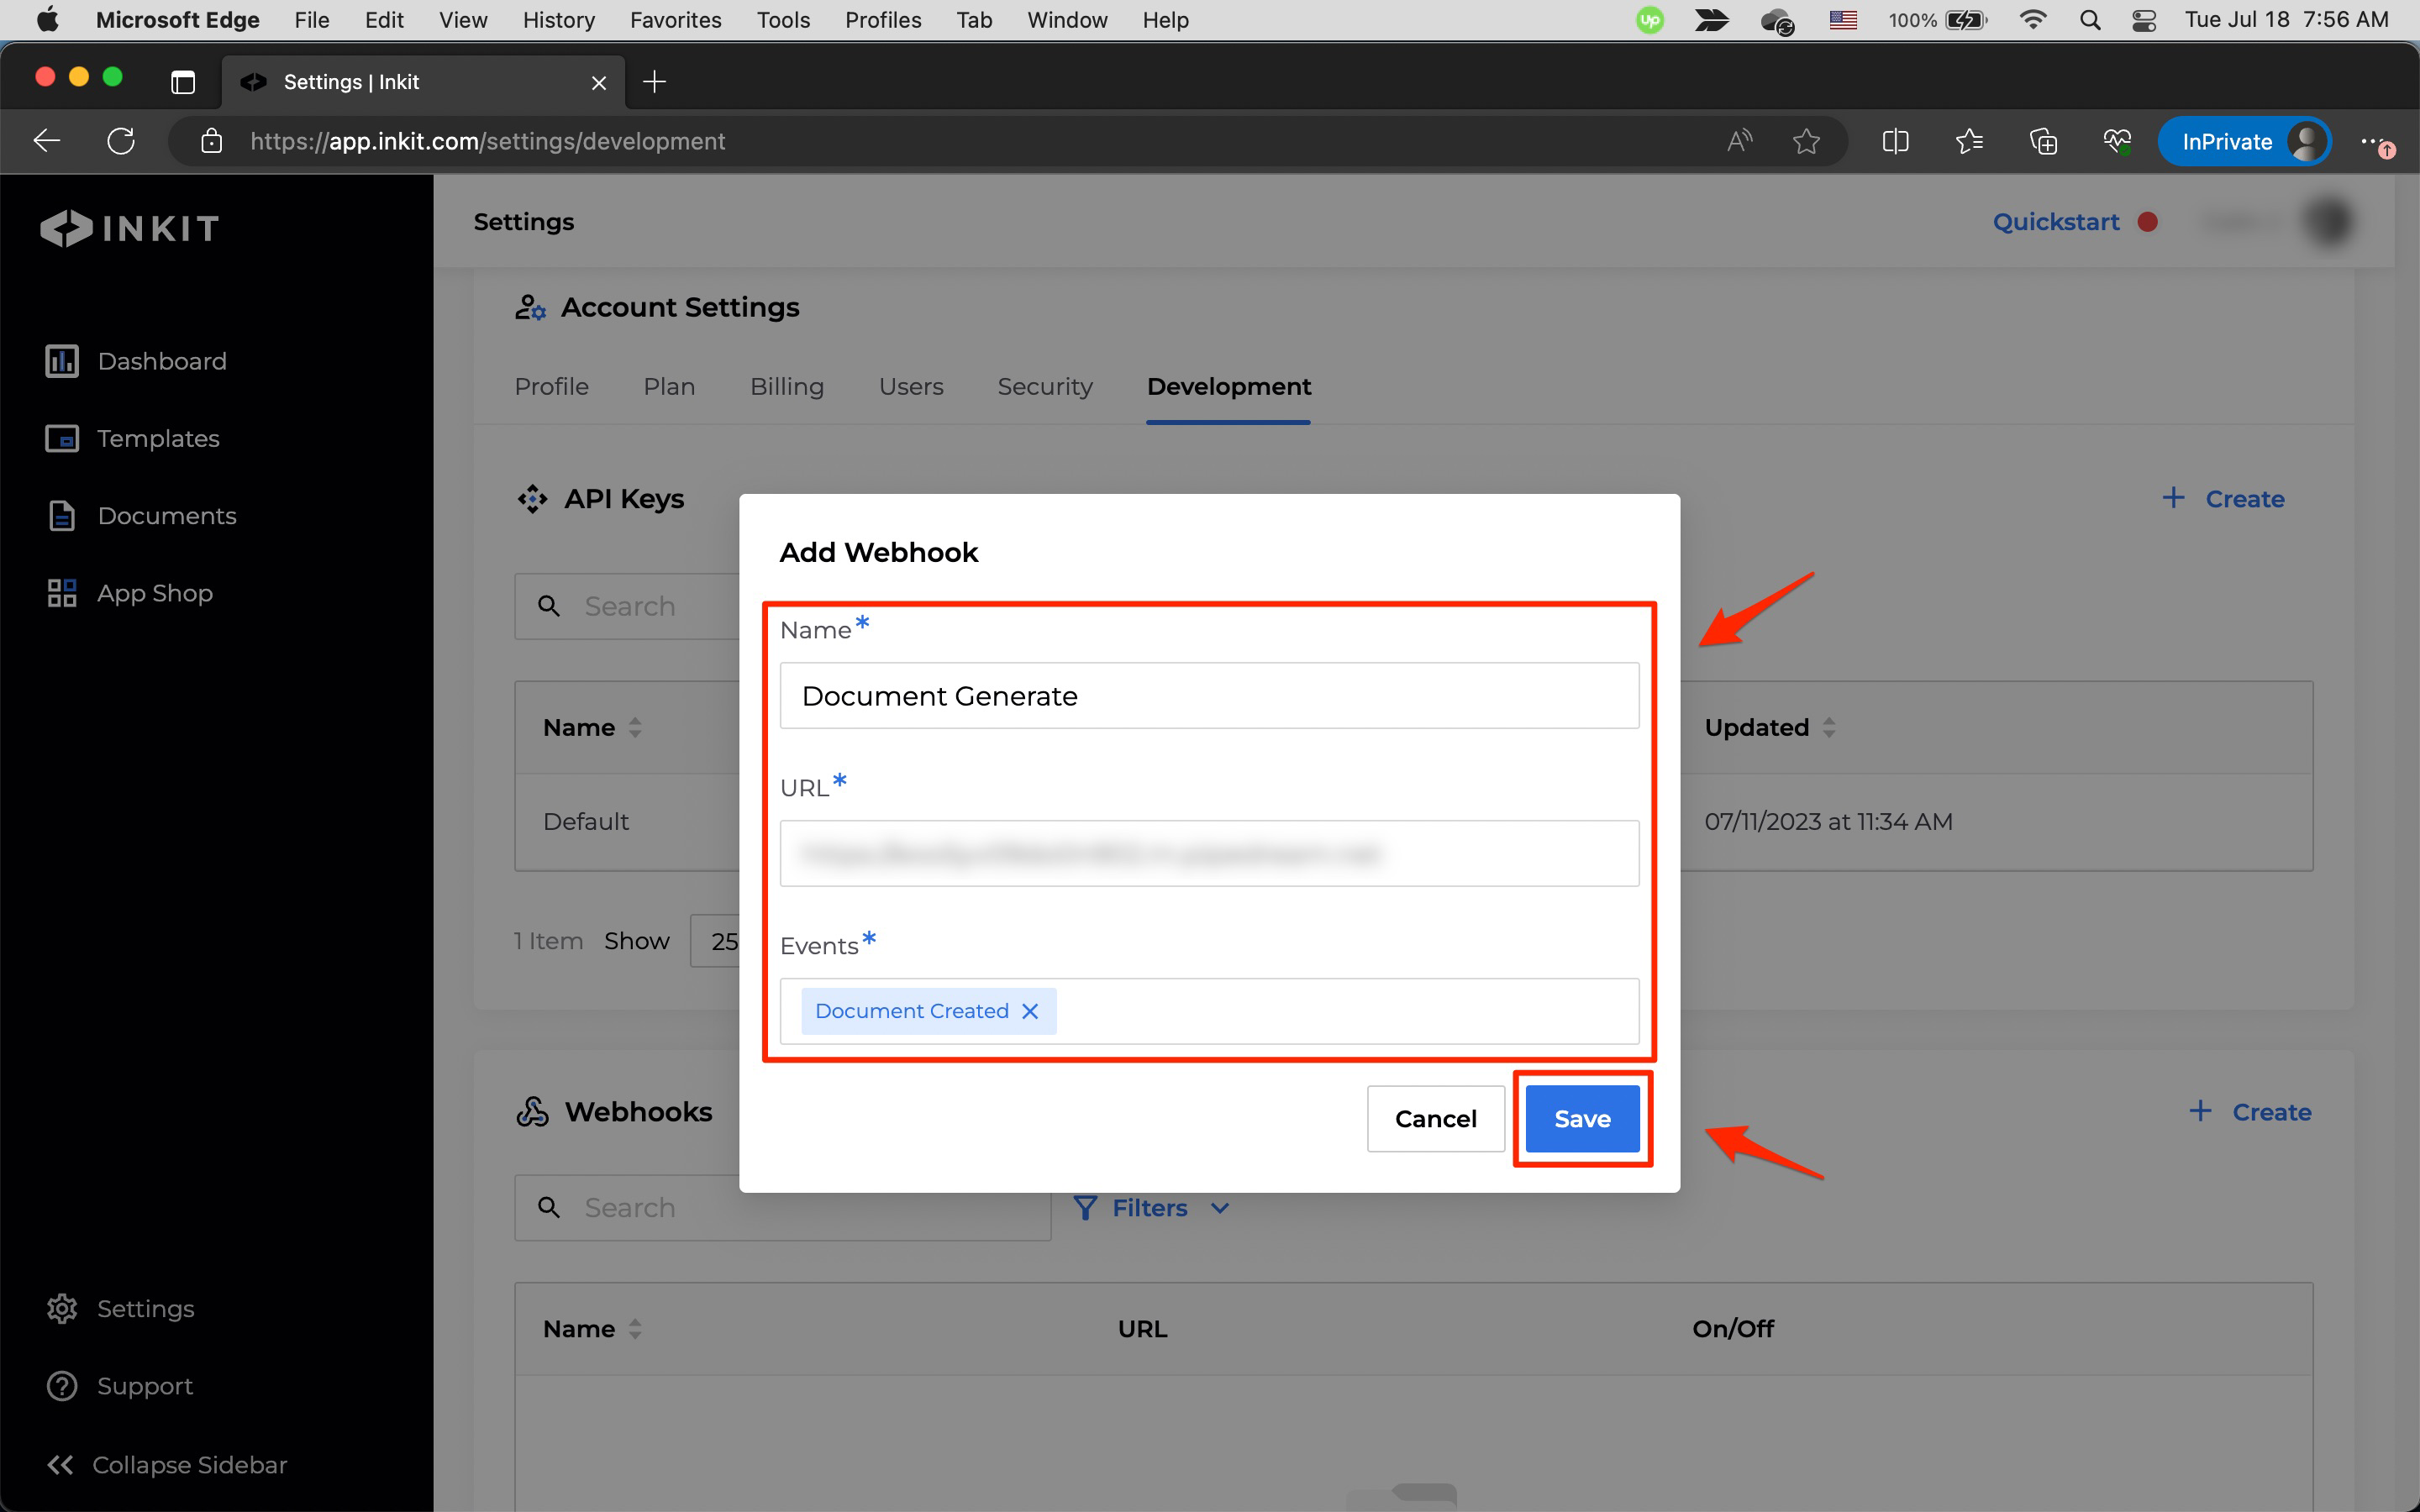
Once you've added a webhook, you can now process it on your server.
Editing a webhook
To edit a webhook (and get its secret key), do the following:
-
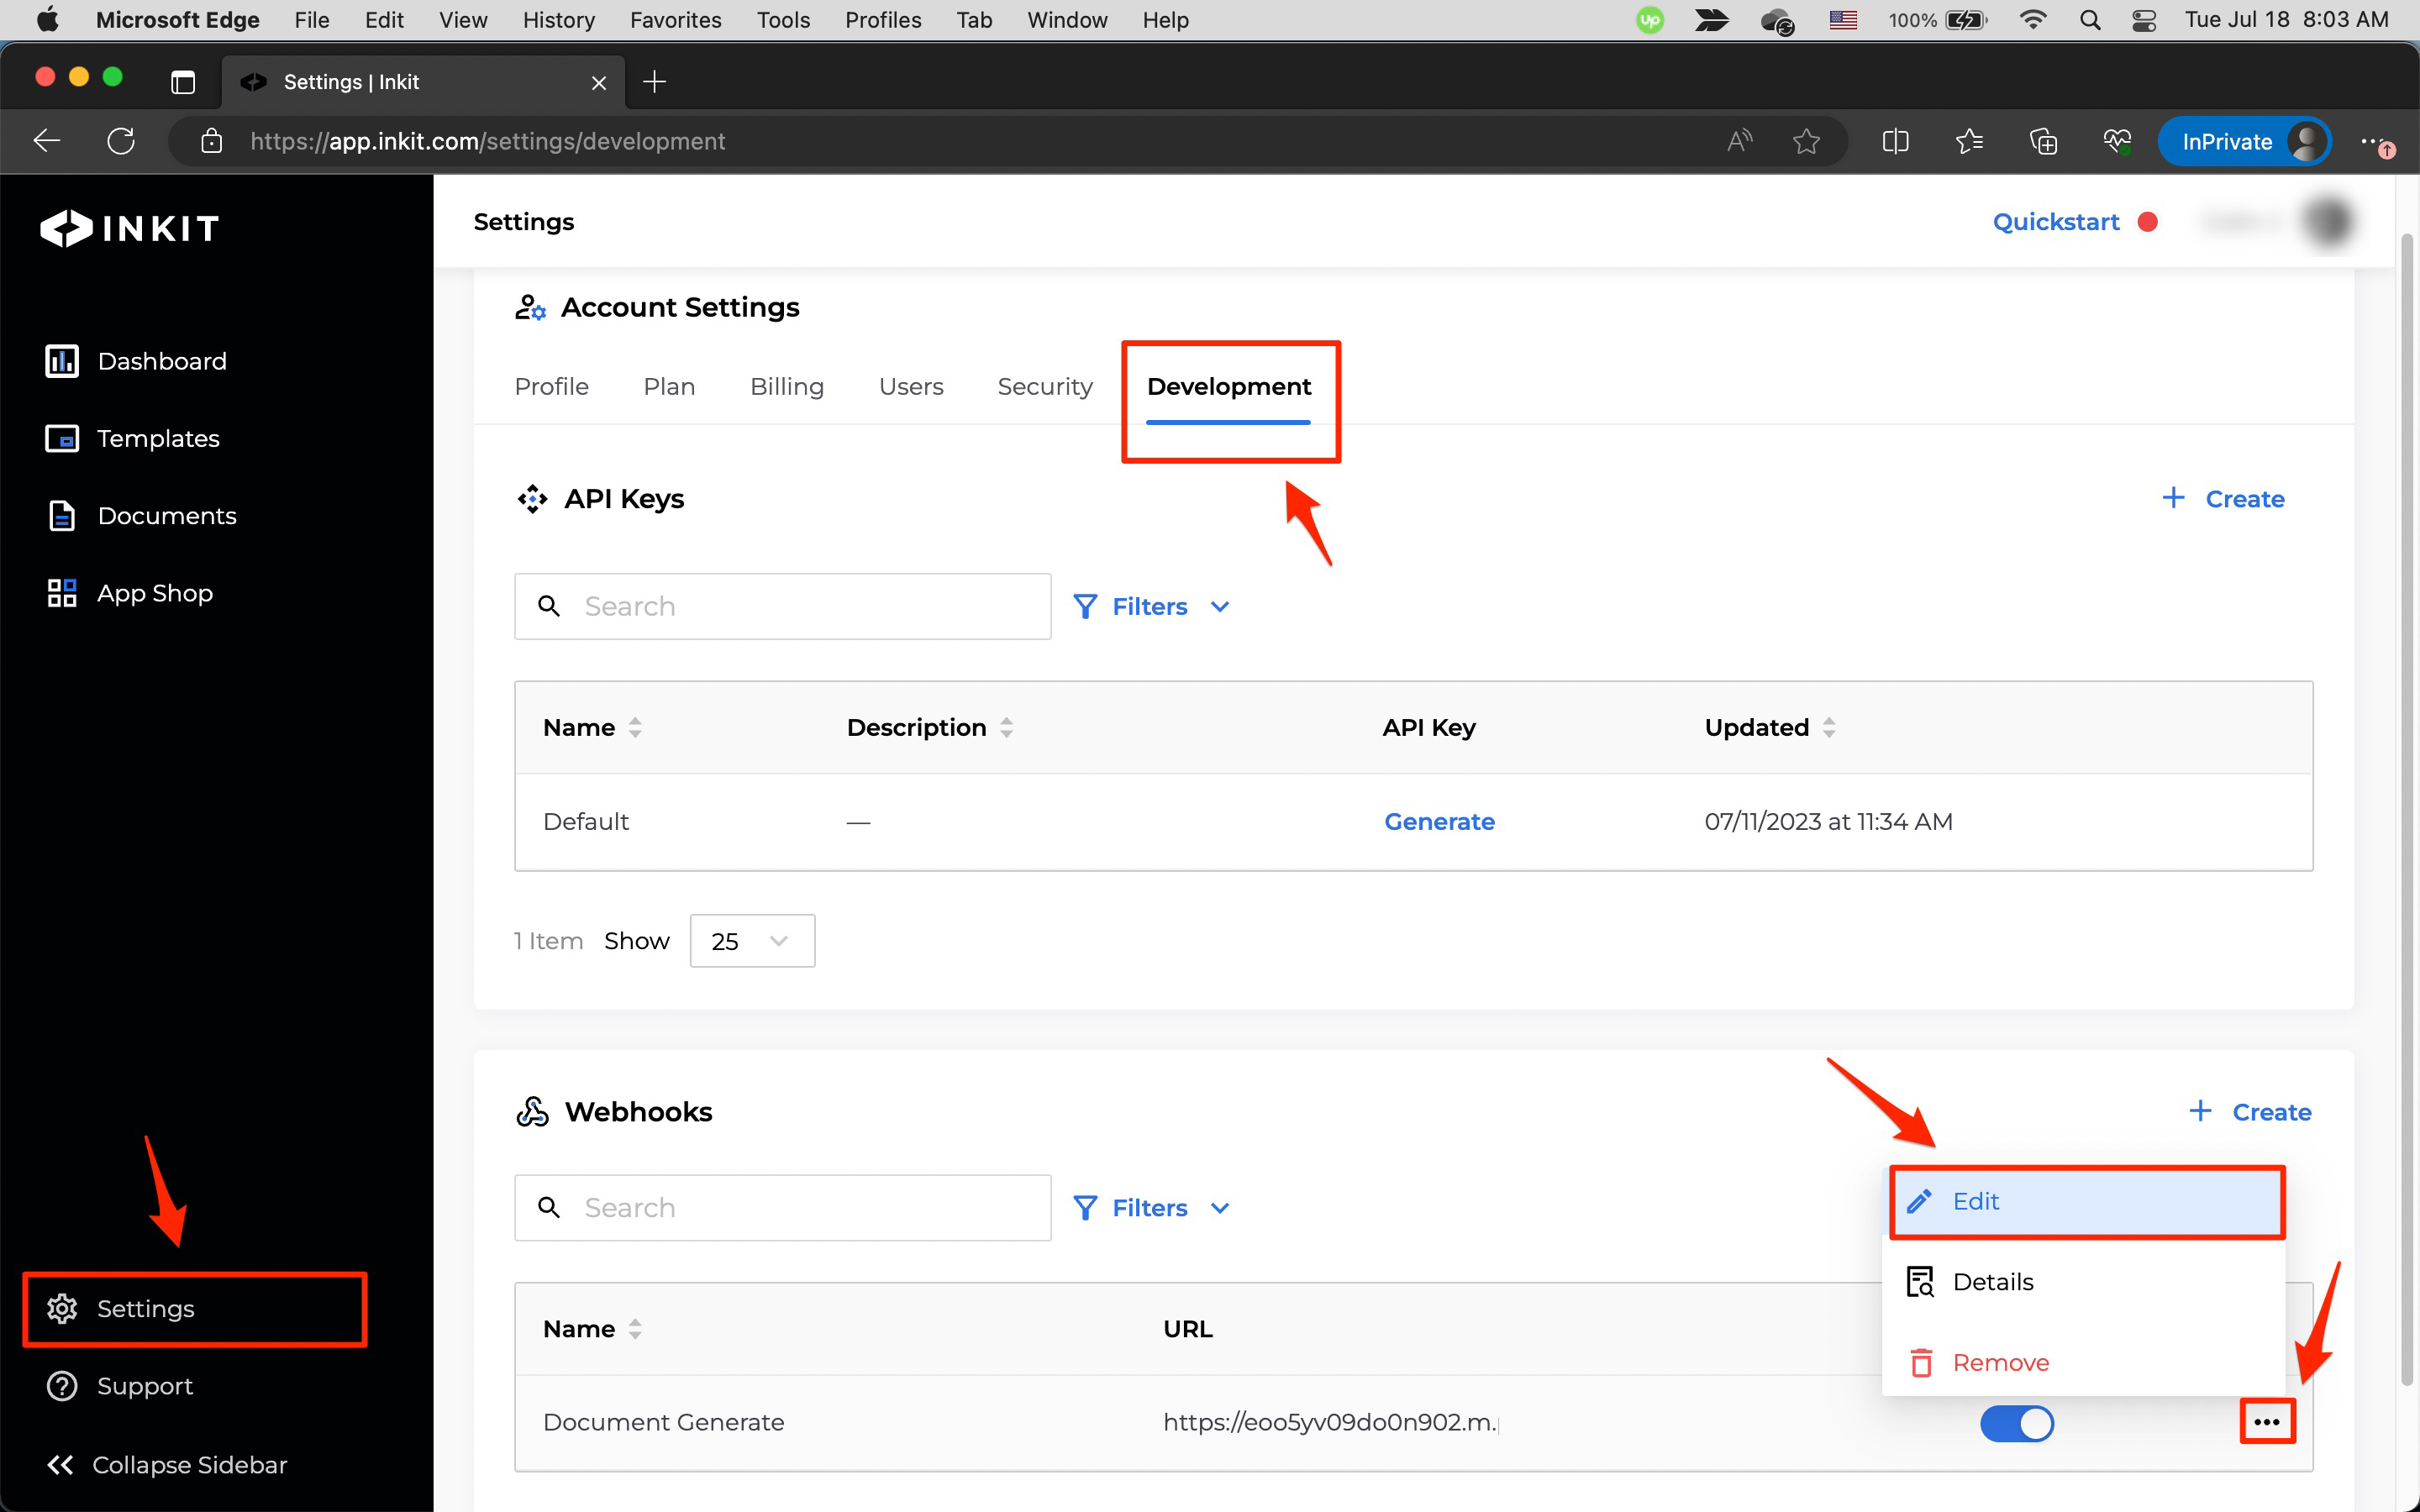
In the Inkit web app, select Settings in the left sidebar and then click the Development tab. Next, in the Webhooks panel, click the ... menu button beside the webhook you want to edit and click Edit.
-
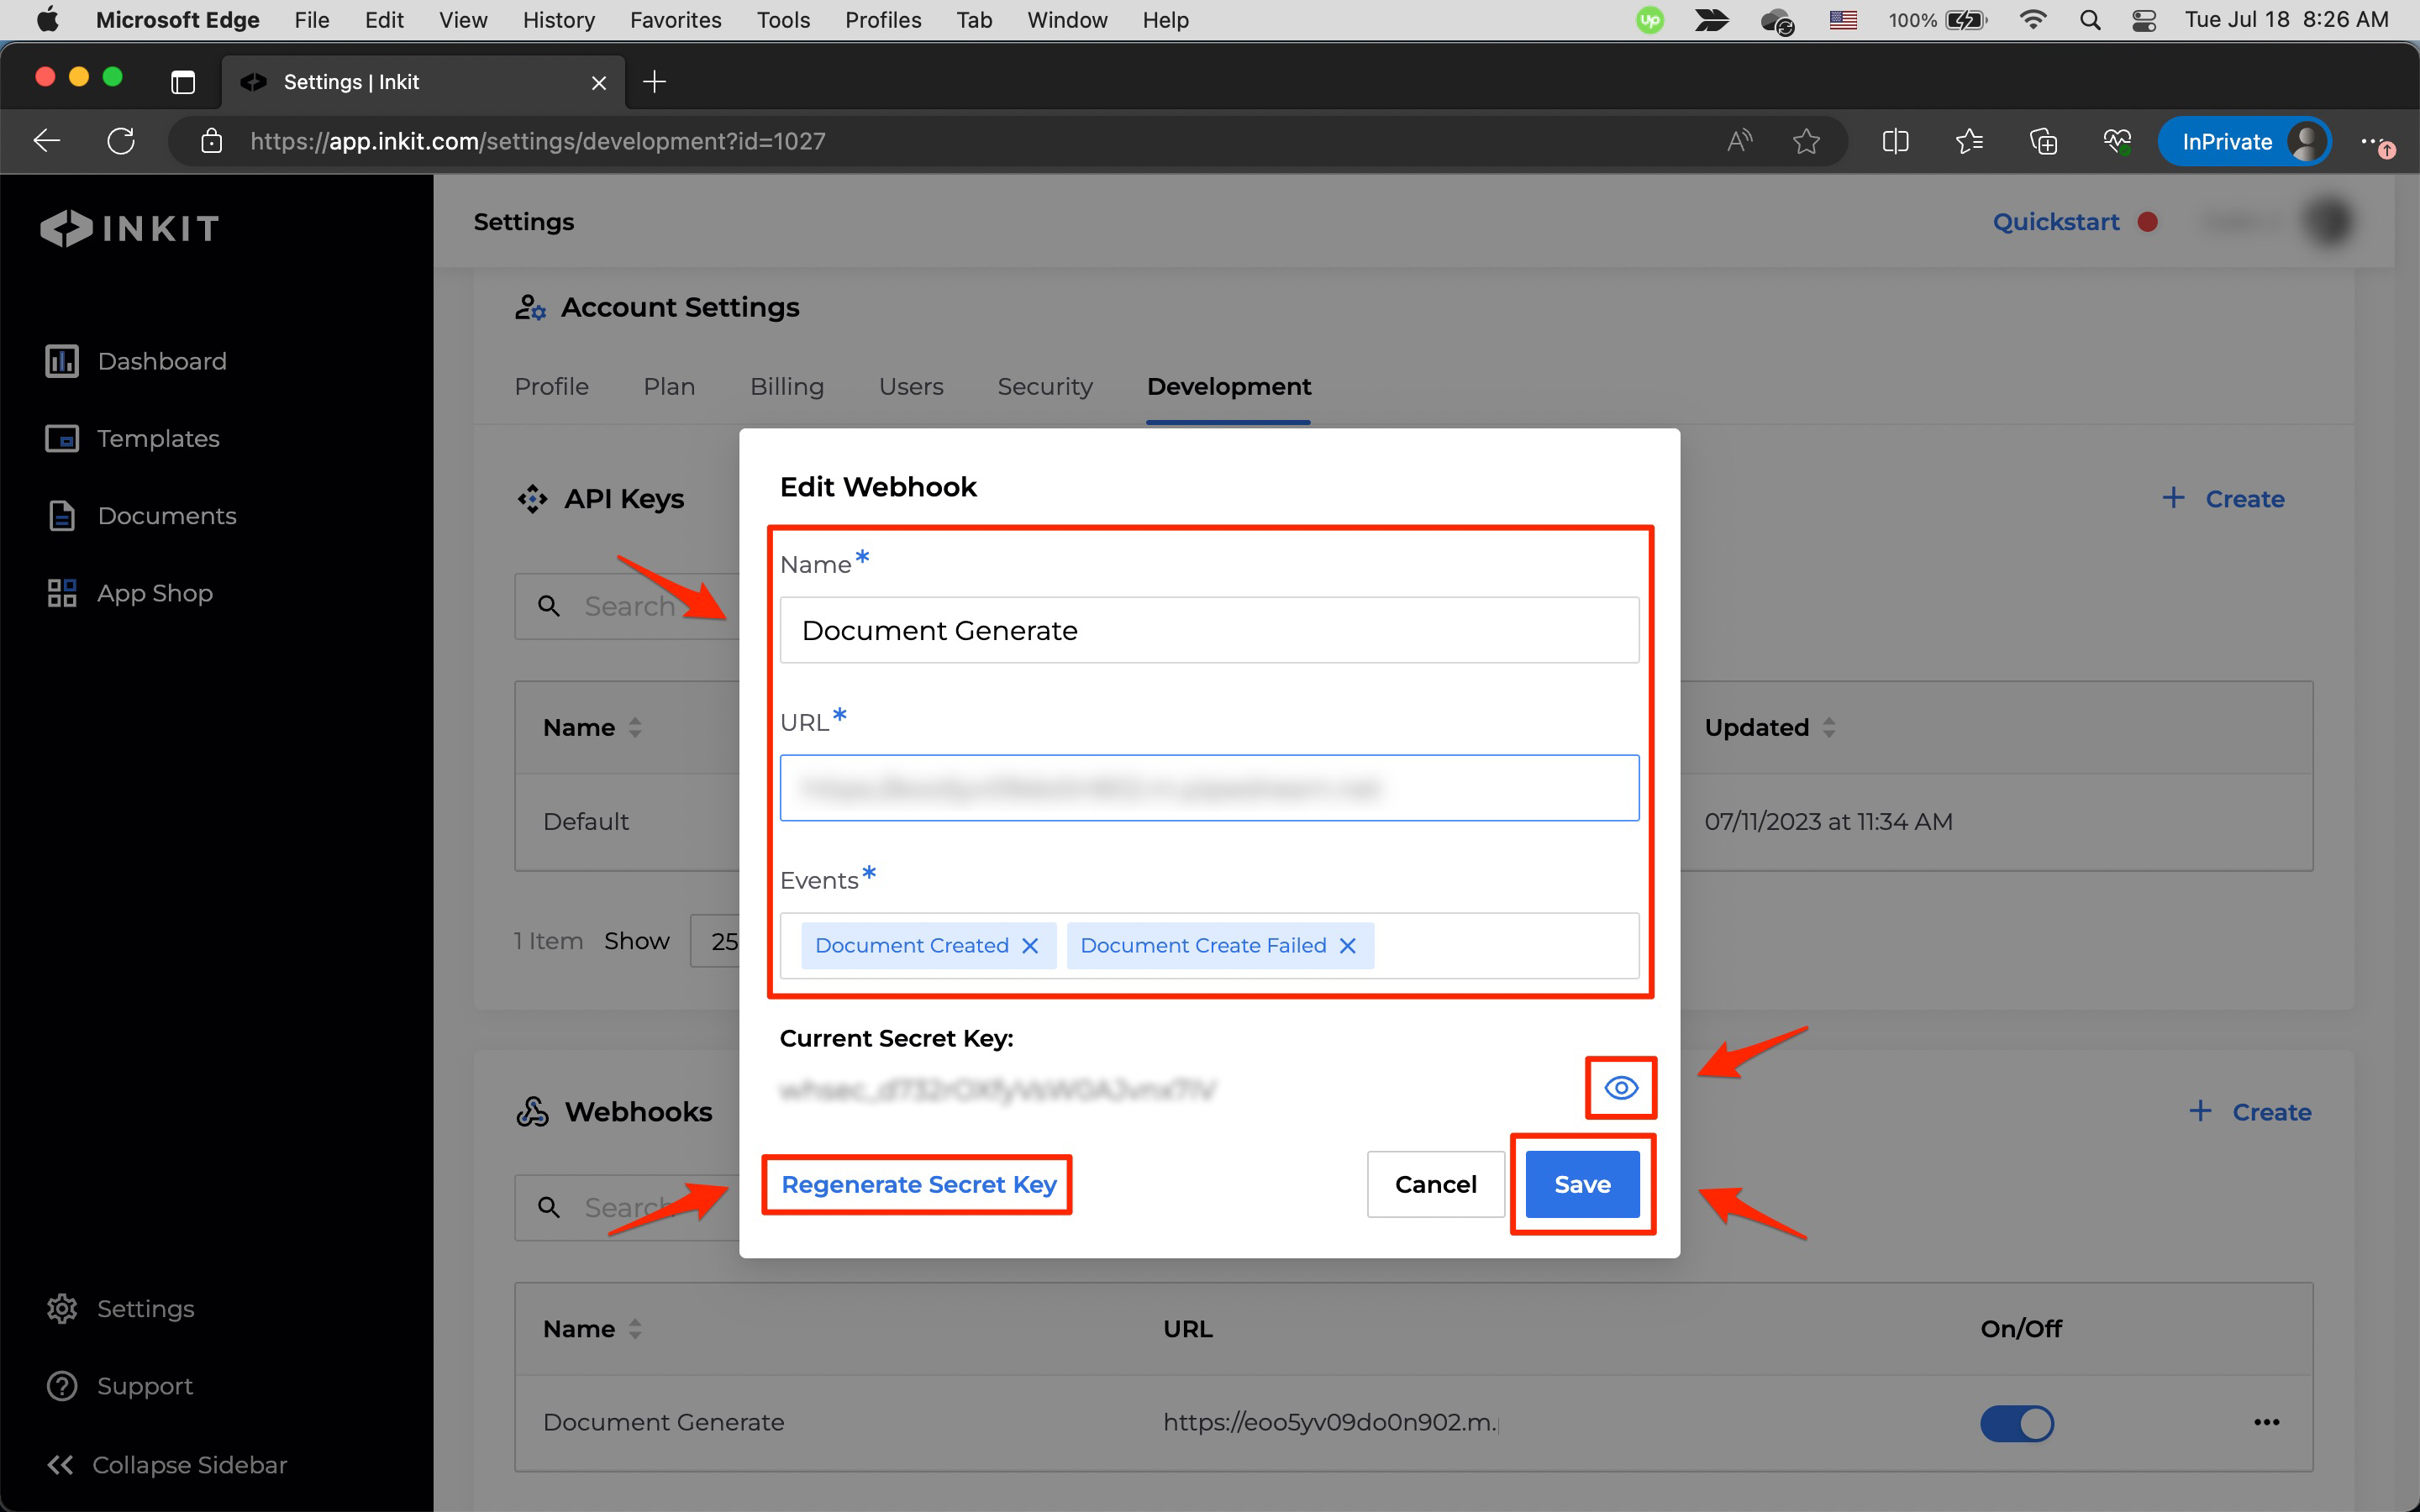
In the Edit Webhook dialog box, you can edit the Name and the URL of the webhook. You can also add and remove Inkit events from the Events dropdown box.
You can further view and copy the webhook secret key by clicking the eye button, and you can regenerate the webhook's secret key by clicking Regenerate Secret Key. You use this key when processing webhooks on your server, to ensure that the callbacks came from Inkit. Because of the sensitive nature of these keys, you should store them securely.
Removing a webhook
To remove a webhook, do the following:
If you remove a webhook, all your applications that use it will cease to function.
-
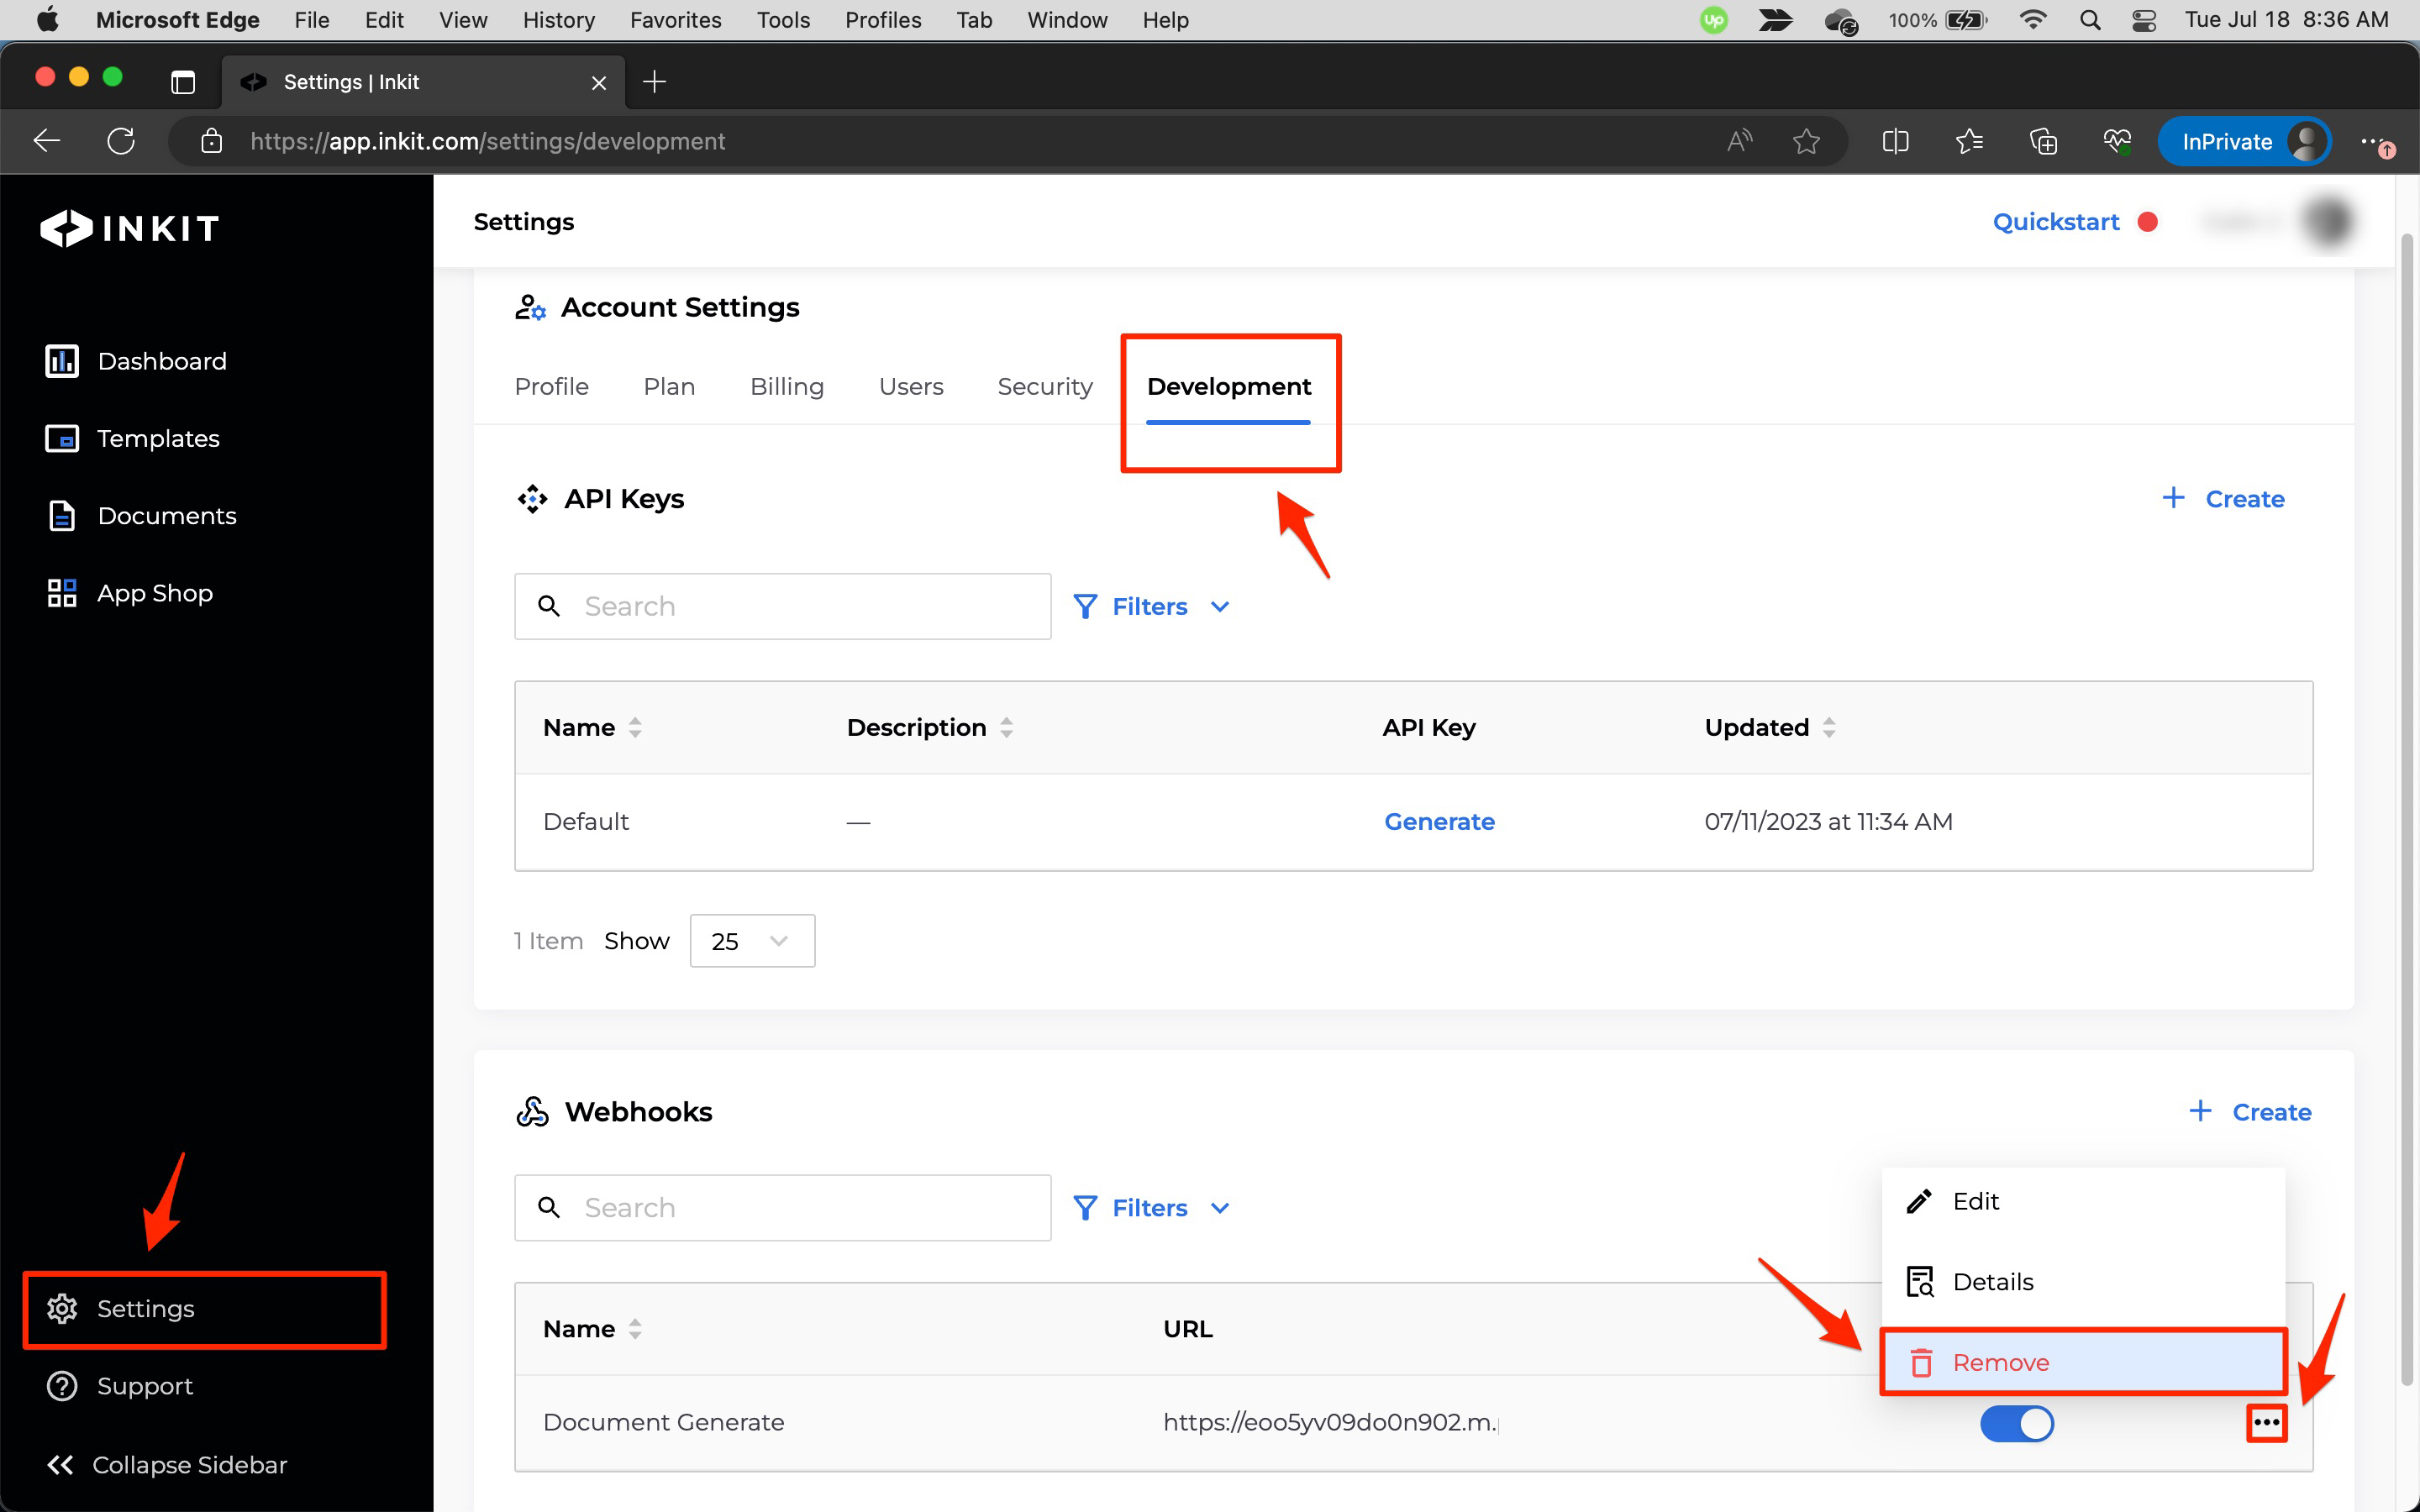
In the Inkit web app, select Settings in the left sidebar and then click the Development tab. Next, in the Webhooks panel, click the ... menu button beside the webhook you want to remove and click Remove.
-
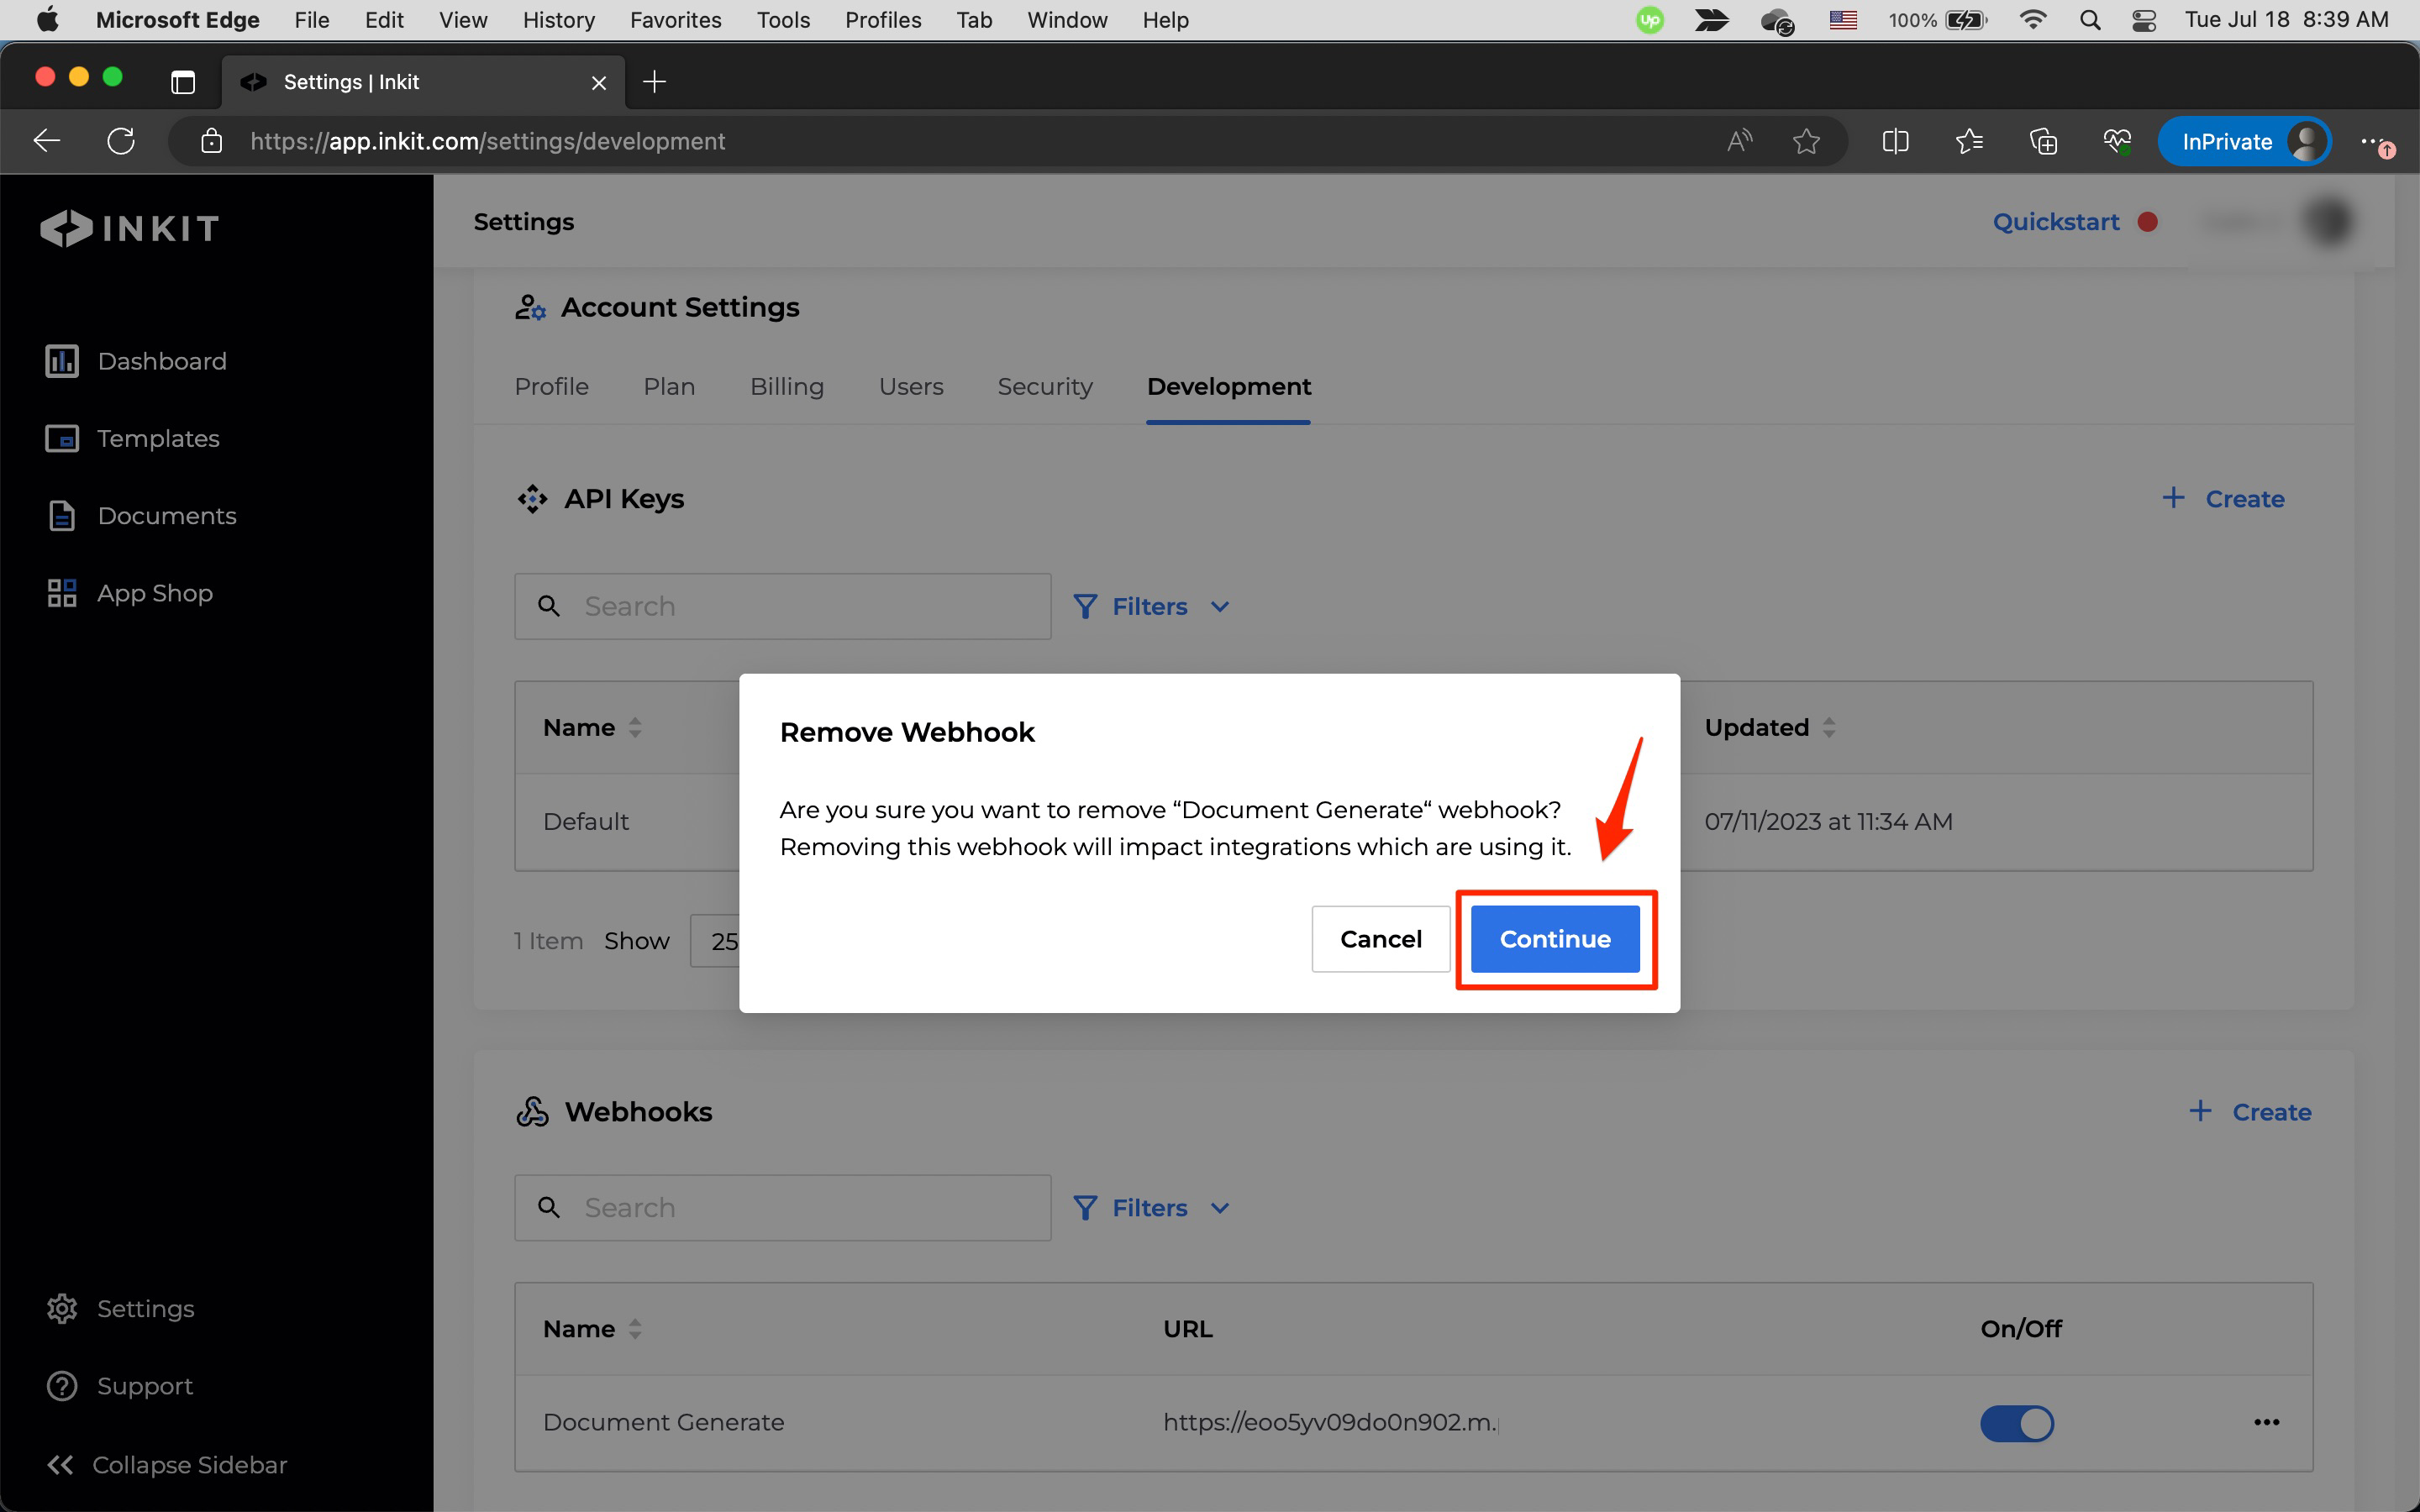
In the Remove Webhook dialog box, click Continue.
Updated 10 months ago