Adding a role
A role in Inkit defines the set of permissions that you can apply to a user. There are the following standard roles in Inkit:
| Role | Permissions |
|---|---|
| Admin | All |
| Document Viewer | View Documents |
| Document Generation Manager |
|
| Developer |
|
To add a new role to Inkit, do the following:
-
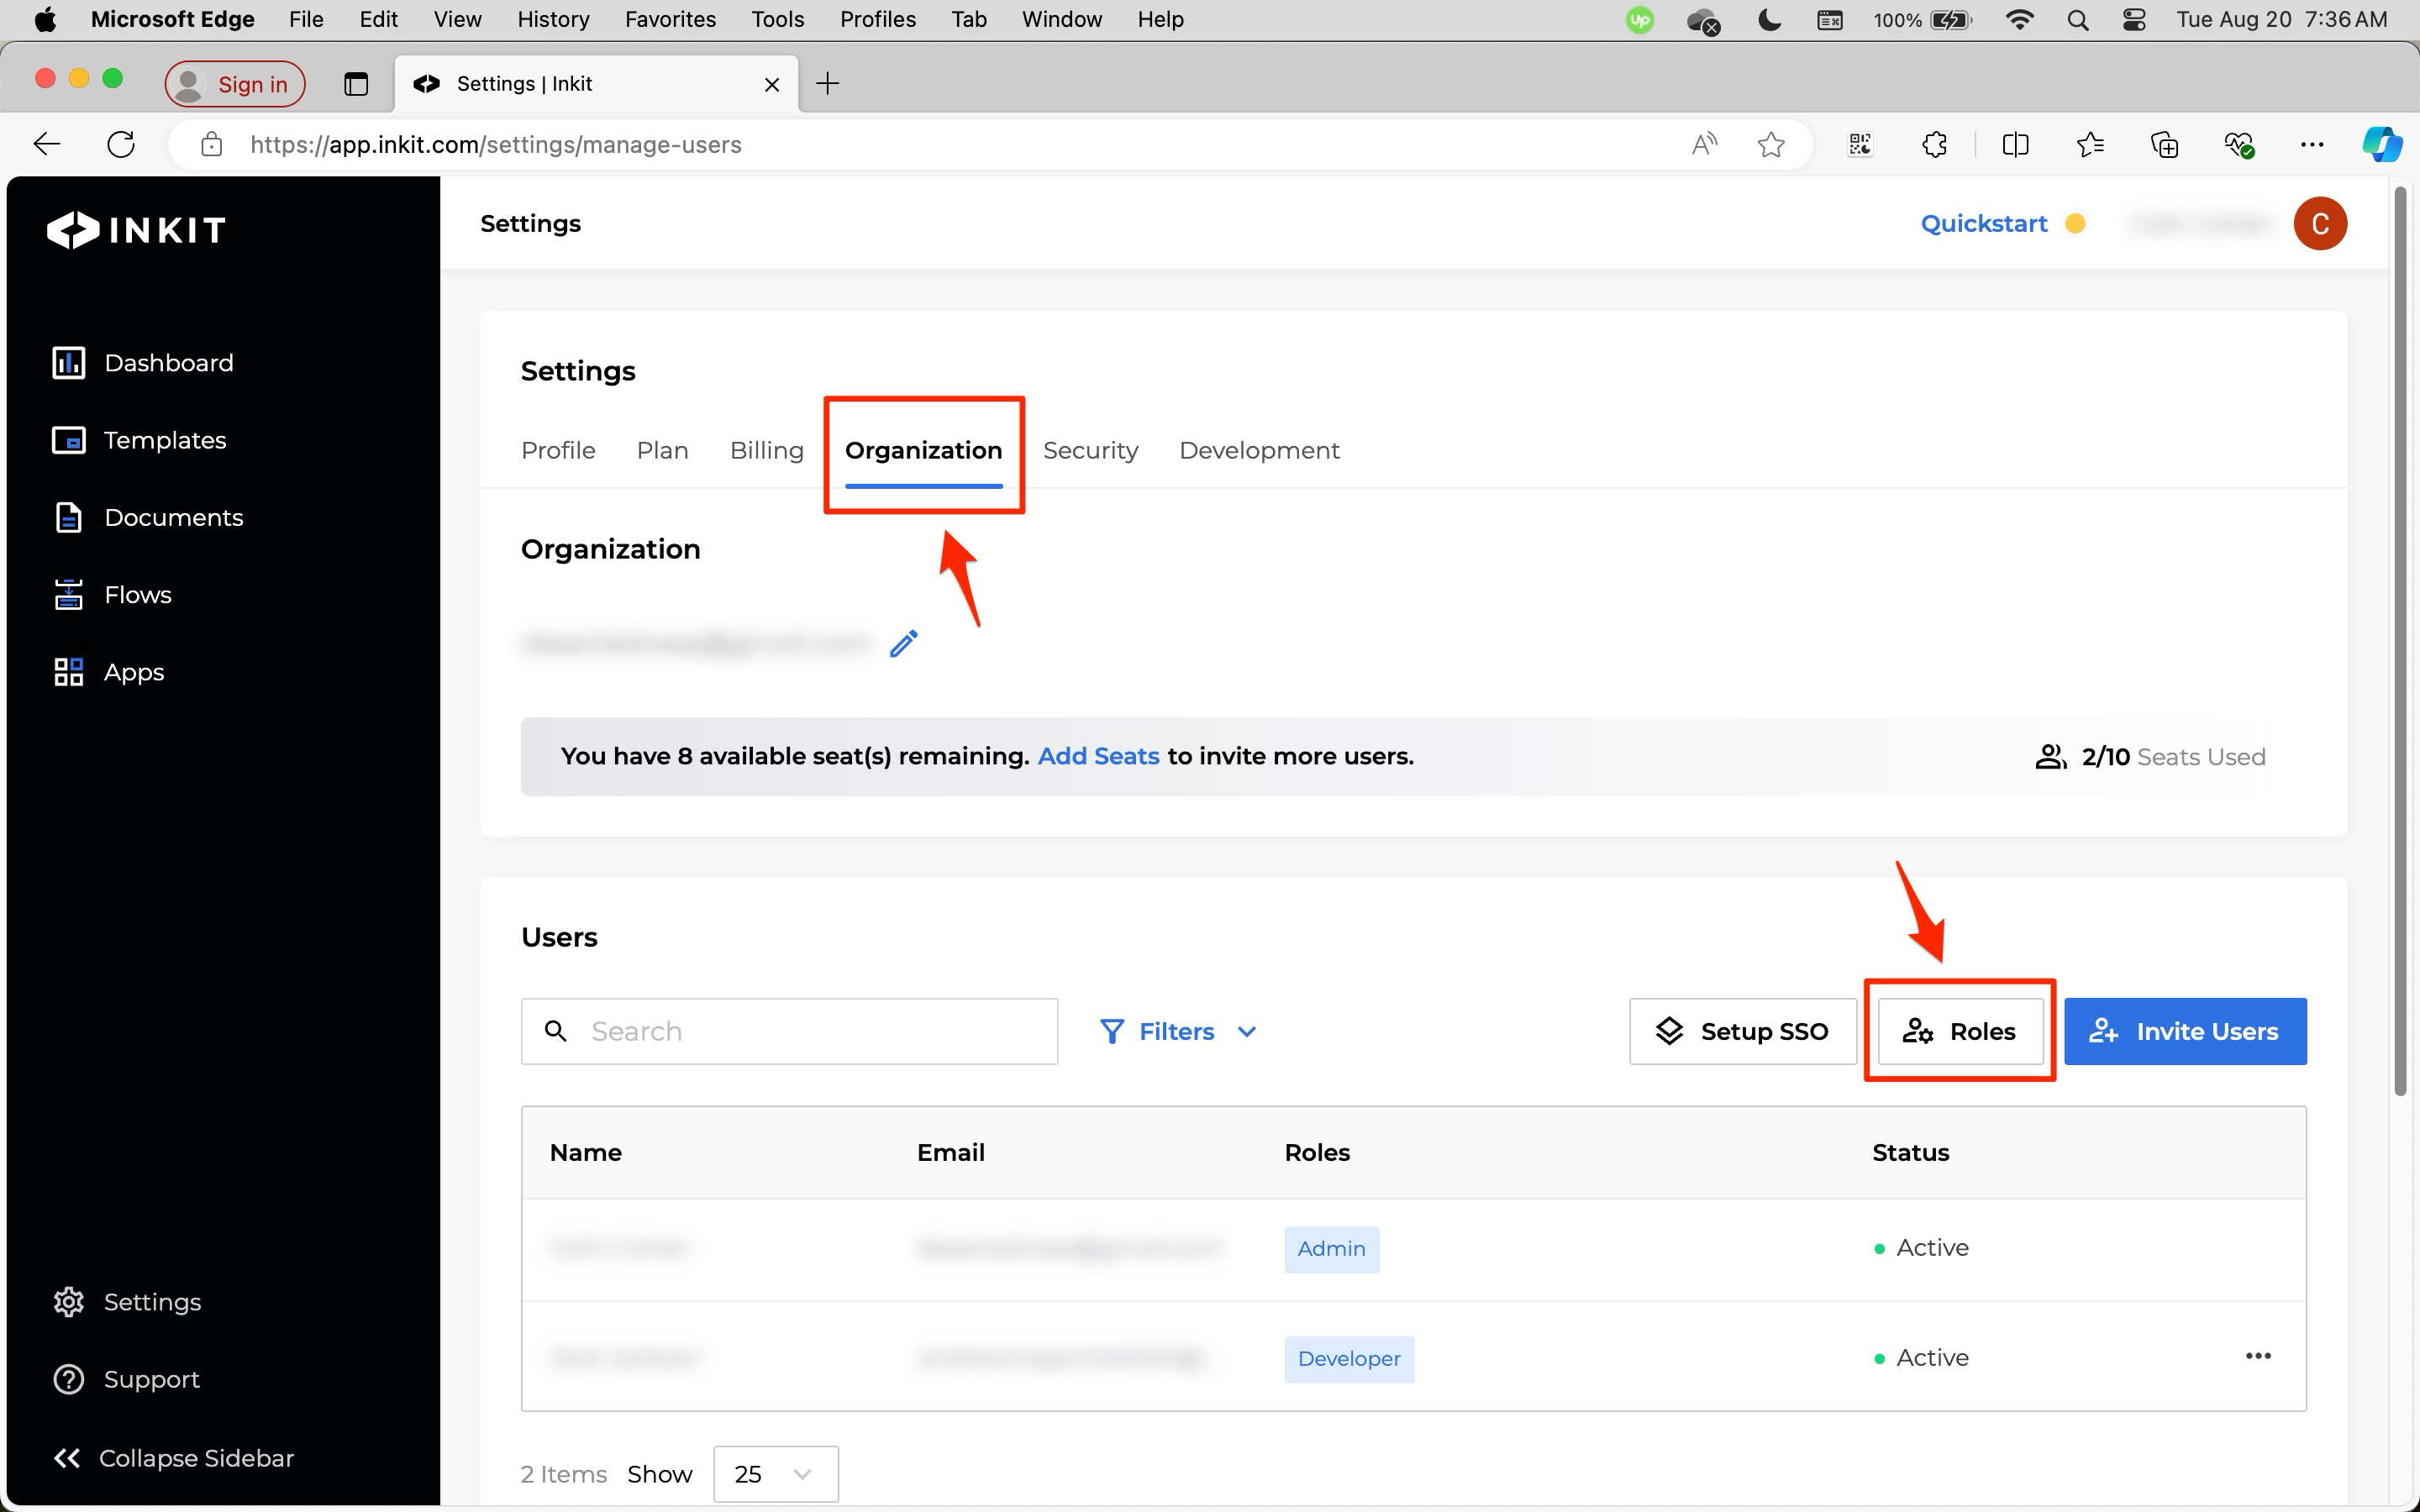
In the Inkit web app, select Settings in the left sidebar and click the Organization tab. Then click Roles in the Users panel.
-
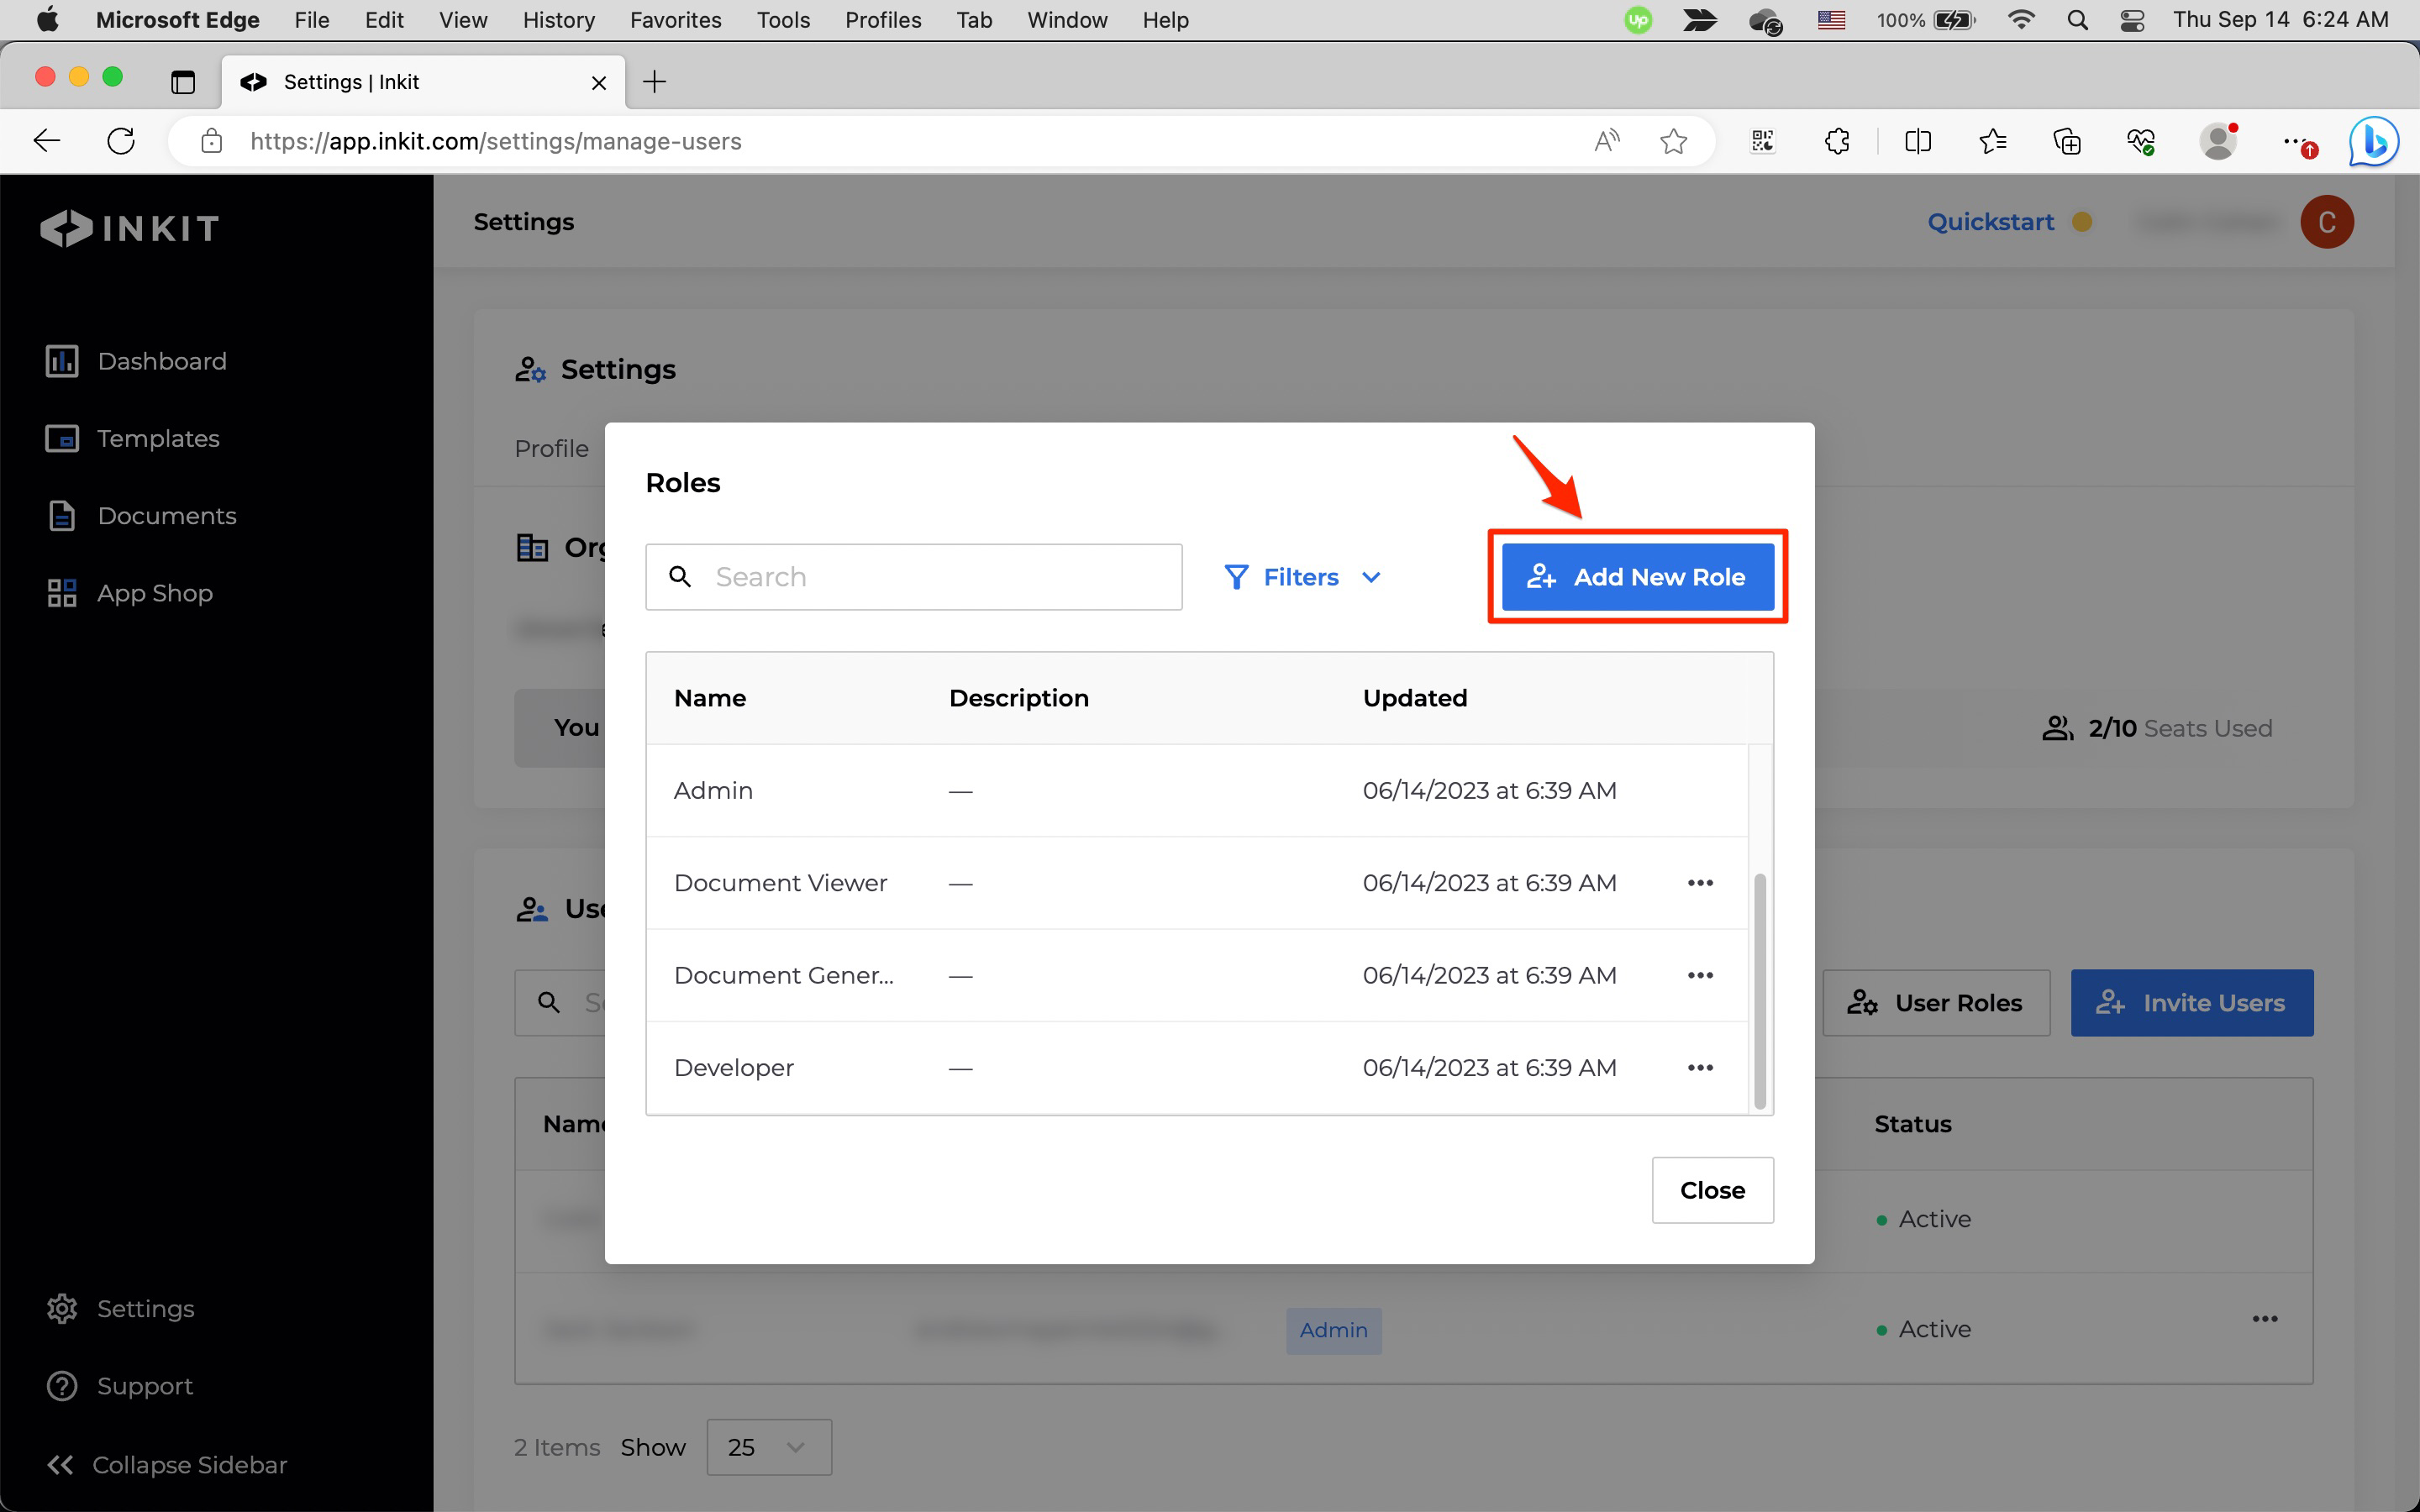
In the Roles dialog box, click Add New Role.
-
In the Add New Role dialog box, enter the Name of the role and an optional Description. Then choose any number of Permissions. Finally, click Save.

Once you've added roles, you can assign them to users.
Updated 10 months ago
Did this page help you?