Embedding DocuSign fields into a PDF template
To embed a DocuSign field into your PDF template, do the following:
-
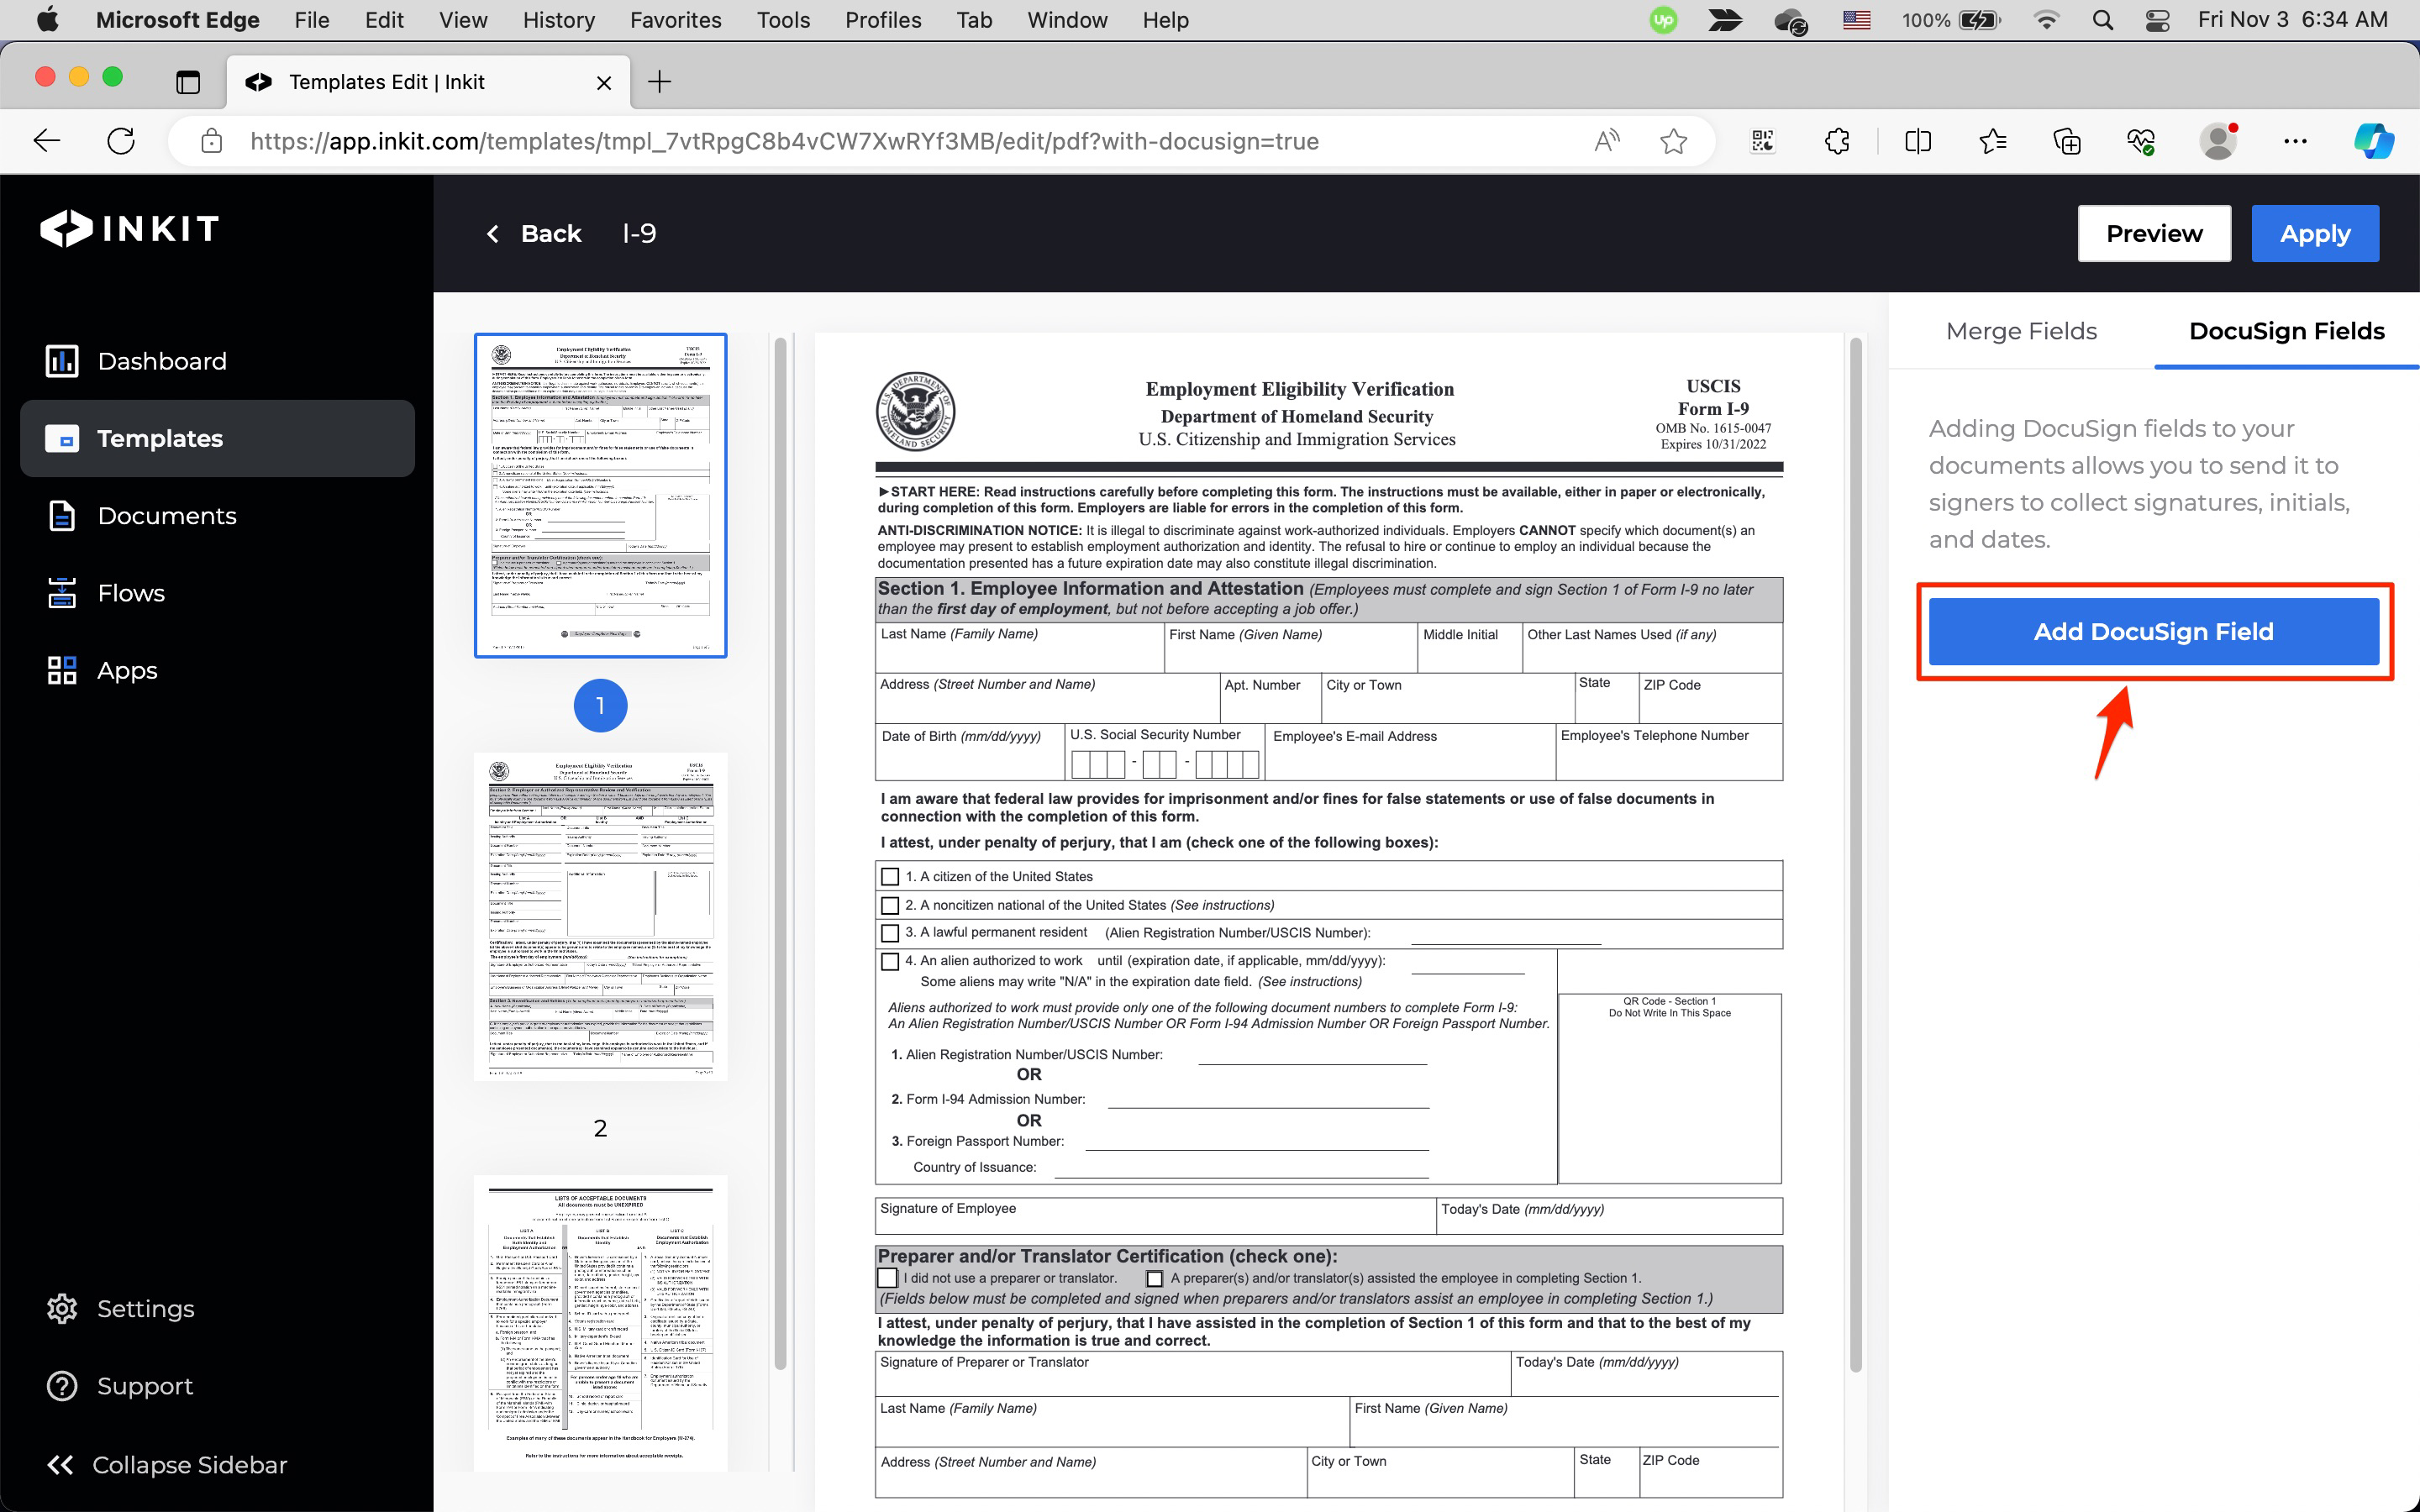
In the PDF Editor, click the DocuSign Fields tab and then click Add DocuSign Field.
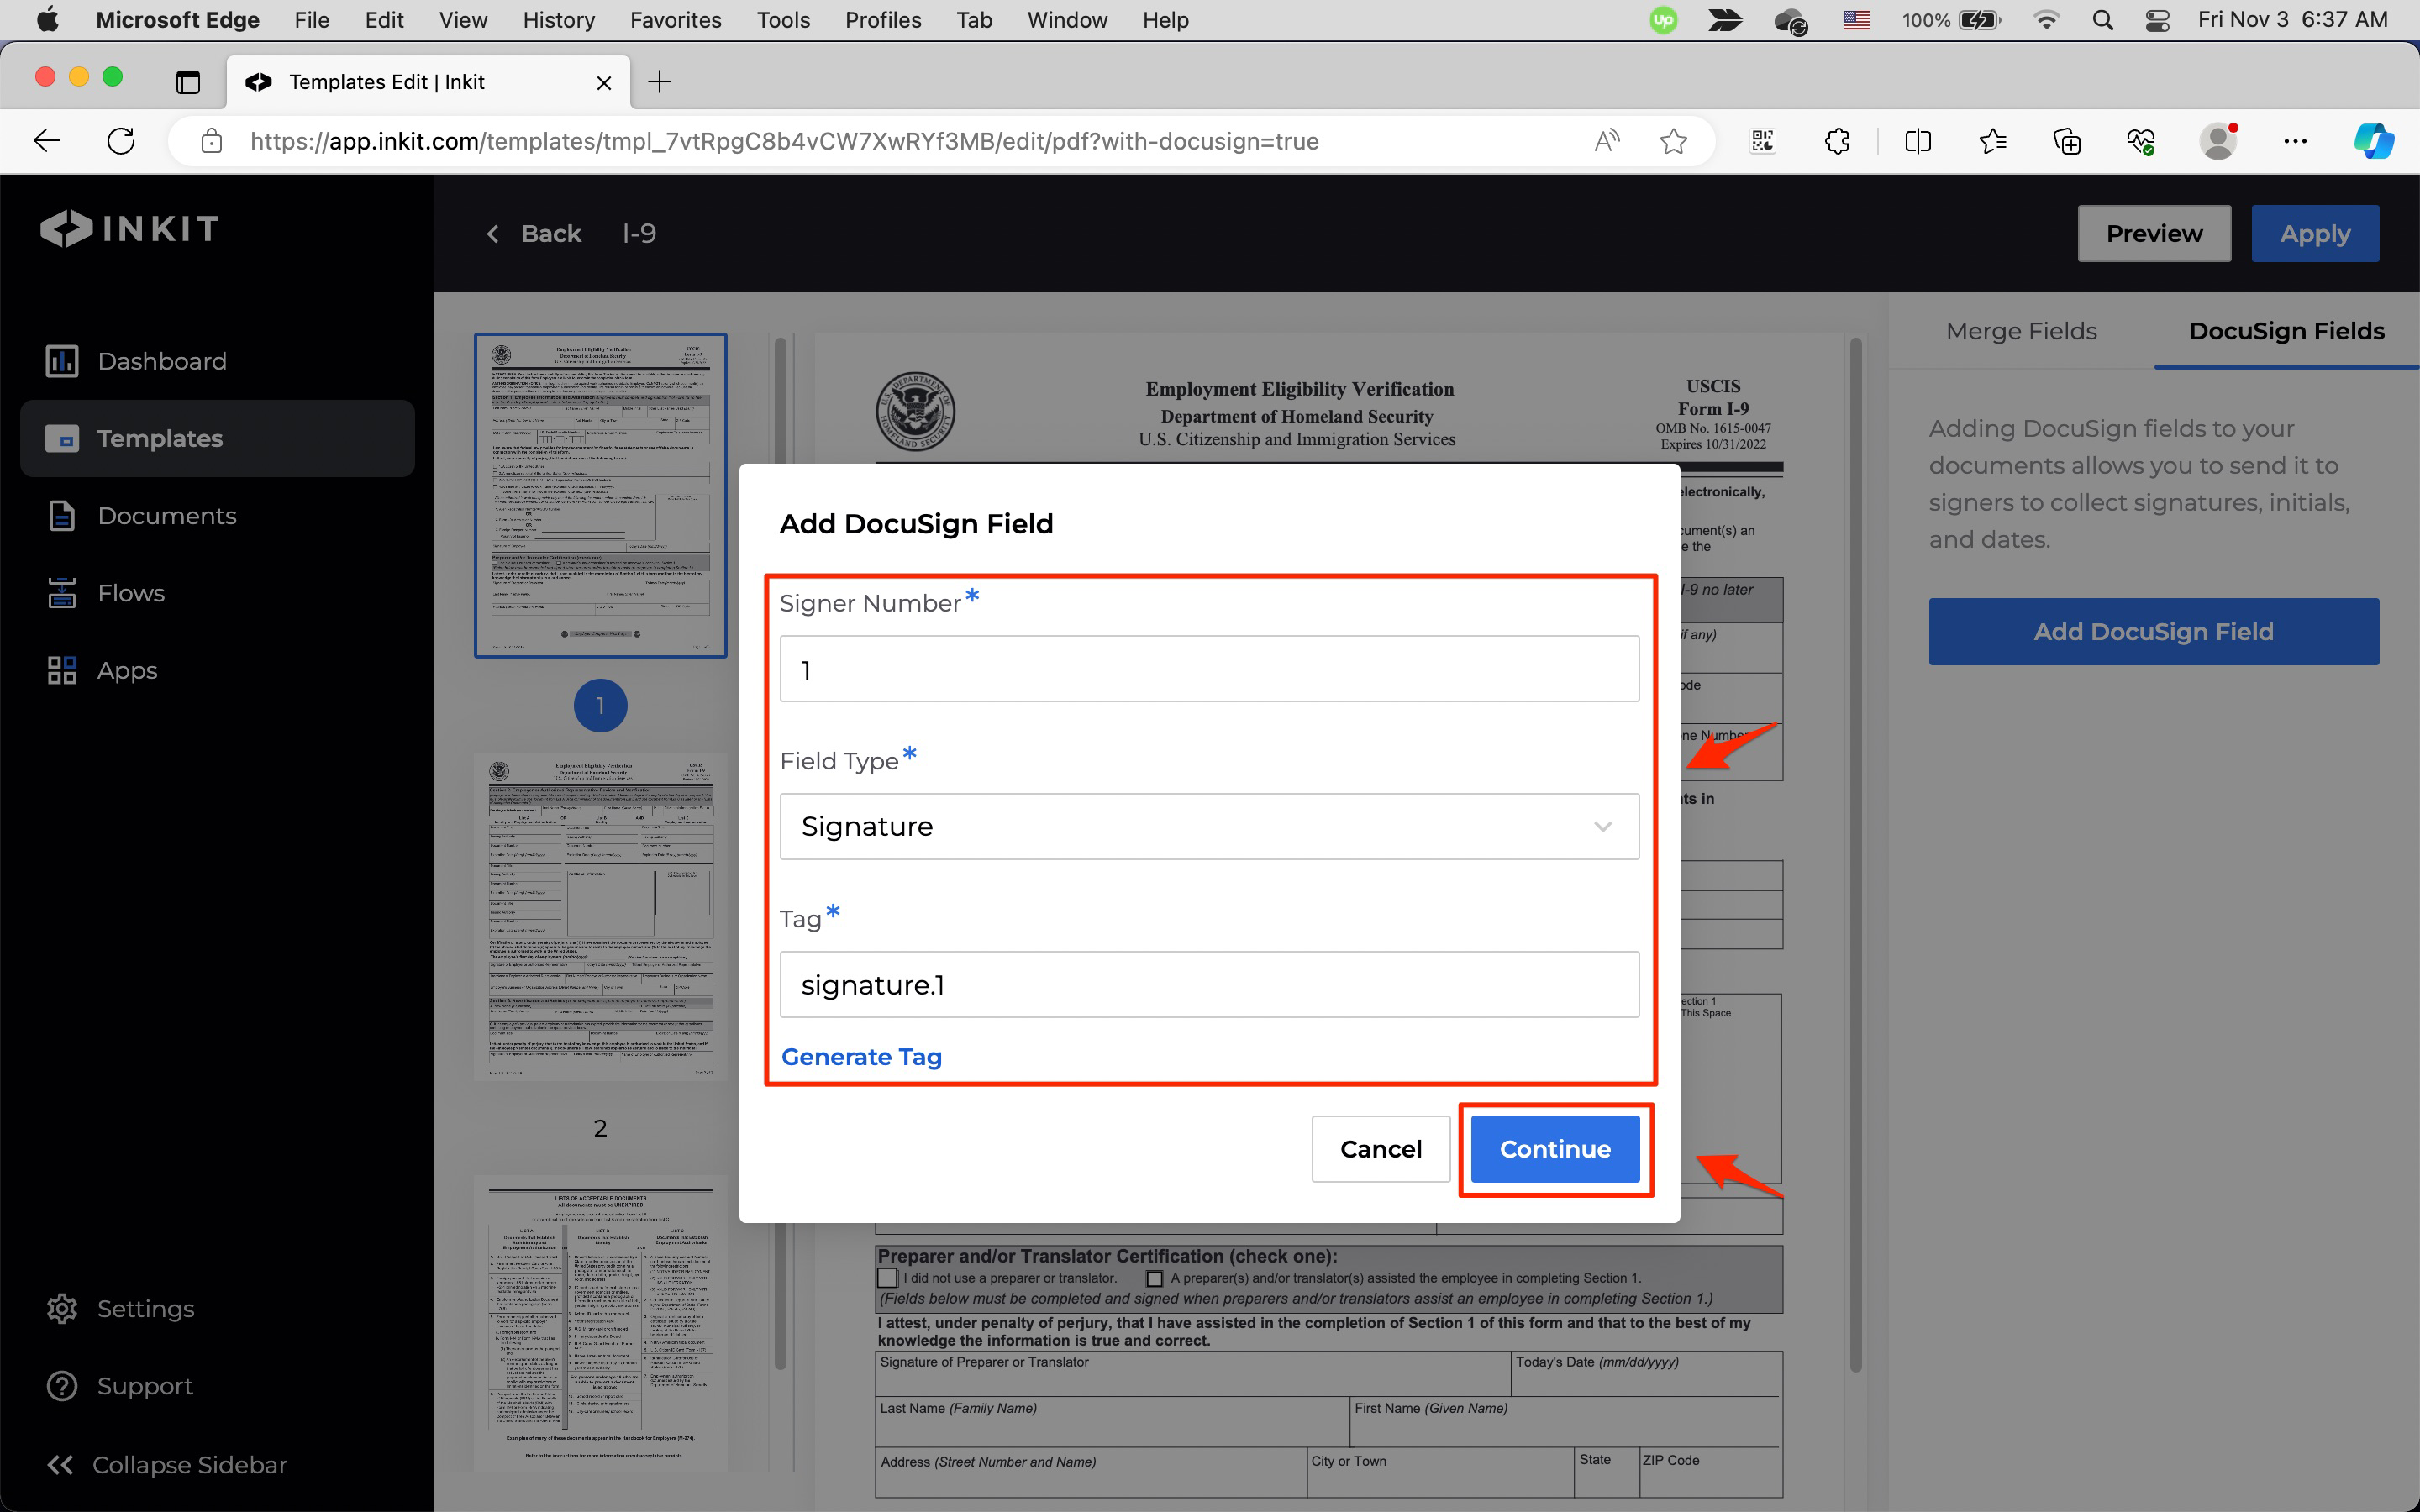
In the Add DocuSign Field dialog box, select one of the following types of DocuSign fields from Field Type dropdown box:
- Signature
- Inital
- Date Signed
Choose the signer number in the Signer Number spin box and click Generate Tag. Then click Continue.
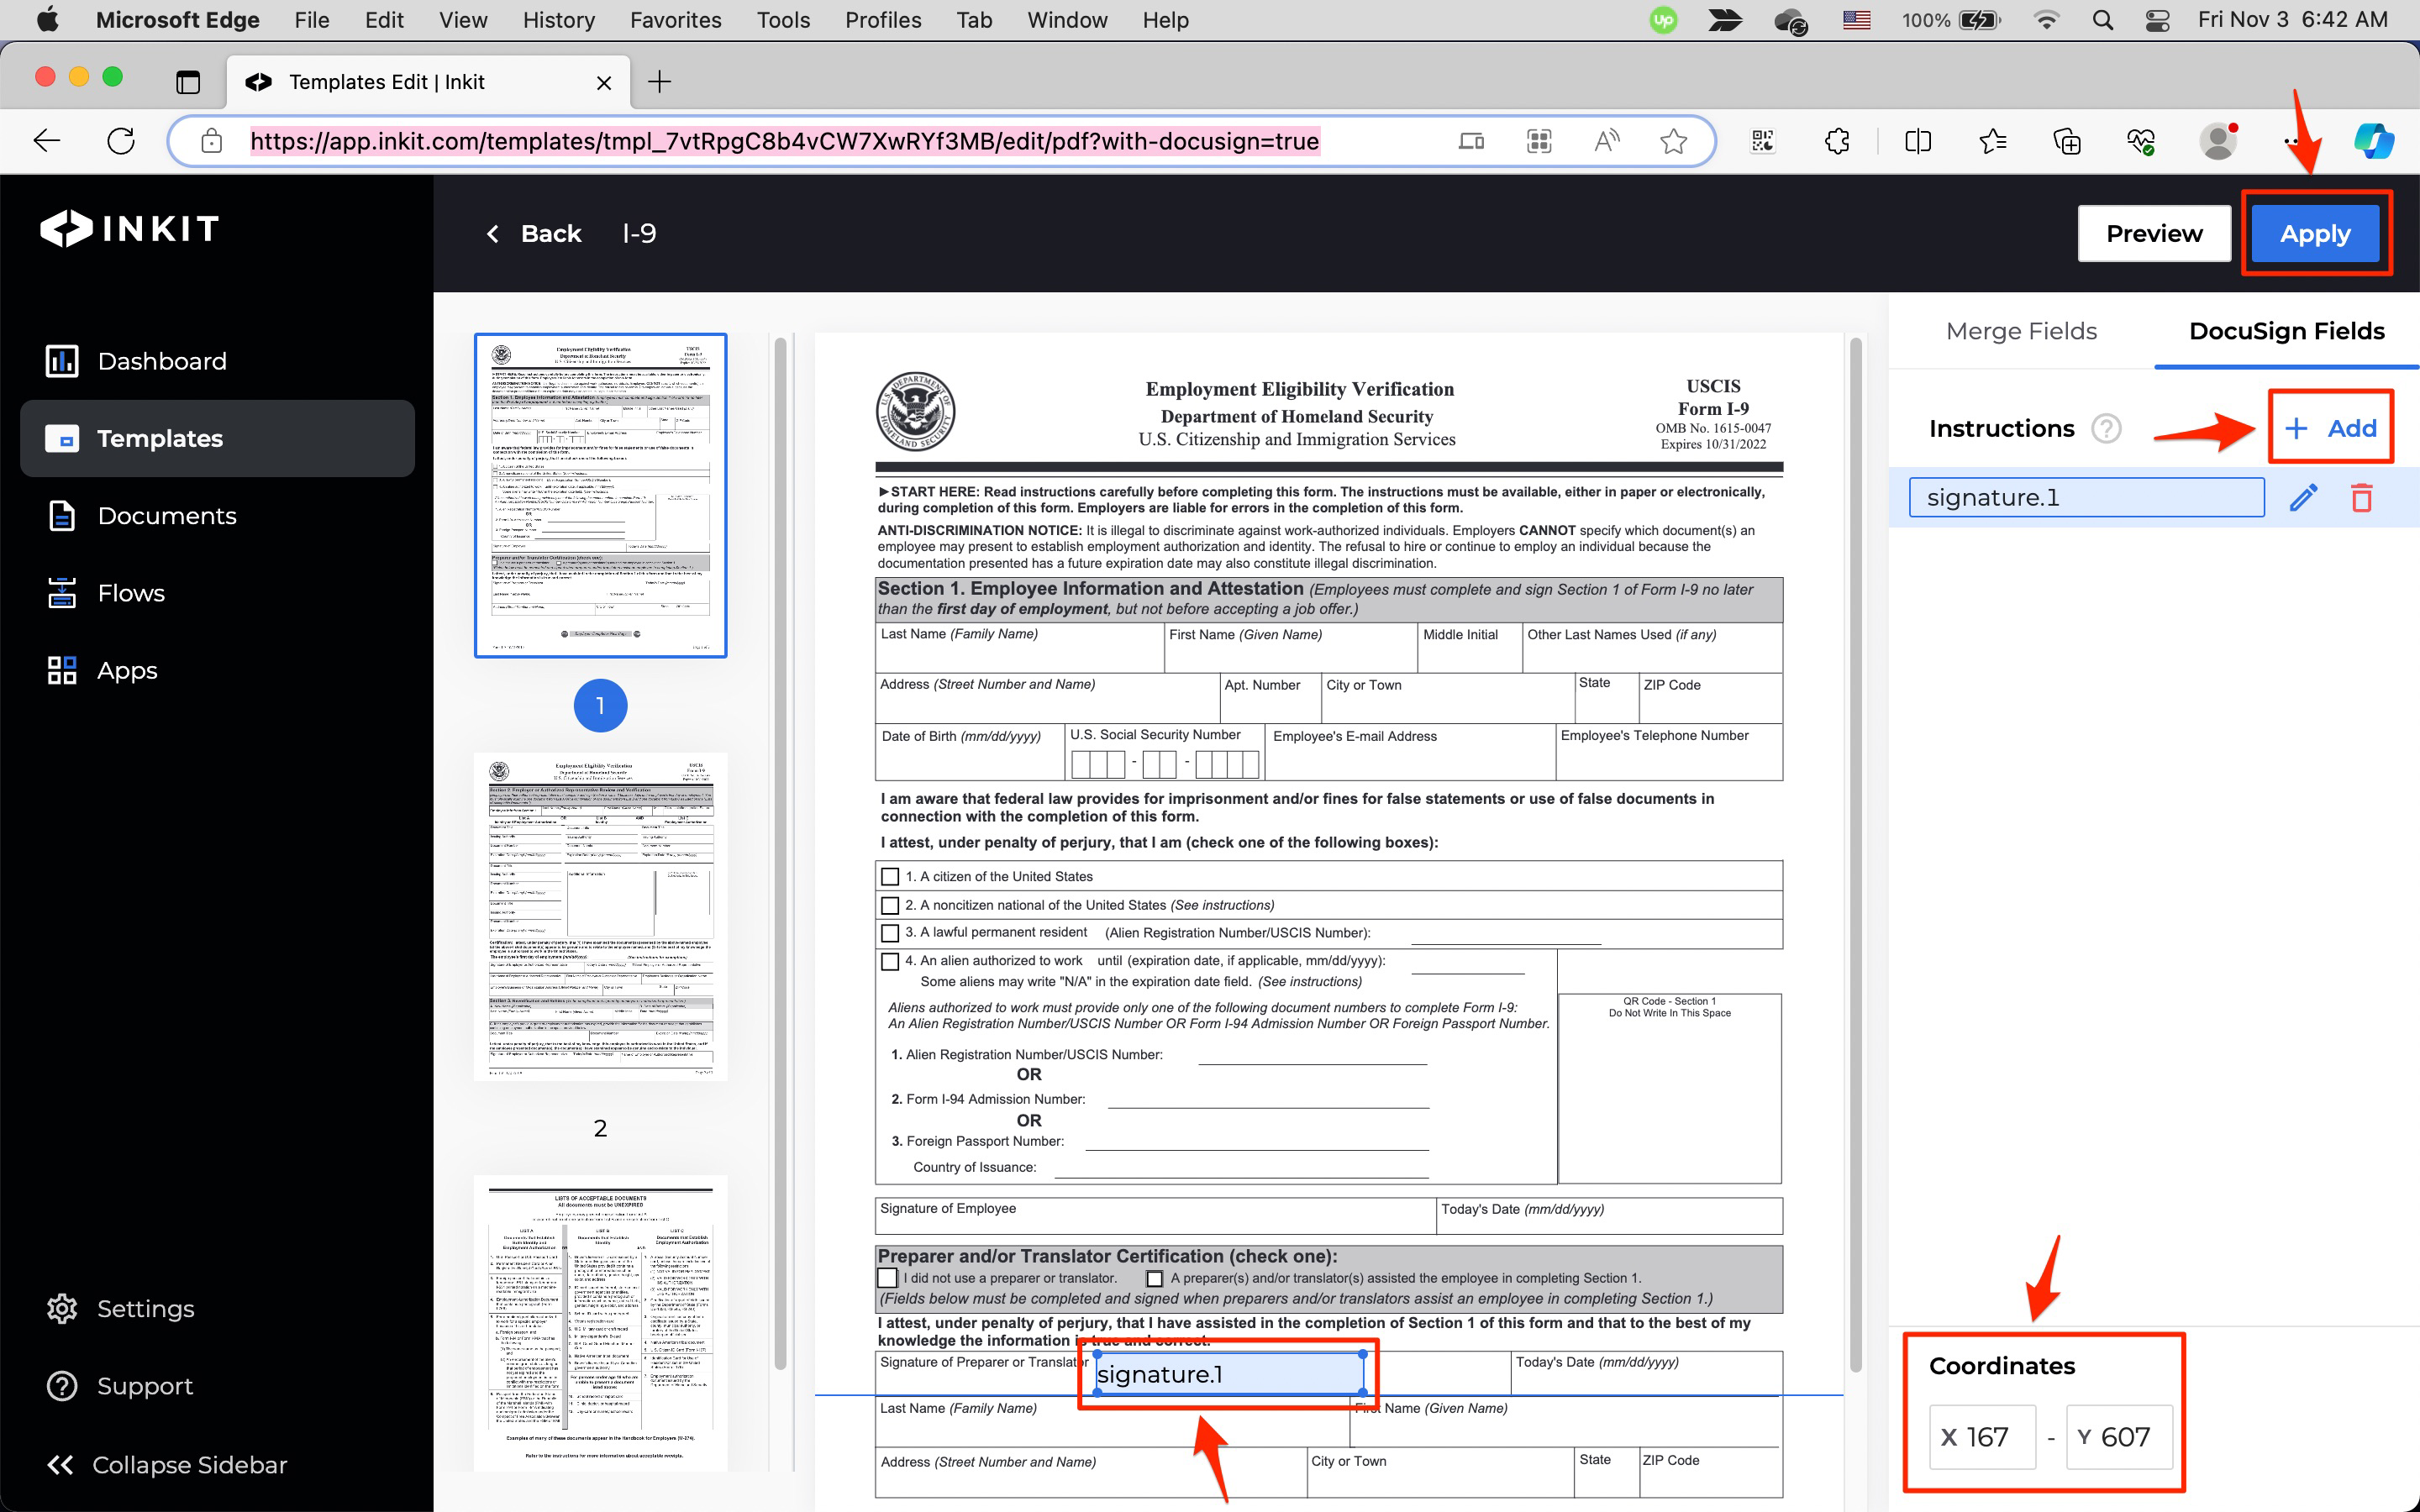
Drag the DocuSign field to where you want it, or enter the Coordinates for it. You can resize it by dragging one of the four corners of it. To add another field click + Add.
Then click Apply.
-
Save the template.
To see DocuSign fields in action, check out how to build a full-featured PDF template.
Updated 10 months ago
Did this page help you?