Sending a document for Digital Signature
Choose whether to upload a document or use a reusable template, then send it for signature.
Upload and send a document for signature
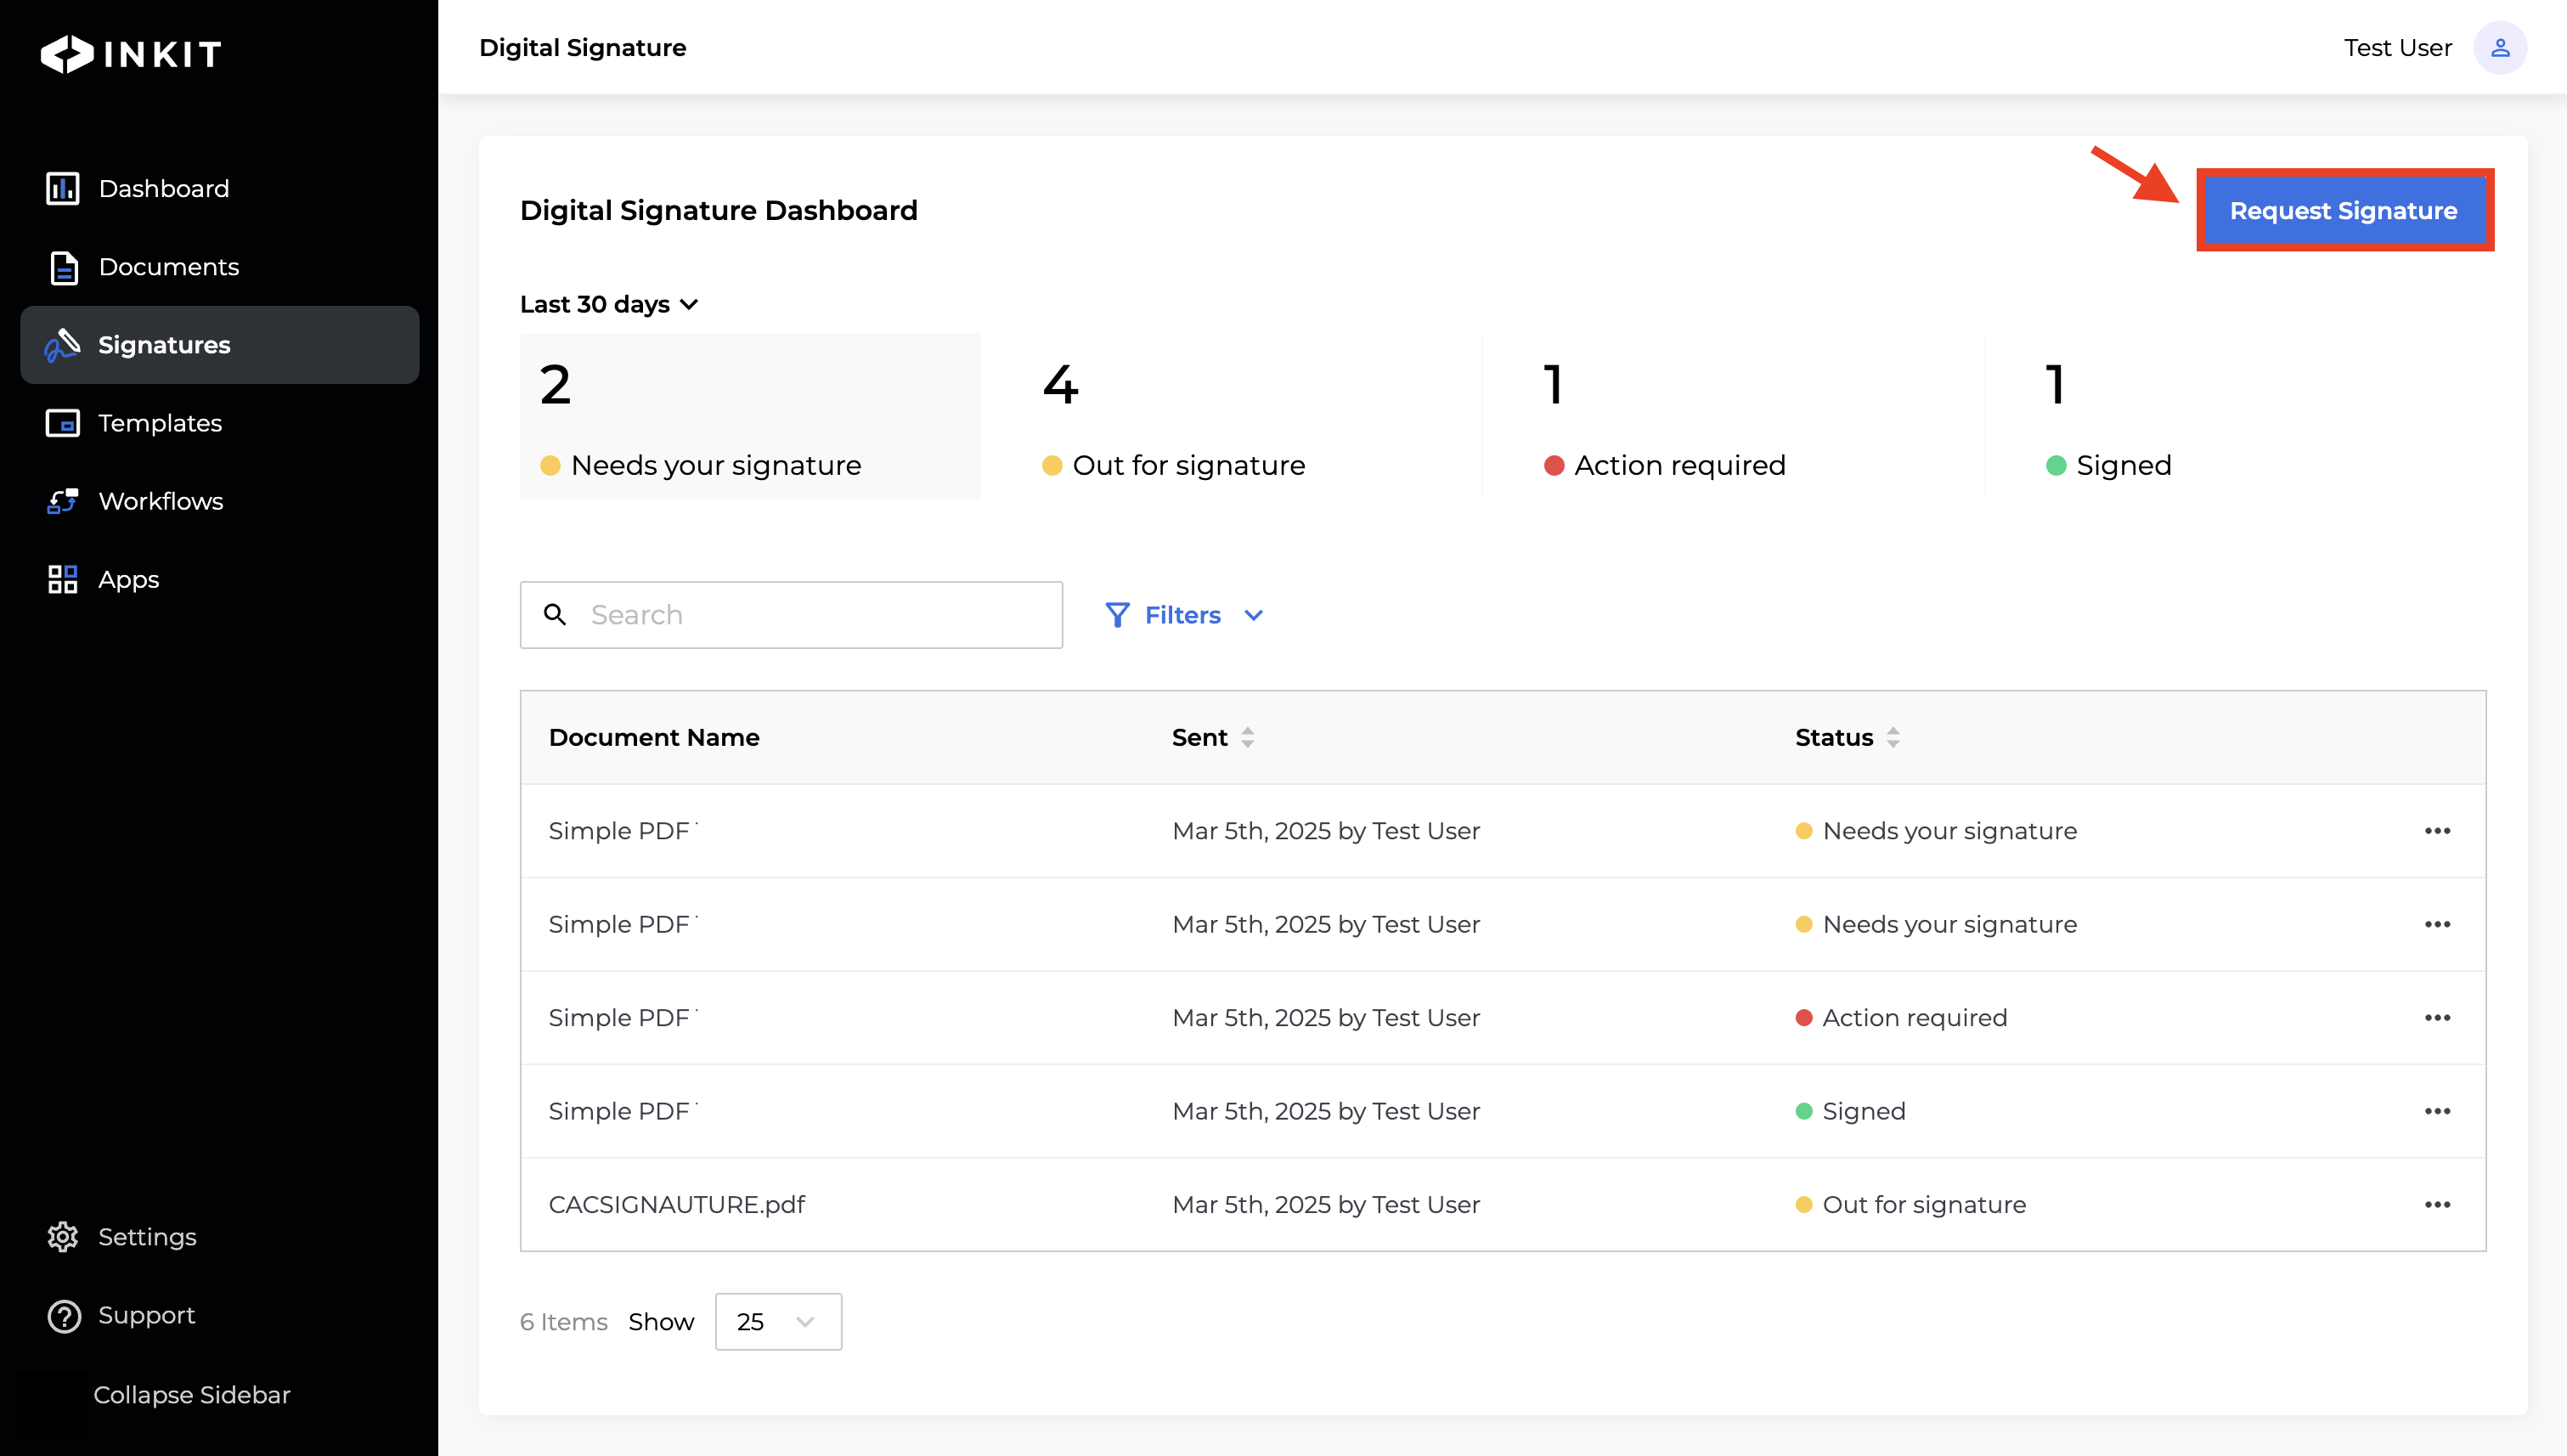
Navigate to the Digital Signature Dashboard:
-
Click Request Signature

-
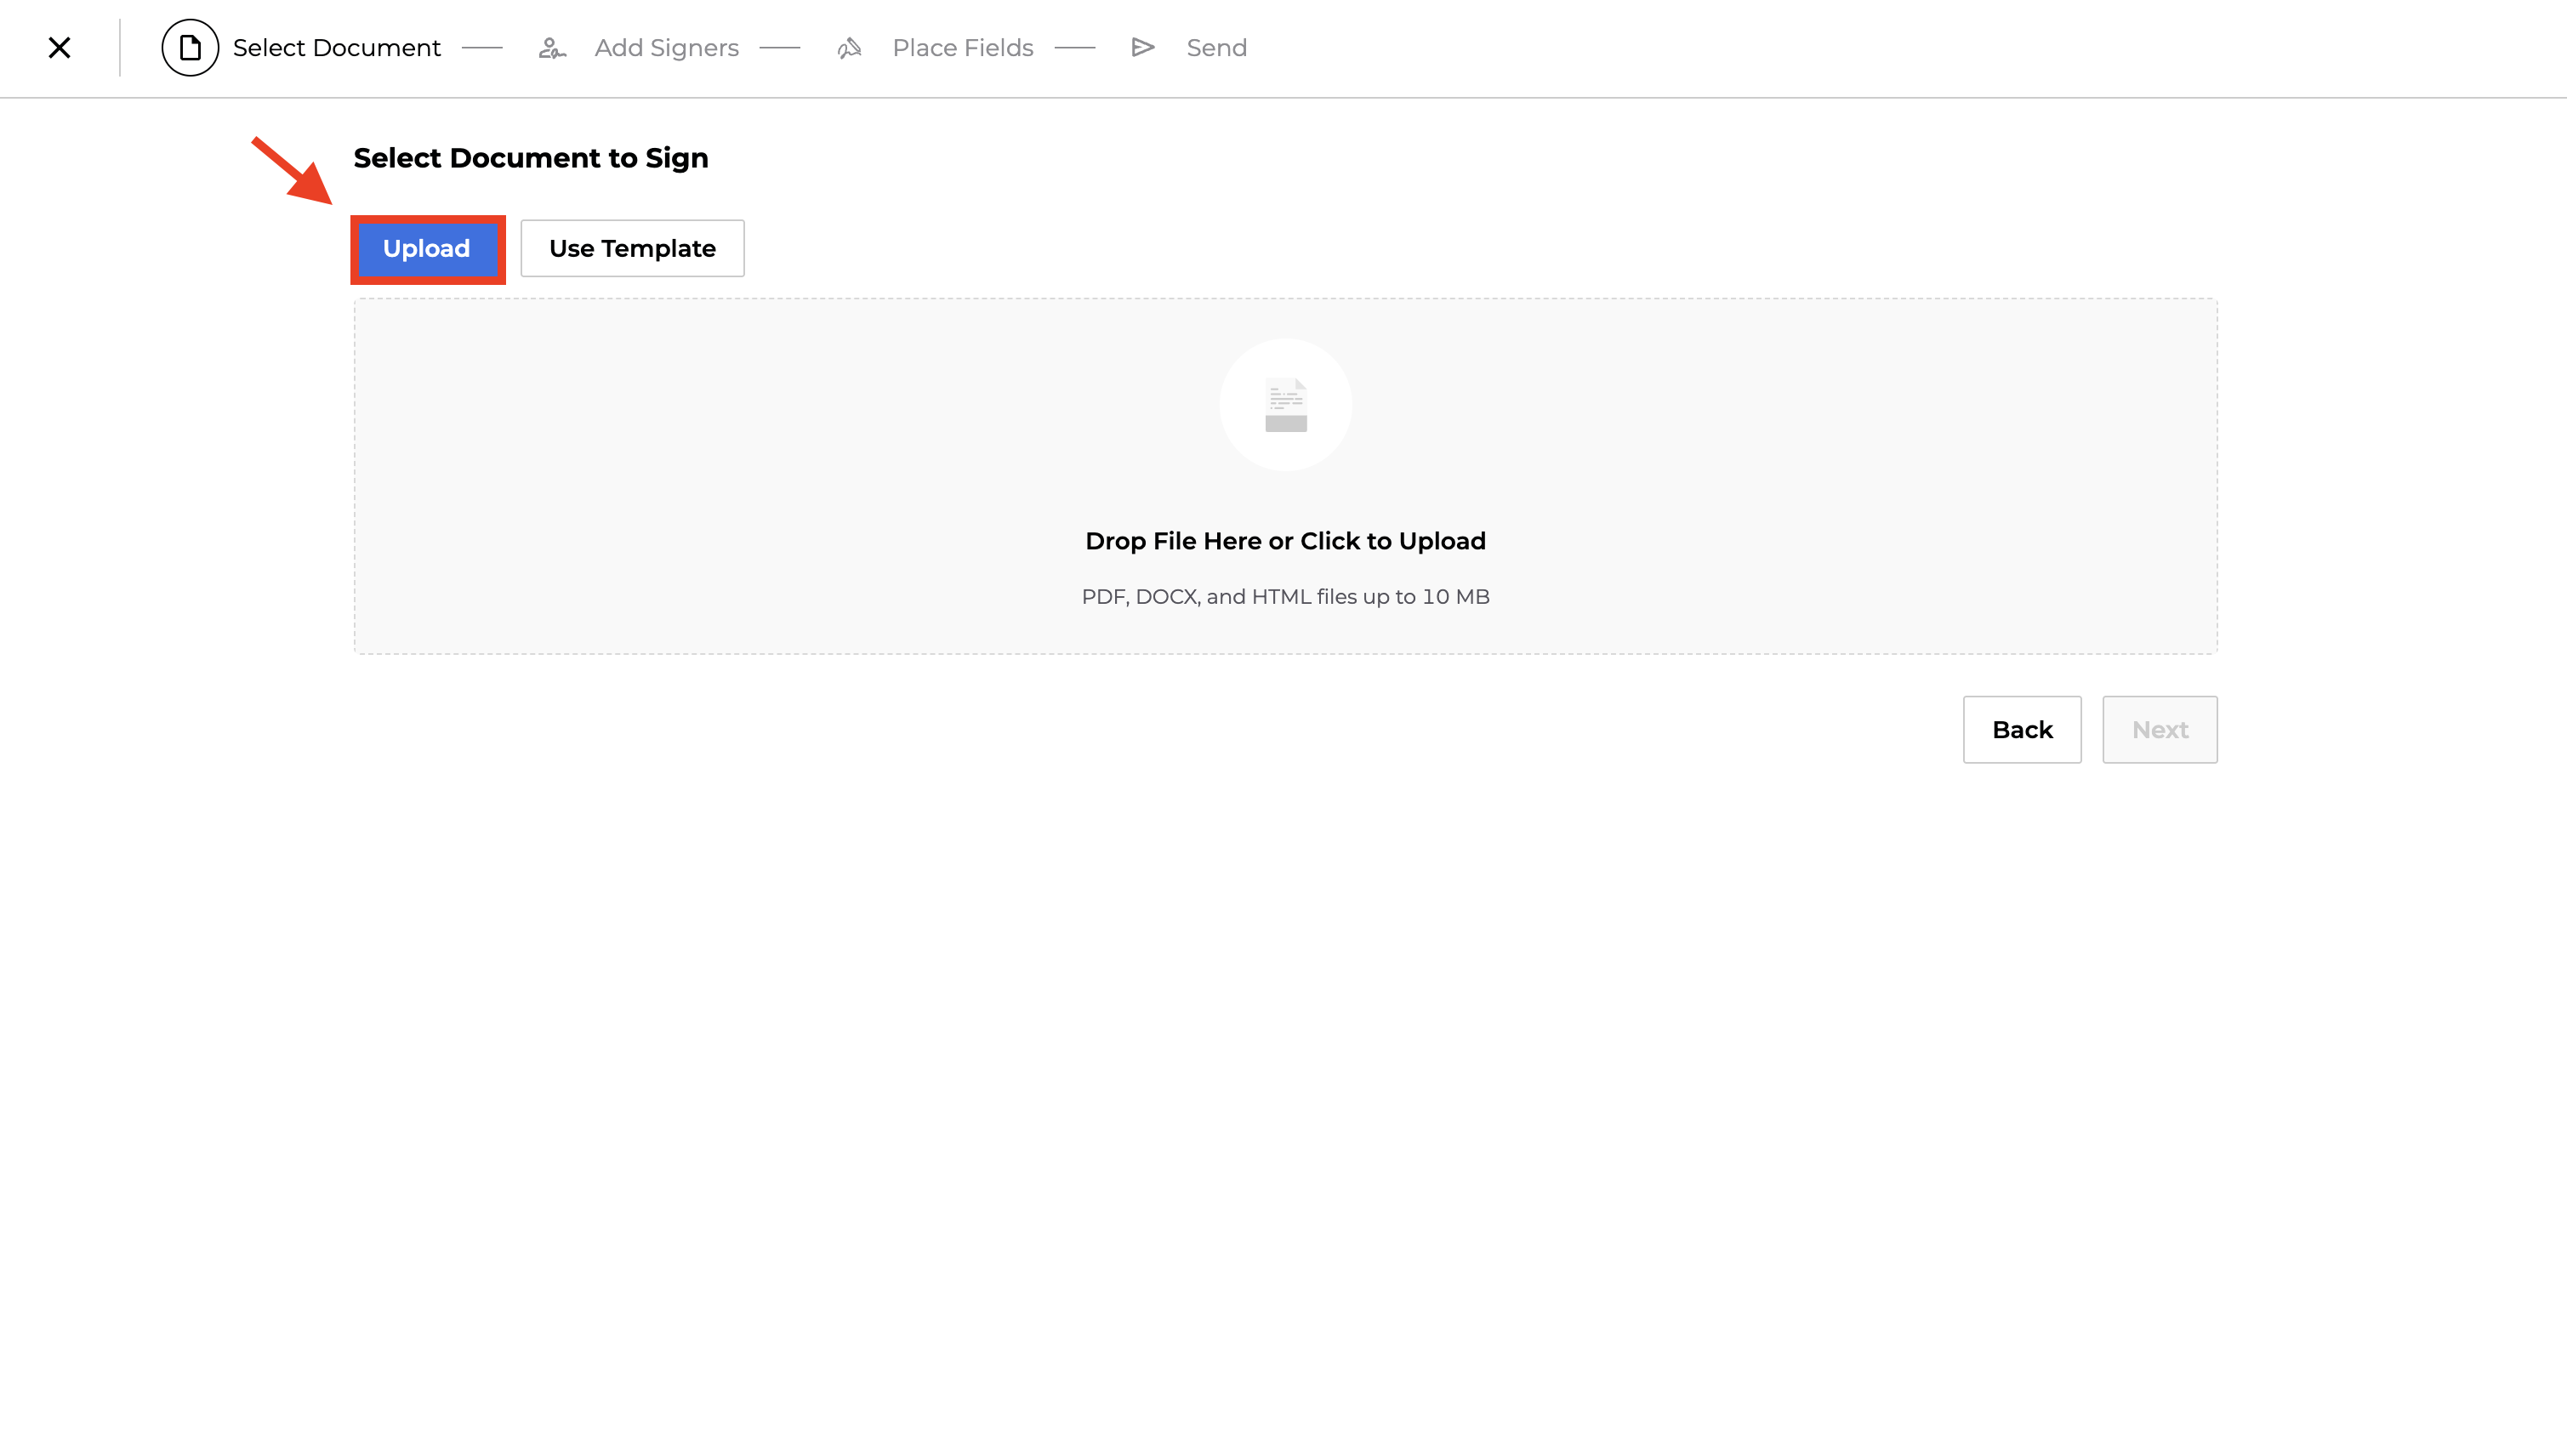
Then click Upload. Choose a PDF, DOCX, or HTML file from your desktop.
-
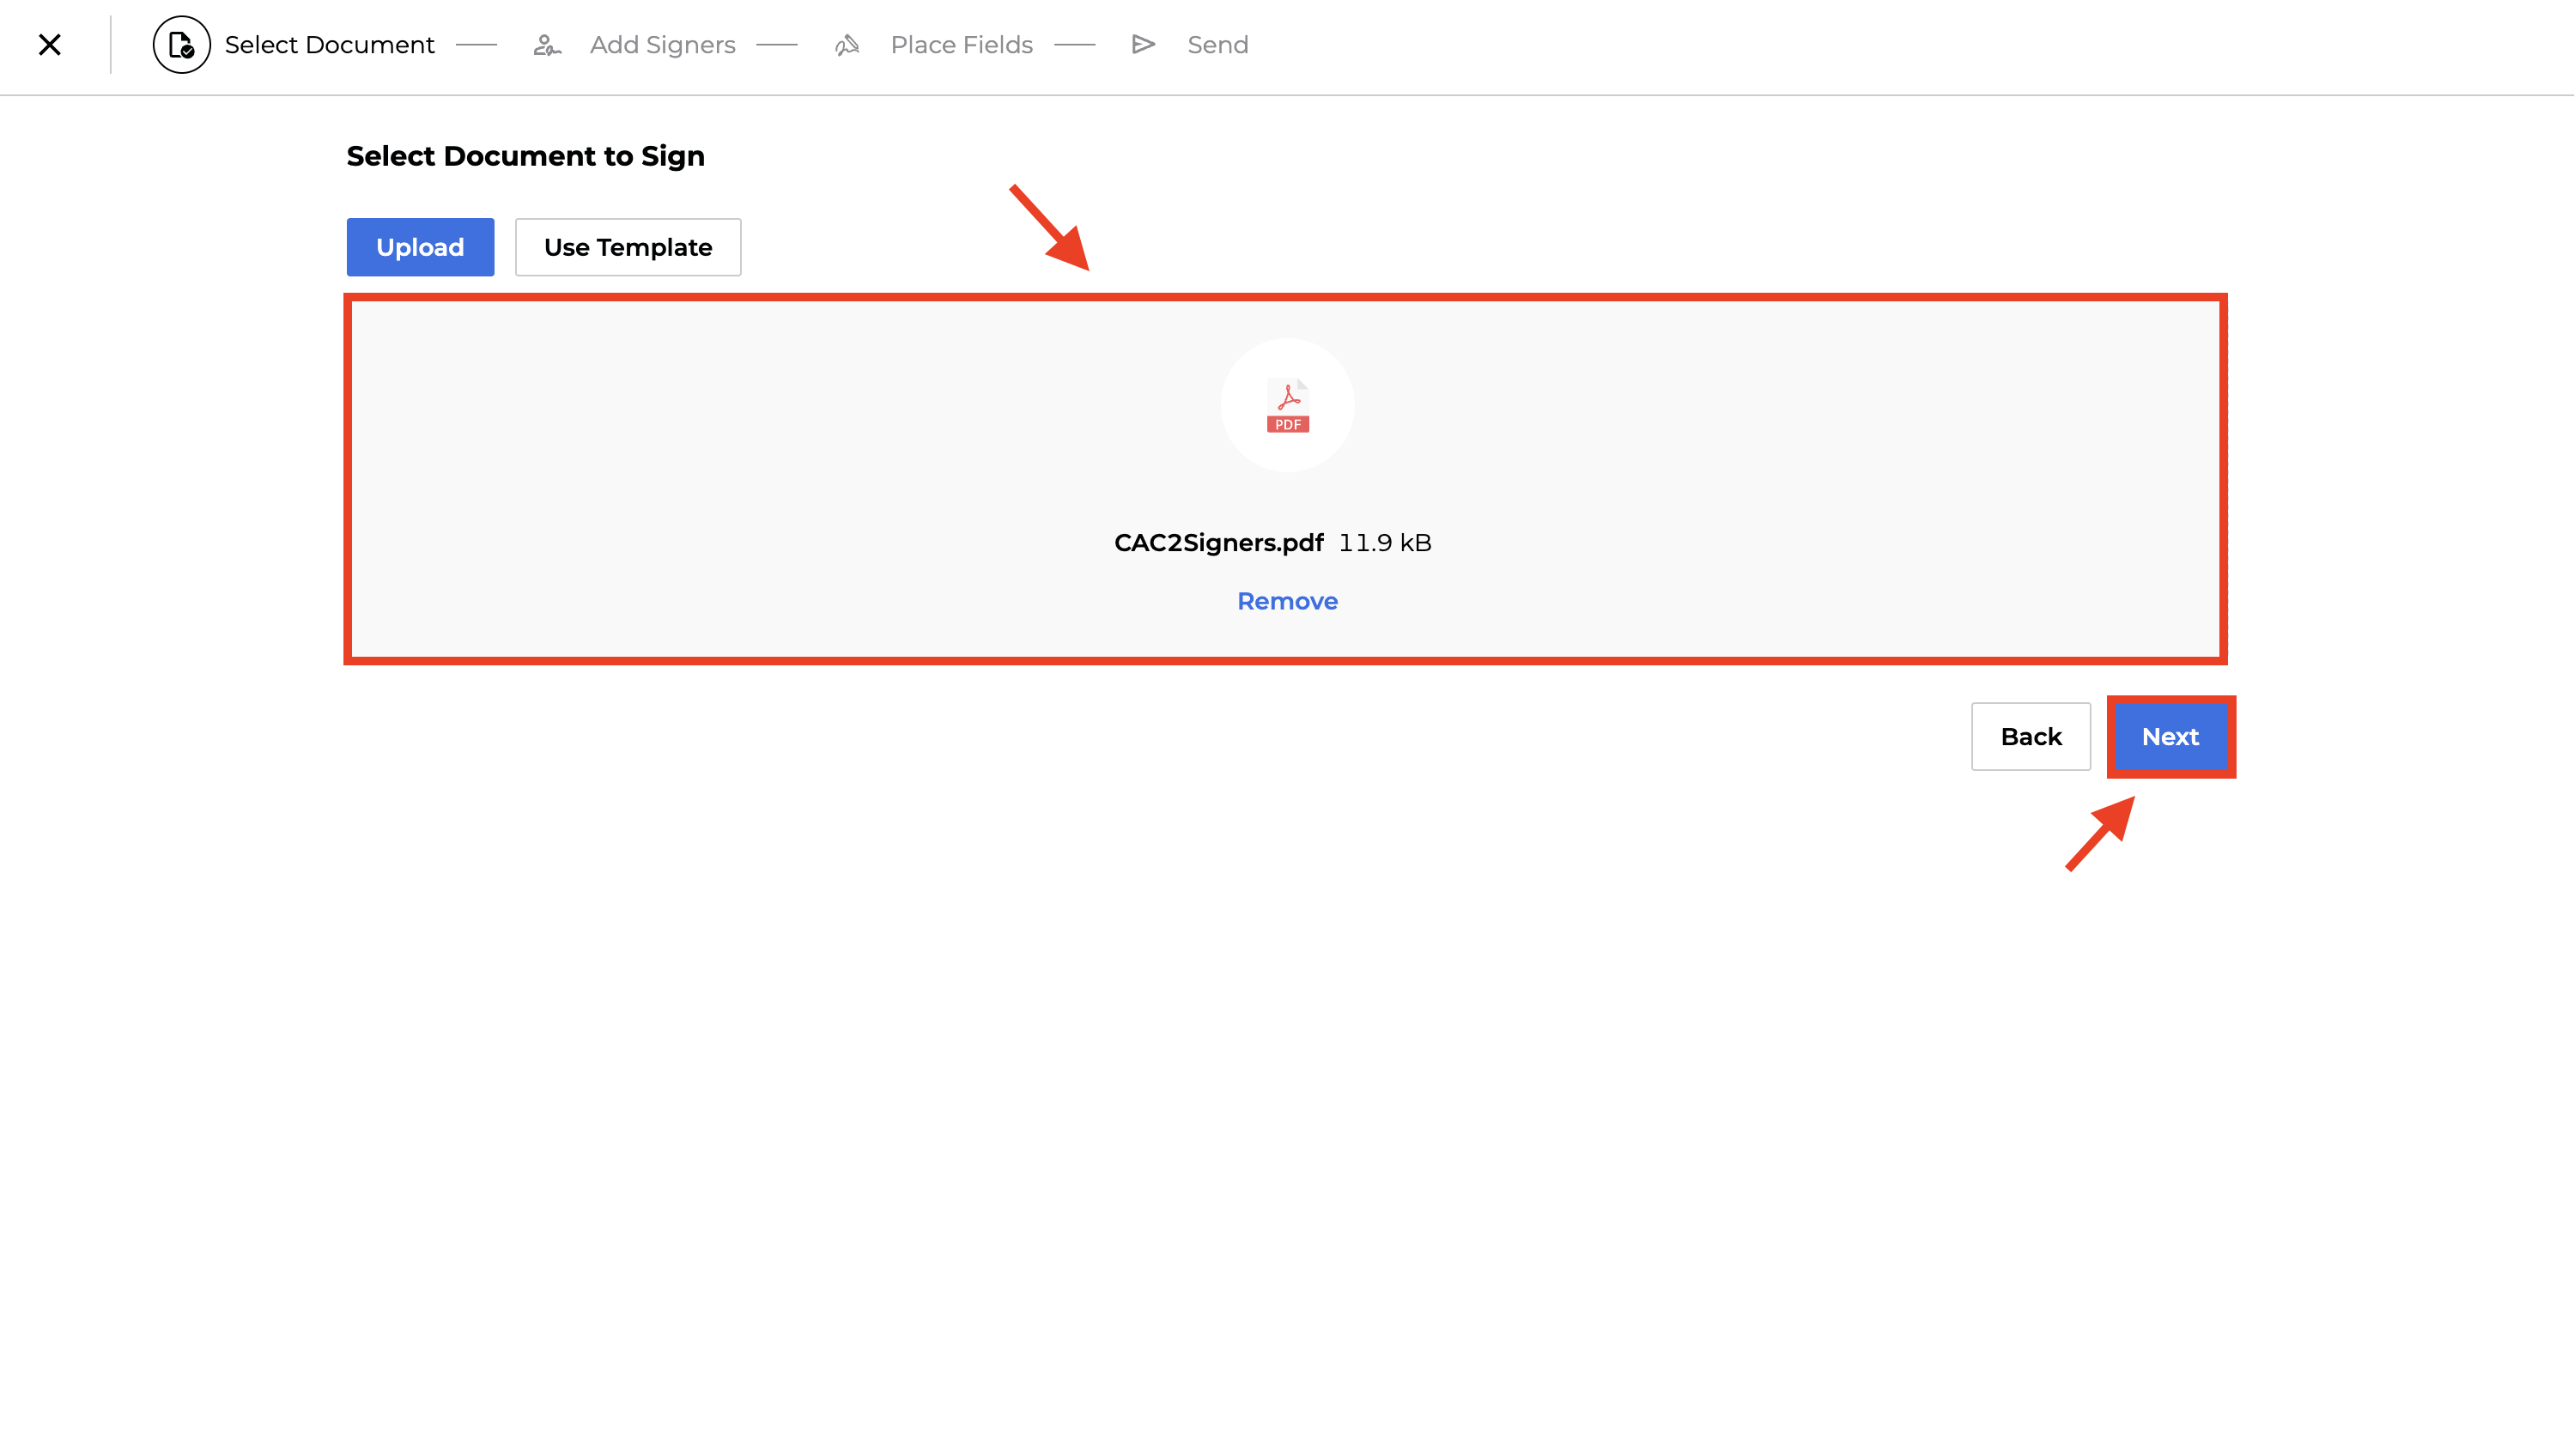
Confirm the selected document and click Next.
-
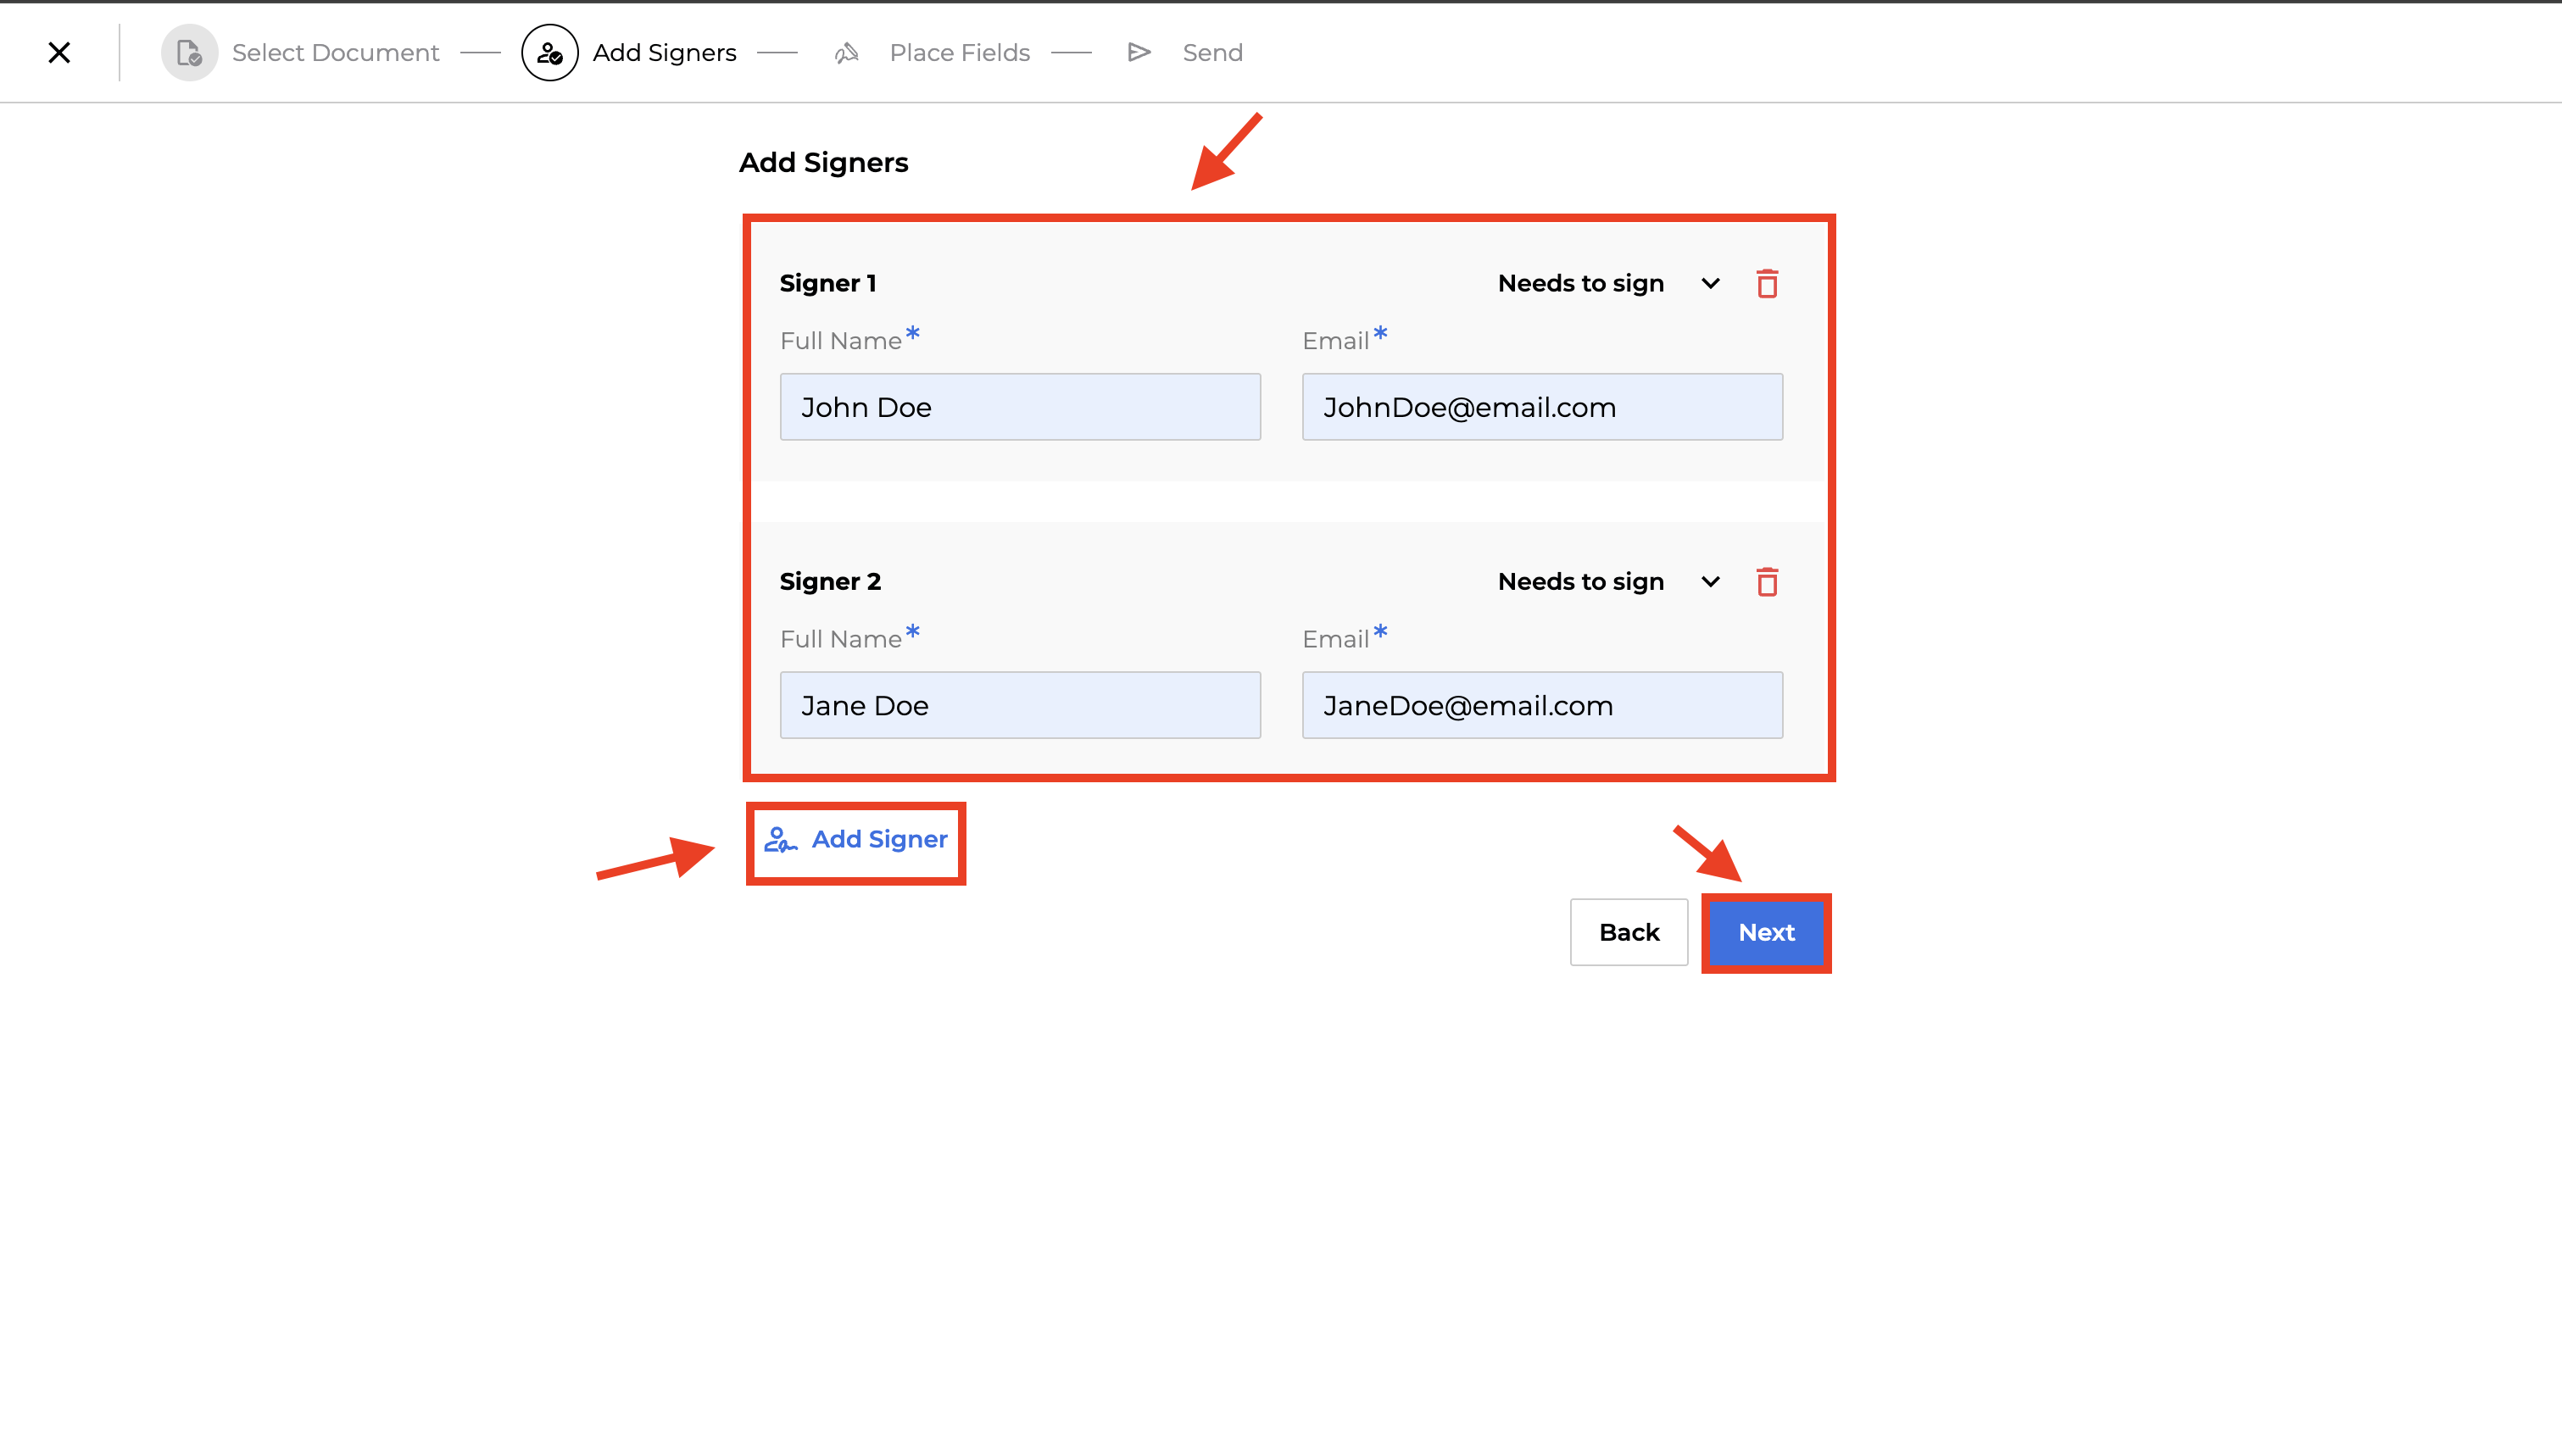
In the Add Signers tab, click + Add Signer, then enter the full name and email address for each signer you want to sign the document.
Click Next .
-
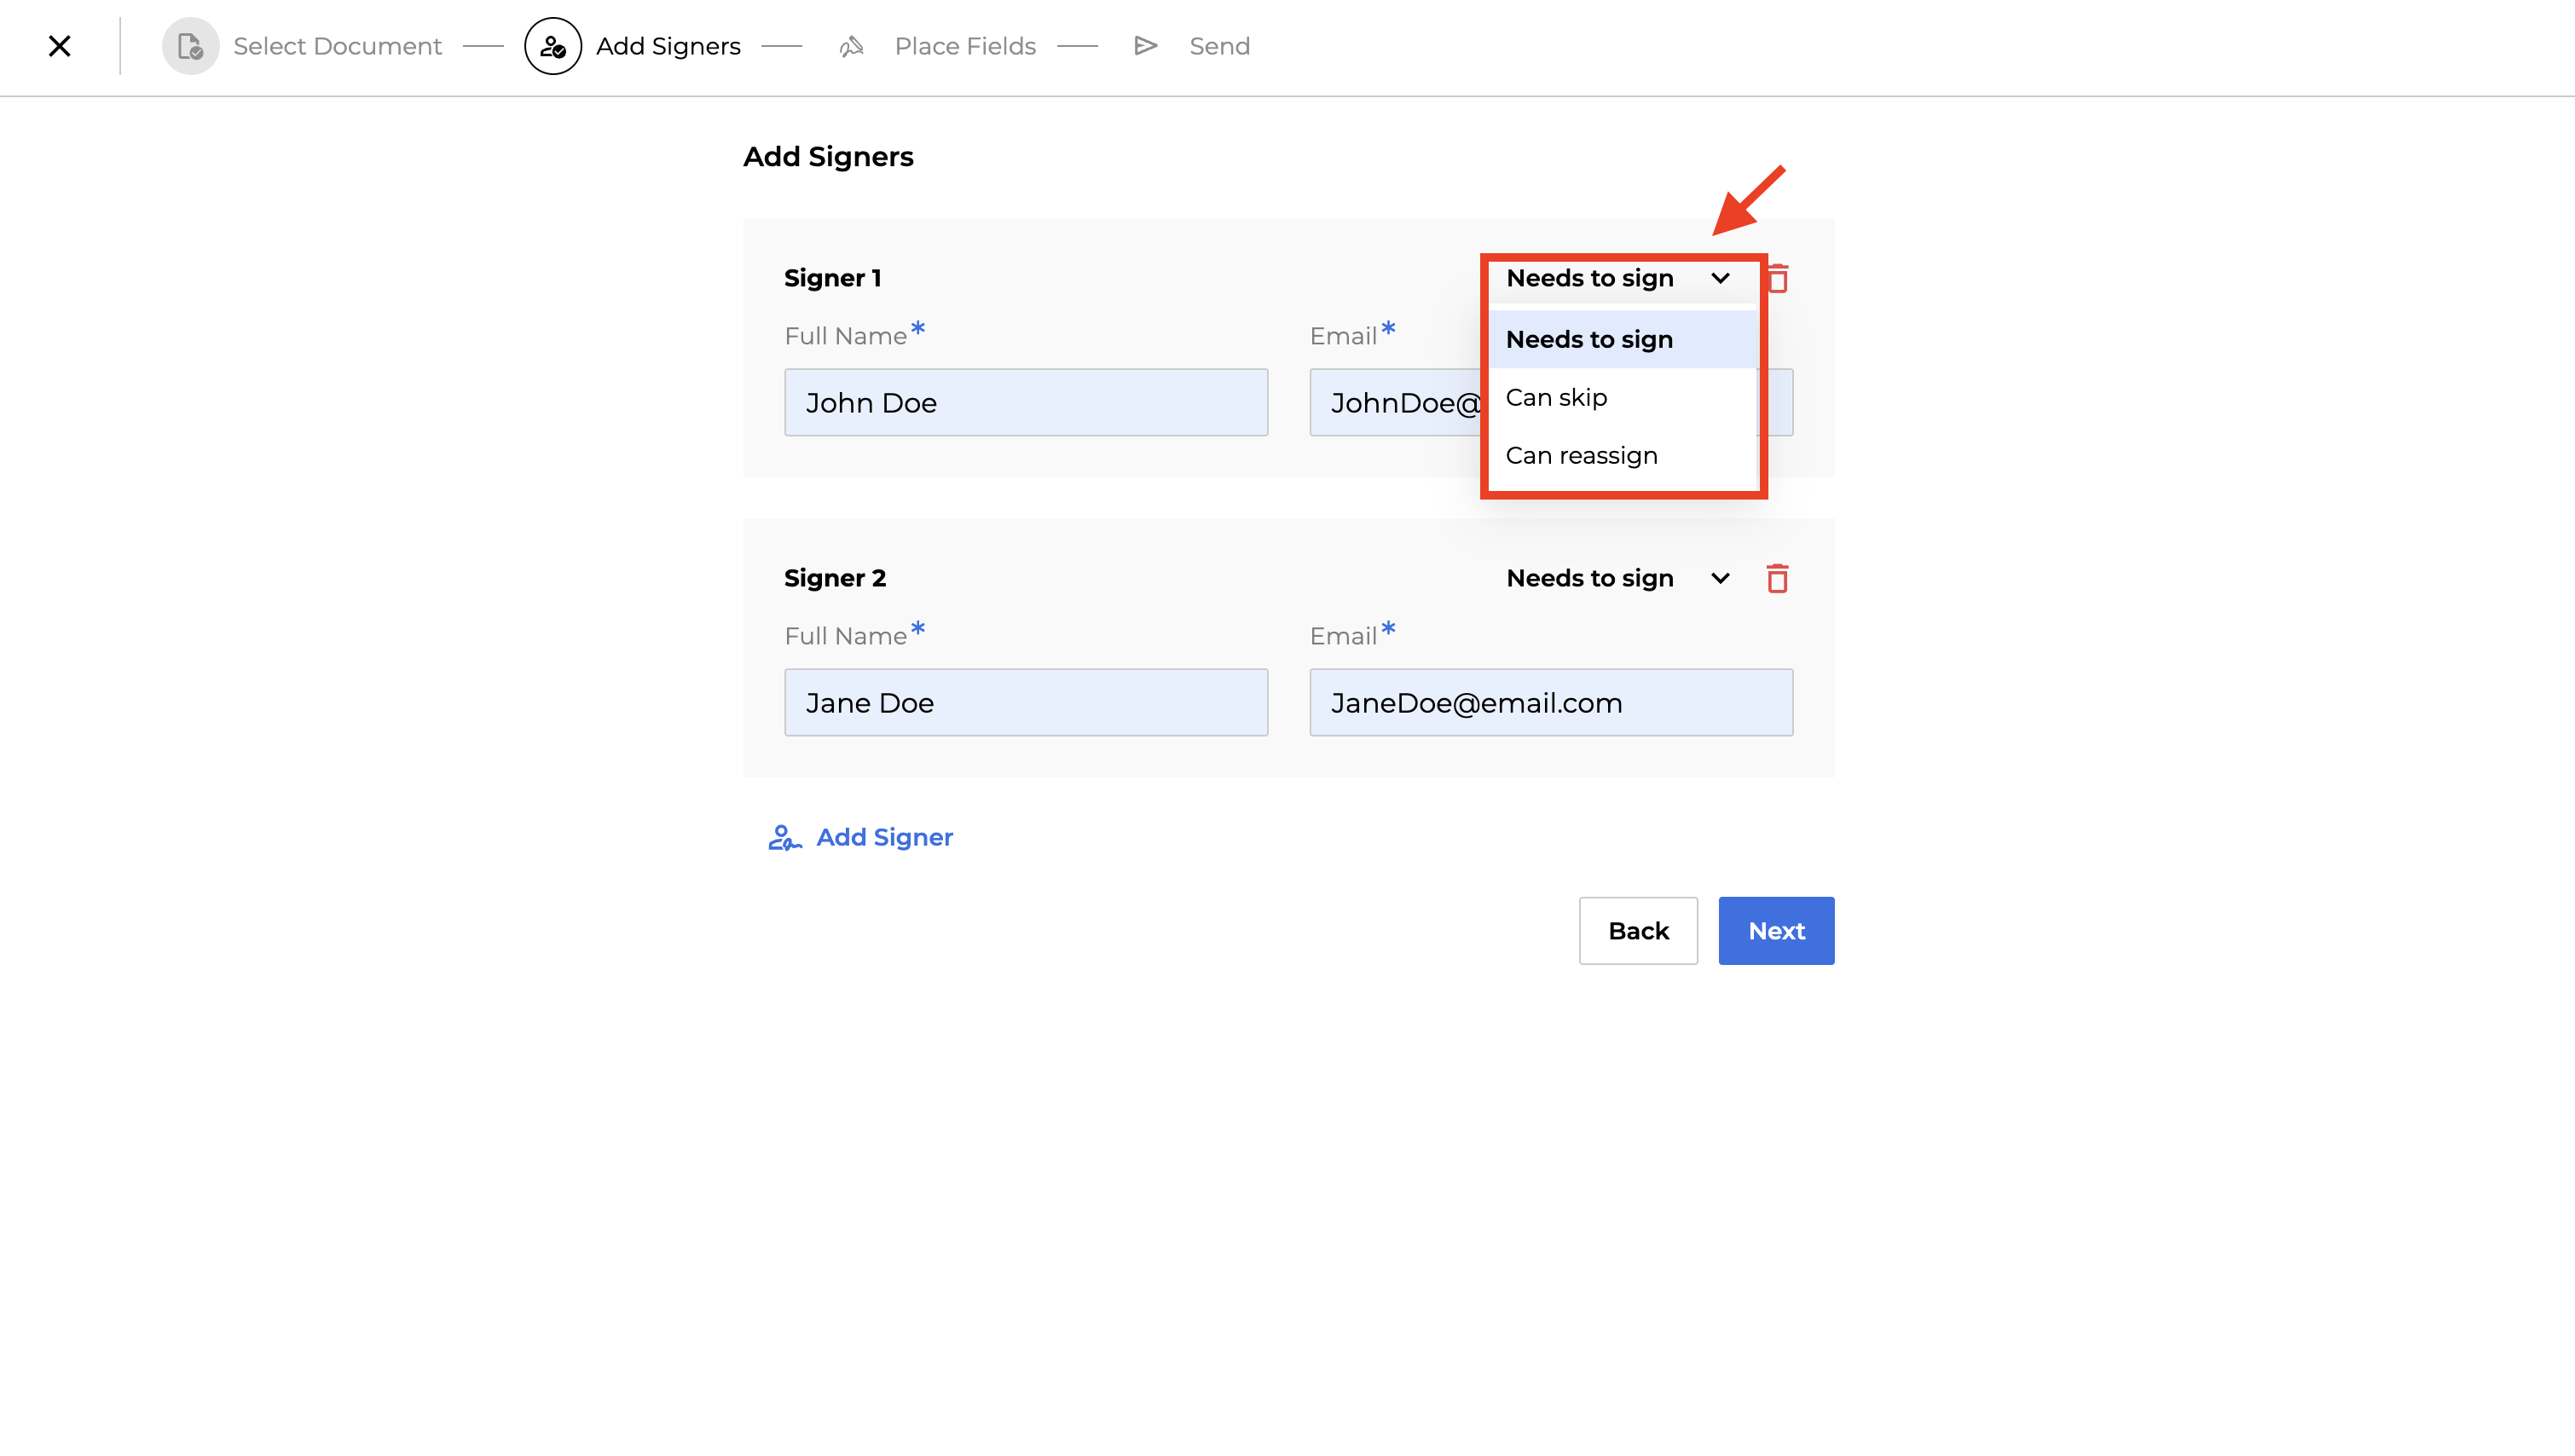
(Optional) In the Needs to sign drop down menu, customize the signing action for each signer. You can choose from the following options:
-
Needs to sign
-
Can skip
-
Can reassign
-
-
Select a Signer to assign fields to.
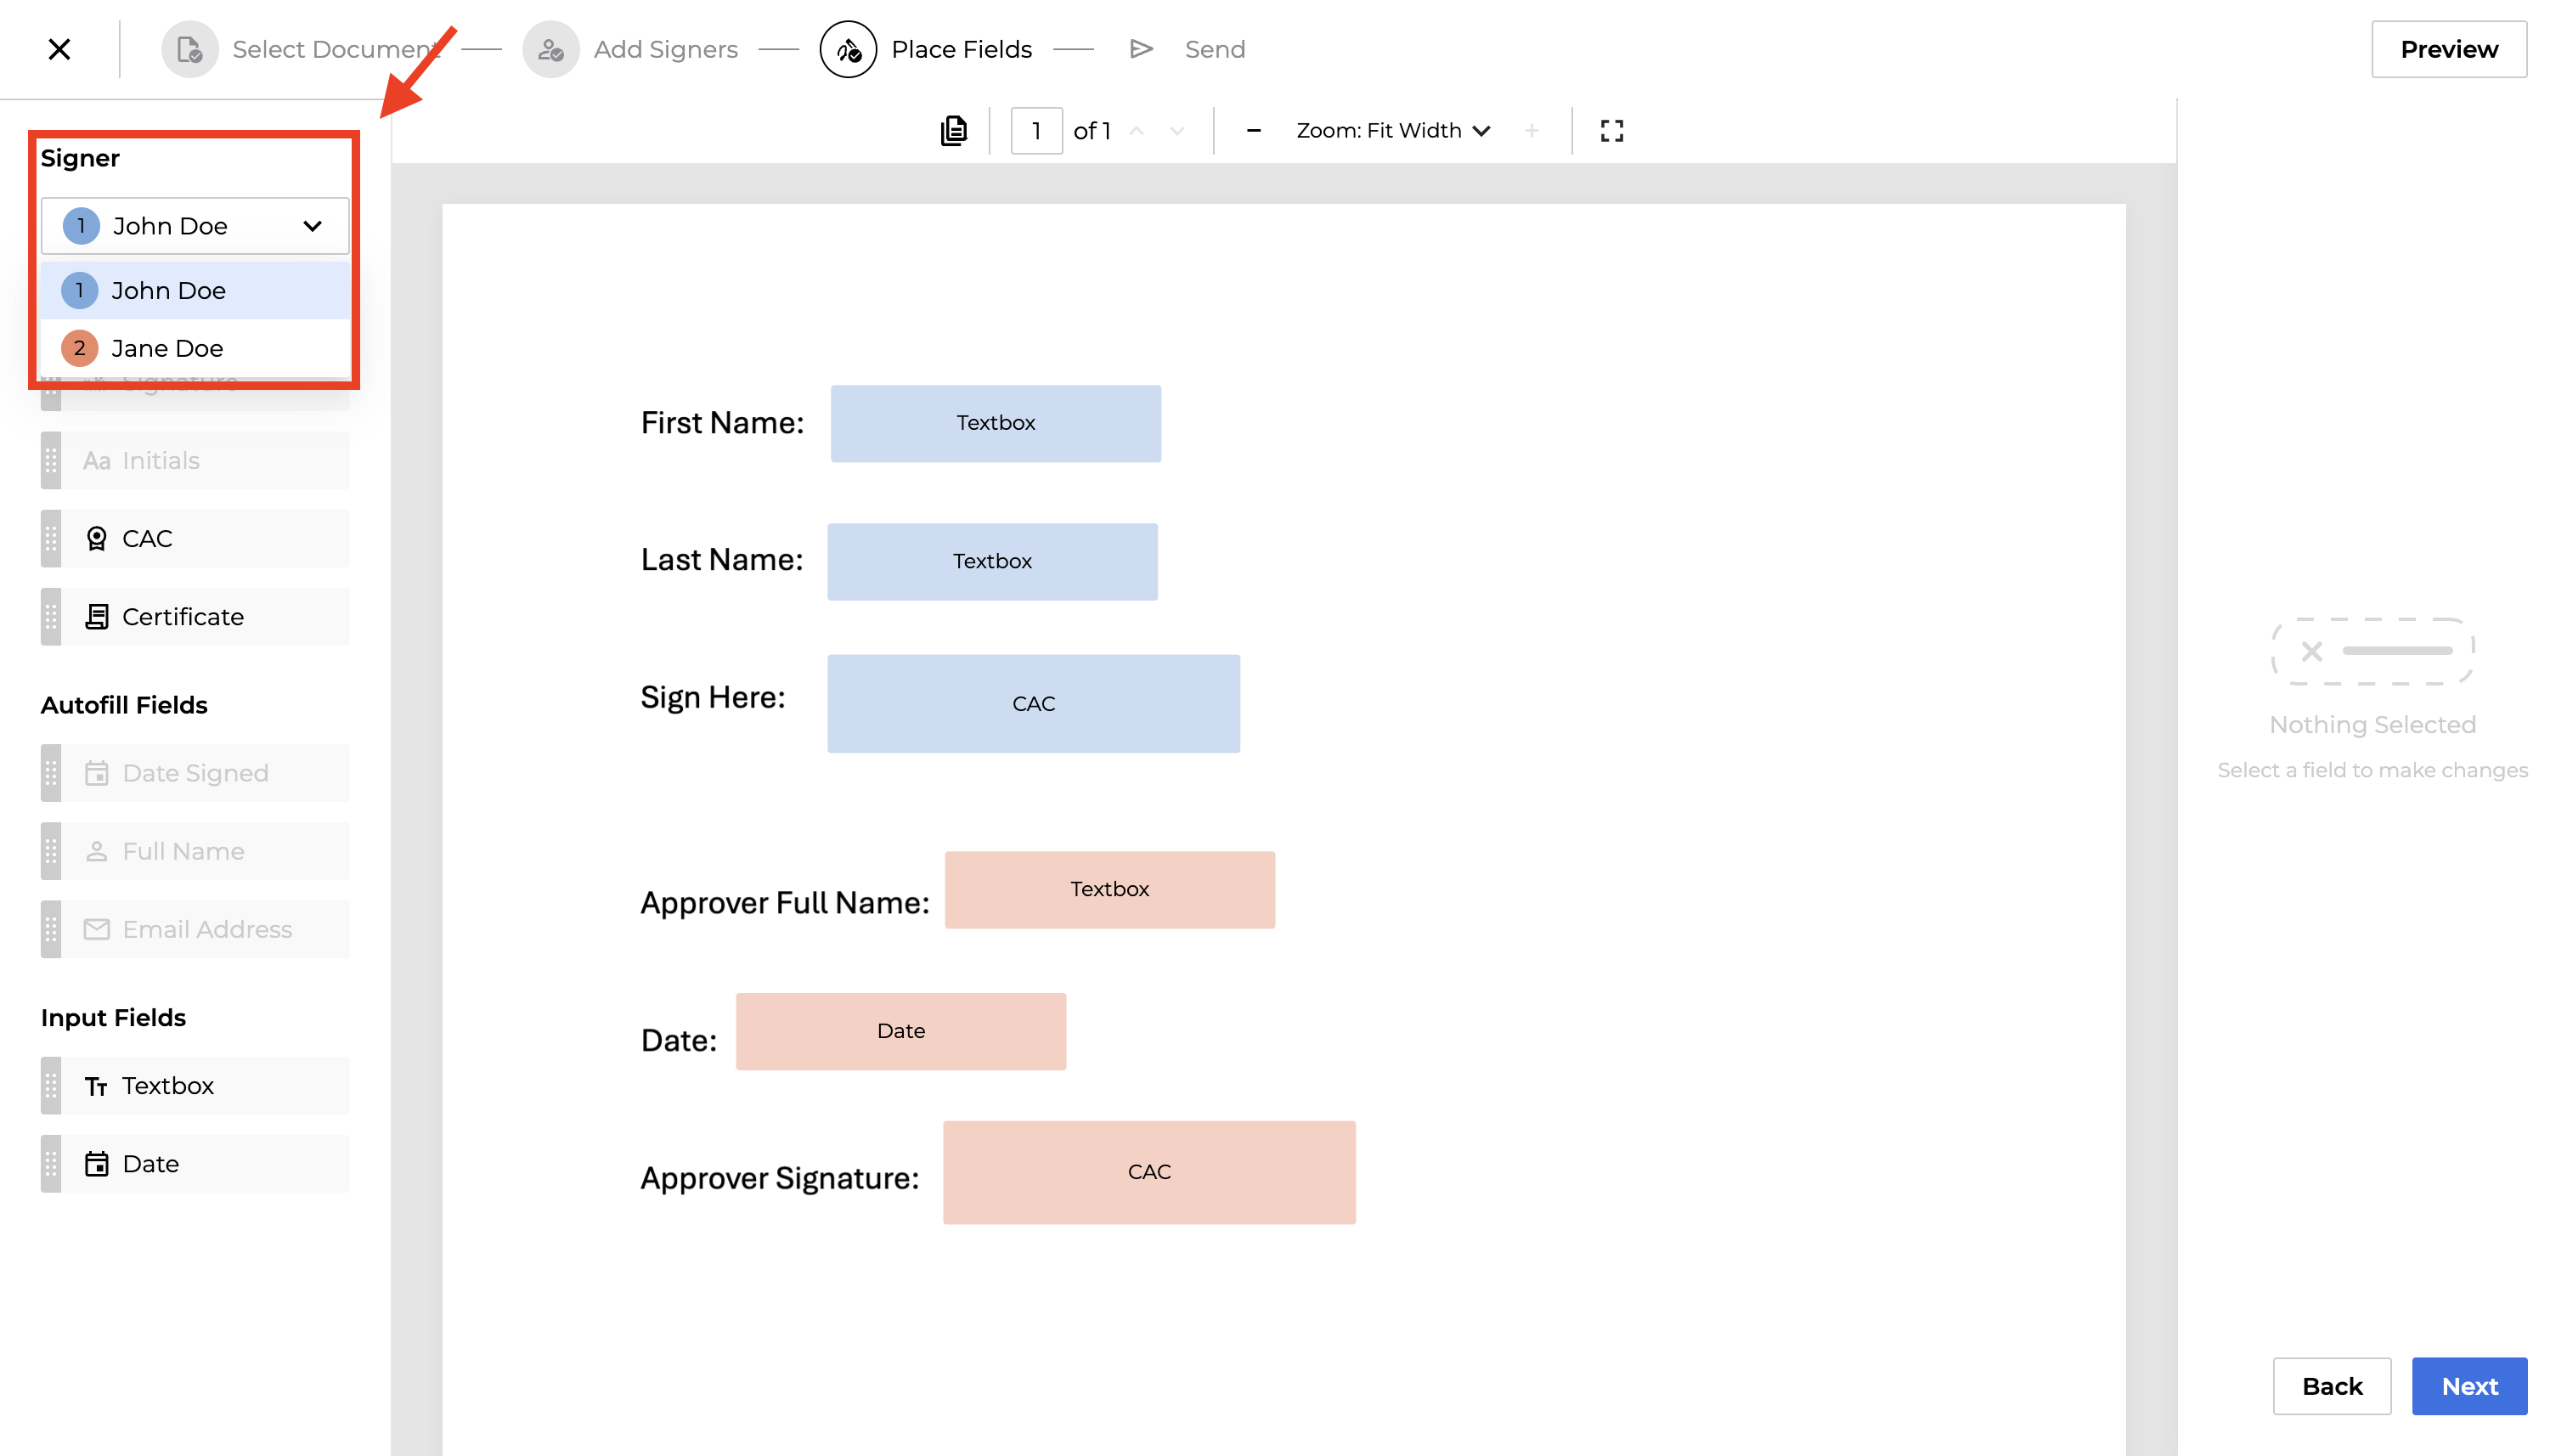
From the left side side bar, drag and drop a compatible Field types onto the page:
- Signature Fields
- Autofill Fields
- Input Fields
Click Next to proceed to the Review and Send step.

-
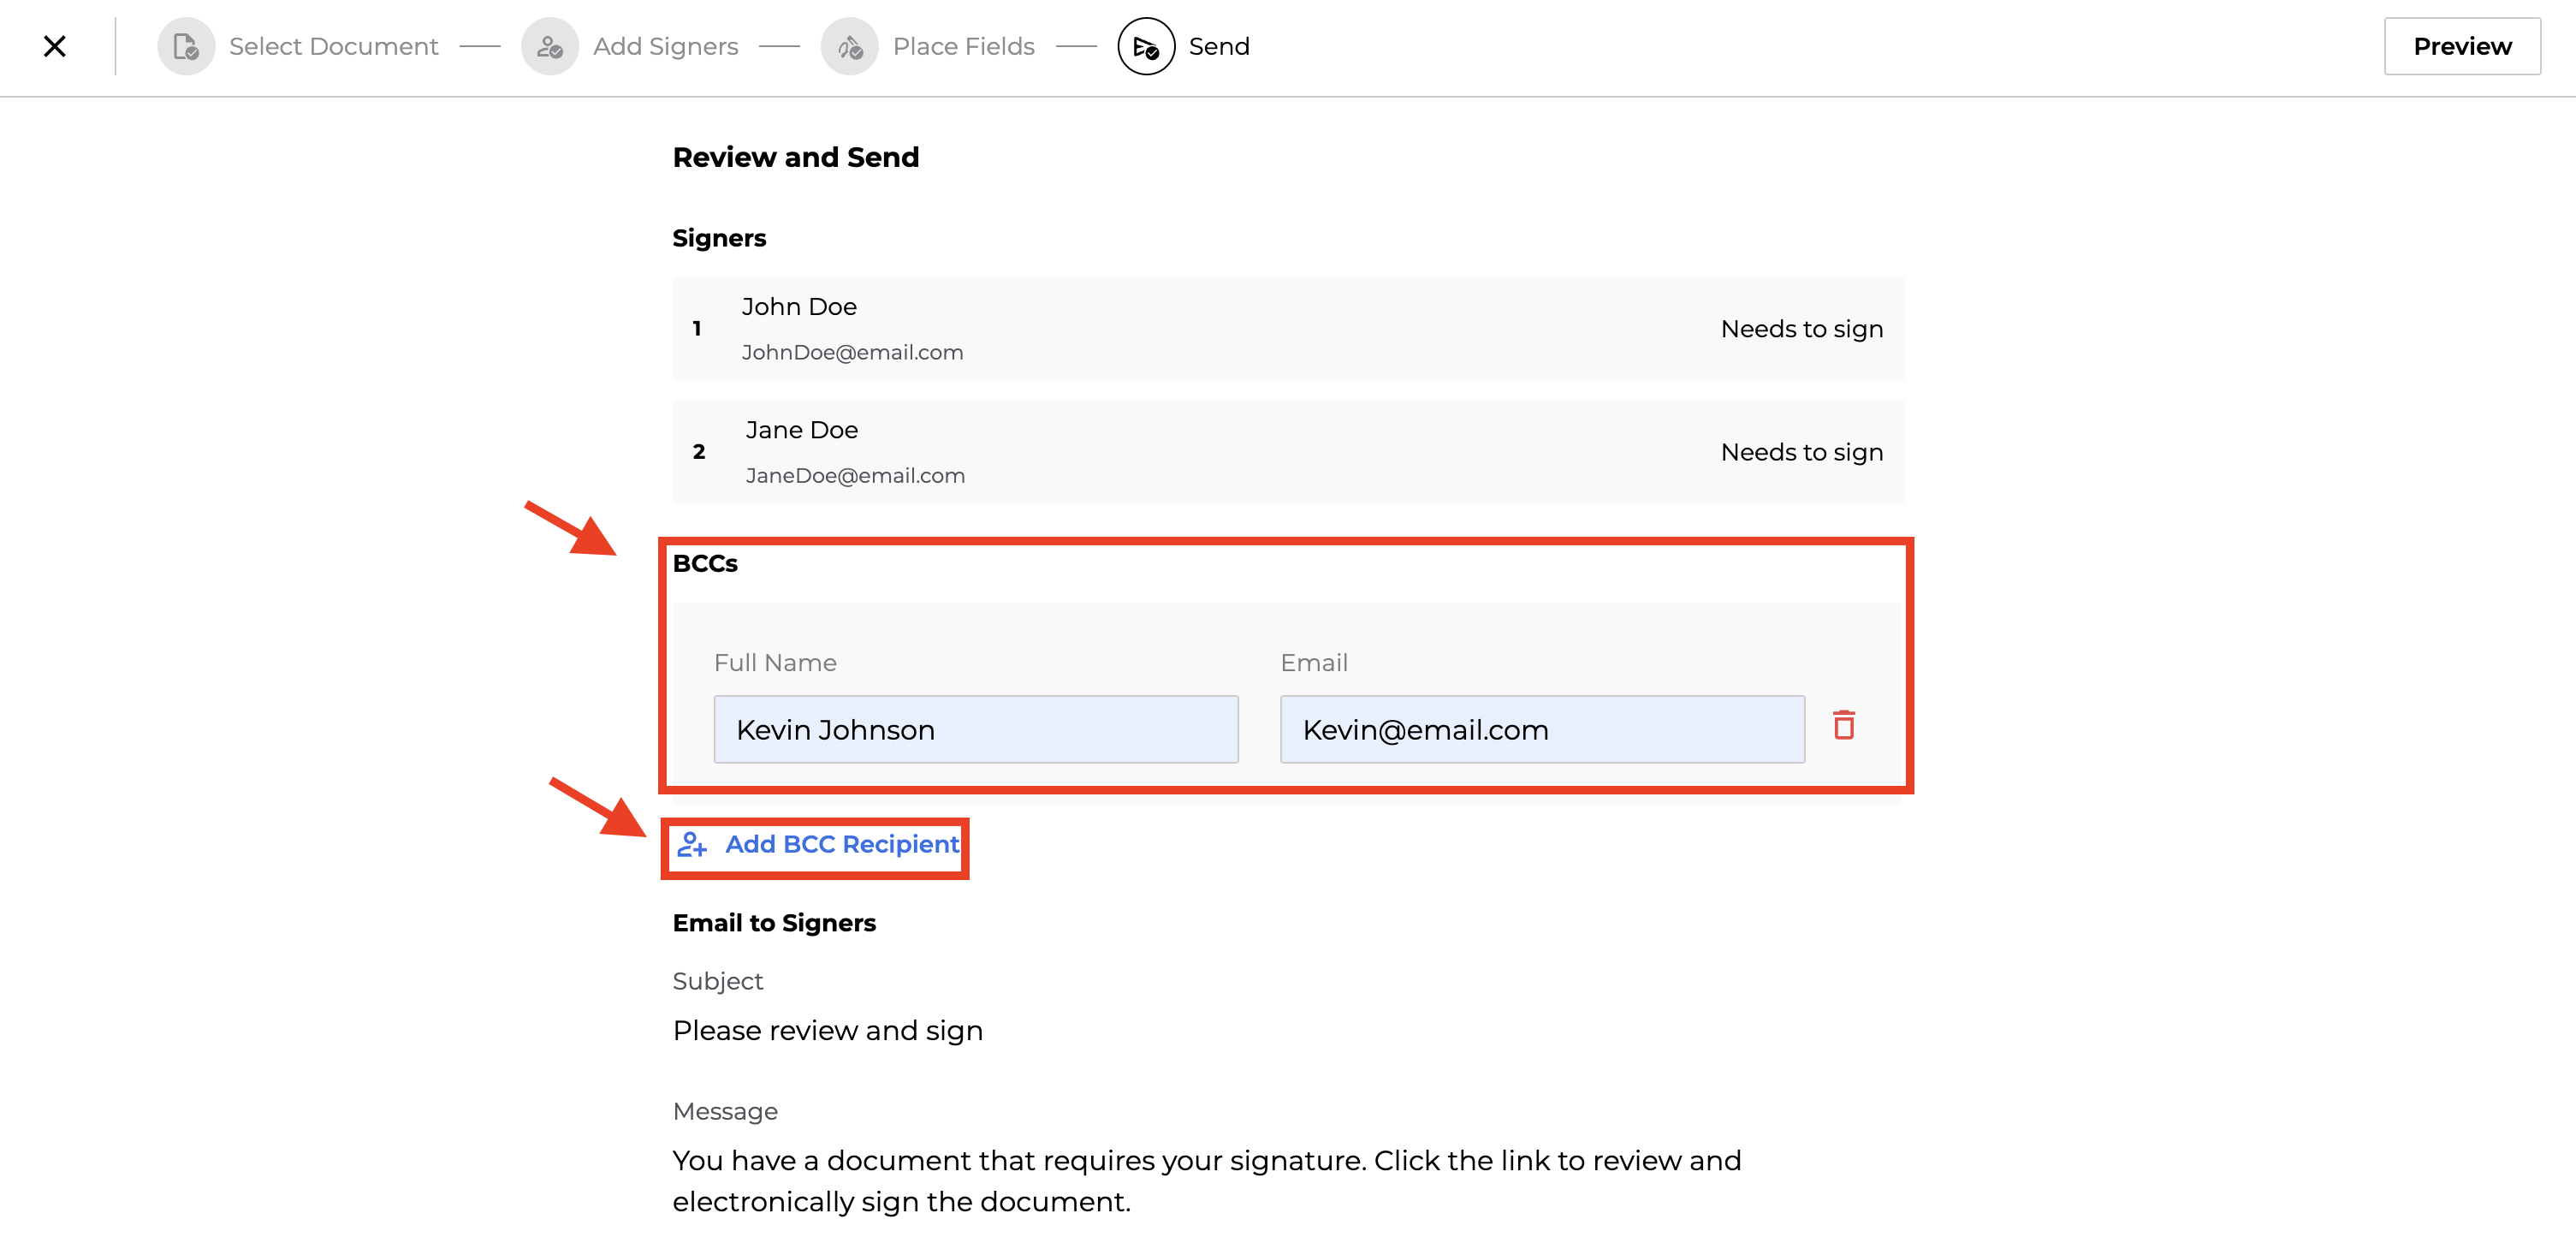
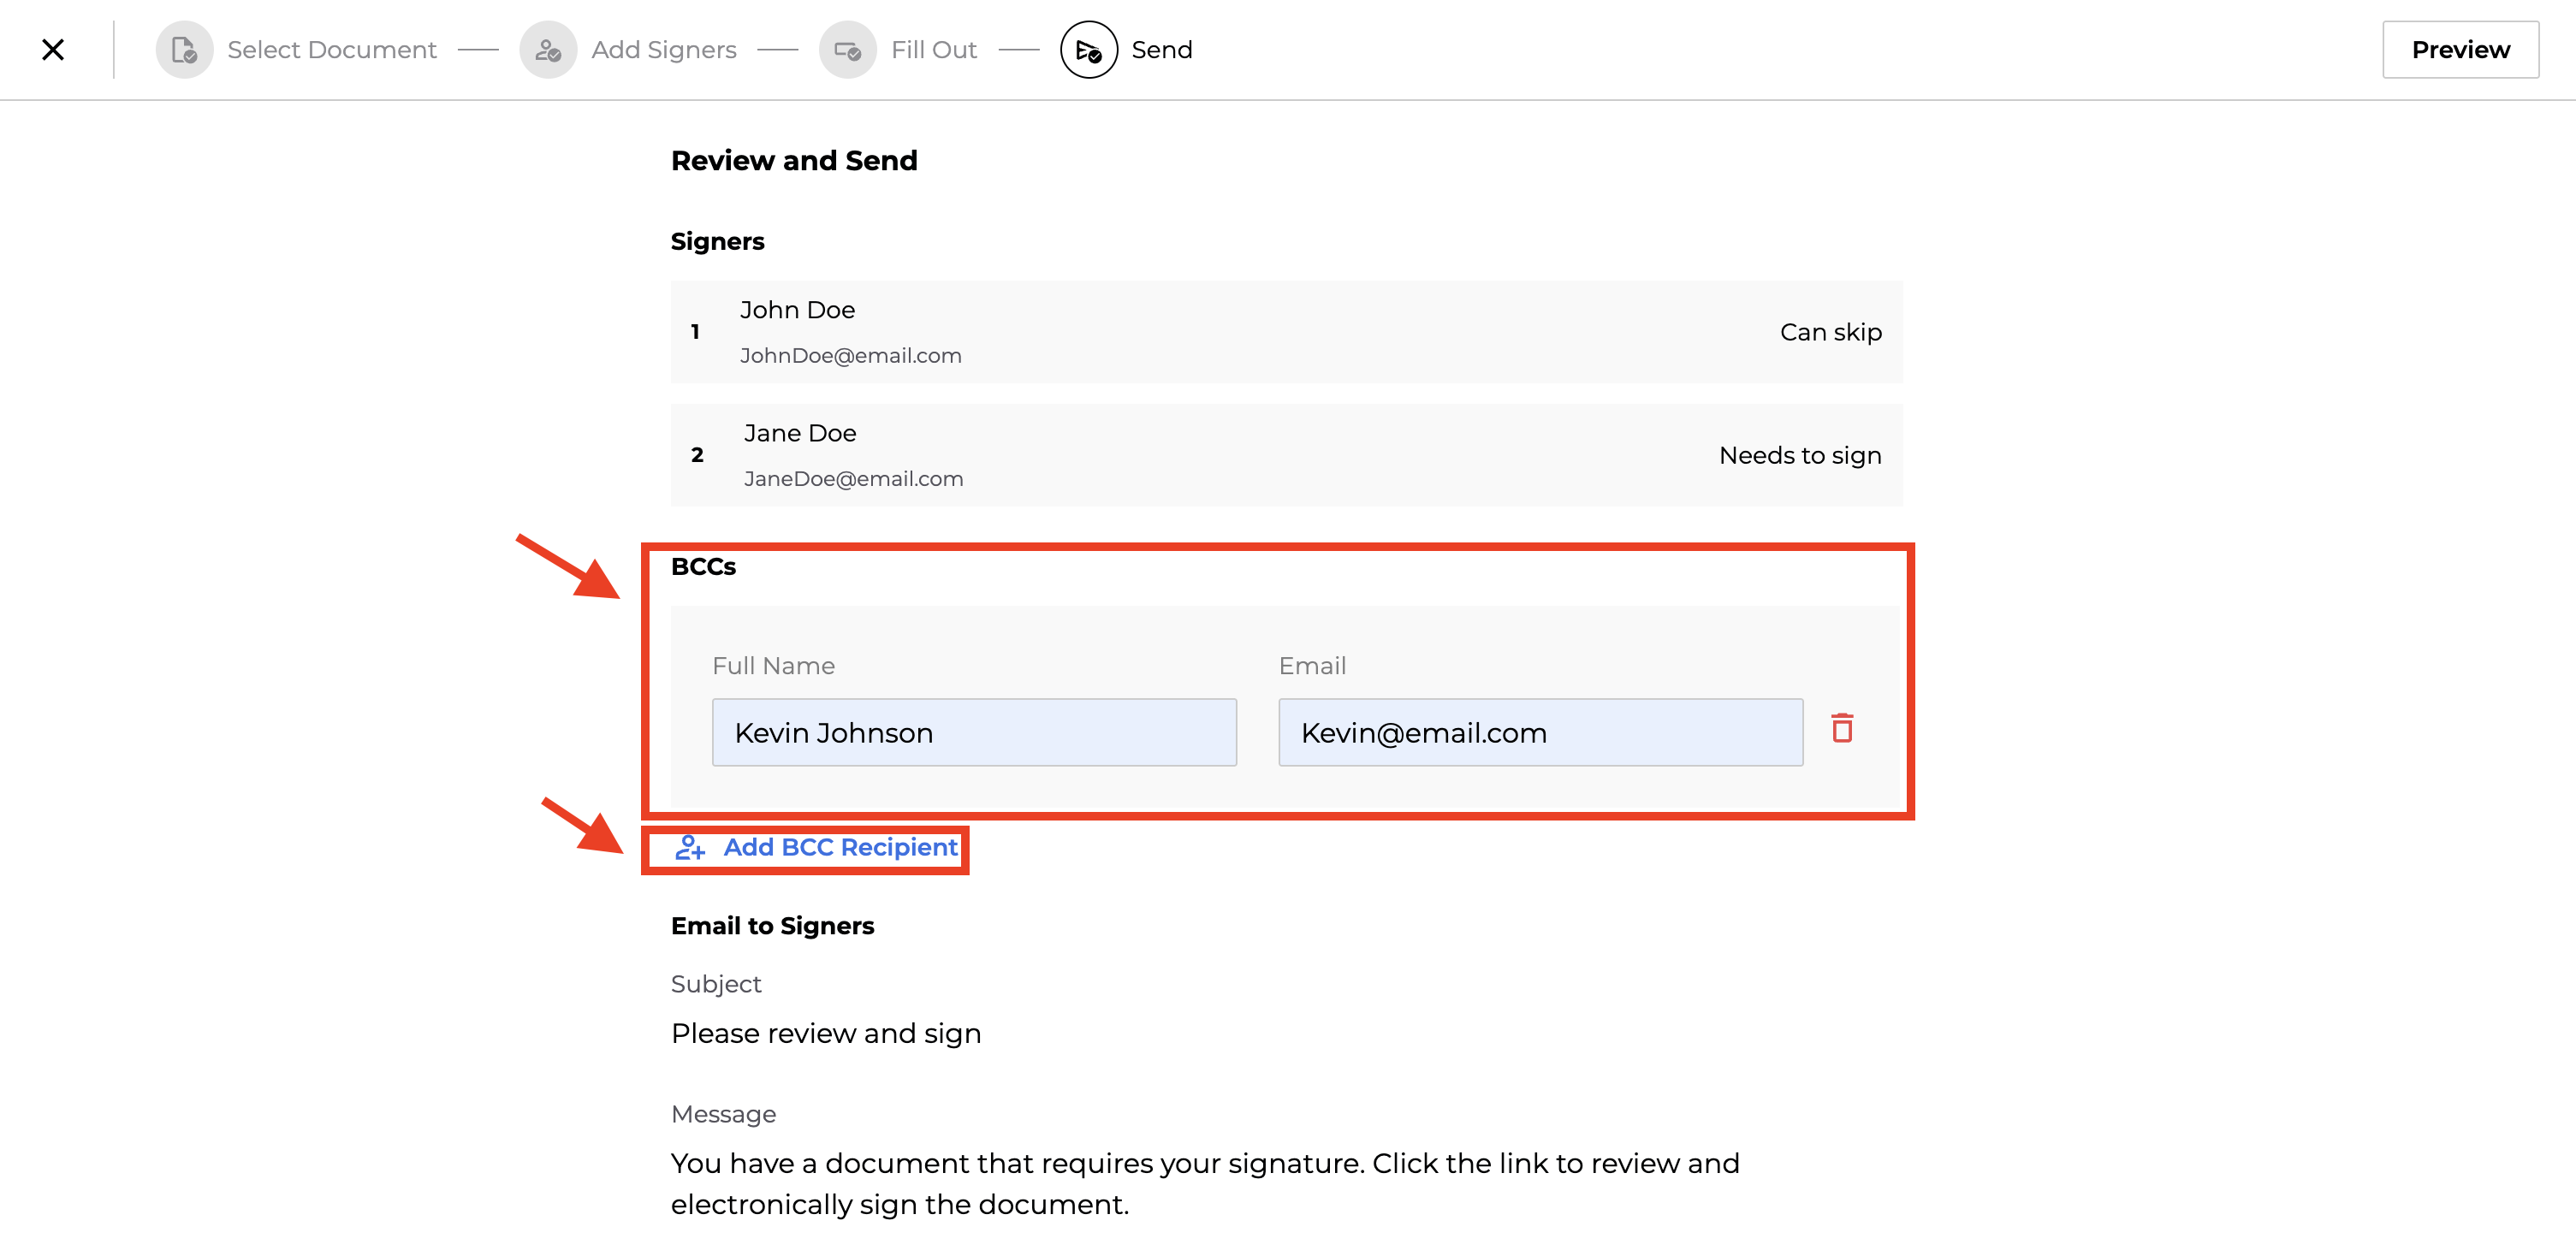
Review the Signers, BCCs and Name Document before clicking Send.
-
(Optional) In the BCCs section, enter the recipients full name under Full Name and their email under Email.
-
To add more BCC recipients, click +Add BCC Recipient.
-
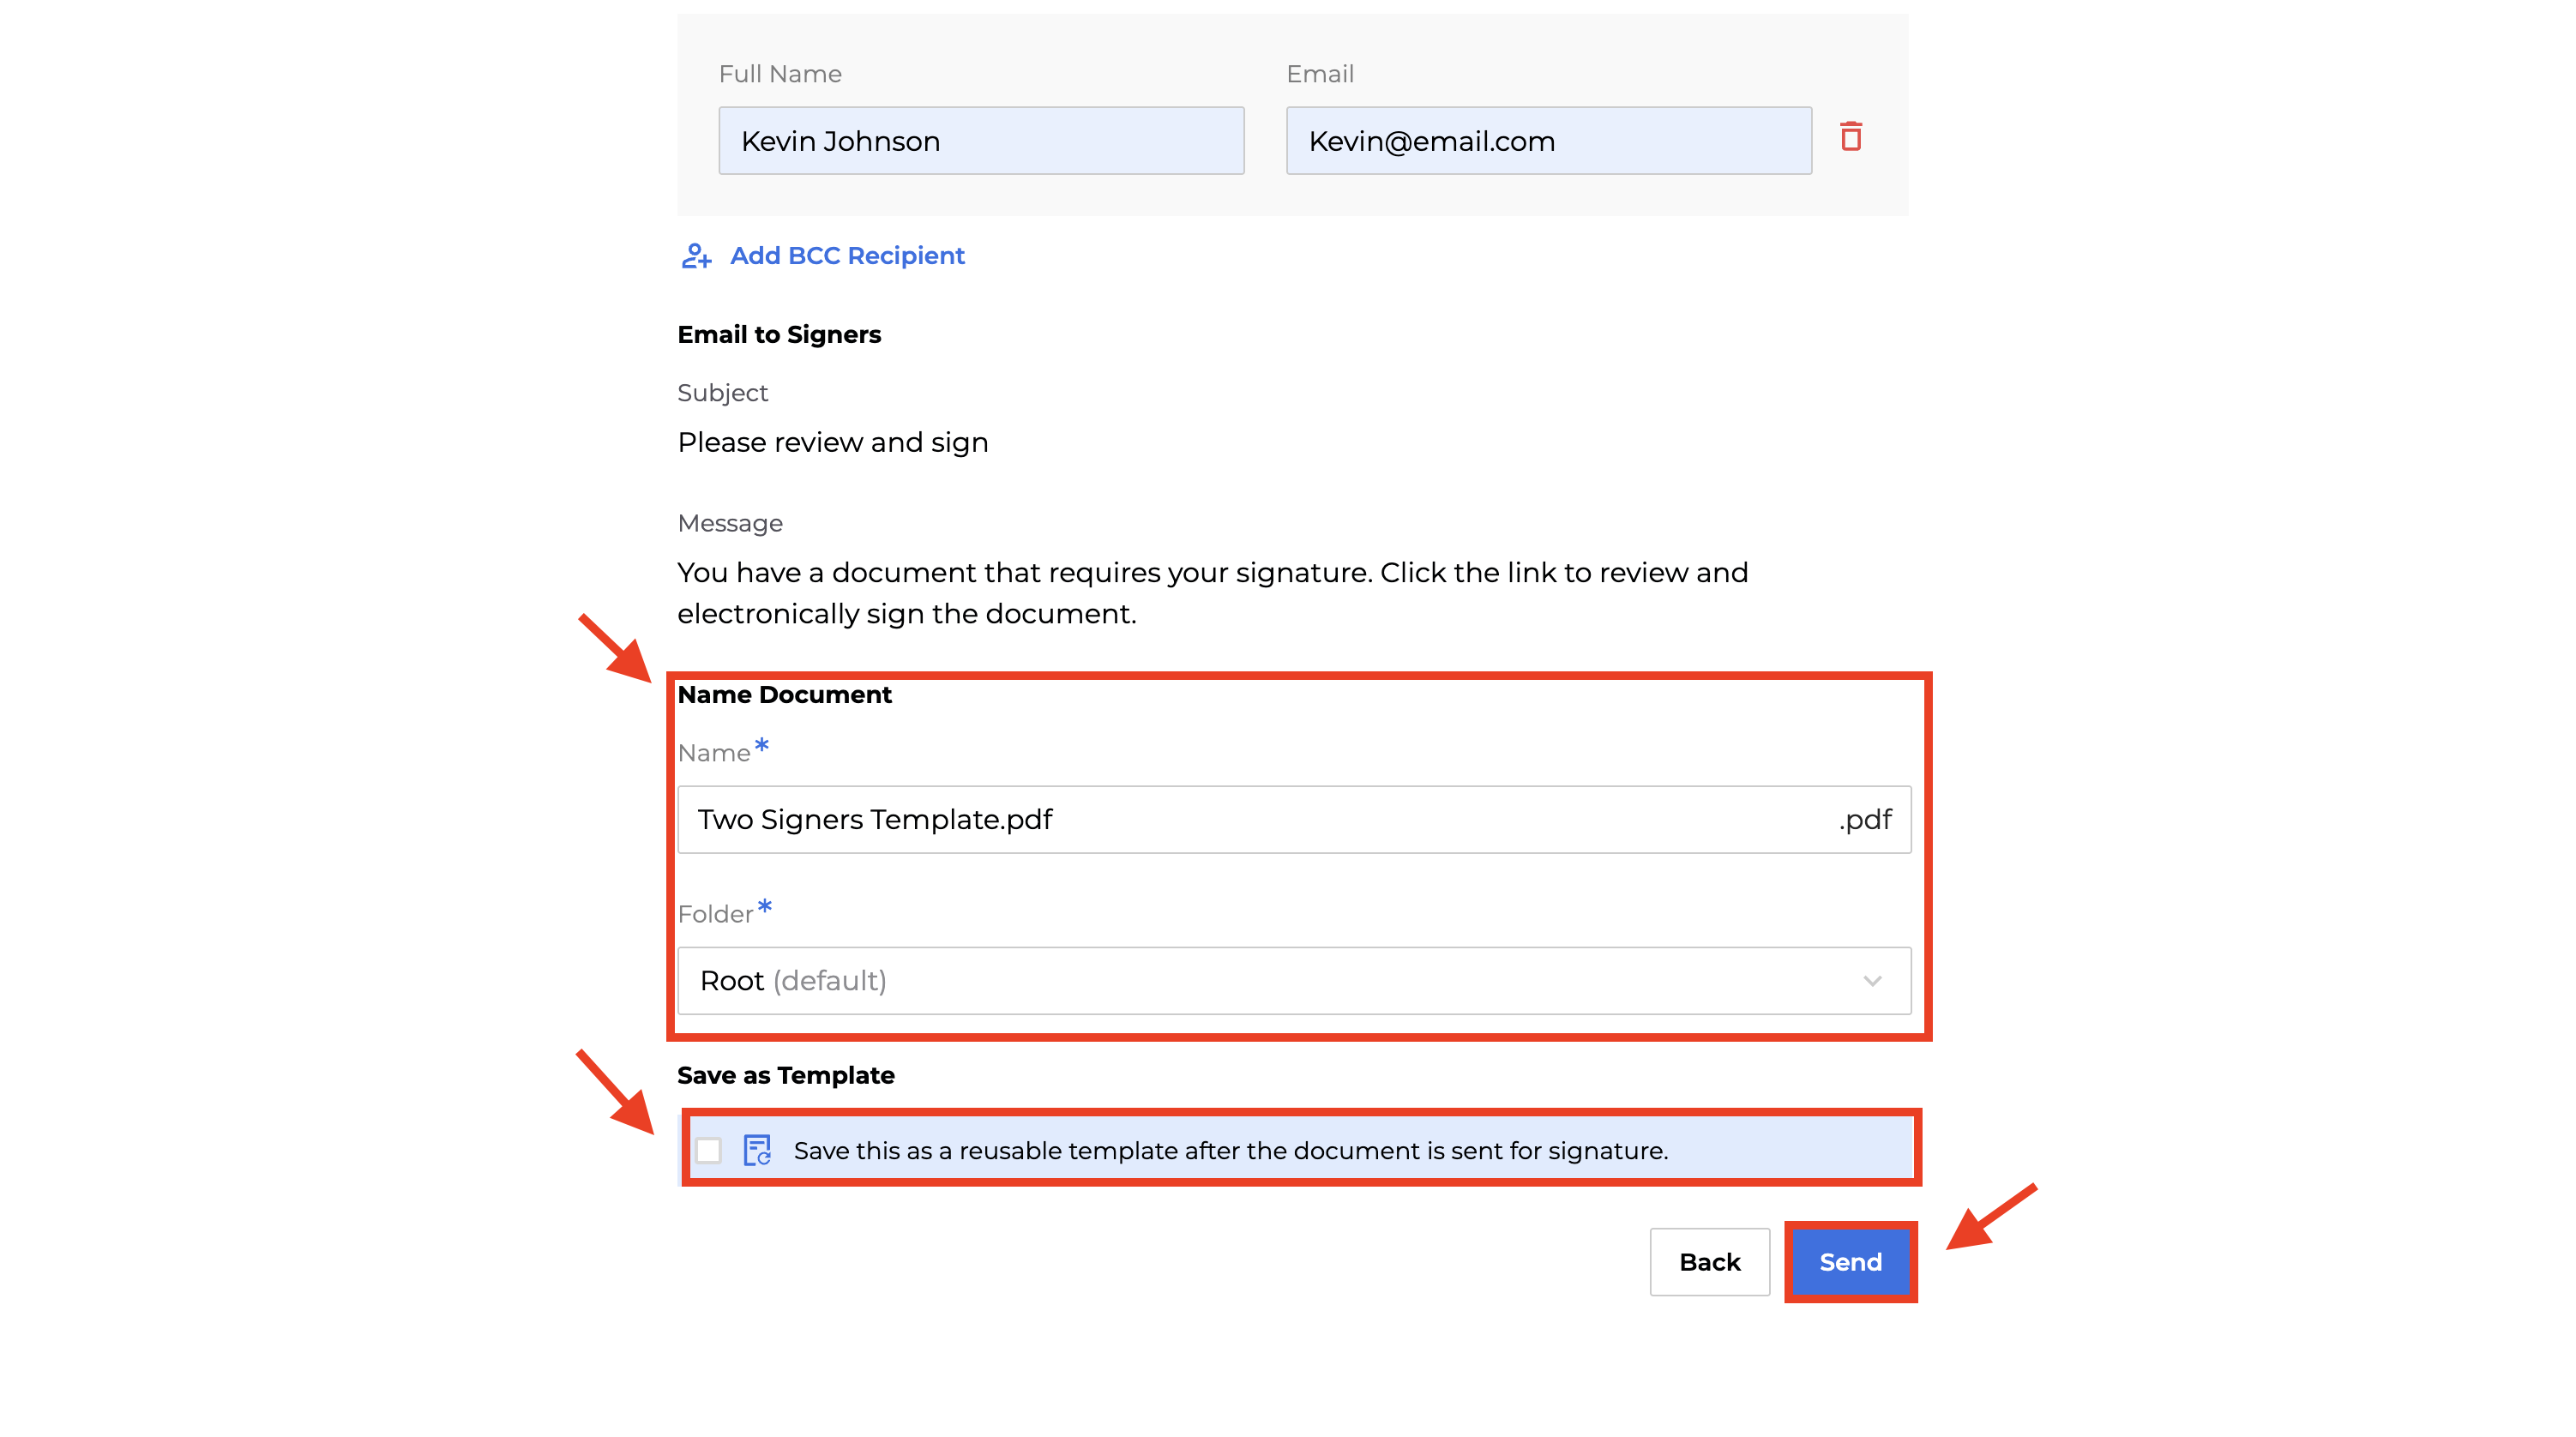
On the Review and Send page, scroll down to the Name Document section.
-
Select a folder for the document from the Folder dropdown box. (Default:
Root). -
Enter the Name of the document.
-
(Optional) Save the document as a reusable templateSave as Template.
-
Click Send to finalize.
-
-
Using a template to send a document for signature
To request signatures through an existing template, do the following:
-
Click Request Signature.
-
-
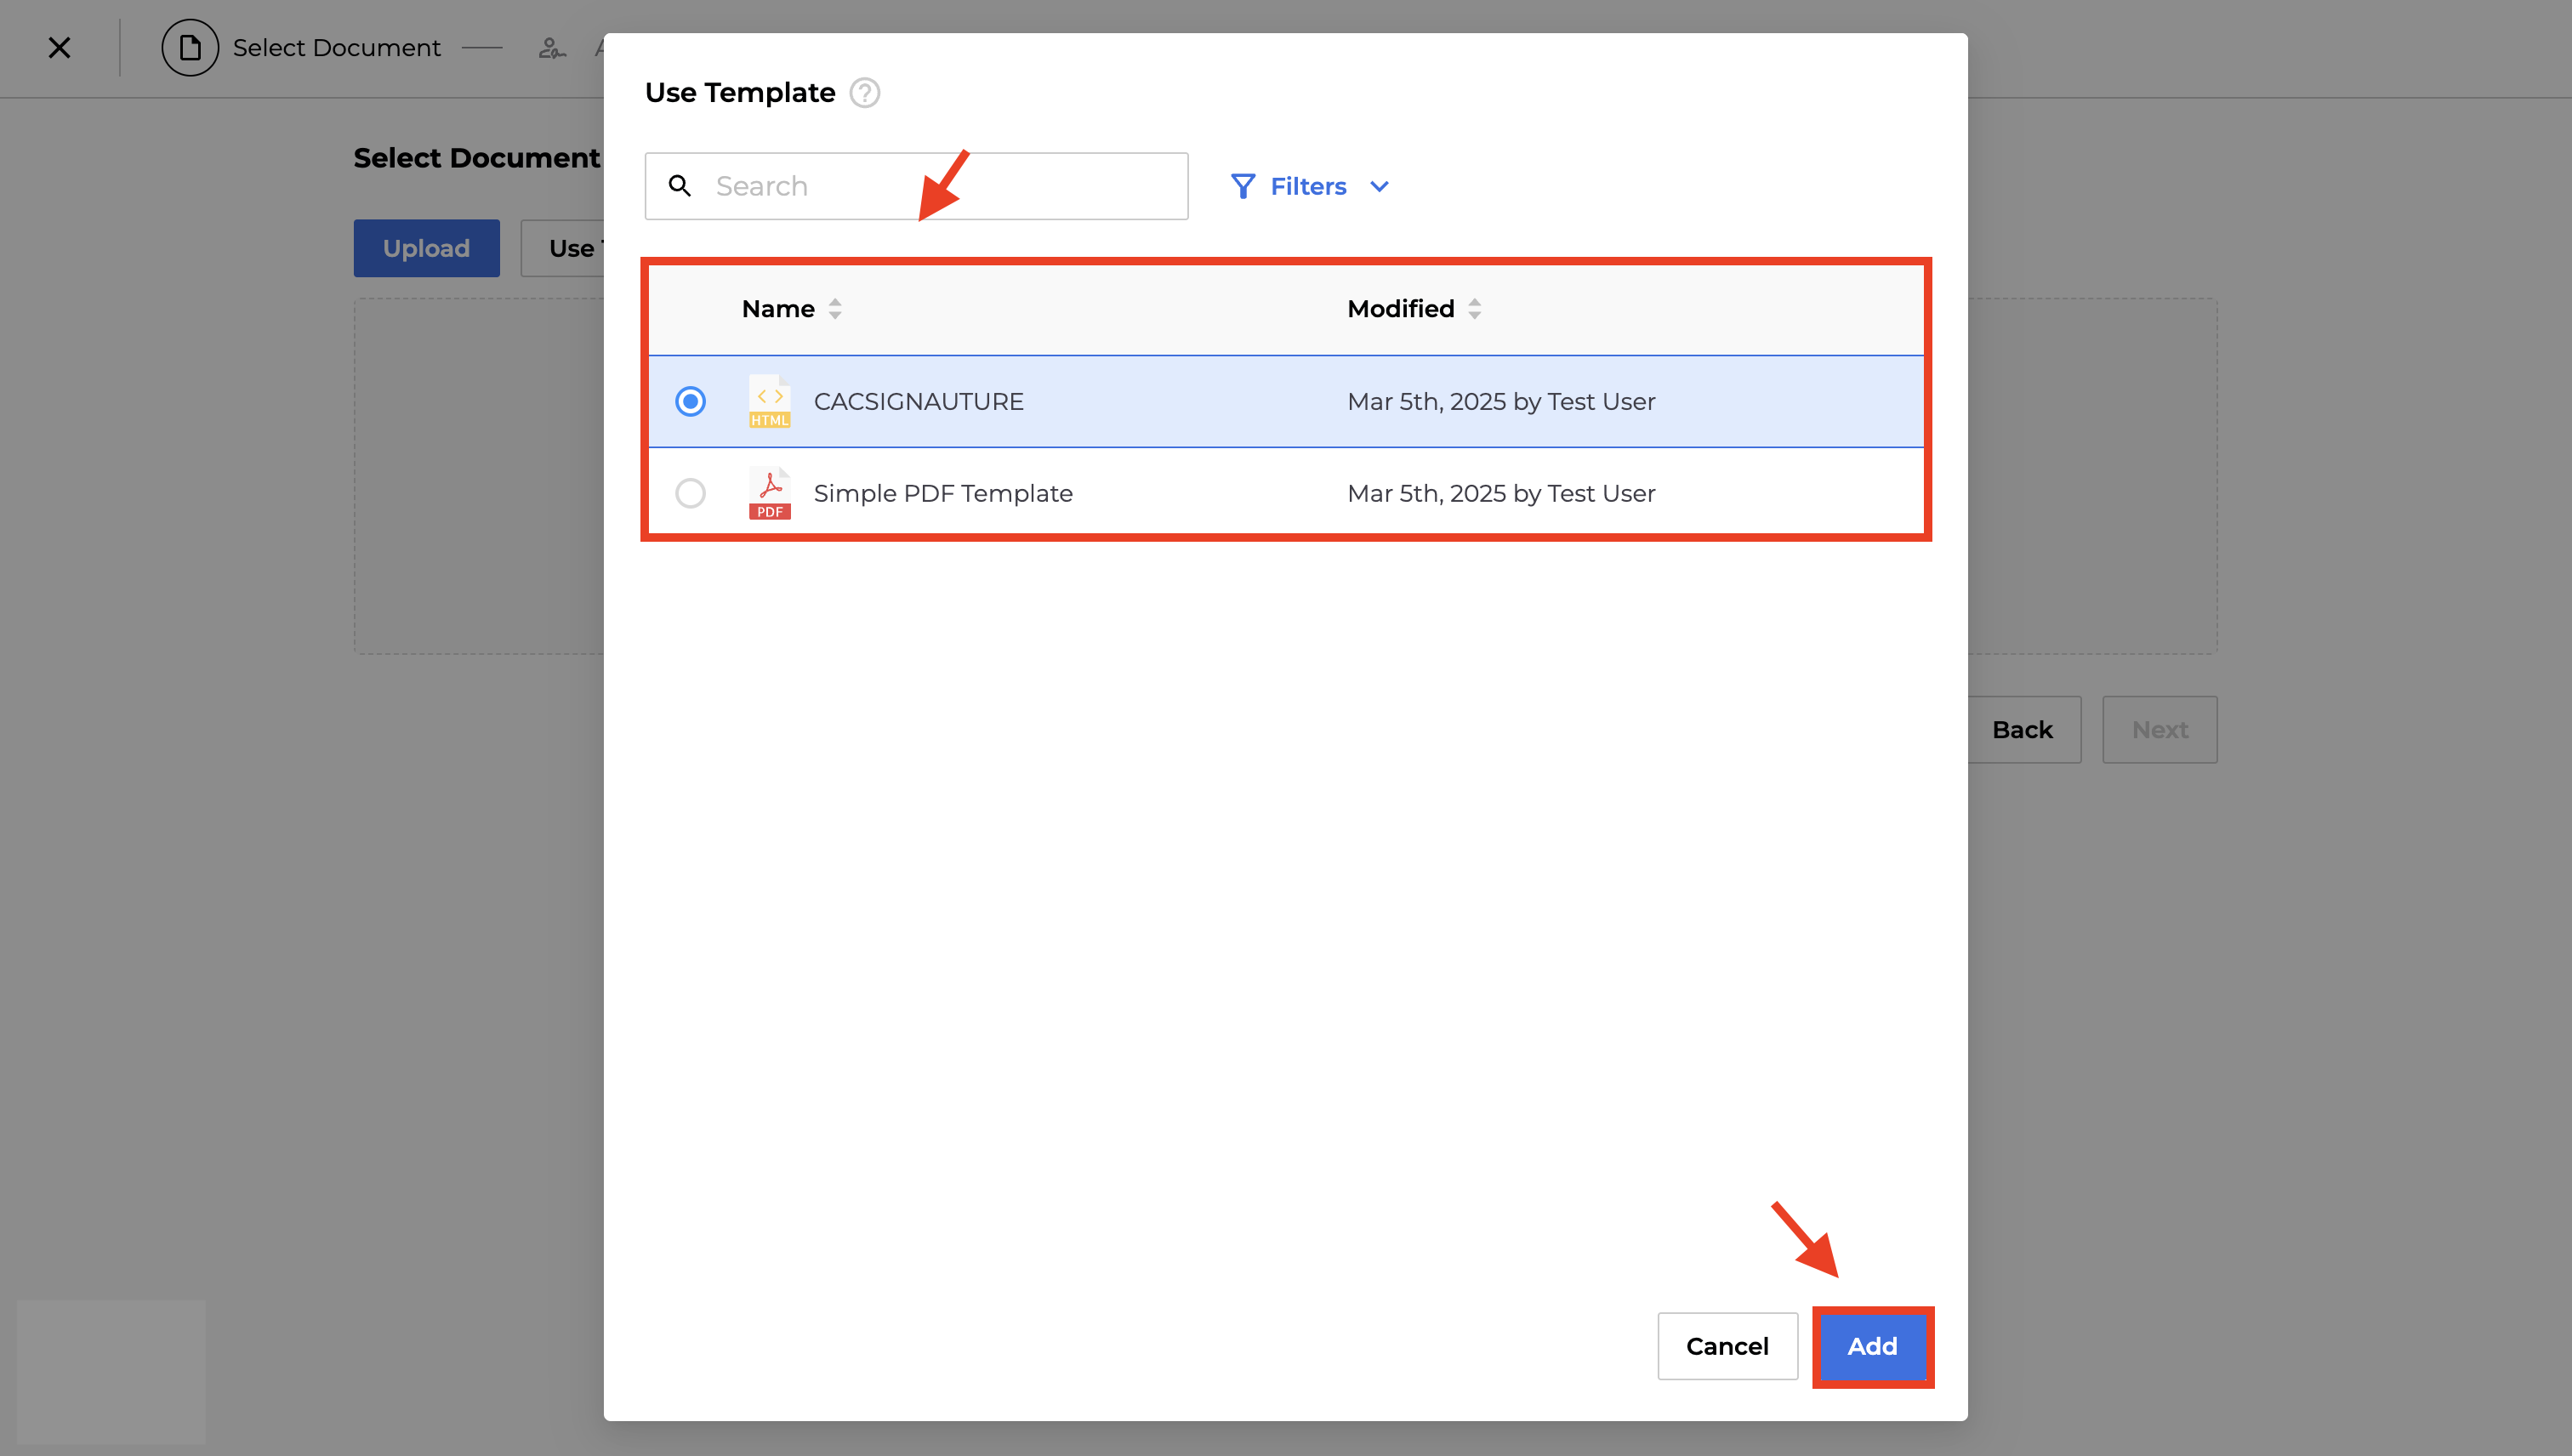
Click Use Template.
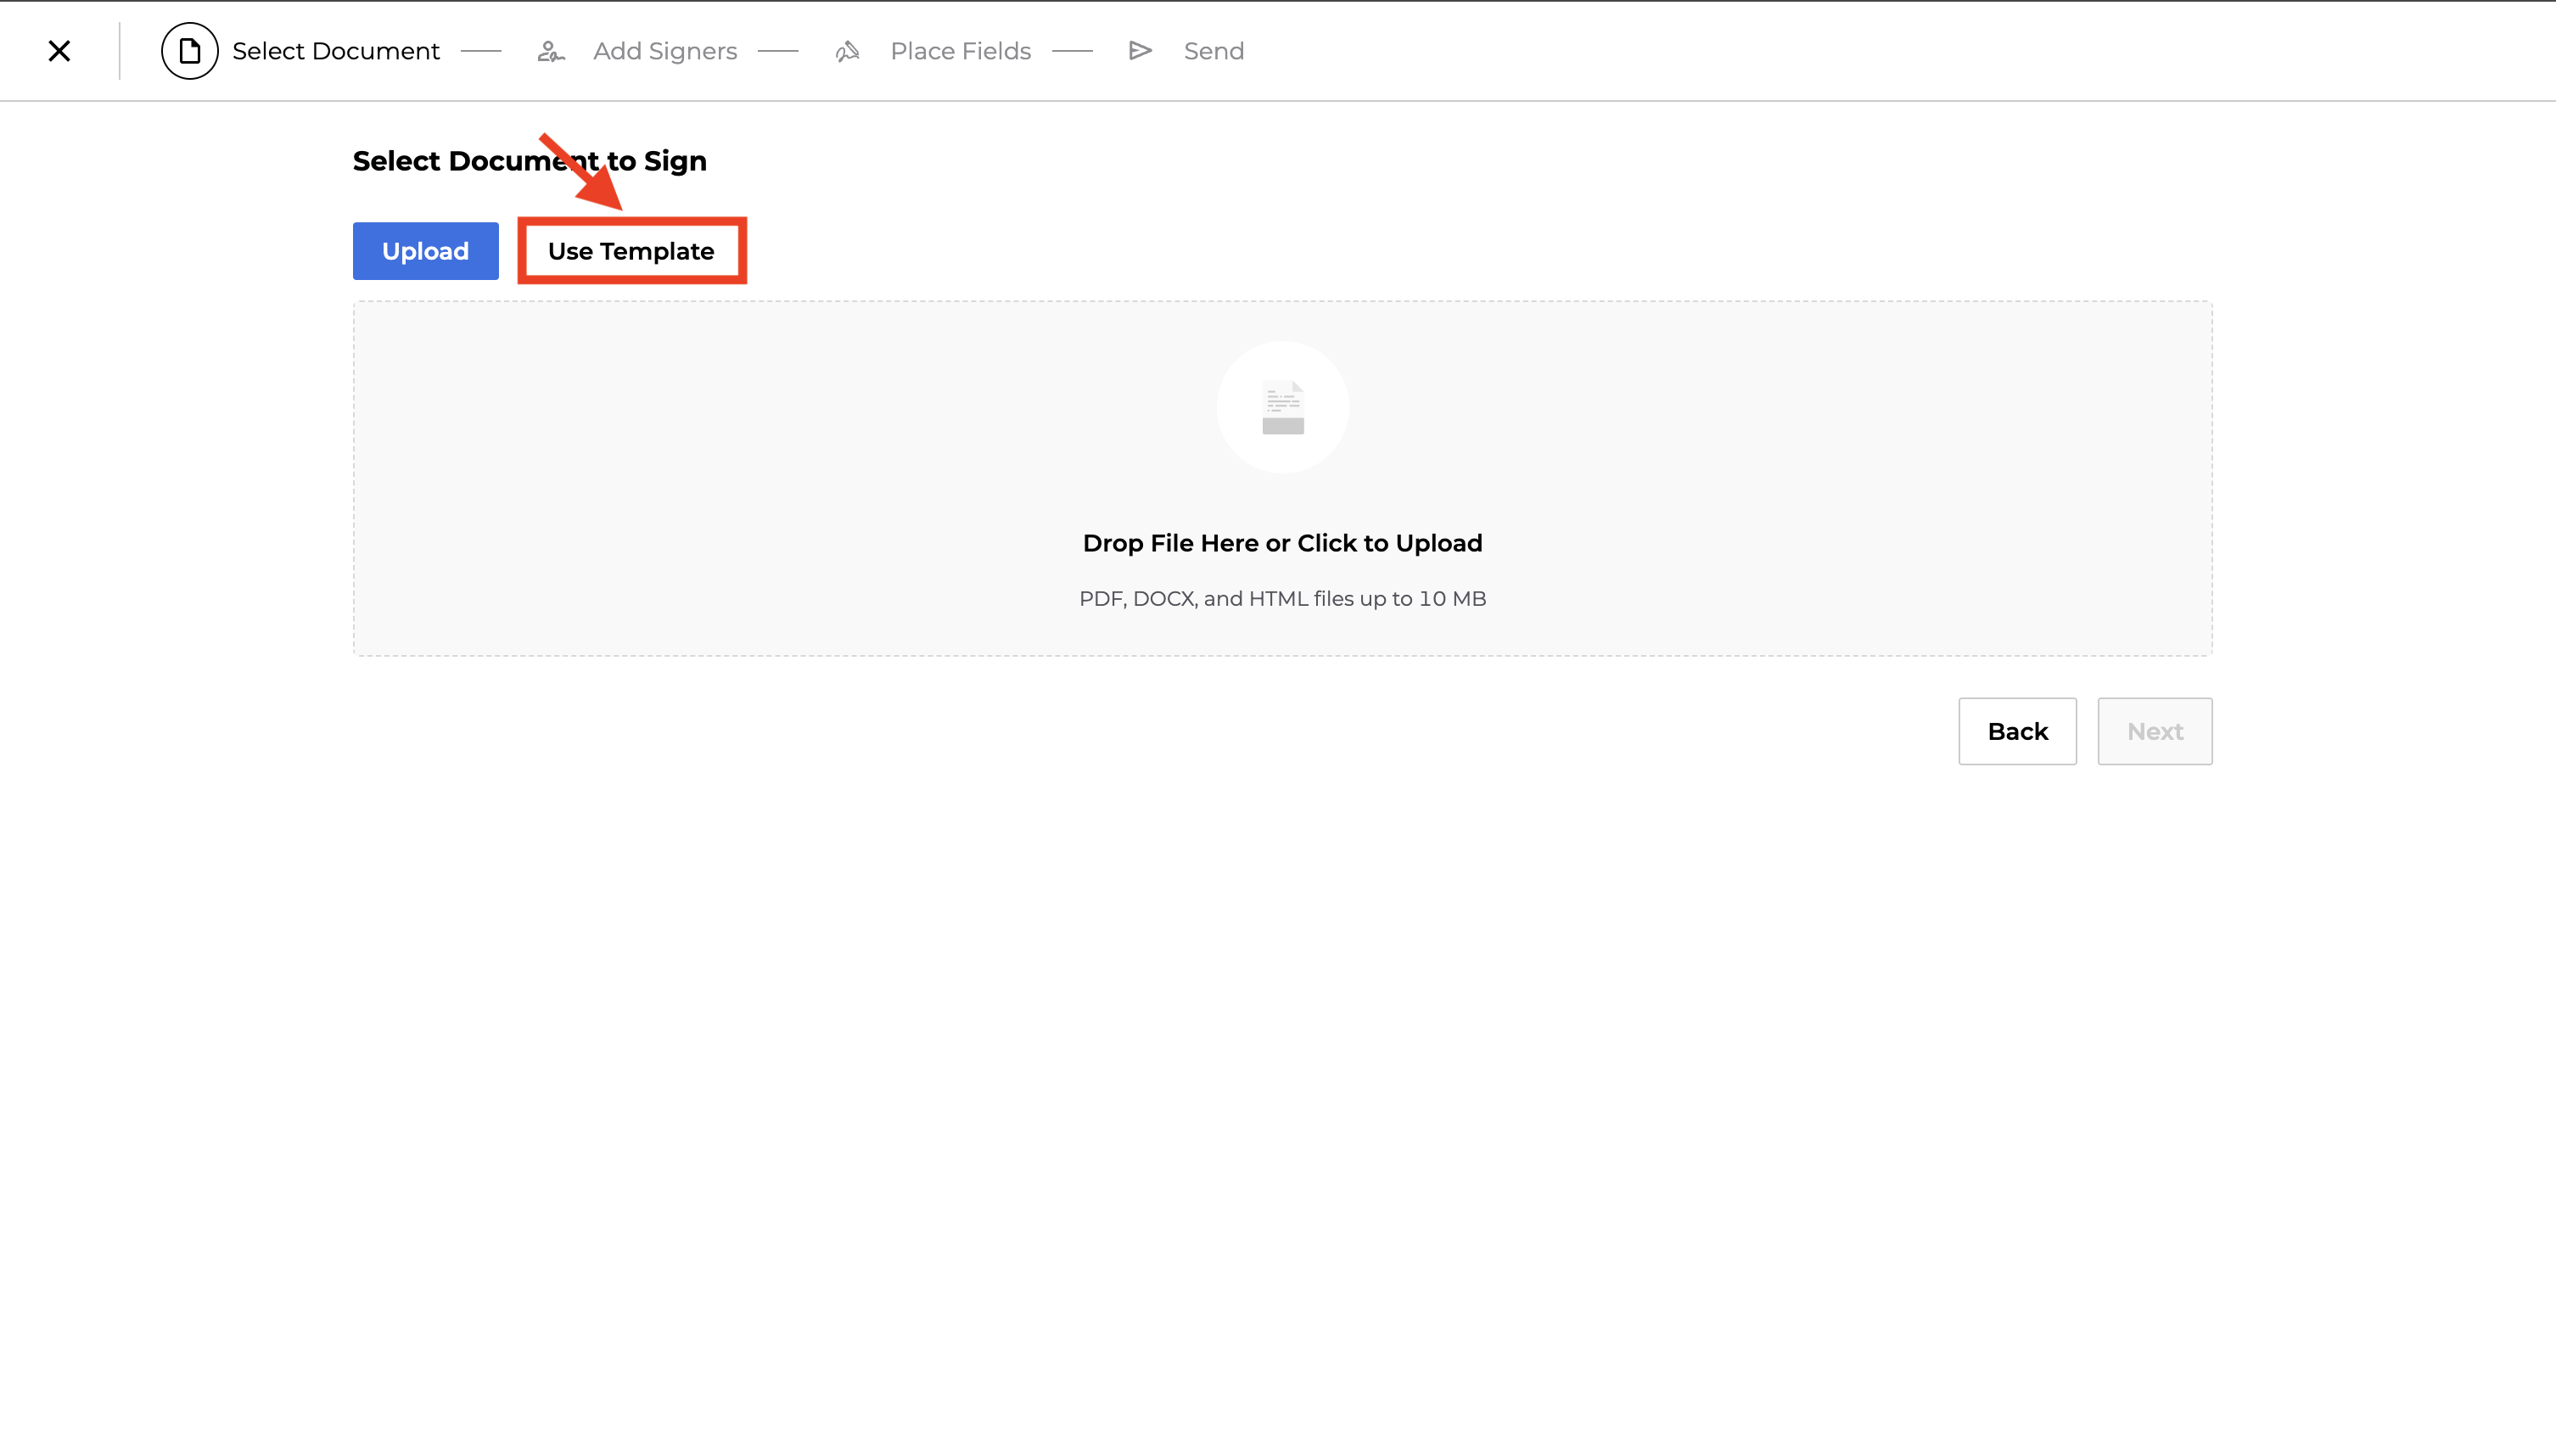
- In the Use Template tab, choose an existing template and click Add.
Note: Only templates with Digital Signature fields embedded in them will display.
-
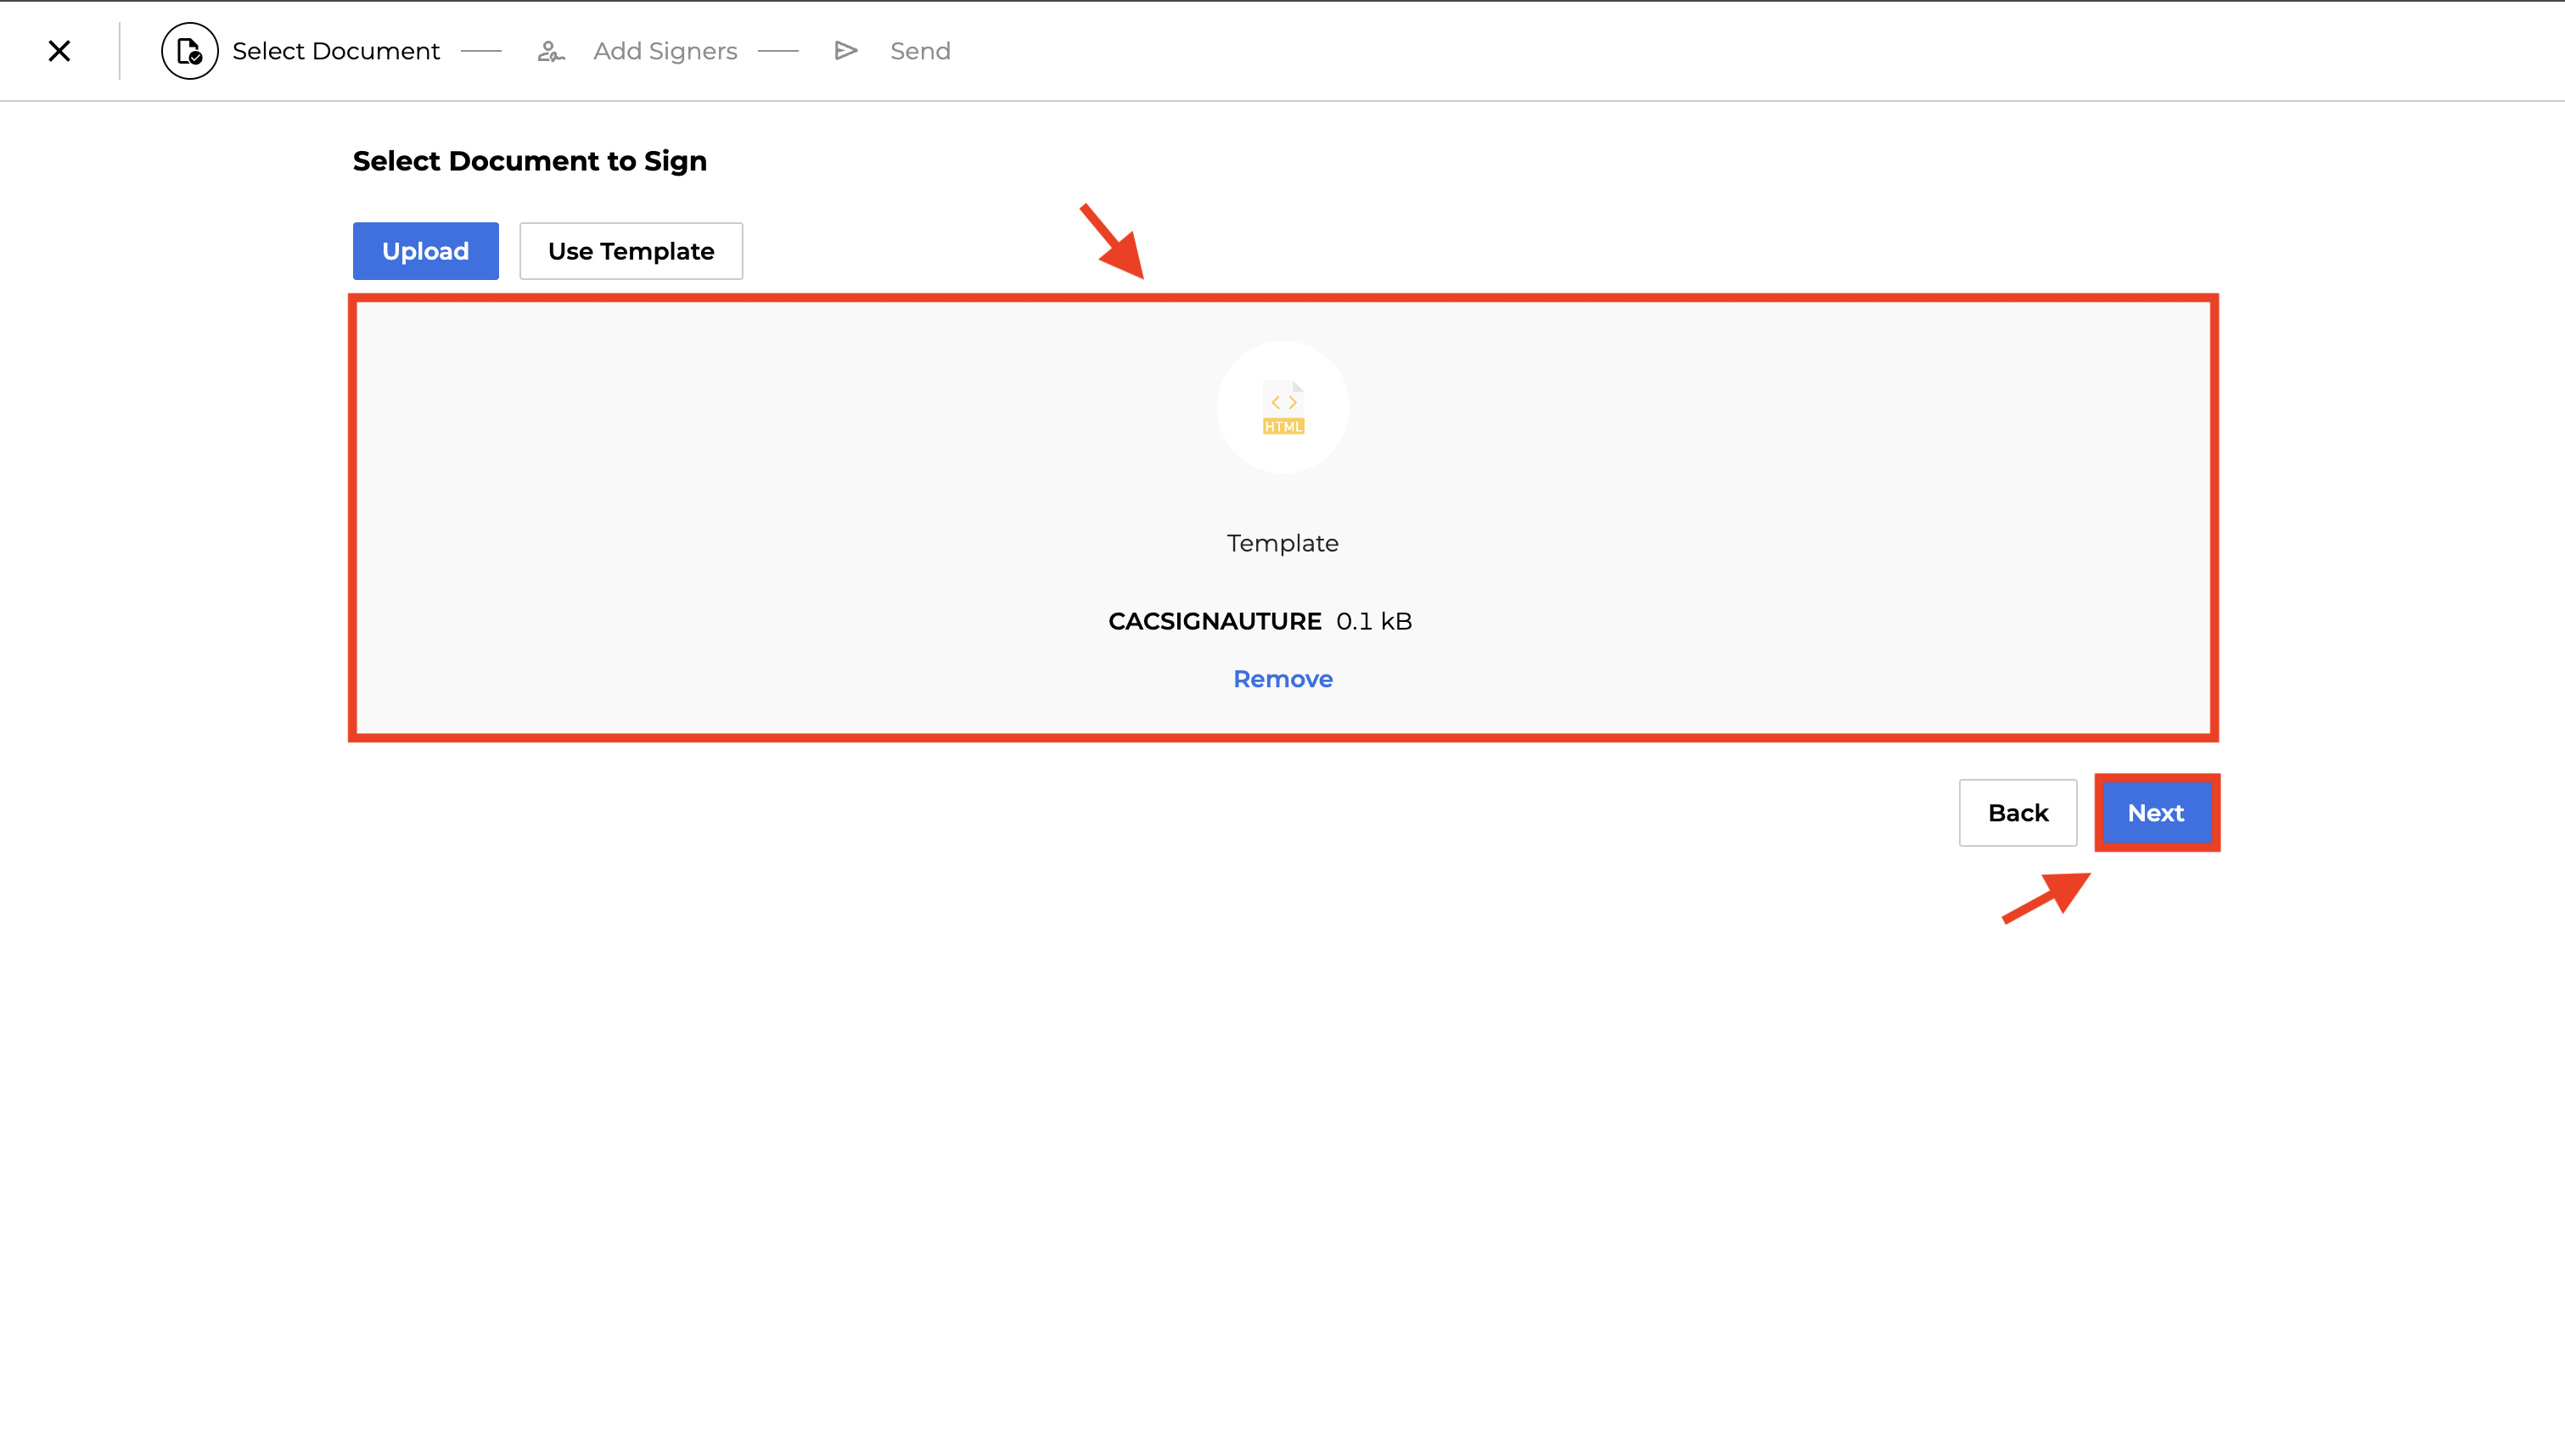
Review the selected template and click Next.
-
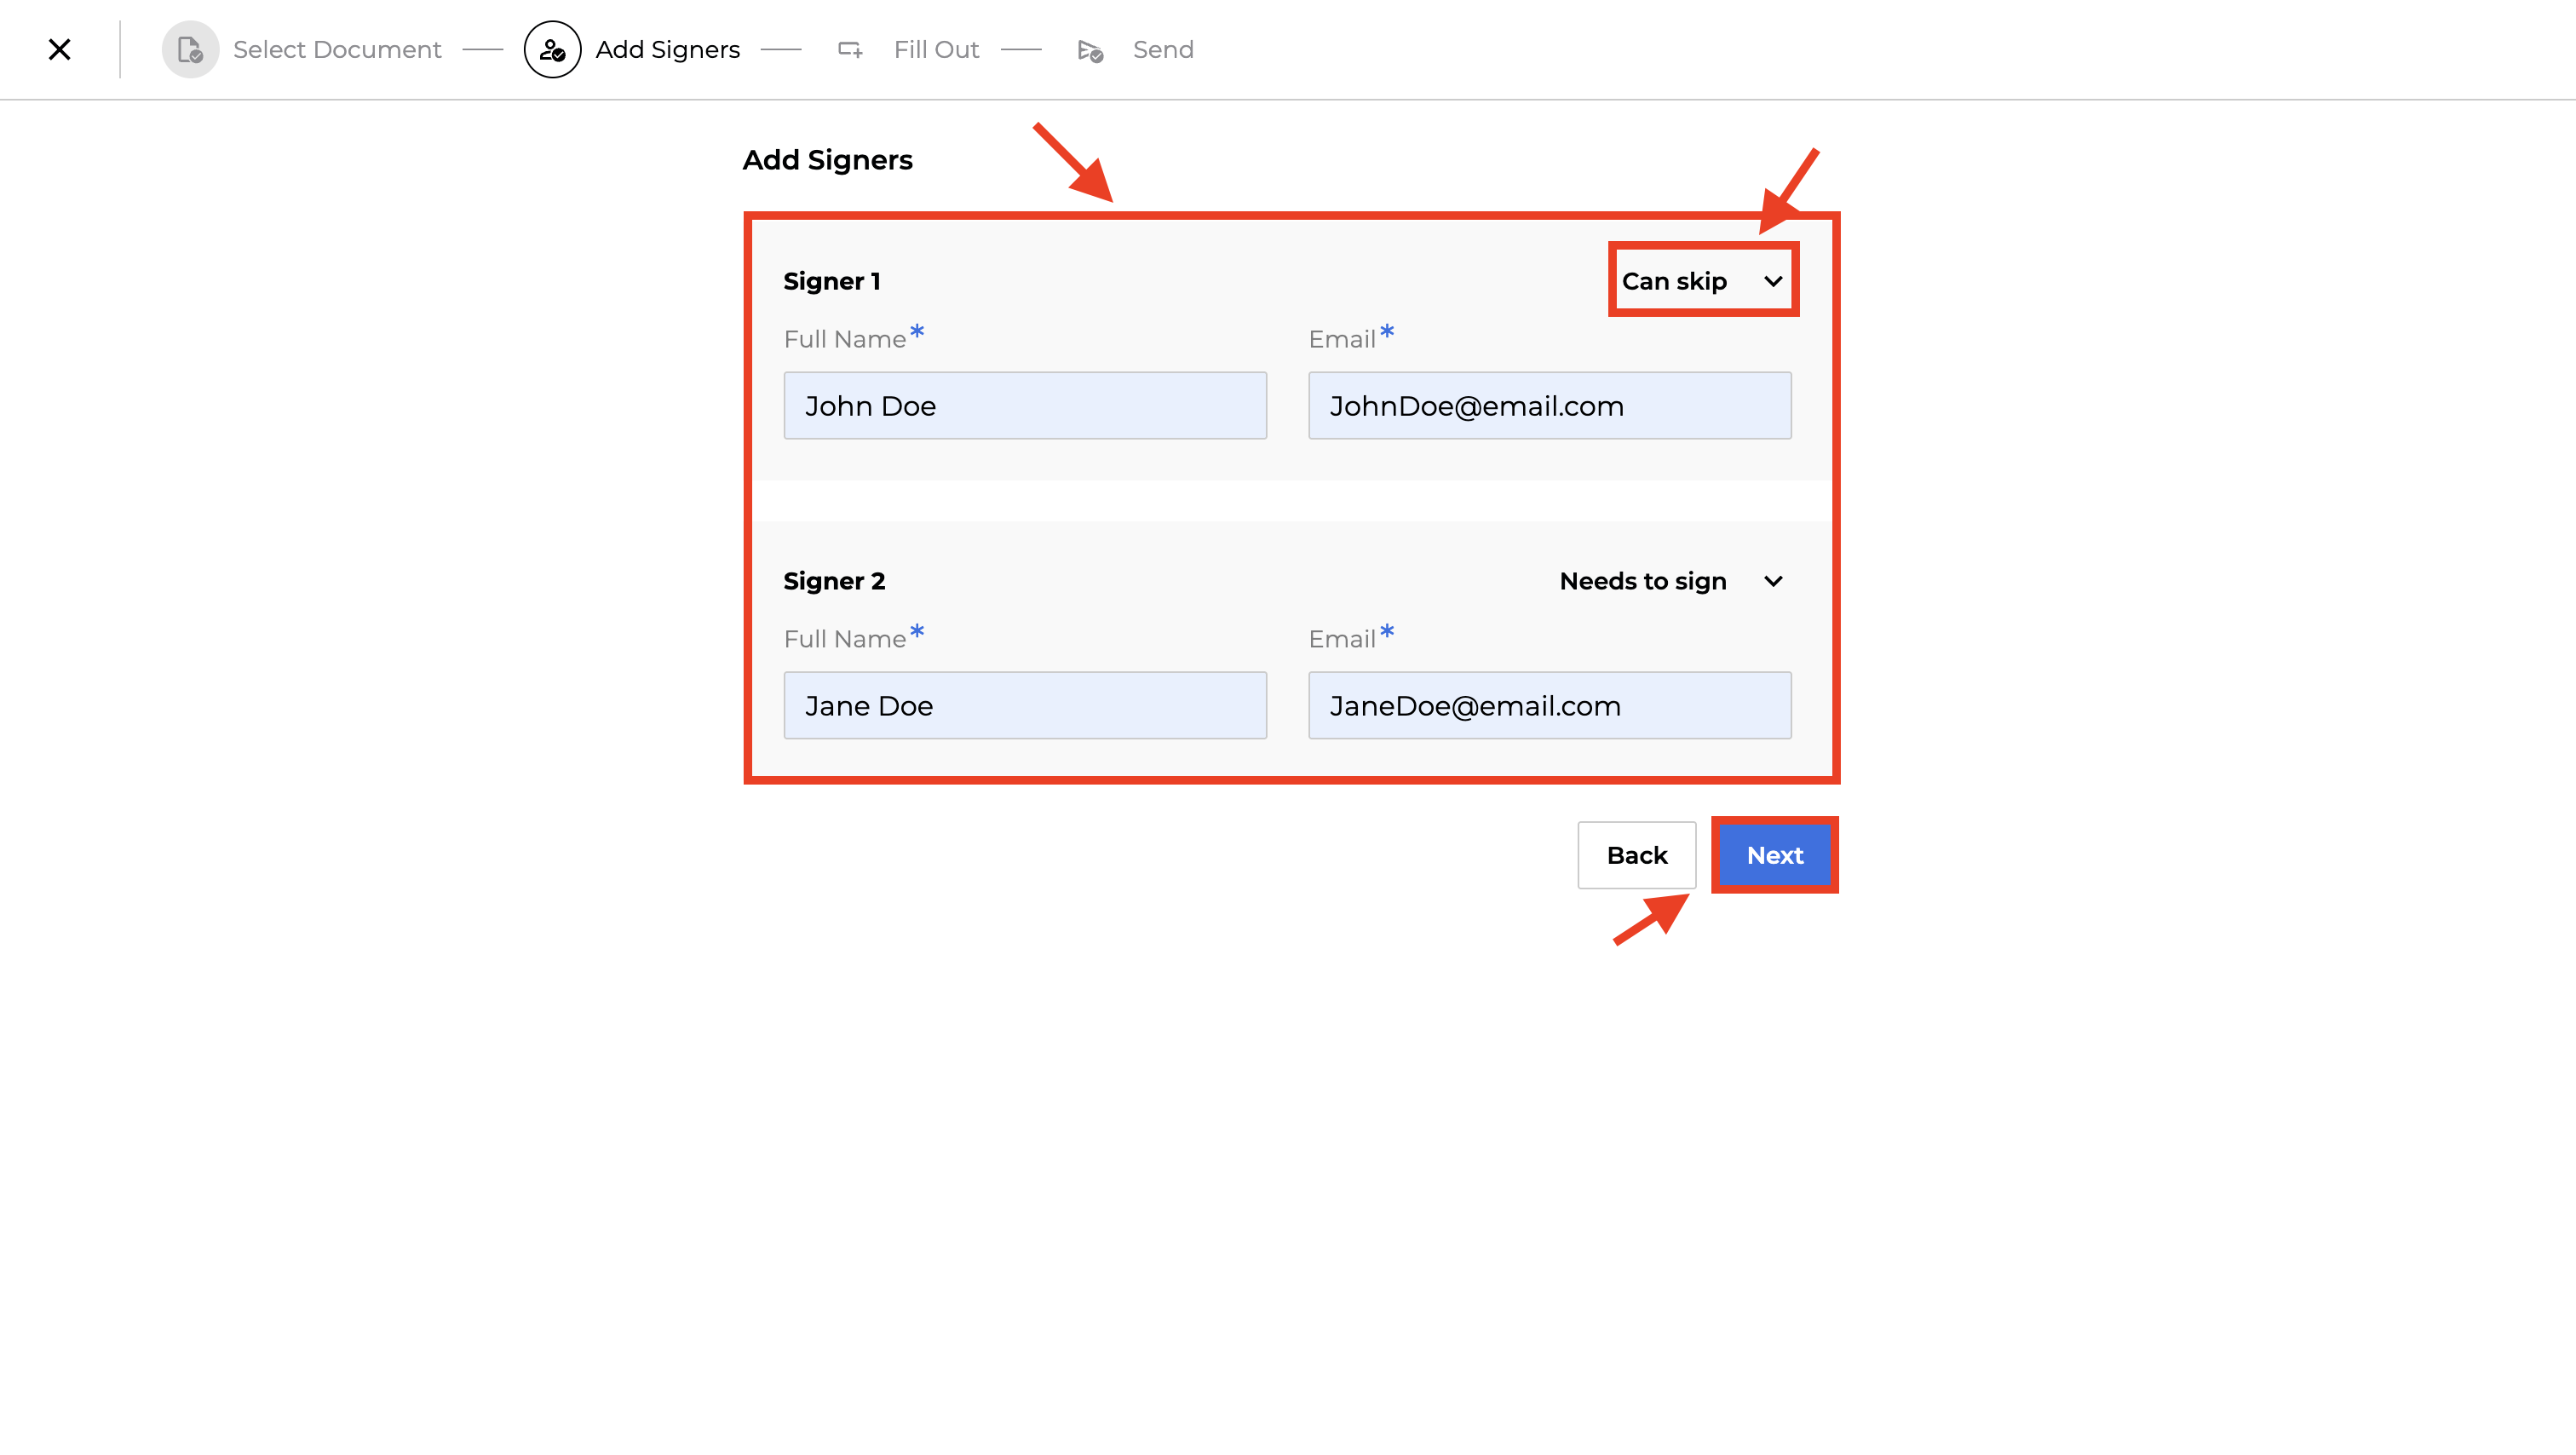
In the Add Signers tab, under Signer 1 enter a Full Name andEmail for each Digital Signature field embedded in the template.
-
Set the signer’s action to Needs to Sign, Can Skip, or Can Reassign as needed.
-
Repeat this step for any additional signers.
-
Click Next to proceed.
-
-
In the Fill Out Fields page, enter data for each merge field in your template and click Next.

-
Review and Send
-
(Optional) Under BCC, click + Add BCC Recipient to add more recipients, then enter a Full Name and Email for each.
In the Send tab, under Name Document, select a folder from the Folder dropdown (Default:
Root). Enter the Name of the document.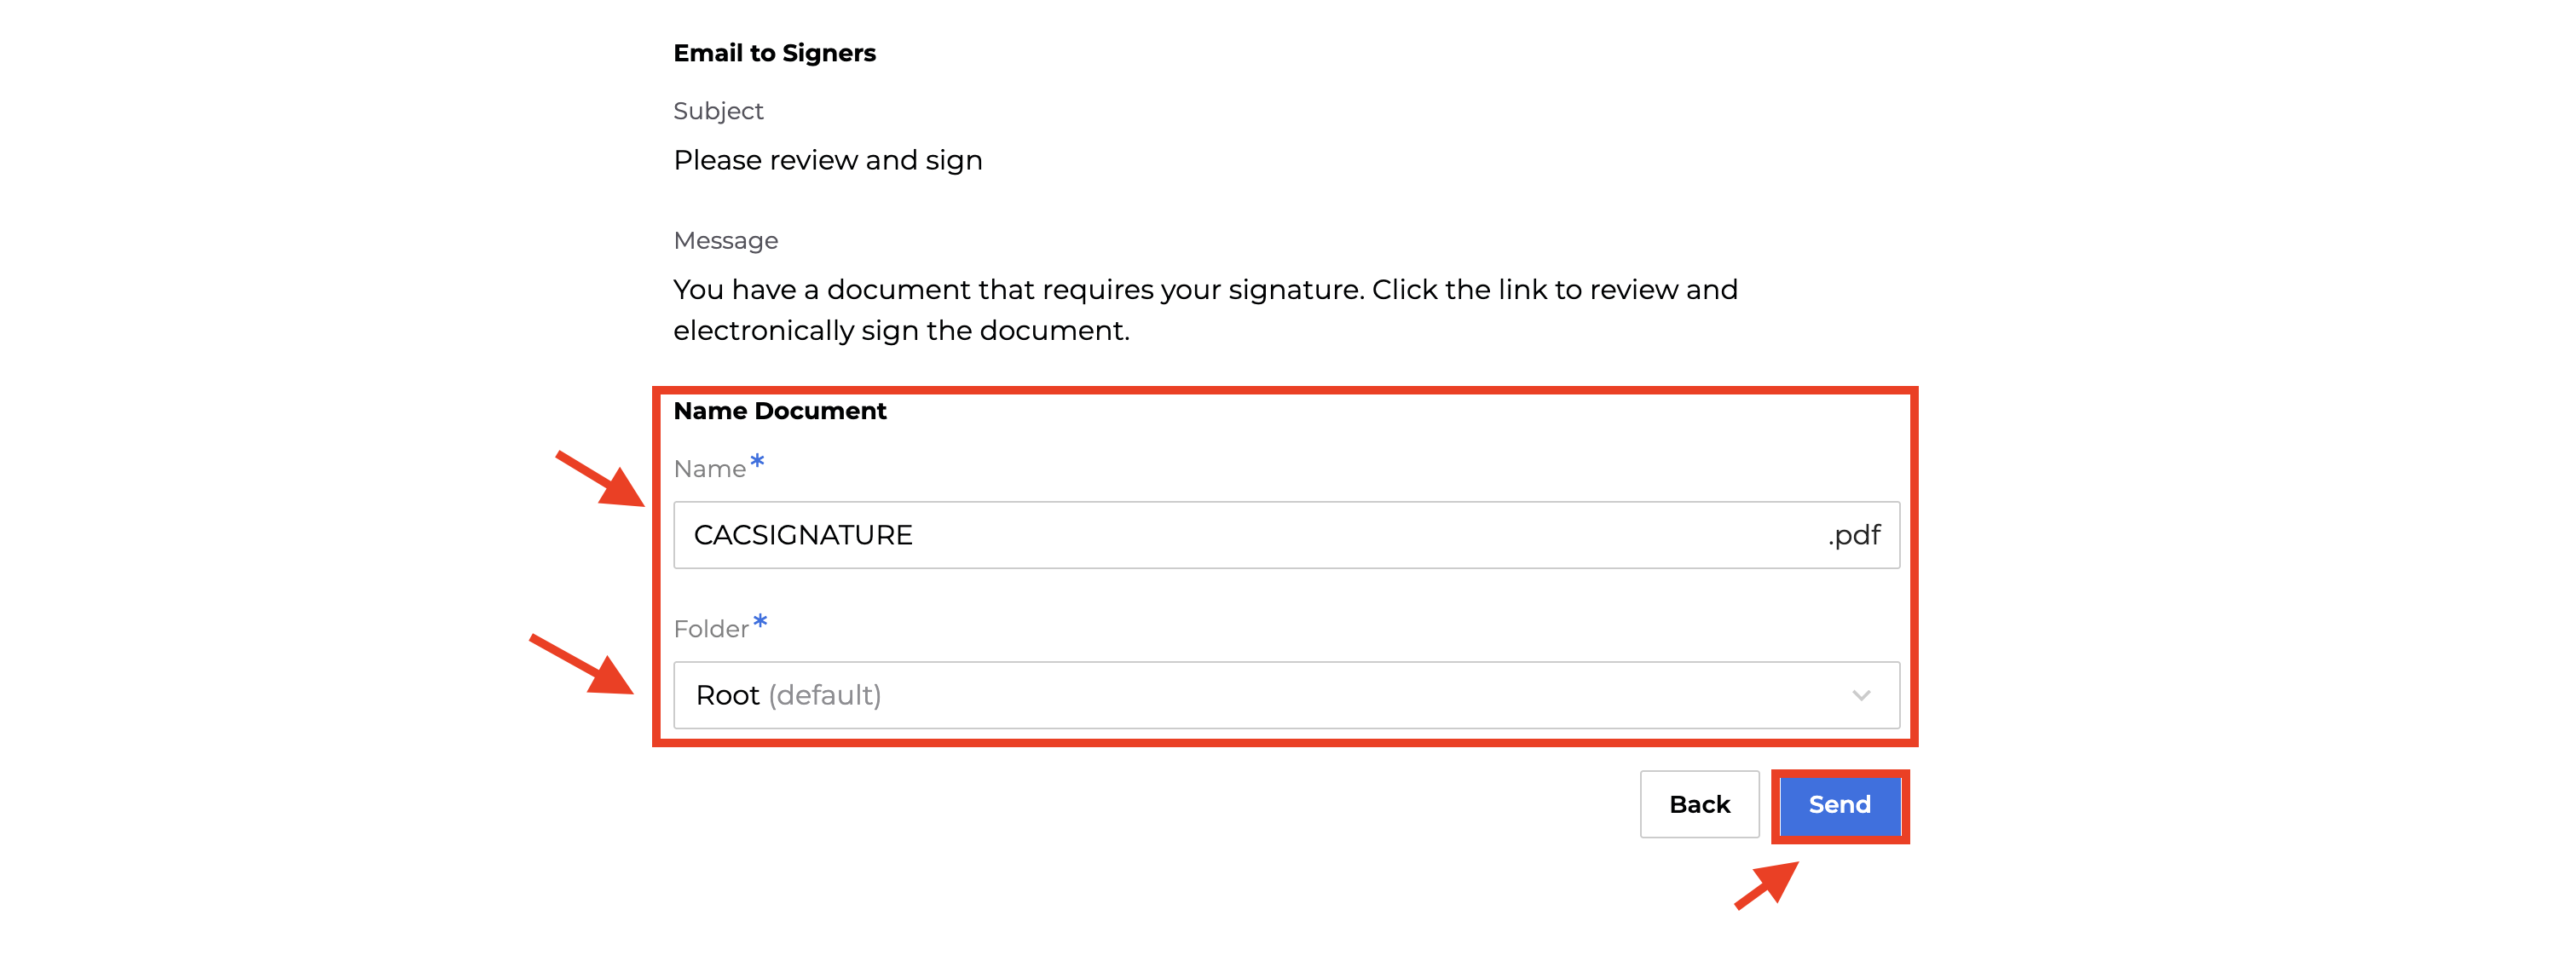
Finally, click Send.
-
Updated 10 months ago