Turn an HTML file into a PDF
Learn how to generate a document and use the Inkit Render API for your first HTML-to-PDF render
In this topic, you’ll find a step-wise guide to creating a render through the API. We will make use of the API request testing tool Insomnia. However, you can use any other tool such as Postman. Alternatively, you may choose to send your requests straight from your code already. In that case, the steps in this guide will still apply to you.
After reading this guide, you should know how to send create requests and can adapt your knowledge to the programming language of your choice.
Prerequisites:
- You have the necessary data at hand to send a create request (you have values for all the necessary JSON body parameters)
- You have a mock request tool like Postman or Insomnia at hand
- You have created an API key with the appropriate permissions
Read more about:
- Data requirements
- Automatically place your completed PDFs in a folder
- Document sizes and measurement support
- Managing API keys
Before you generate your PDF document
To generate a PDF, you need data. While you will discover what data you need in this topic, please refer to this page if you’d like to know more:
Note: Do not worry if you don’t have all the data available to you. You can follow along by using the examples in this guide.
Once you have all the necessary data to create a request, please proceed by following these steps:
- Ensure you have an API key with the Renders.create permission.
Read more about assigning roles to API keys here
- Get your API key value. You will need this to authenticate with the Inkit Render API. You will get your key when you create an API key or when you regenerate its key
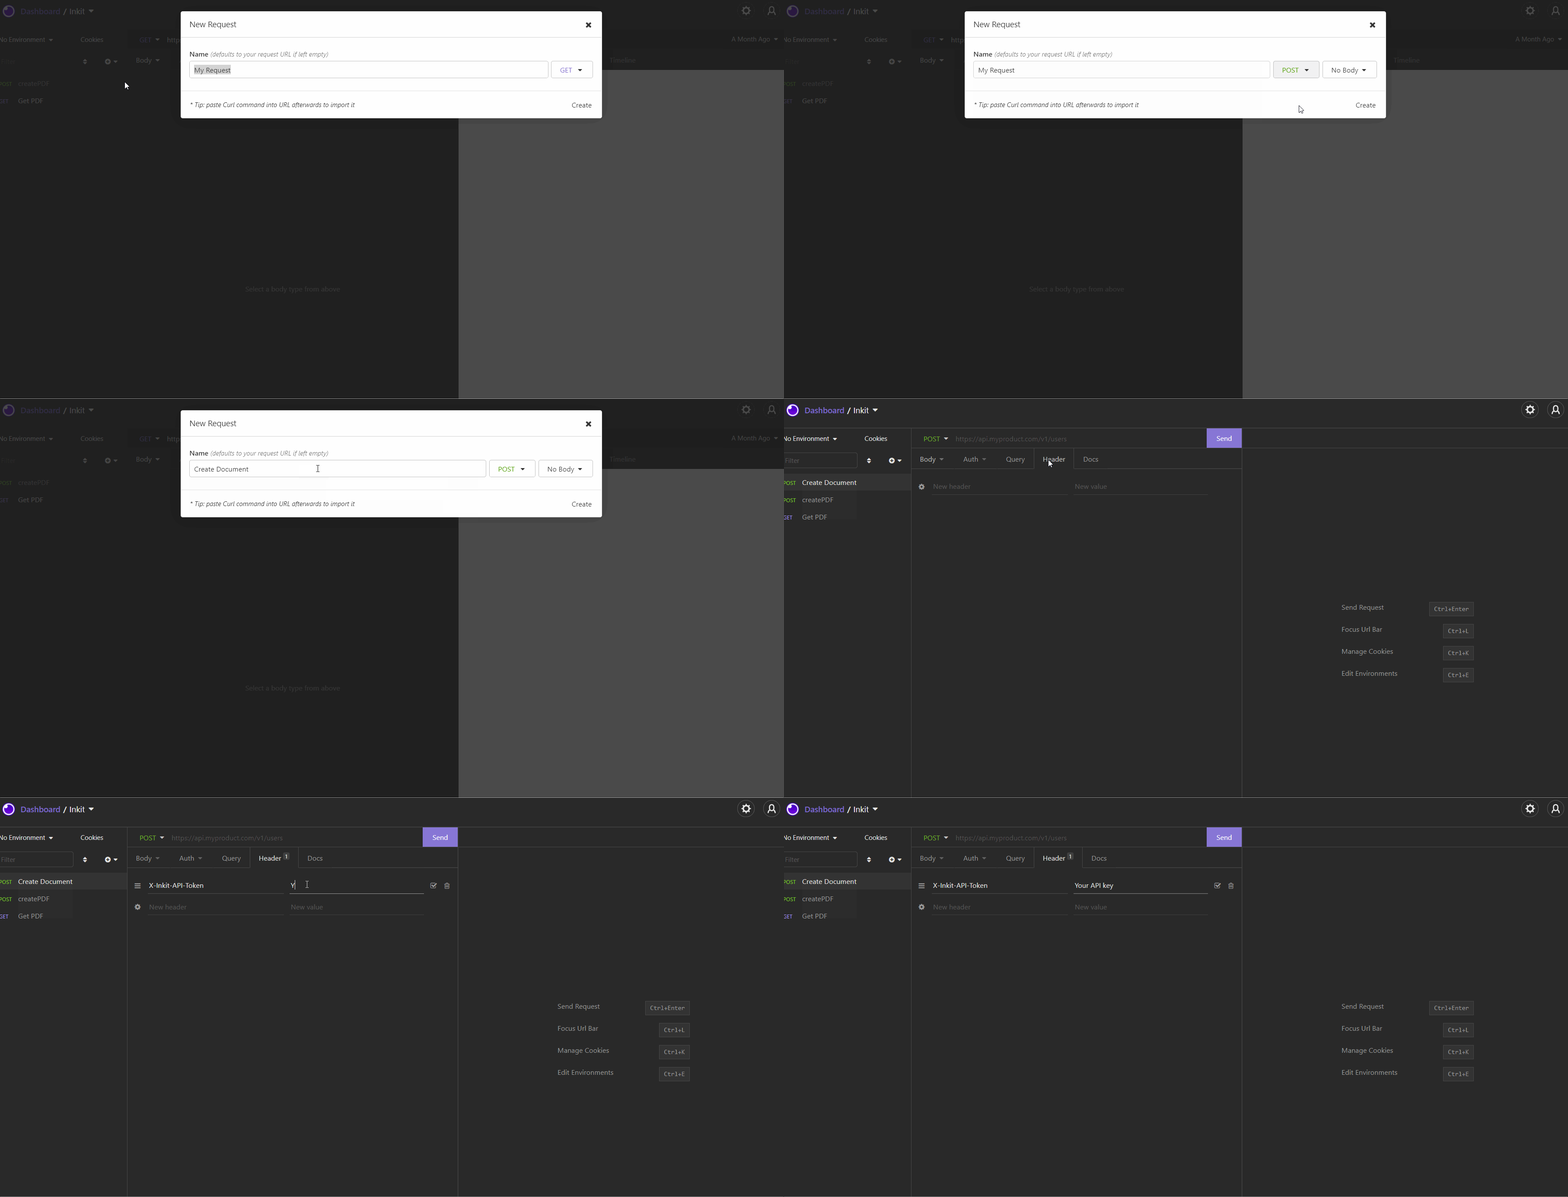
- Open your request testing tool and create a new POST request
- Put the API key in your request headers under the header name ‘X-Inkit-API-Token’

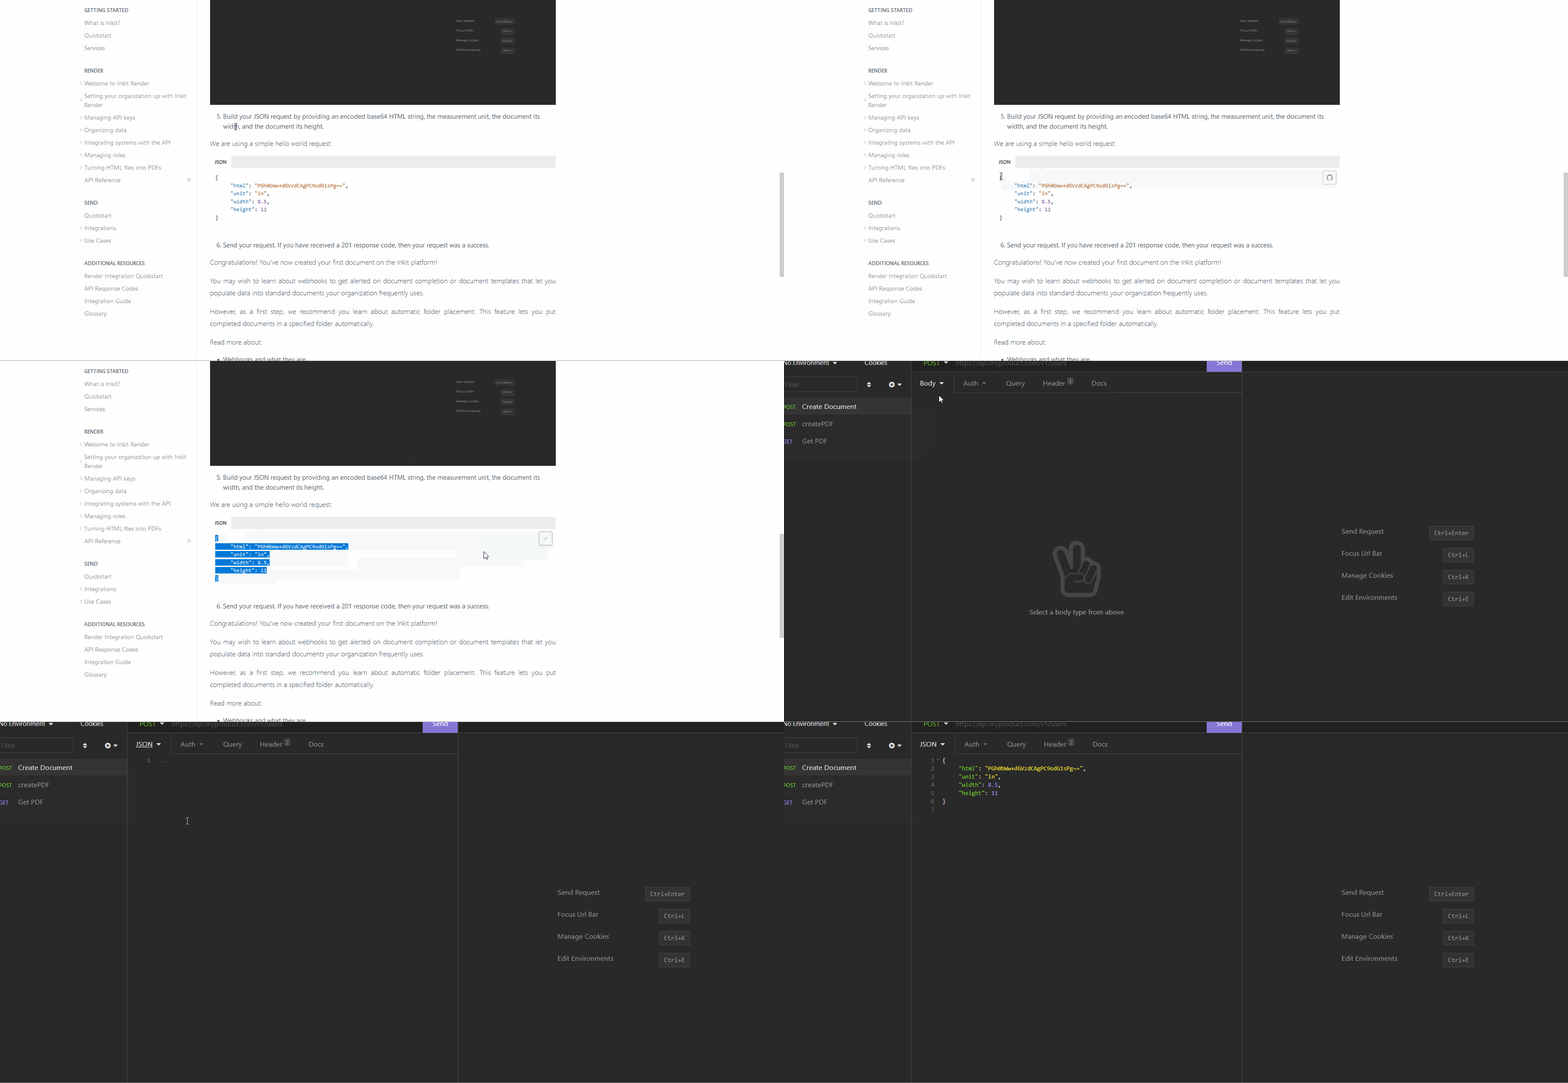
- Build your JSON request by providing an encoded base64 HTML string, the measurement unit, the document its width, and the document its height.
We are using a simple hello world request:
{
     "html": "PGh0bWw+dGVzdCAgPC9odG1sPg==",
     "unit": "in",
     "width": 8.5,
     "height": 11
}
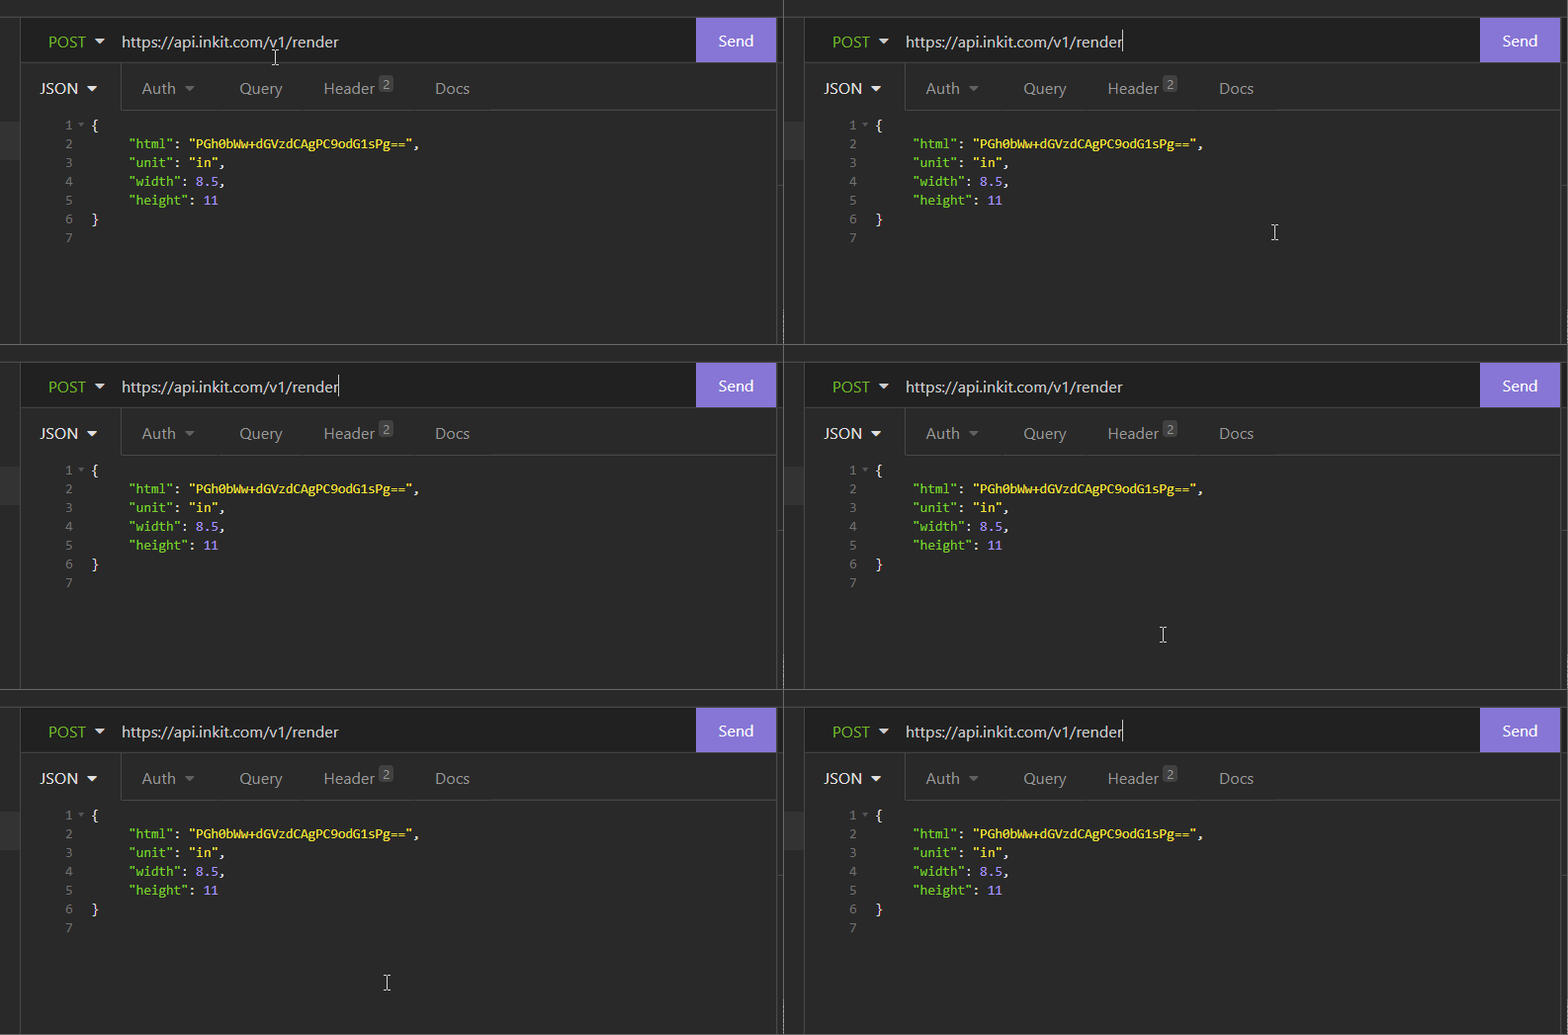
- Include the correct endpoint: https://api.inkit.com/v1/render

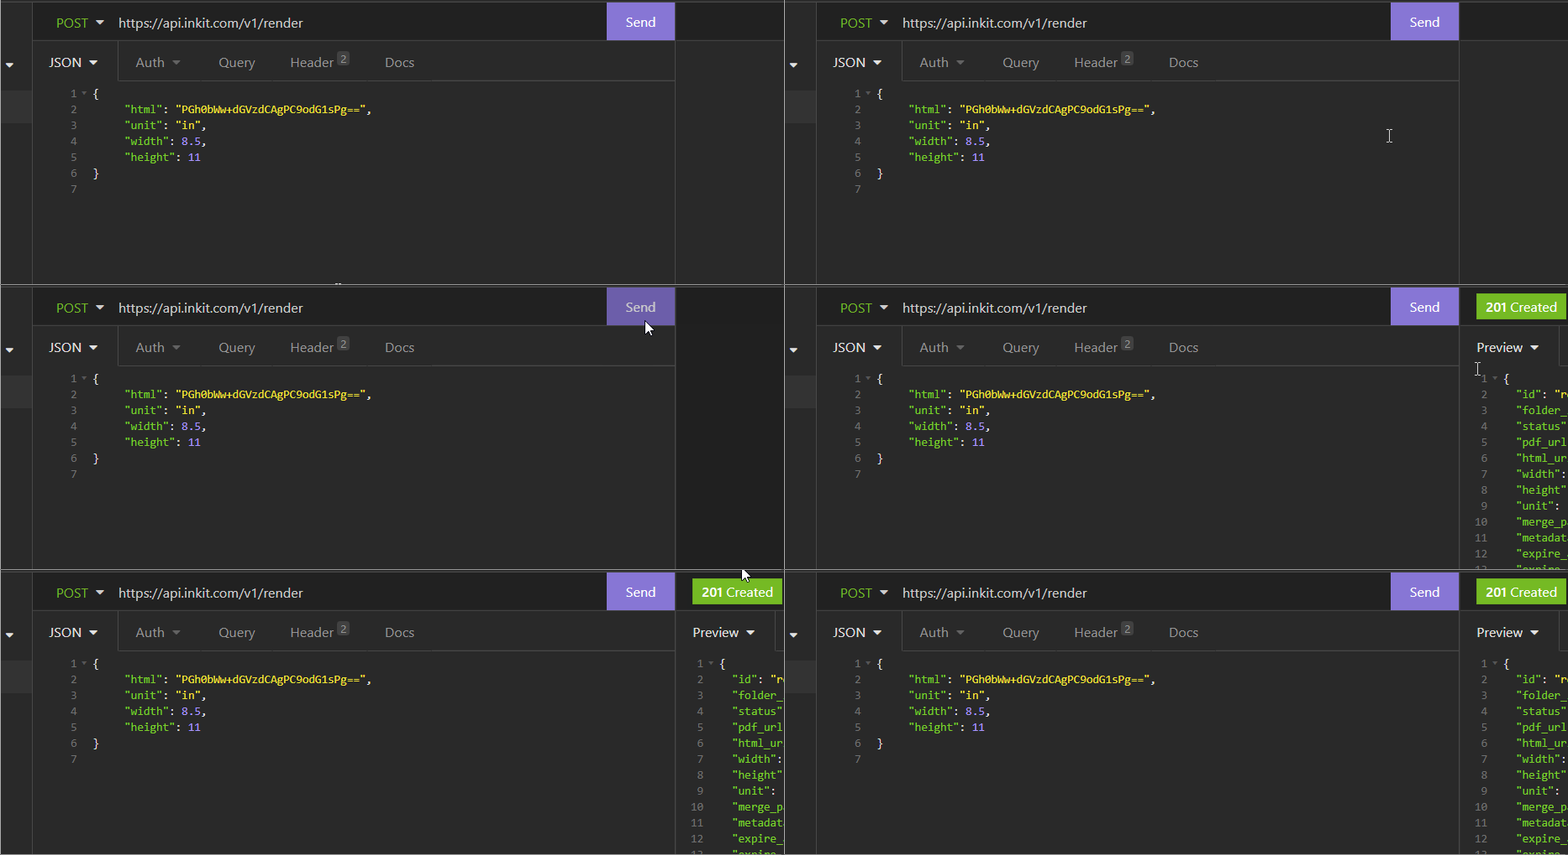
- Send your request. If you have received a 201 response code, then your request was a success.

Congratulations! You’ve now created your first document on the Inkit platform! Find it under the Render -> Render View tab
You may wish to learn about webhooks to get alerted on document completion or document templates that let you populate data into standard documents your organization frequently uses.
However, as a first step, we recommend you learn about automatic folder placement. This feature lets you put completed documents in a specified folder automatically.
Read more about:
Updated 5 months ago