Adding two-factor authentication
Adding two-factor authentication provides an additional layer of security to your Inkit account, by requiring the entering of a code to confirm your identification.
Note: Currently, you can only perform two-factor authentication in Inkit through an authentication app.
Enabling two-factor authentication
To enable two-factor authentication for your Inkit account, do the following:
-
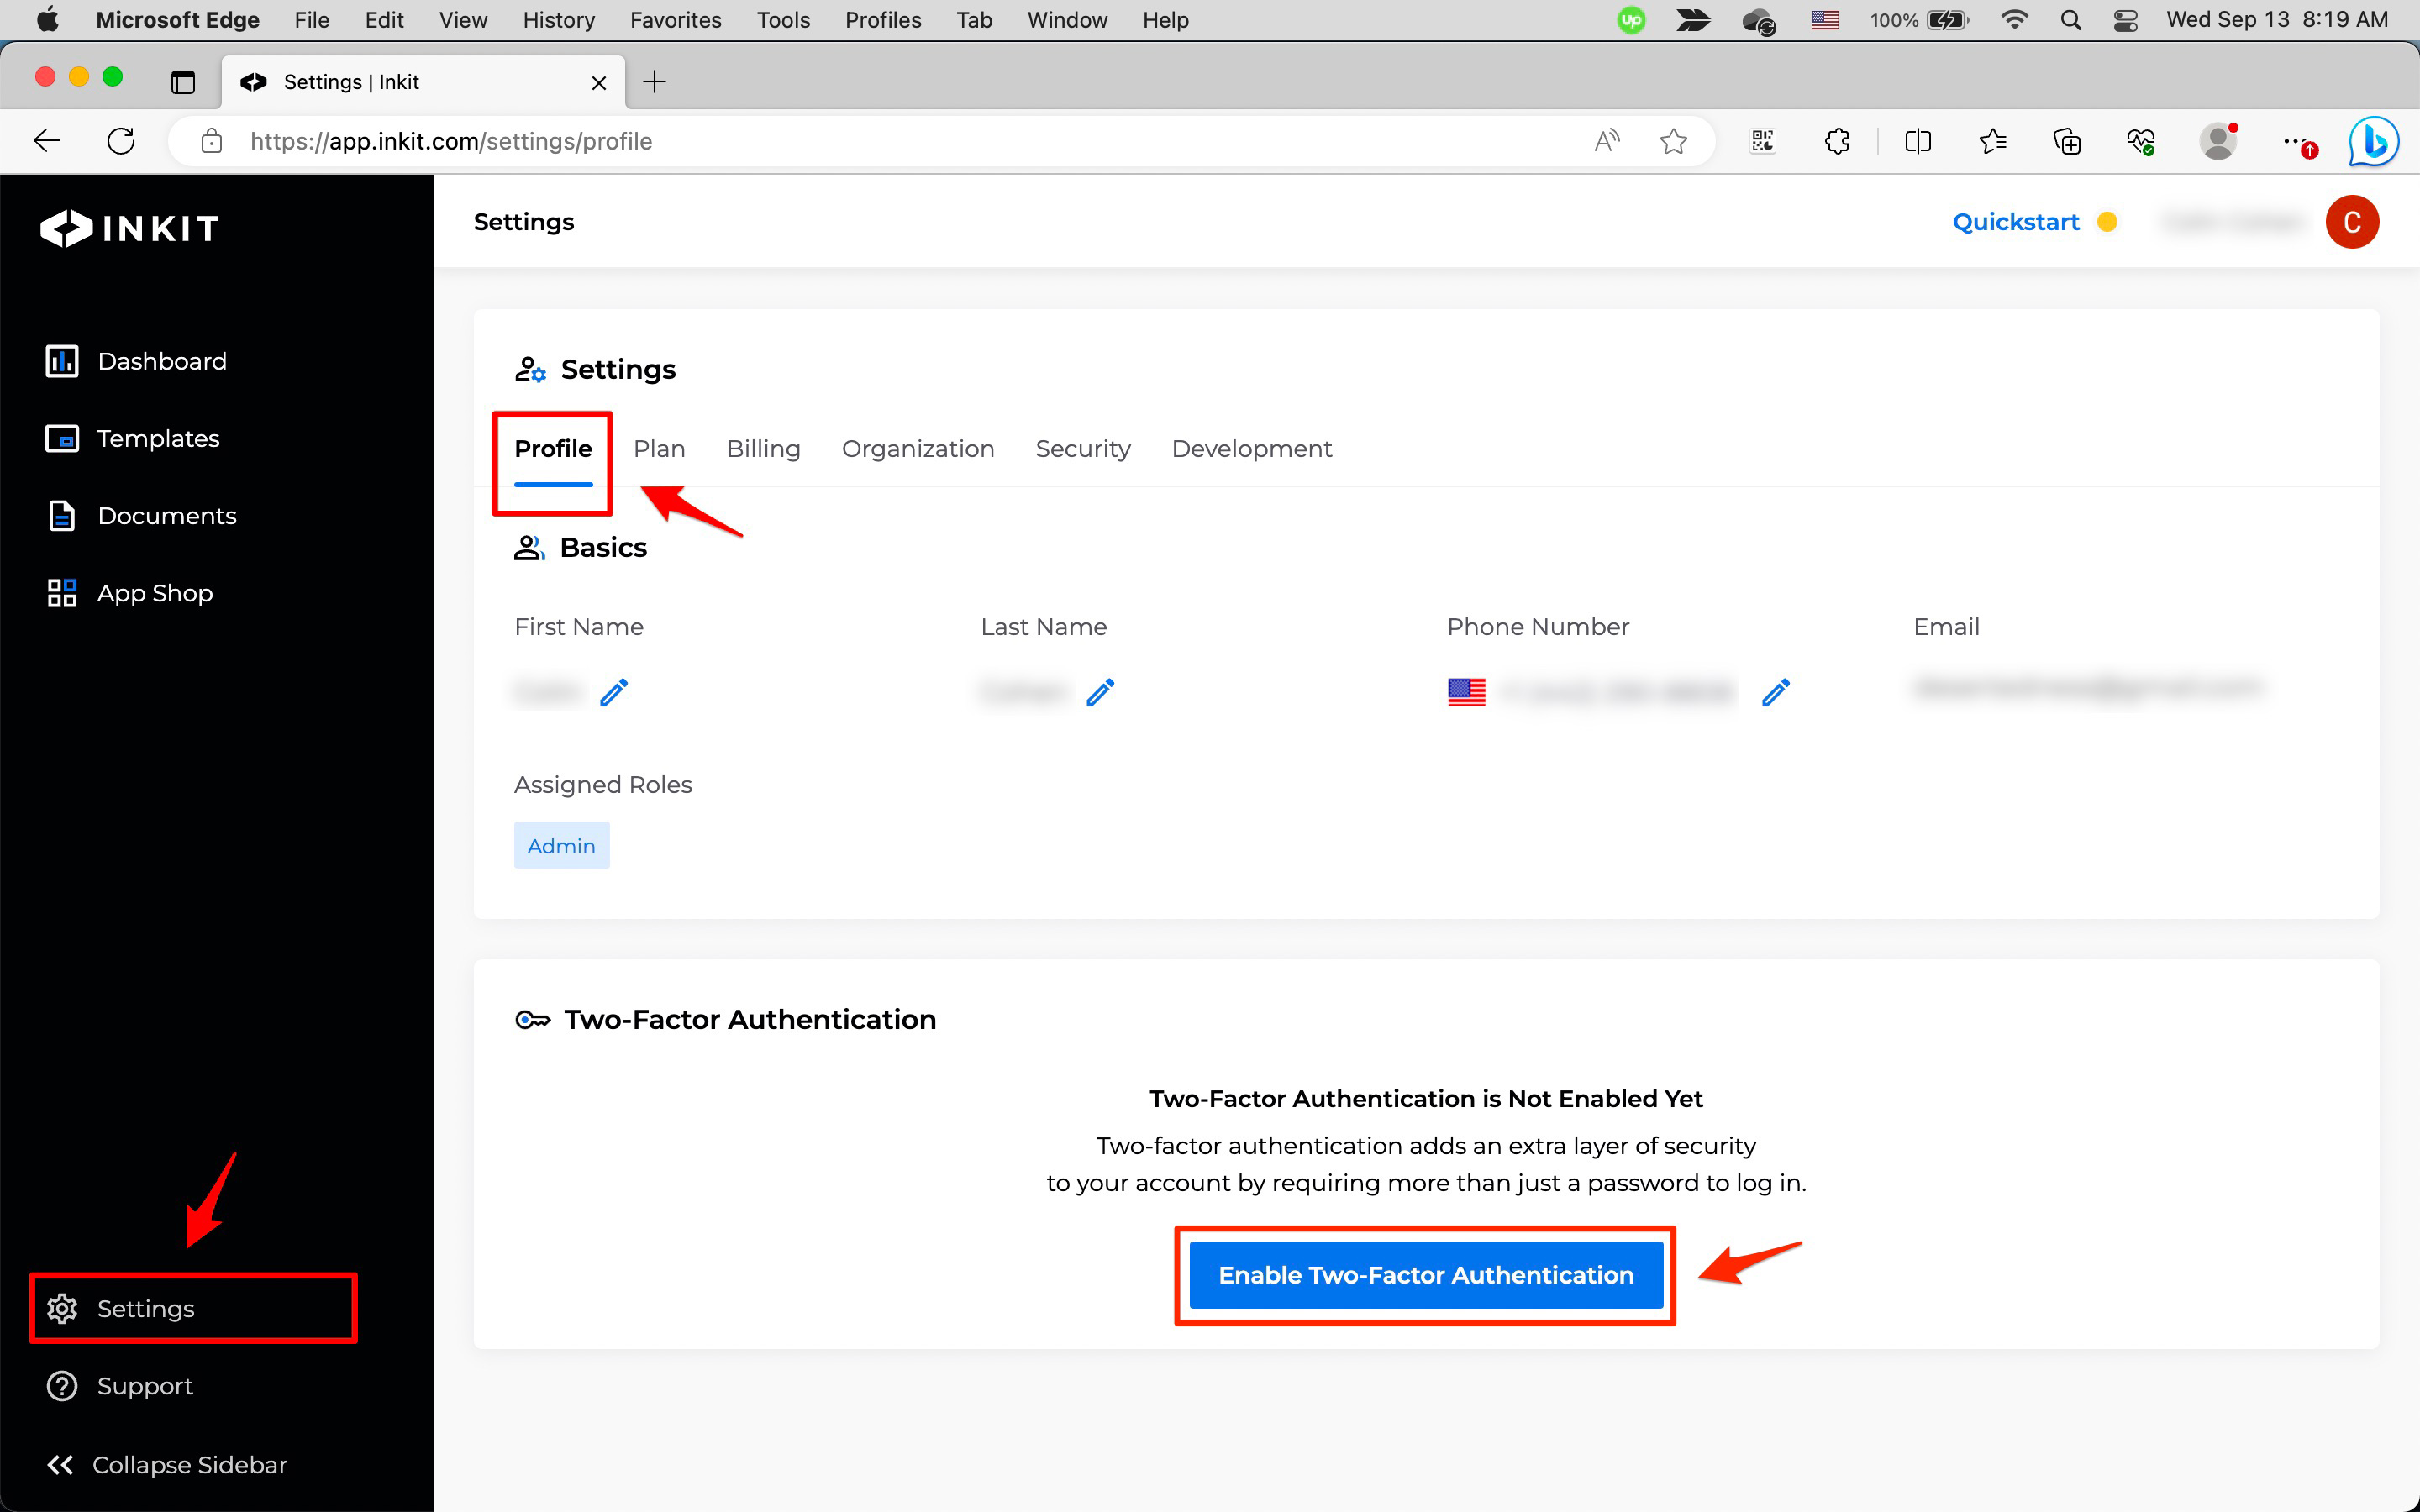
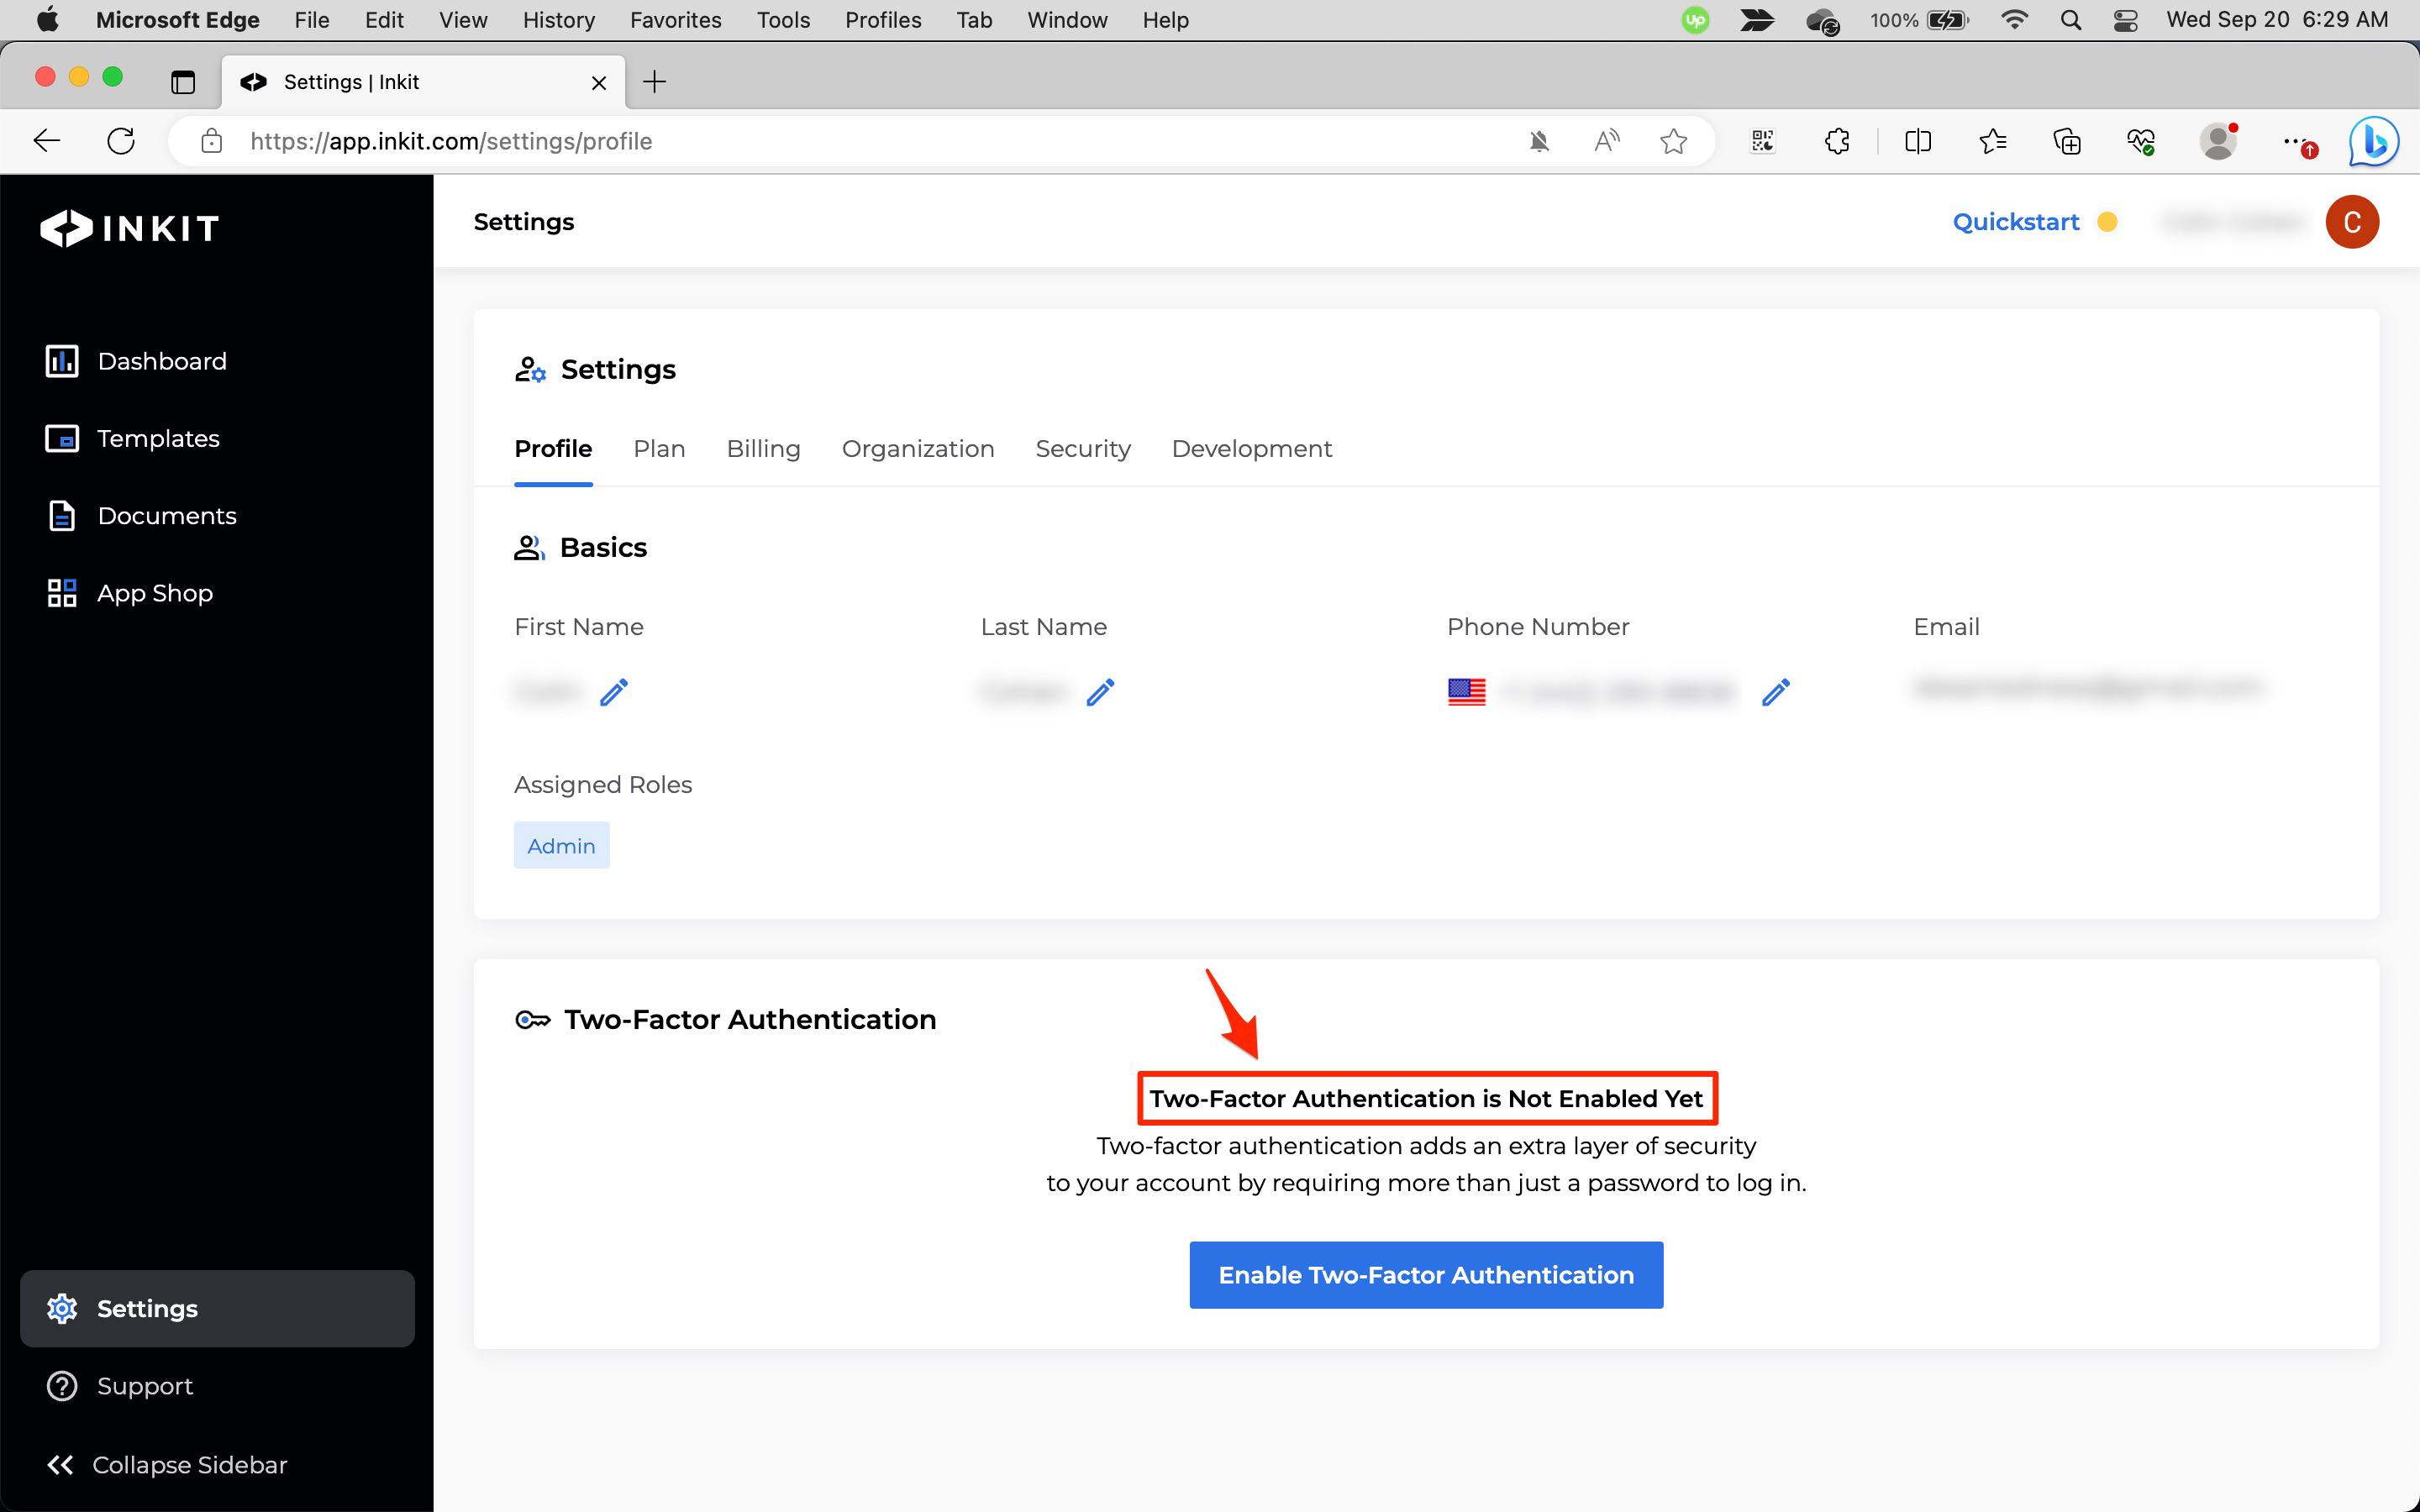
In the Inkit web app, select Settings in the left sidebar, click the Profile tab and then click Enable Two-Factor Authentication in the Two-Factor Authentication panel.
-
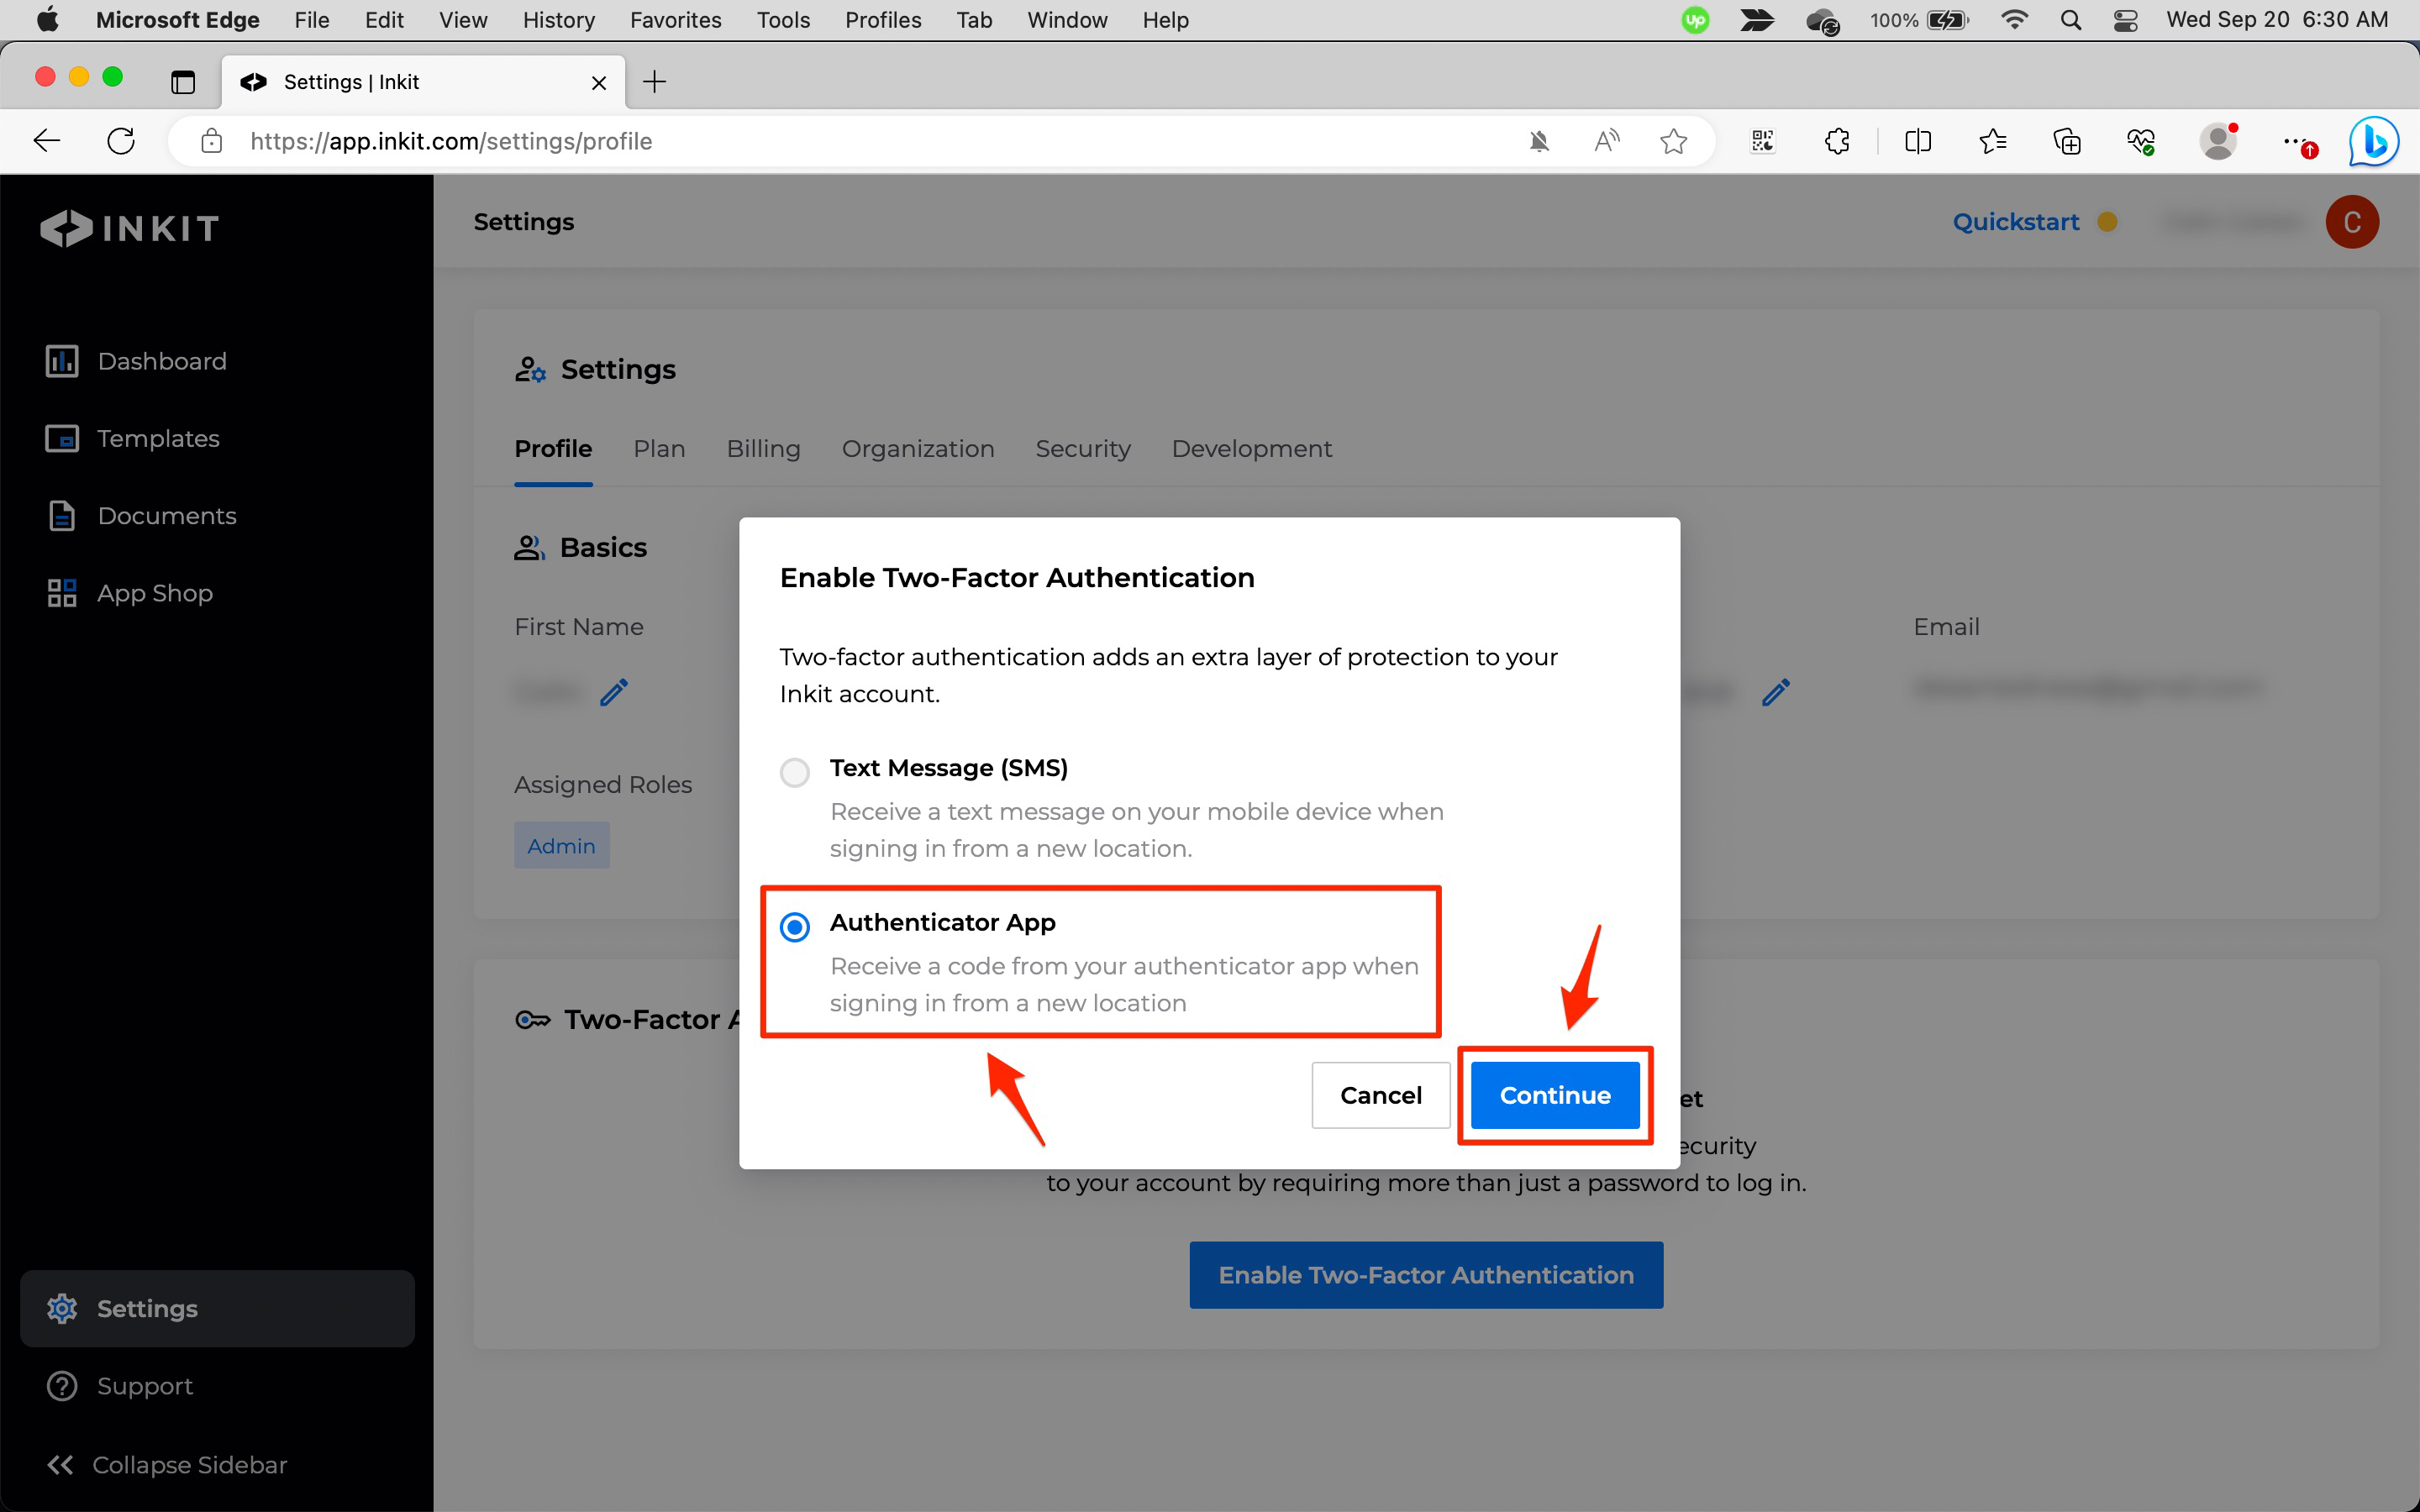
In the Enable Two-Factor Authentication dialog box, select Authenticator App and click Continue.
-
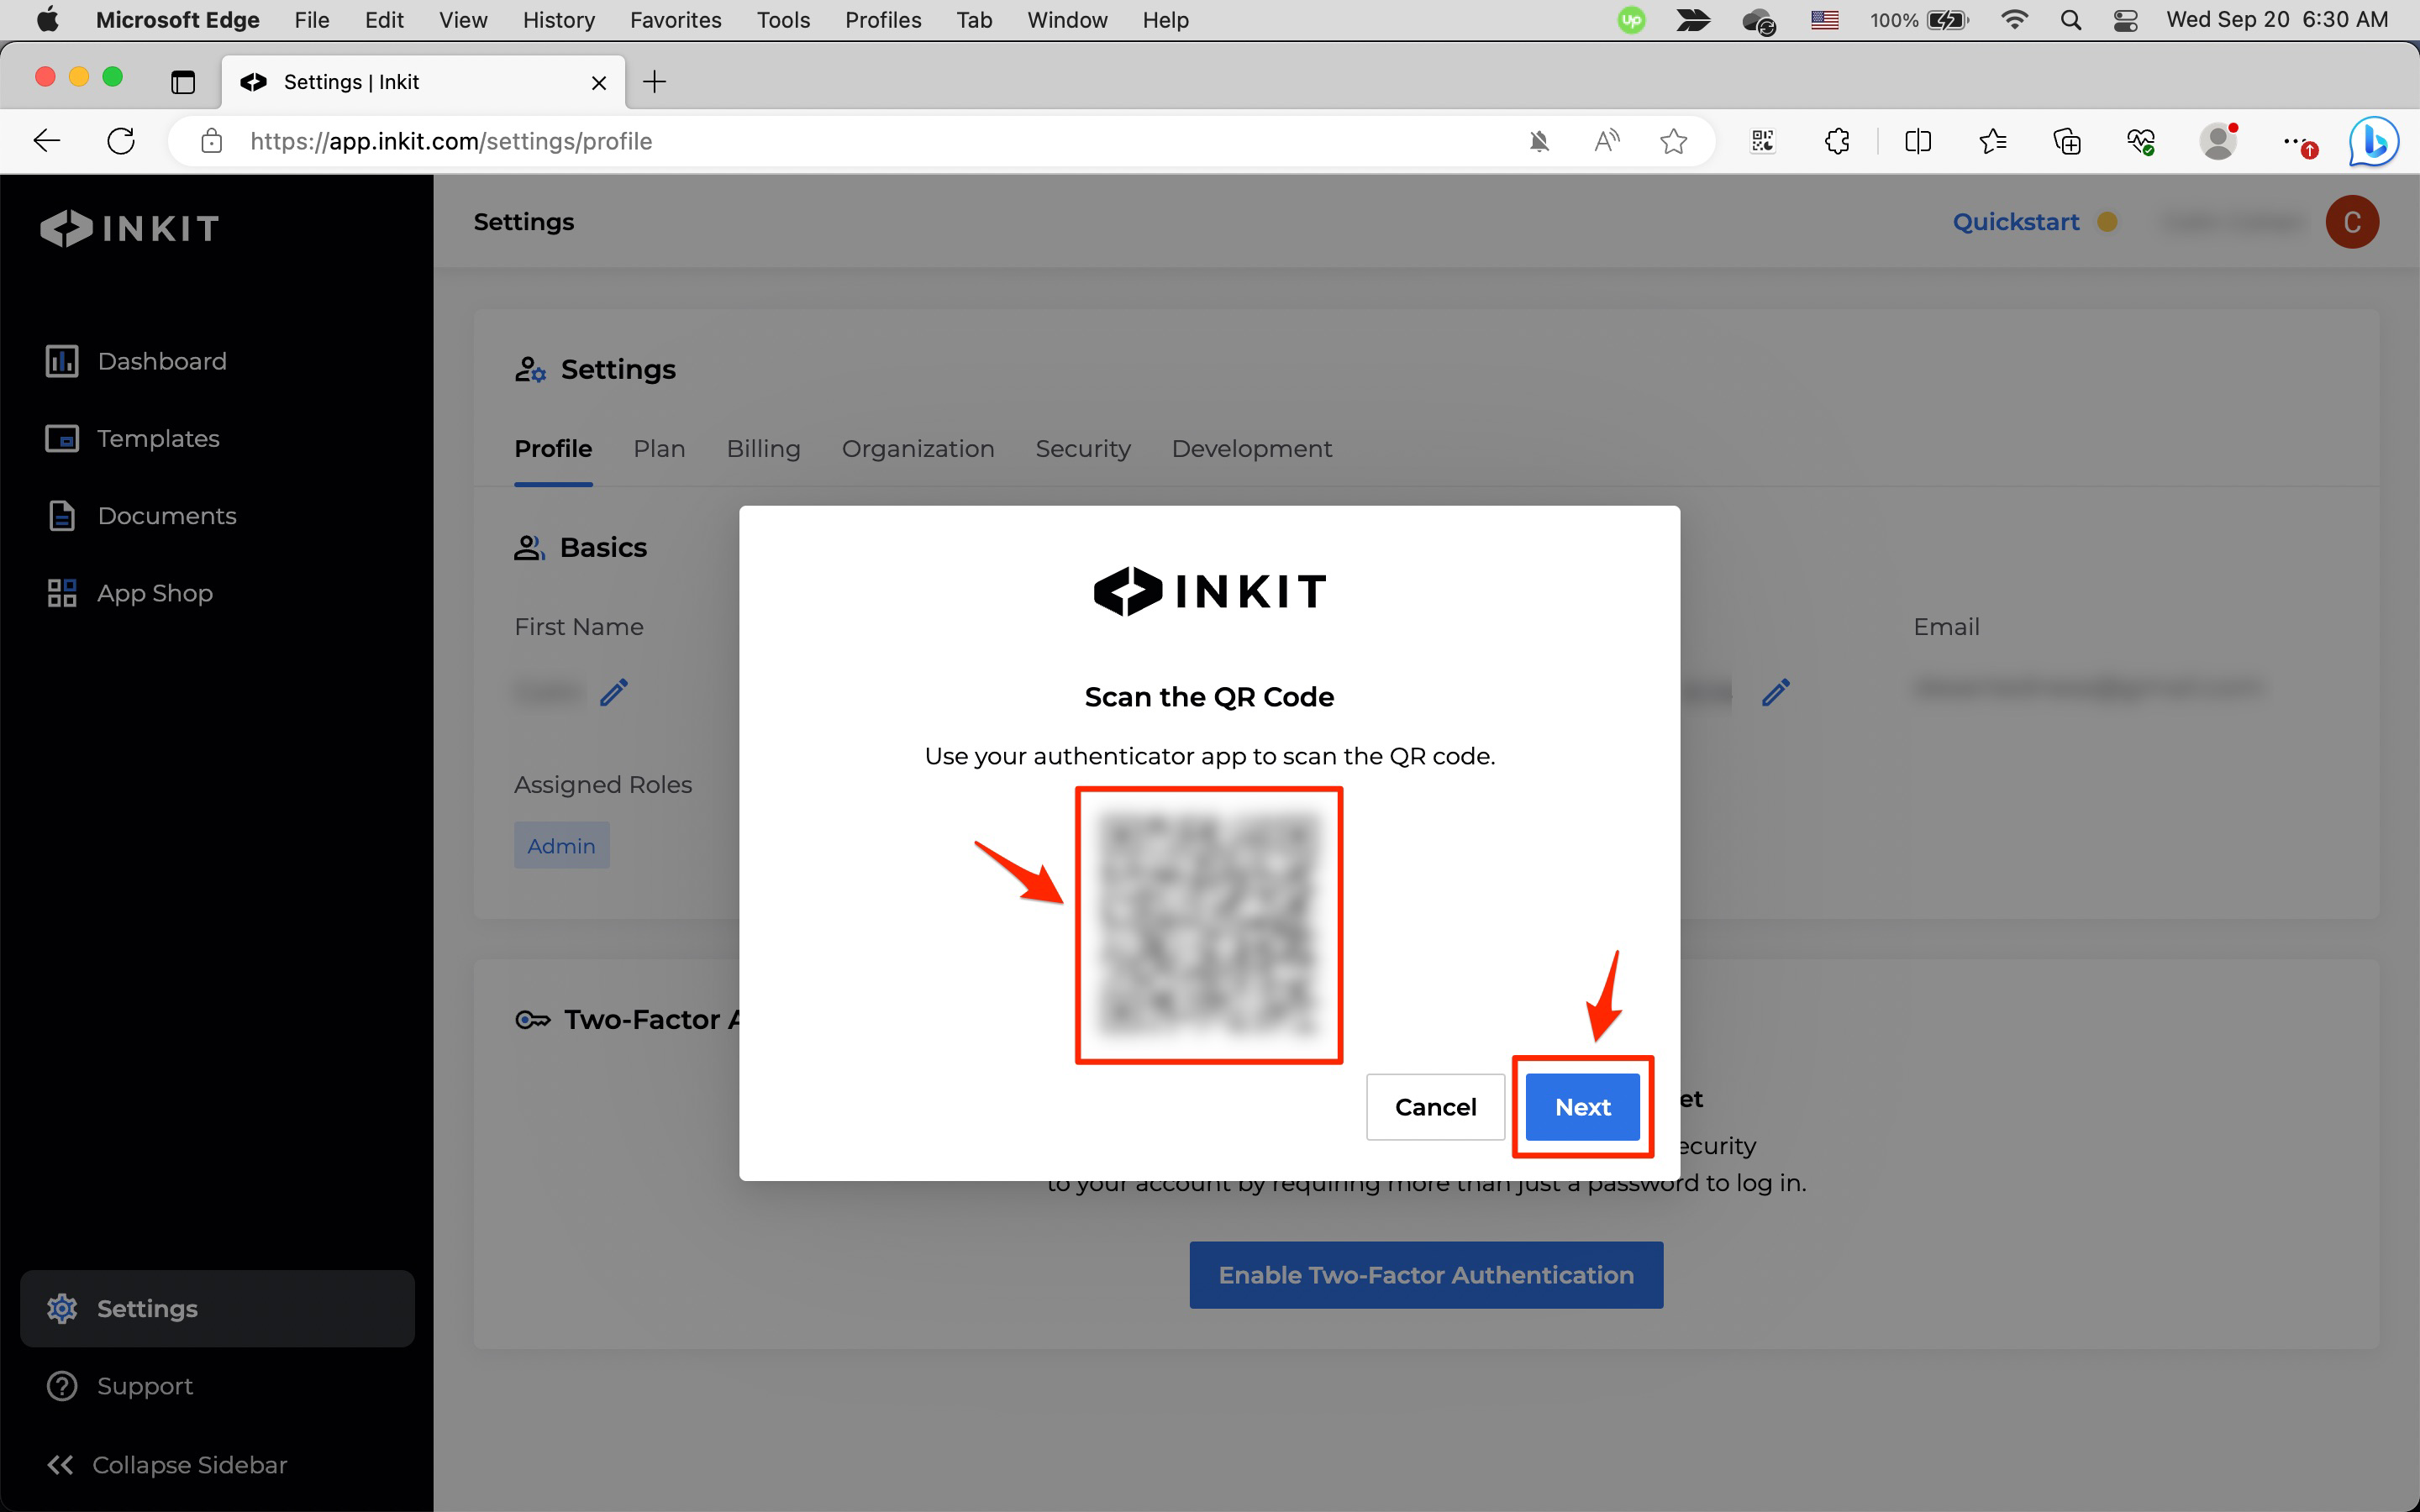
In the Scan the QR Code dialog box, use your authenticator app to scan the QR code based on how your authentication app functions. Then click Next.
-
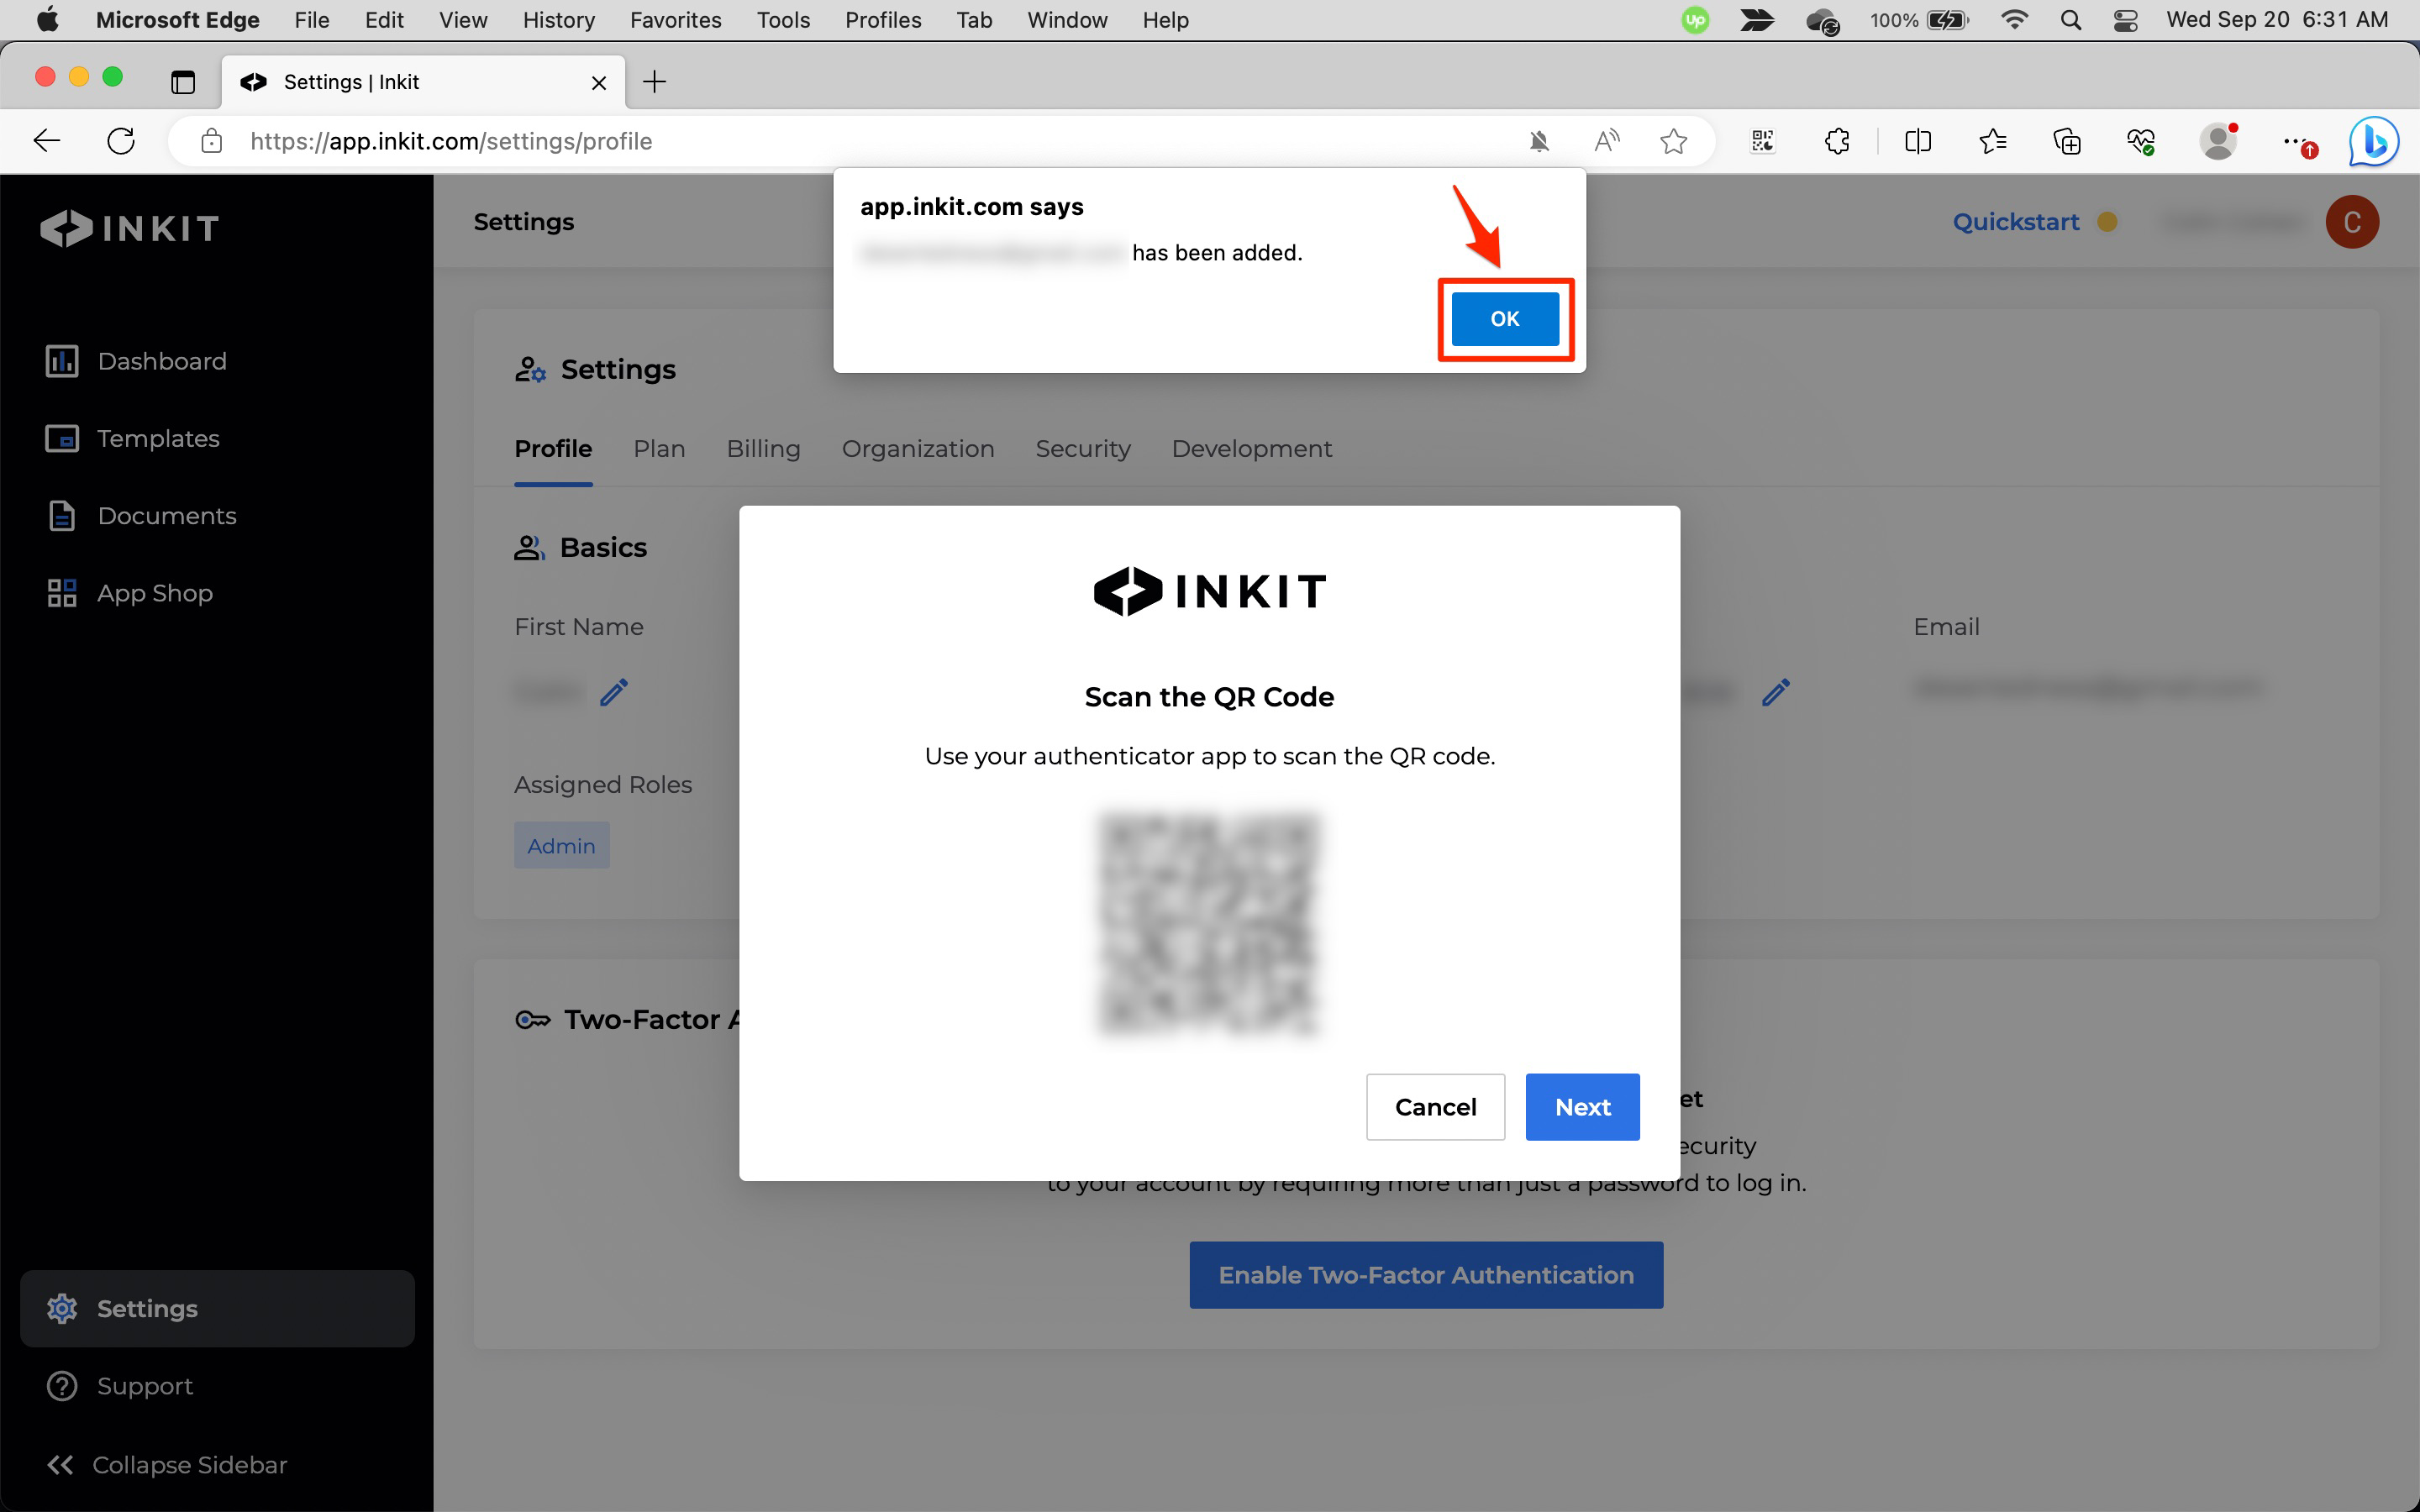
In the app.inkit.com says dialog box, you will see that two-factor authentication has been added to your email address. Click OK.
-
In the Scan the QR Code dialog box, click Next.

-
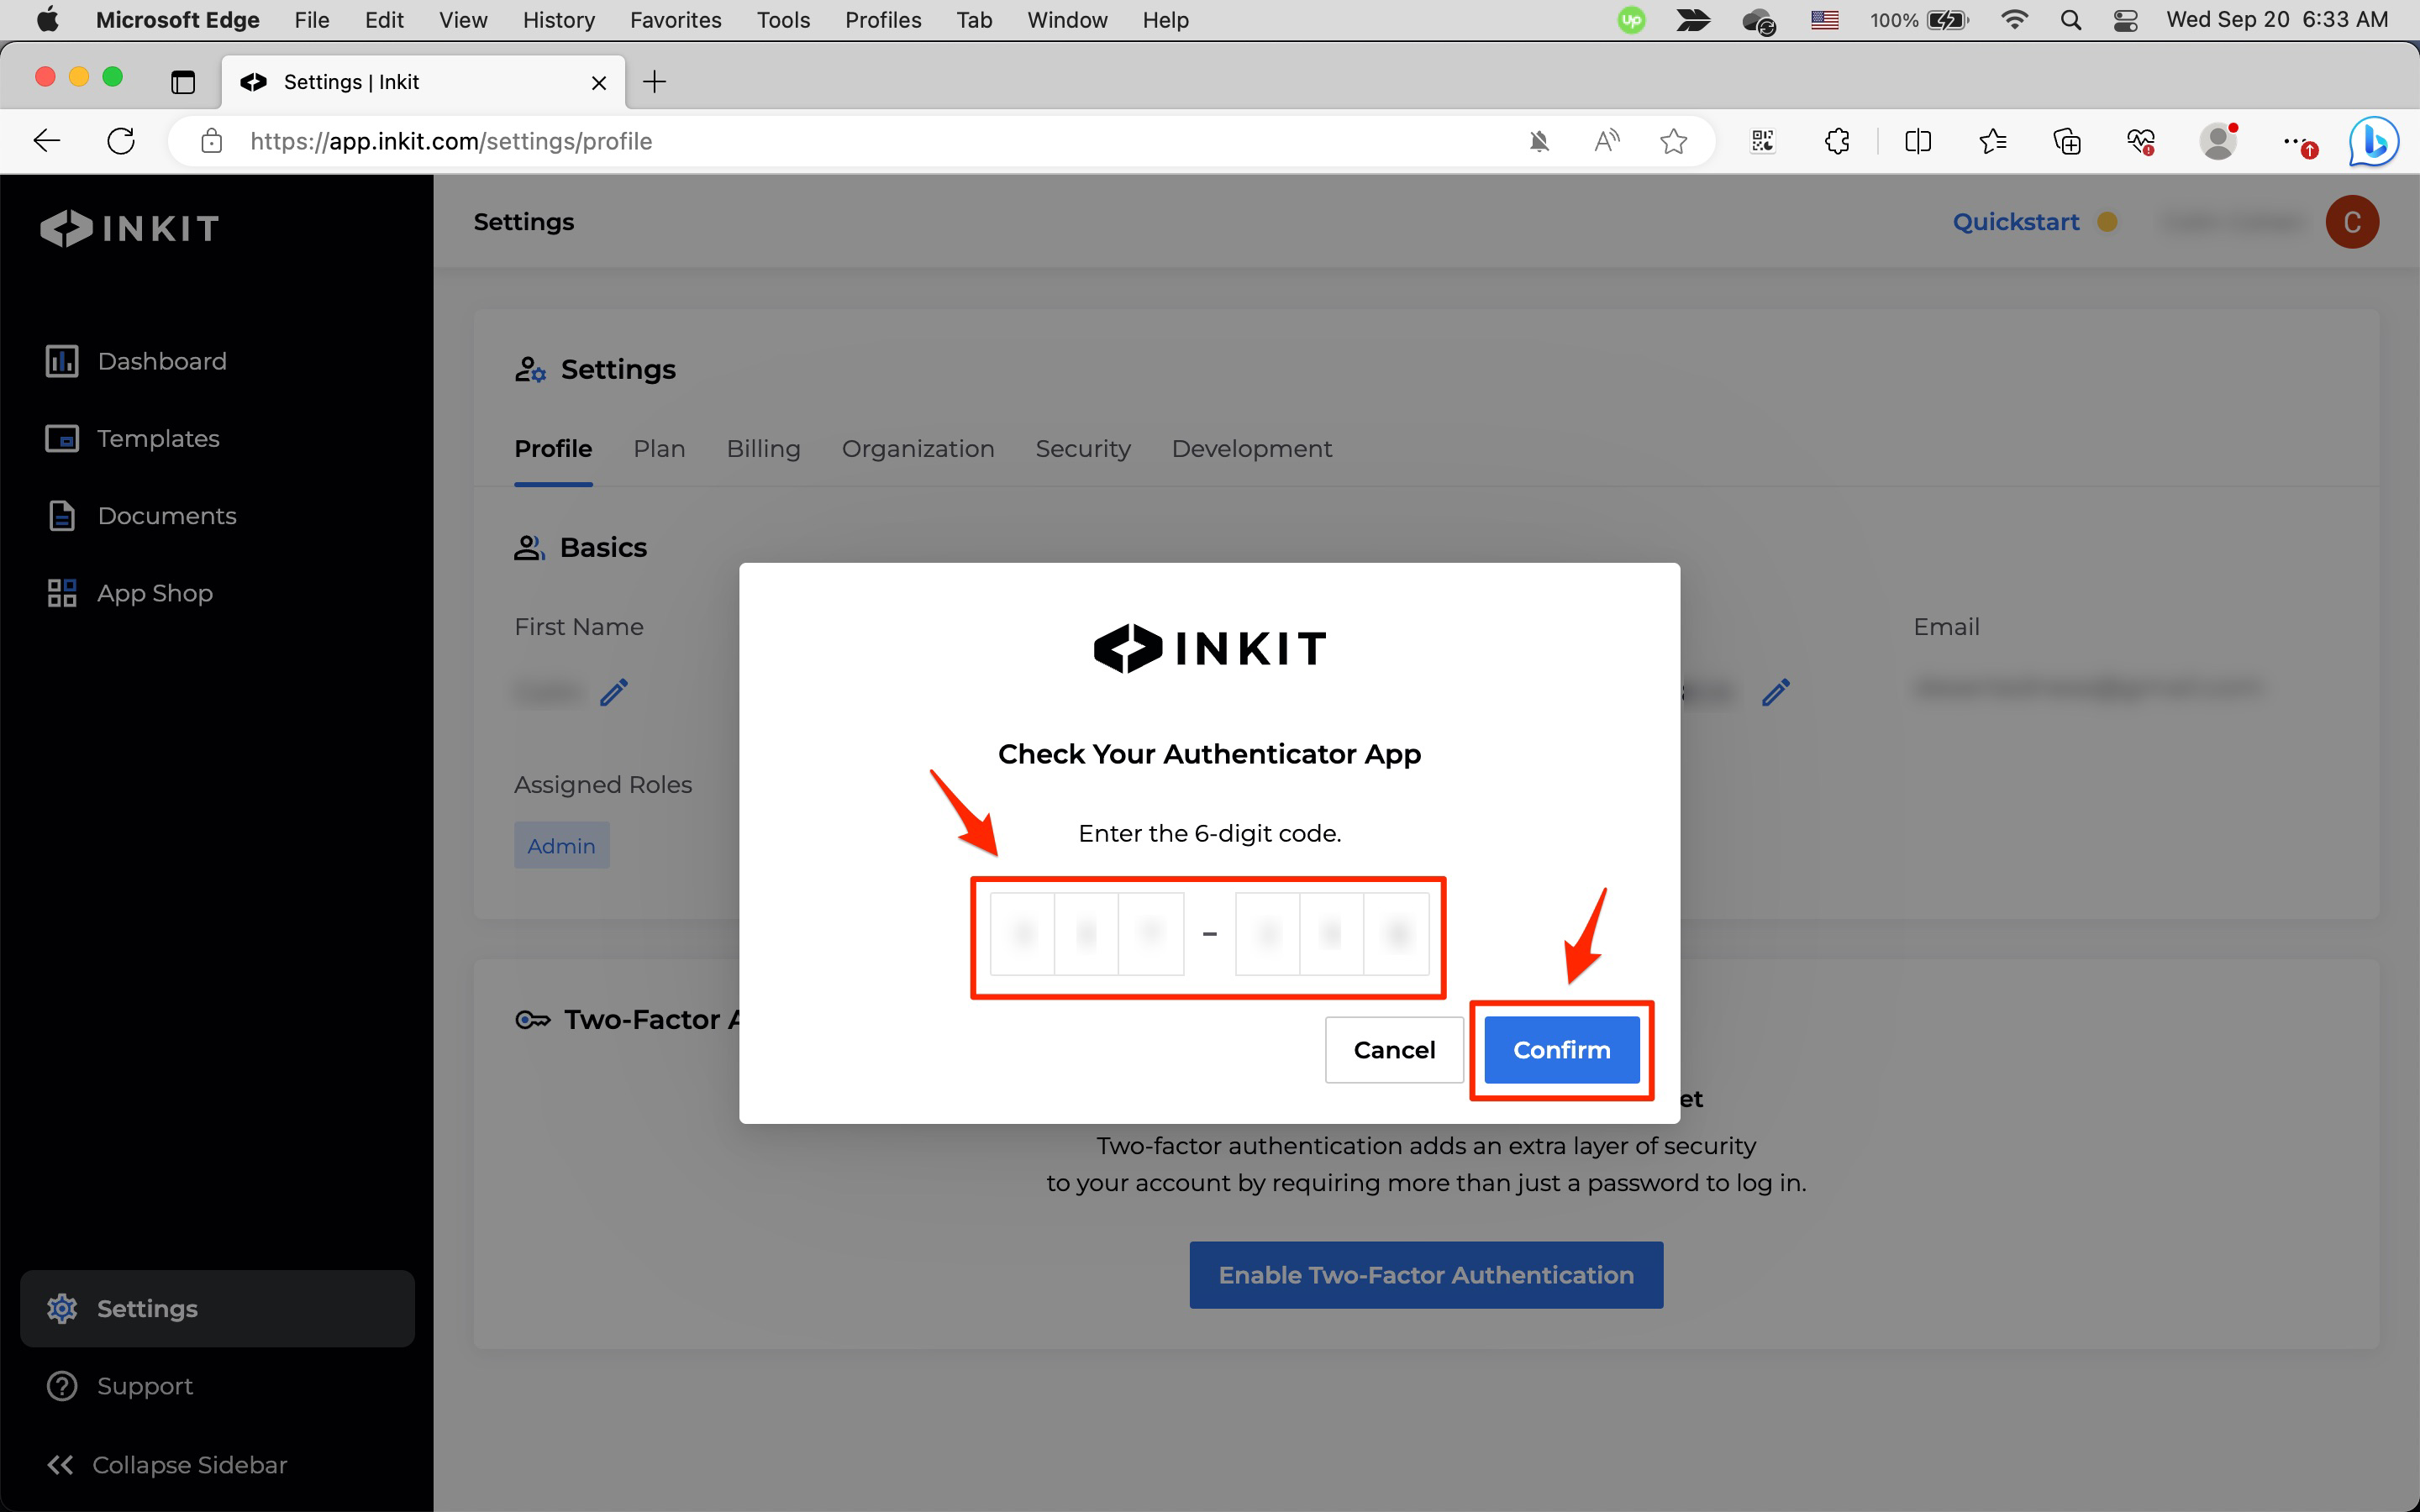
In the Check Your Authenticator App dialog box, enter the six-digit code from your authenticator app and click Confirm.
-
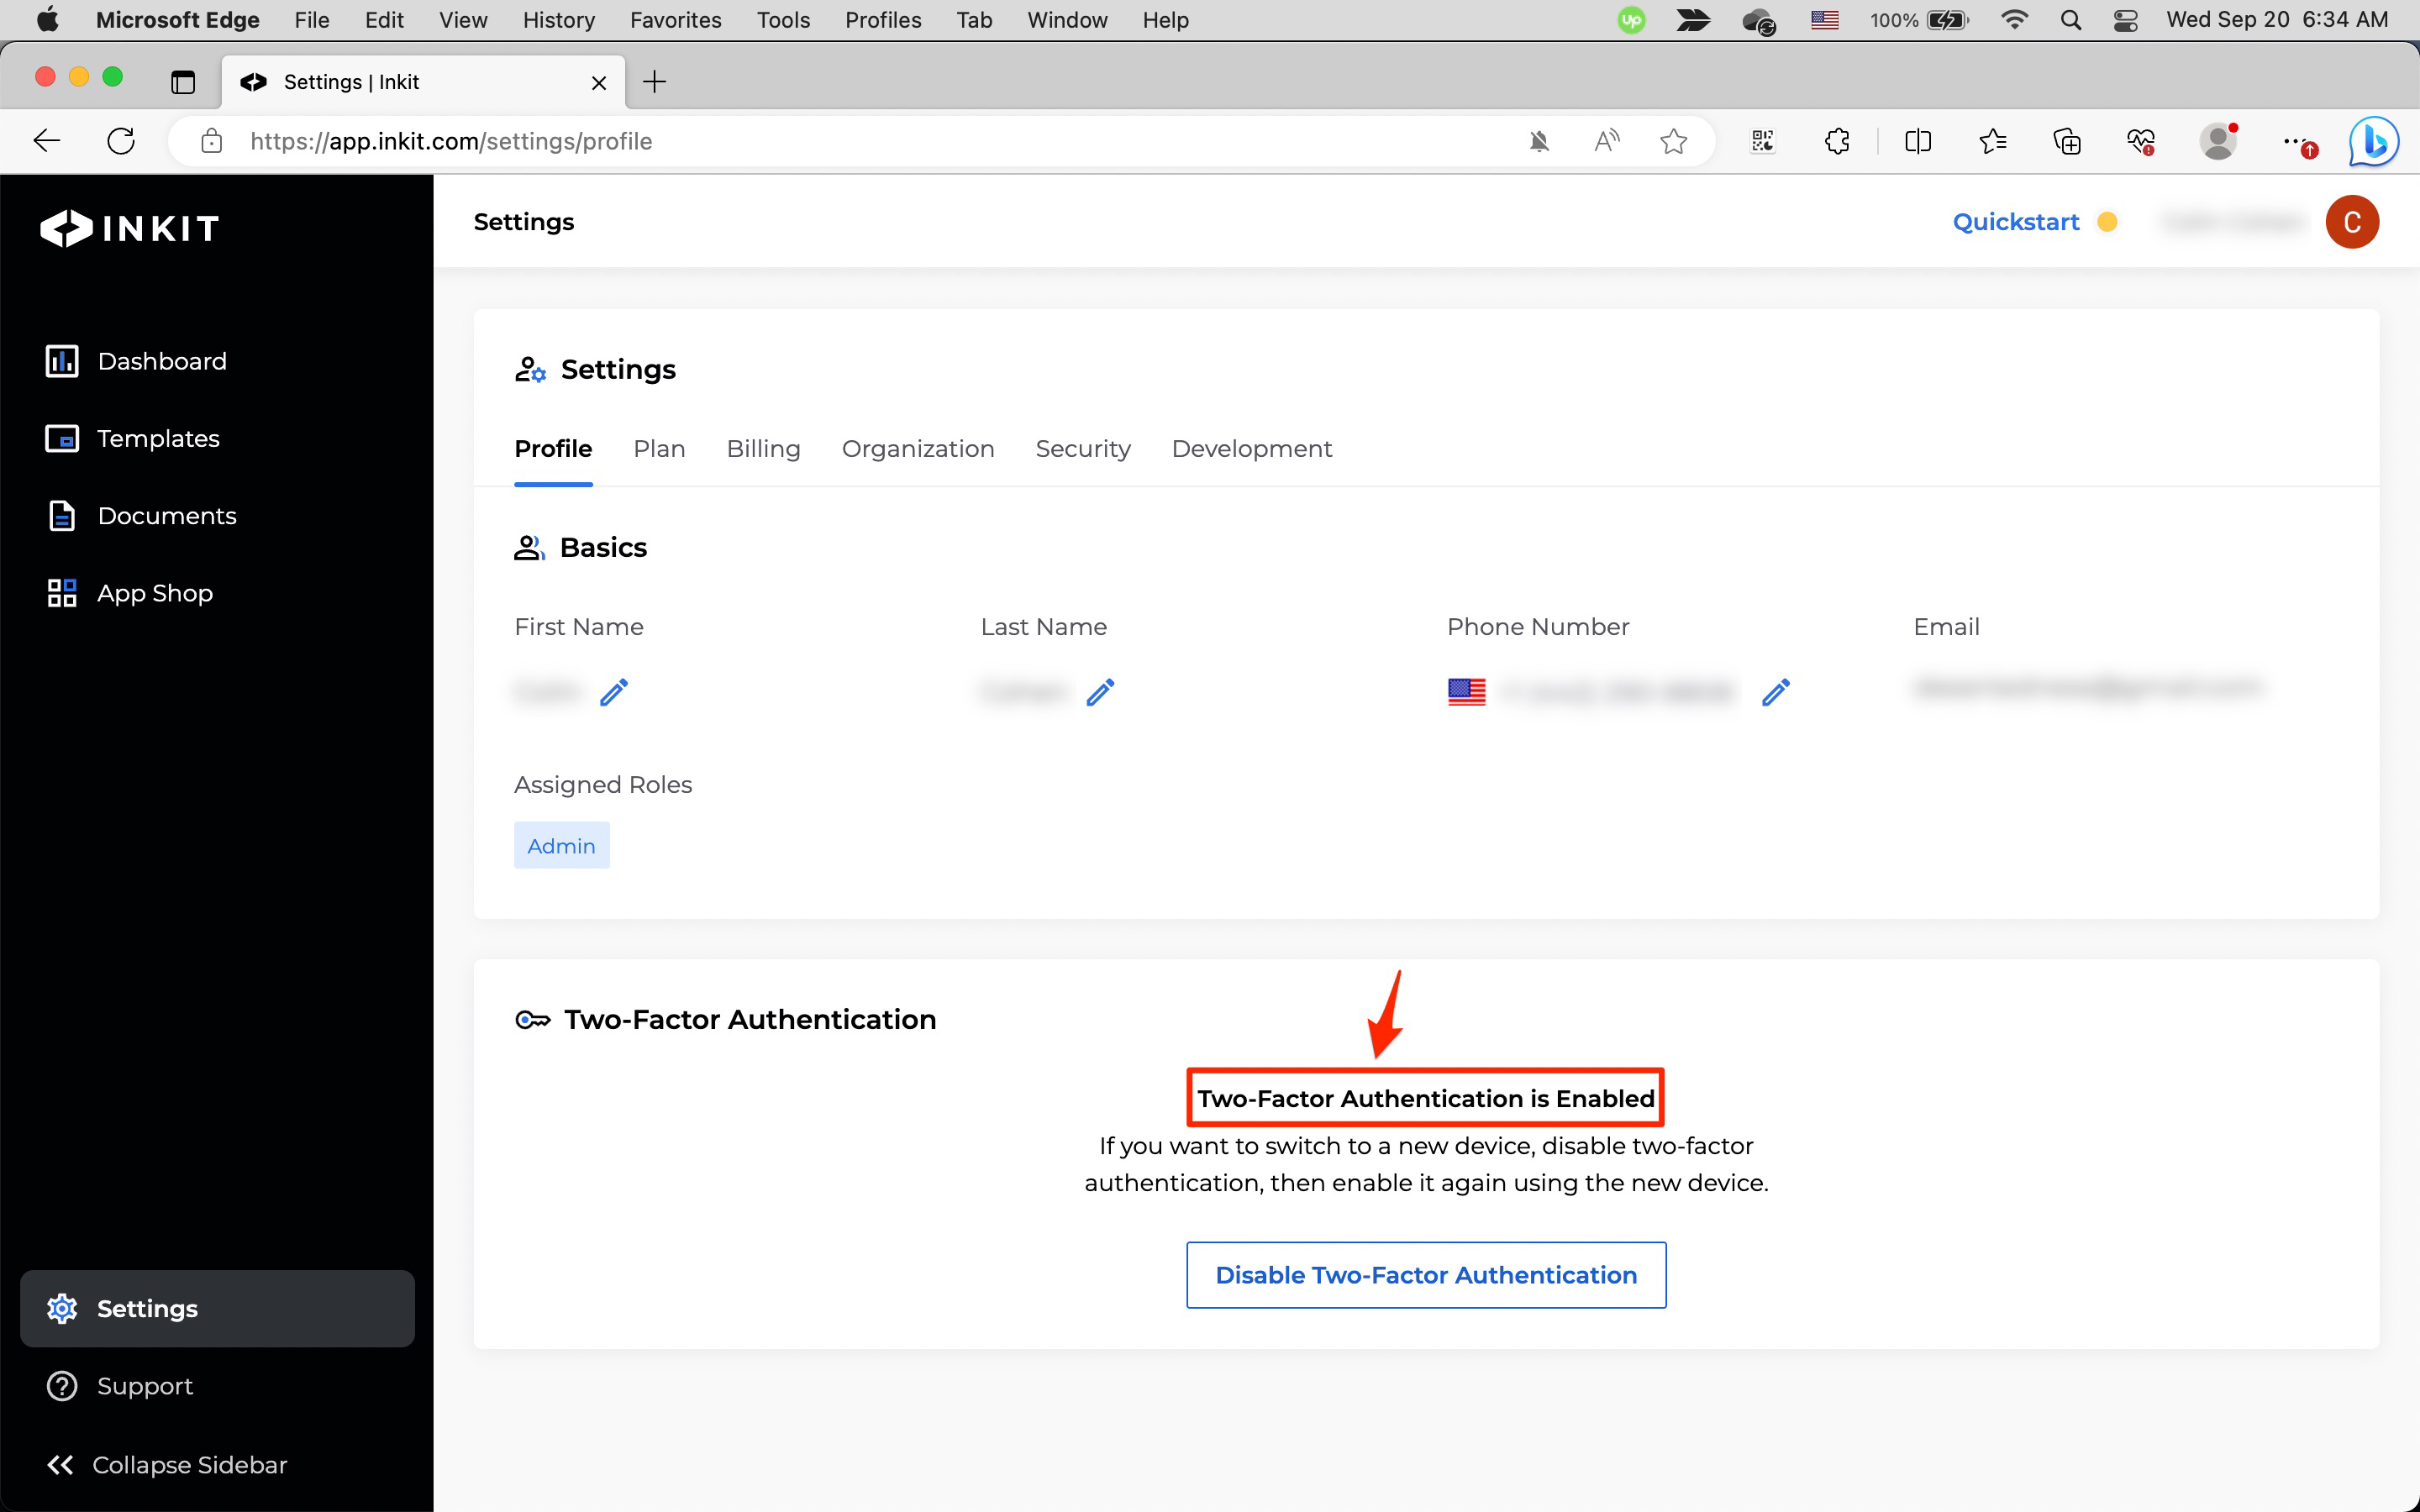
In the Two-Factor Authentication panel, you should see that two-factor authentication has been enabled for your account.
Disabling two-factor authentication
To disable two-factor authentication for your Inkit account, do the following:
-
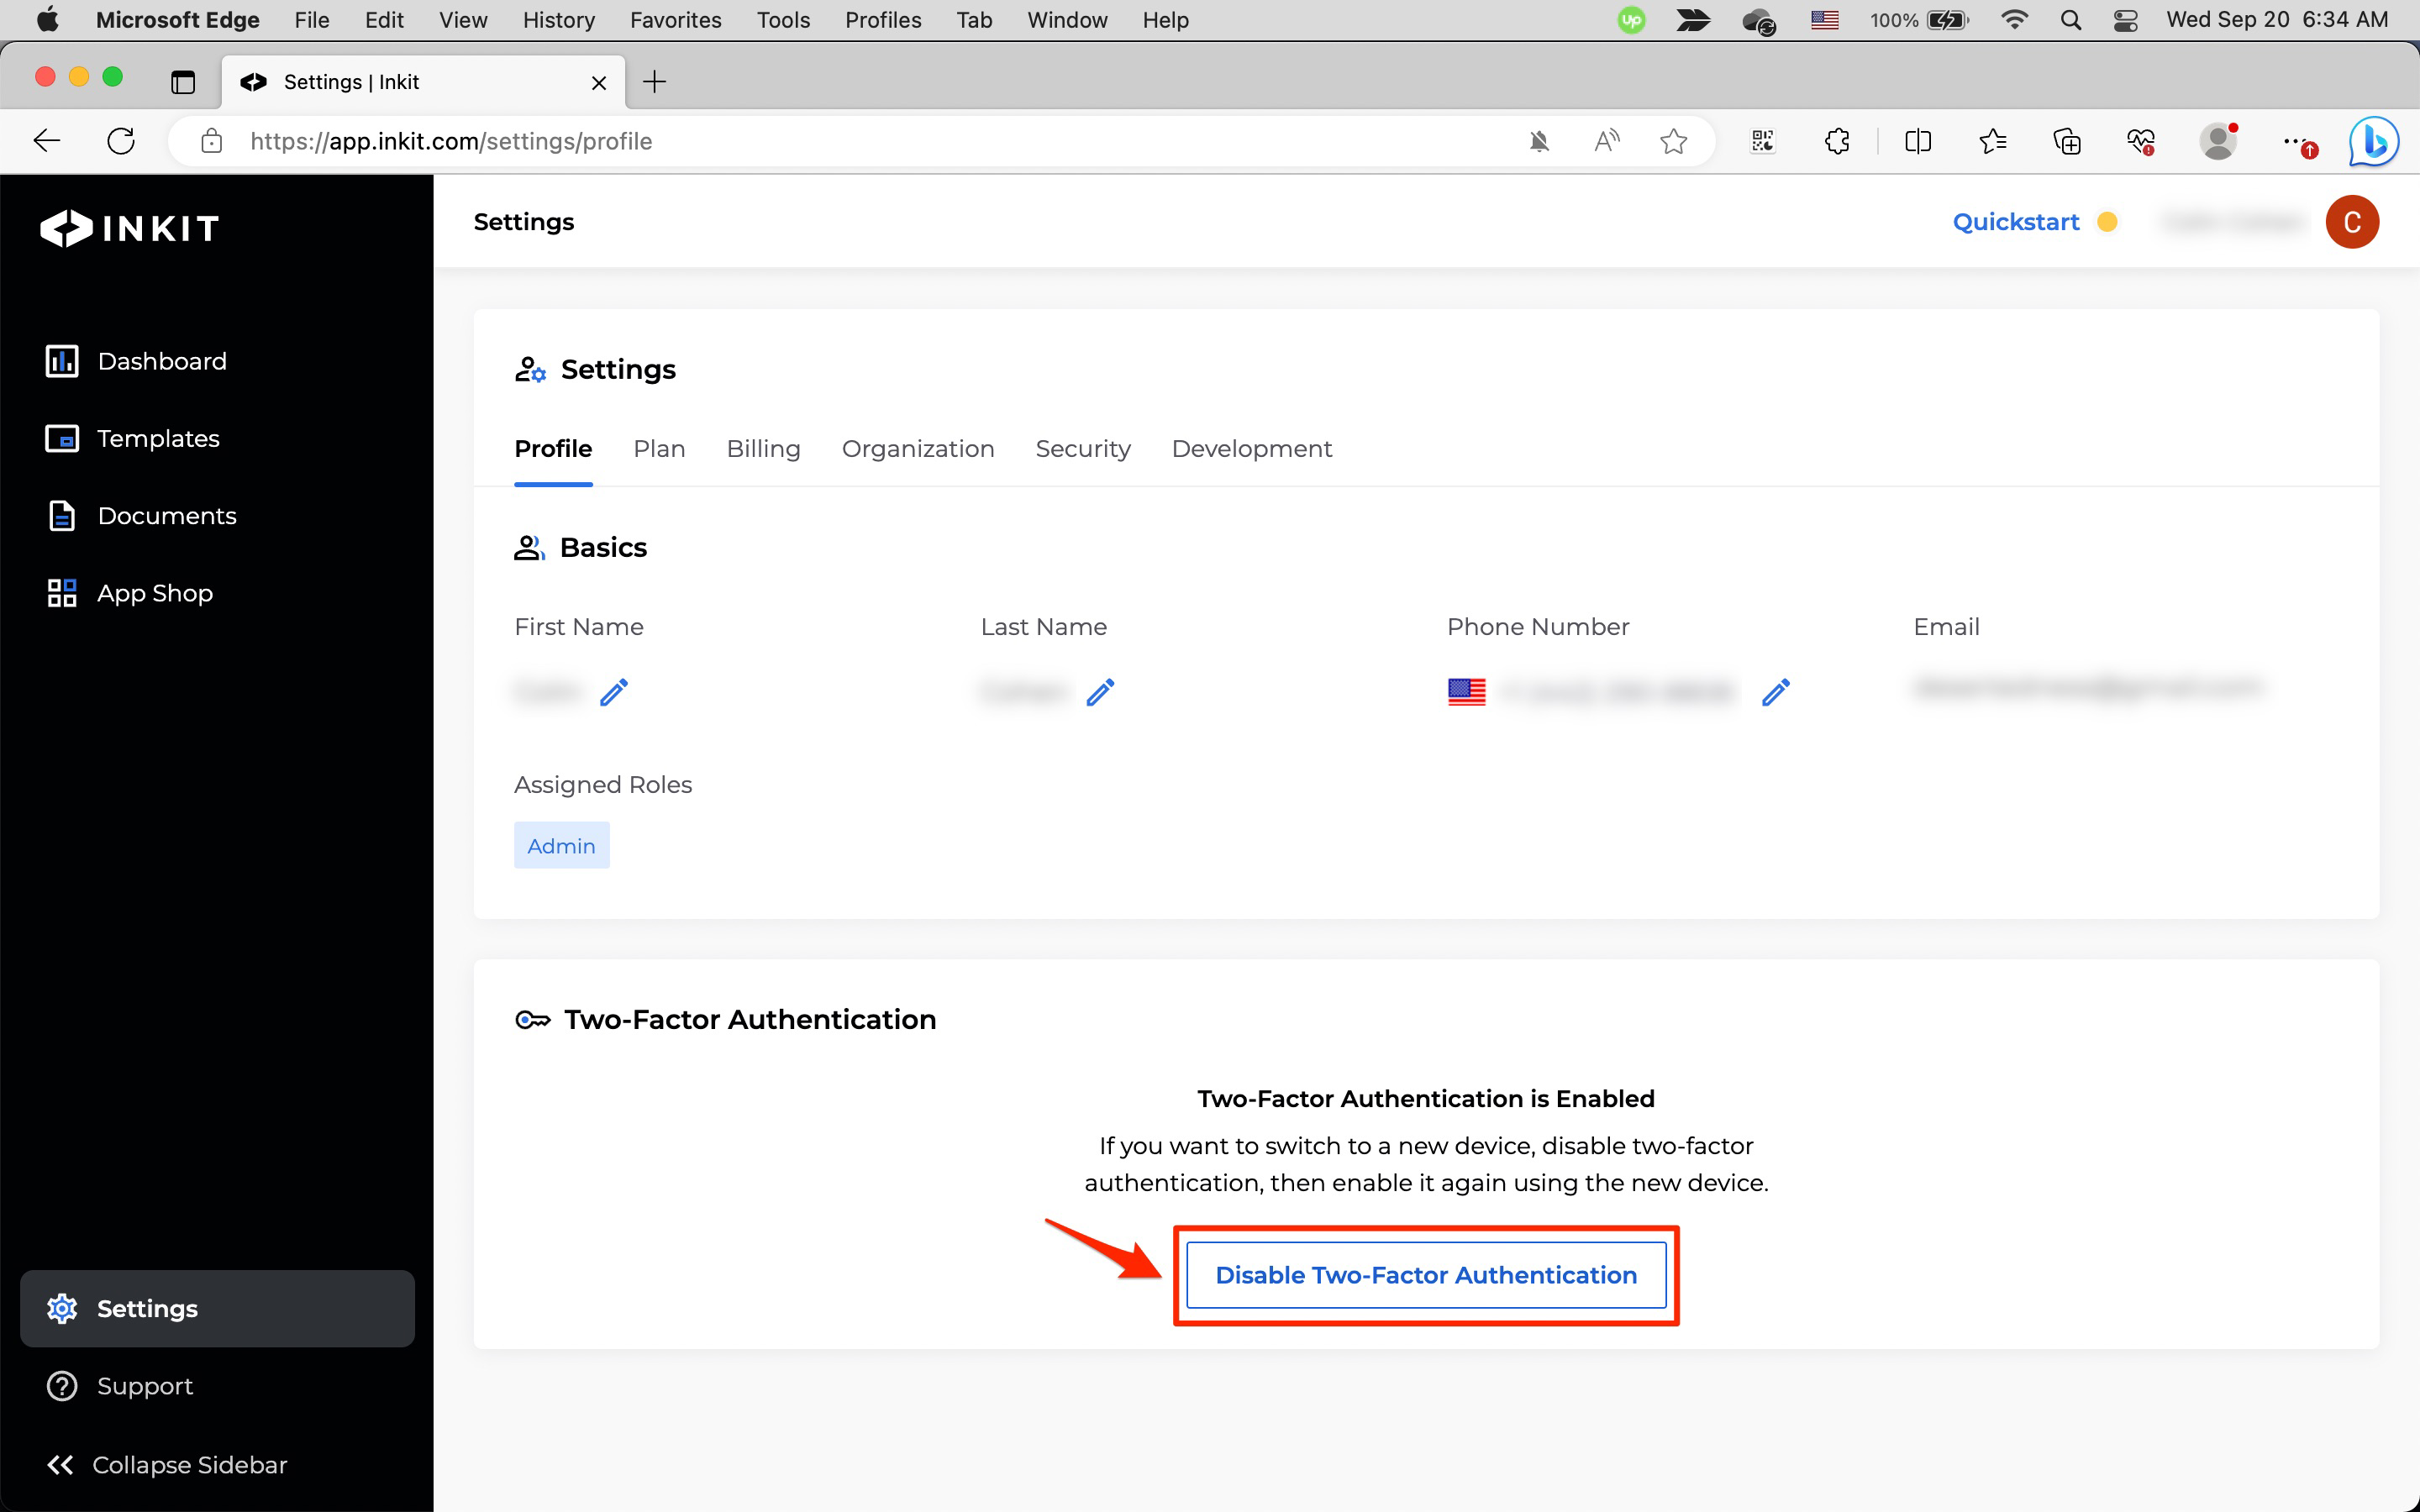
In the Inkit web app, select Settings in the left sidebar, click the Profile tab and then click Disable Two-Factor Authentication in the Two-Factor Authentication panel.
-
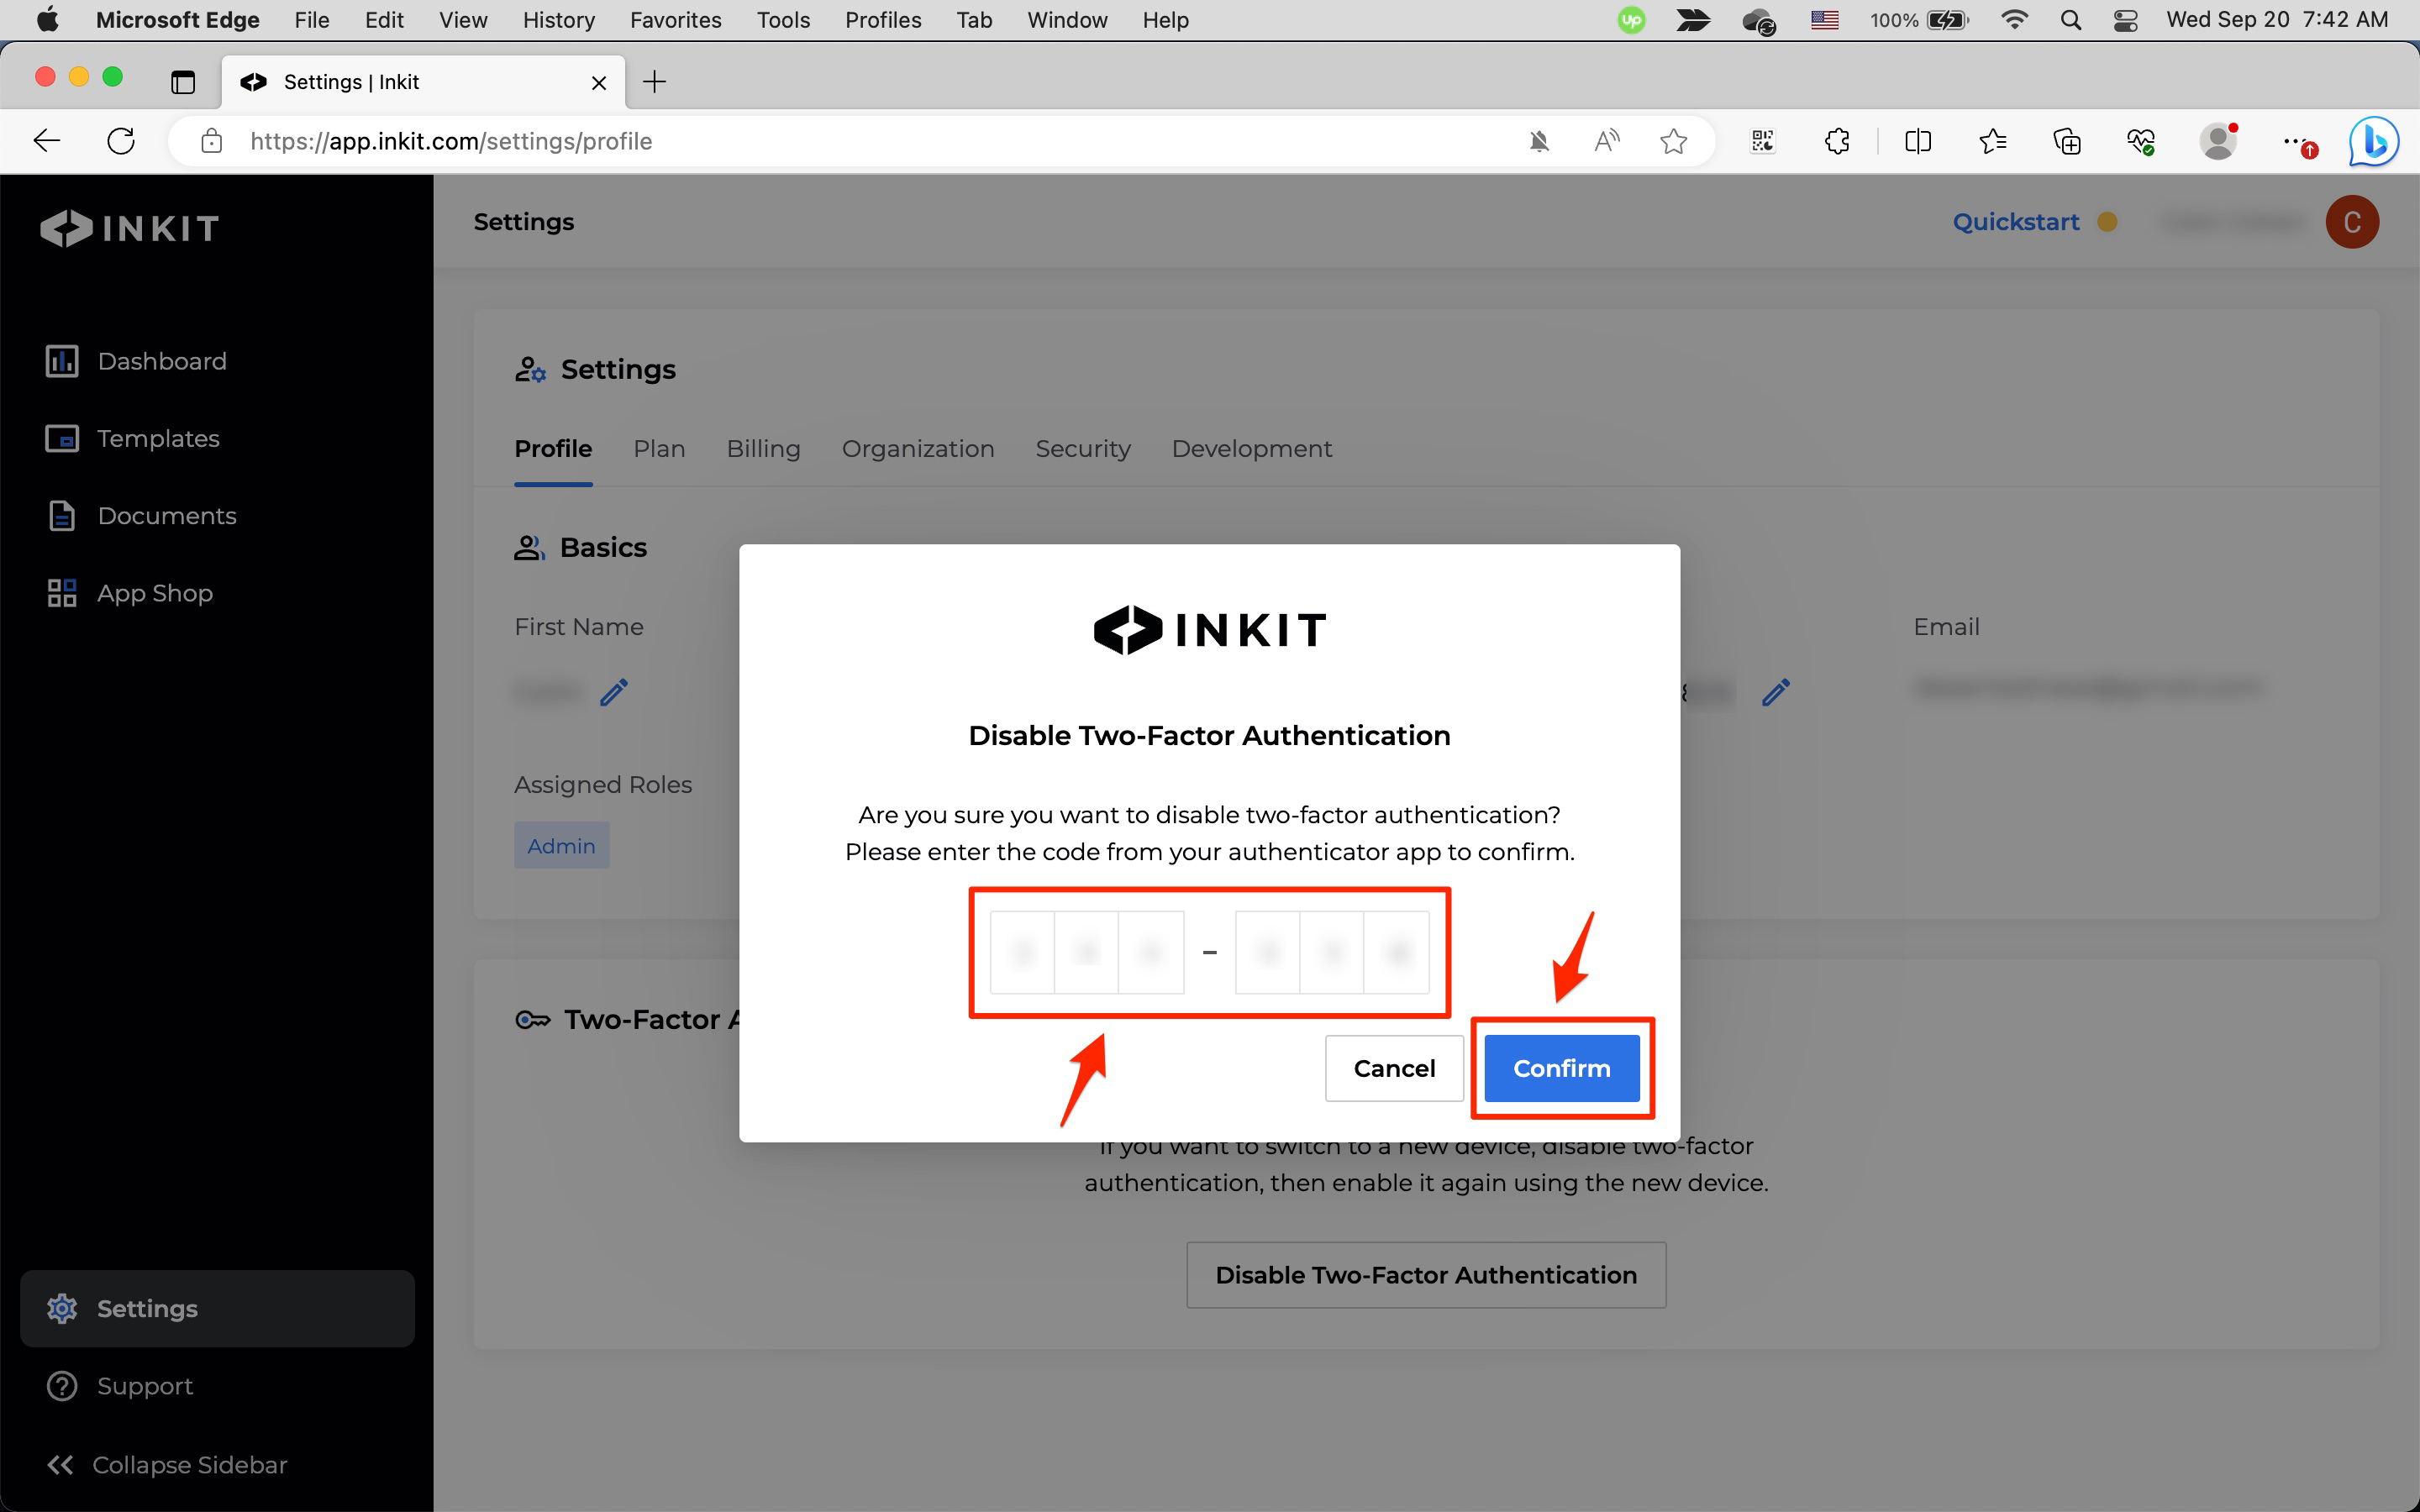
In the Disable Two-Factor Authentication dialog box, enter the six-digit code from your authenticator app and click Confirm.
-
In the Two-Factor Authentication panel, you should see that two-factor authentication has not been enabled for your account.
Updated 10 months ago