Create a template
Learn how to create a template to speed up your document generation workflows
Get ready to learn how to create templates in this step-by-step guide. Read on to discover how to set up templates in your Inkit environment.
At the end of this guide, you should have set up a sample template. Plus, you’ll have all the information and know-how to create your own.
Prerequisites:
- You understand how documents are generated
- You are aware of roles and permissions
- You have granted your API keys the appropriate permissions to generate documents
Read more about:
- Generating PDF documents from HTML files
- Managing roles and permissions
- Pulling PDF documents from your Inkit environment
Best practices: Identify your template needs
Primarily, templates are used to streamline the document generation process. The best place to utilize templates is when you have documents that conform to a format or standard. AKA documents that are often the same and only vary in their populated data fields.
Meaning, if you collect user data, for example, from forms filled in by your visitors, you could use that data to generate documents with templates automatically.
Think, the name, address, and line-item information on an invoice. The format of the invoice is always the same, yet the information on it changes. This would be a great place to use templates.
Any document format that is frequently used is a perfect candidate for templates.
Create a template
Templates are HTML files that have marked sections that can be replaced by dynamic content. After you’ve created the template, you can use your create requests to instantiate a new document and populate it.
This sounds complicated, but it’s easier than you may think. So here, why don’t you follow along?
- Navigate to the Templates tab
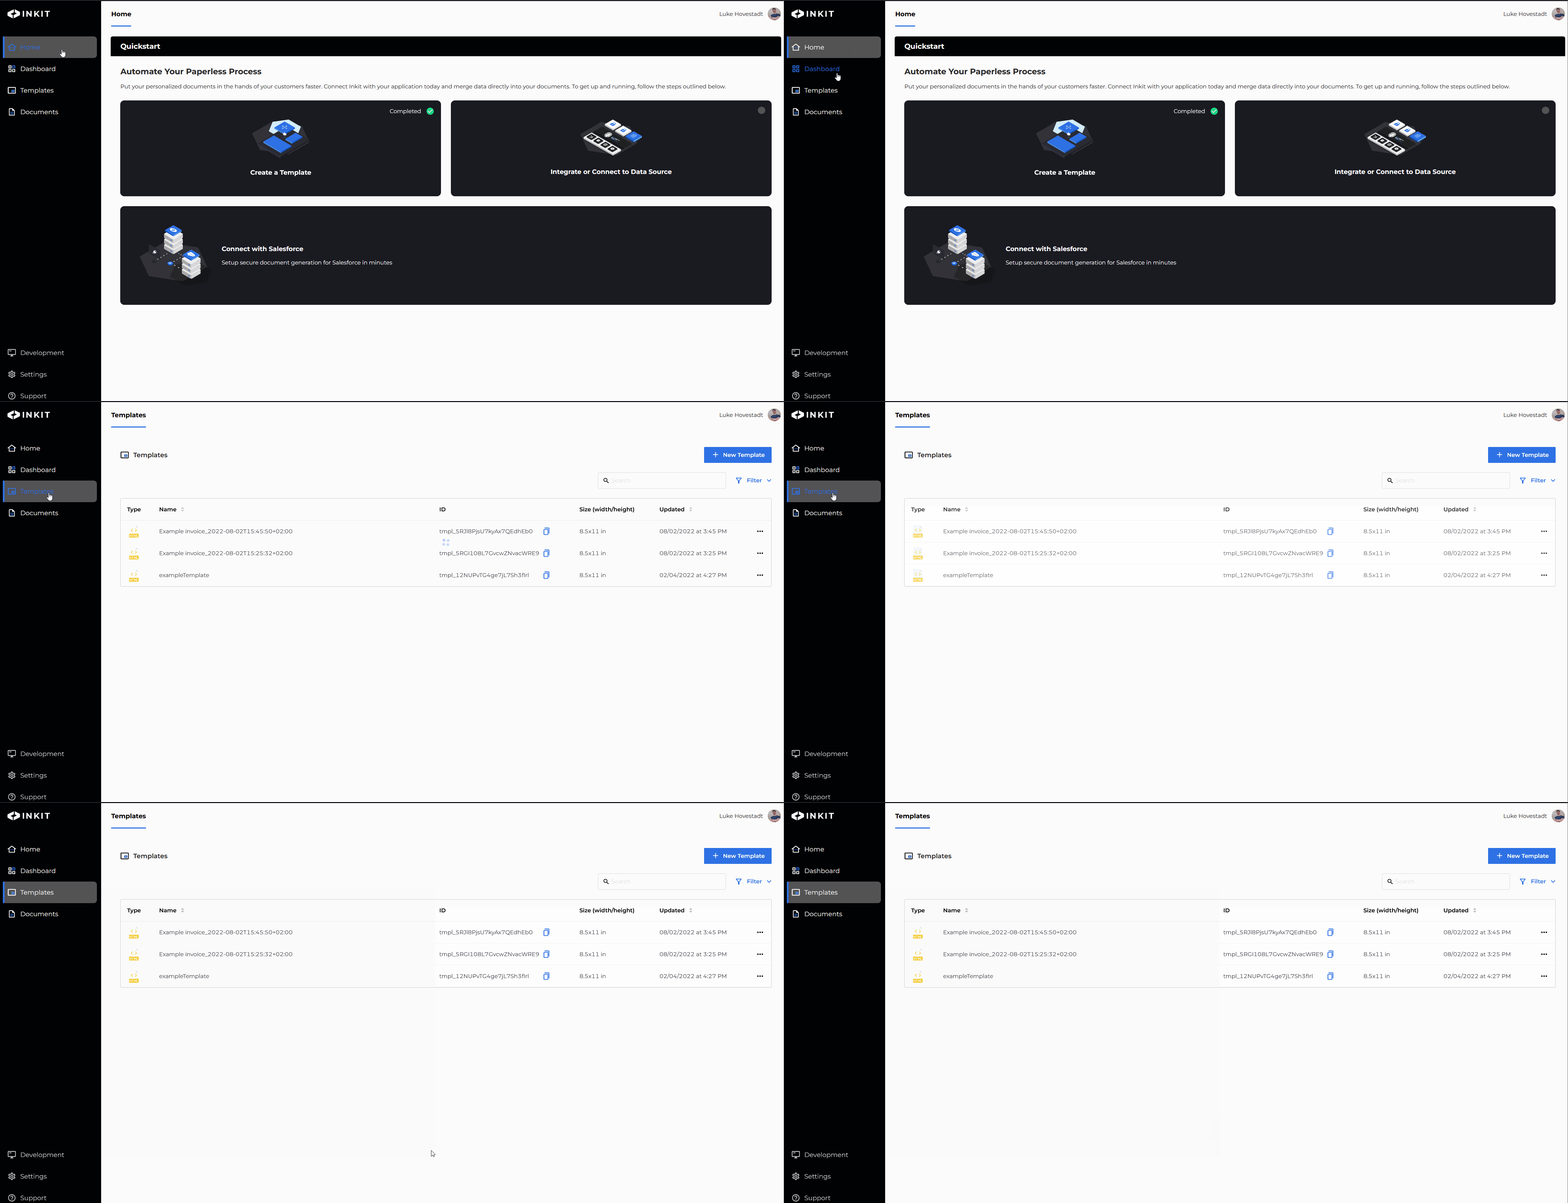
- Press "New Template."
Currently, Inkit supports four options for creating a template. Docx to pdf, HTML to pdf, pdf to pdf, and pptx to pdf. PPTX to pdf is not covered in this article.
Option A: DOCX to PDF
Select the DOCX option in the dropdown and fill out the form.
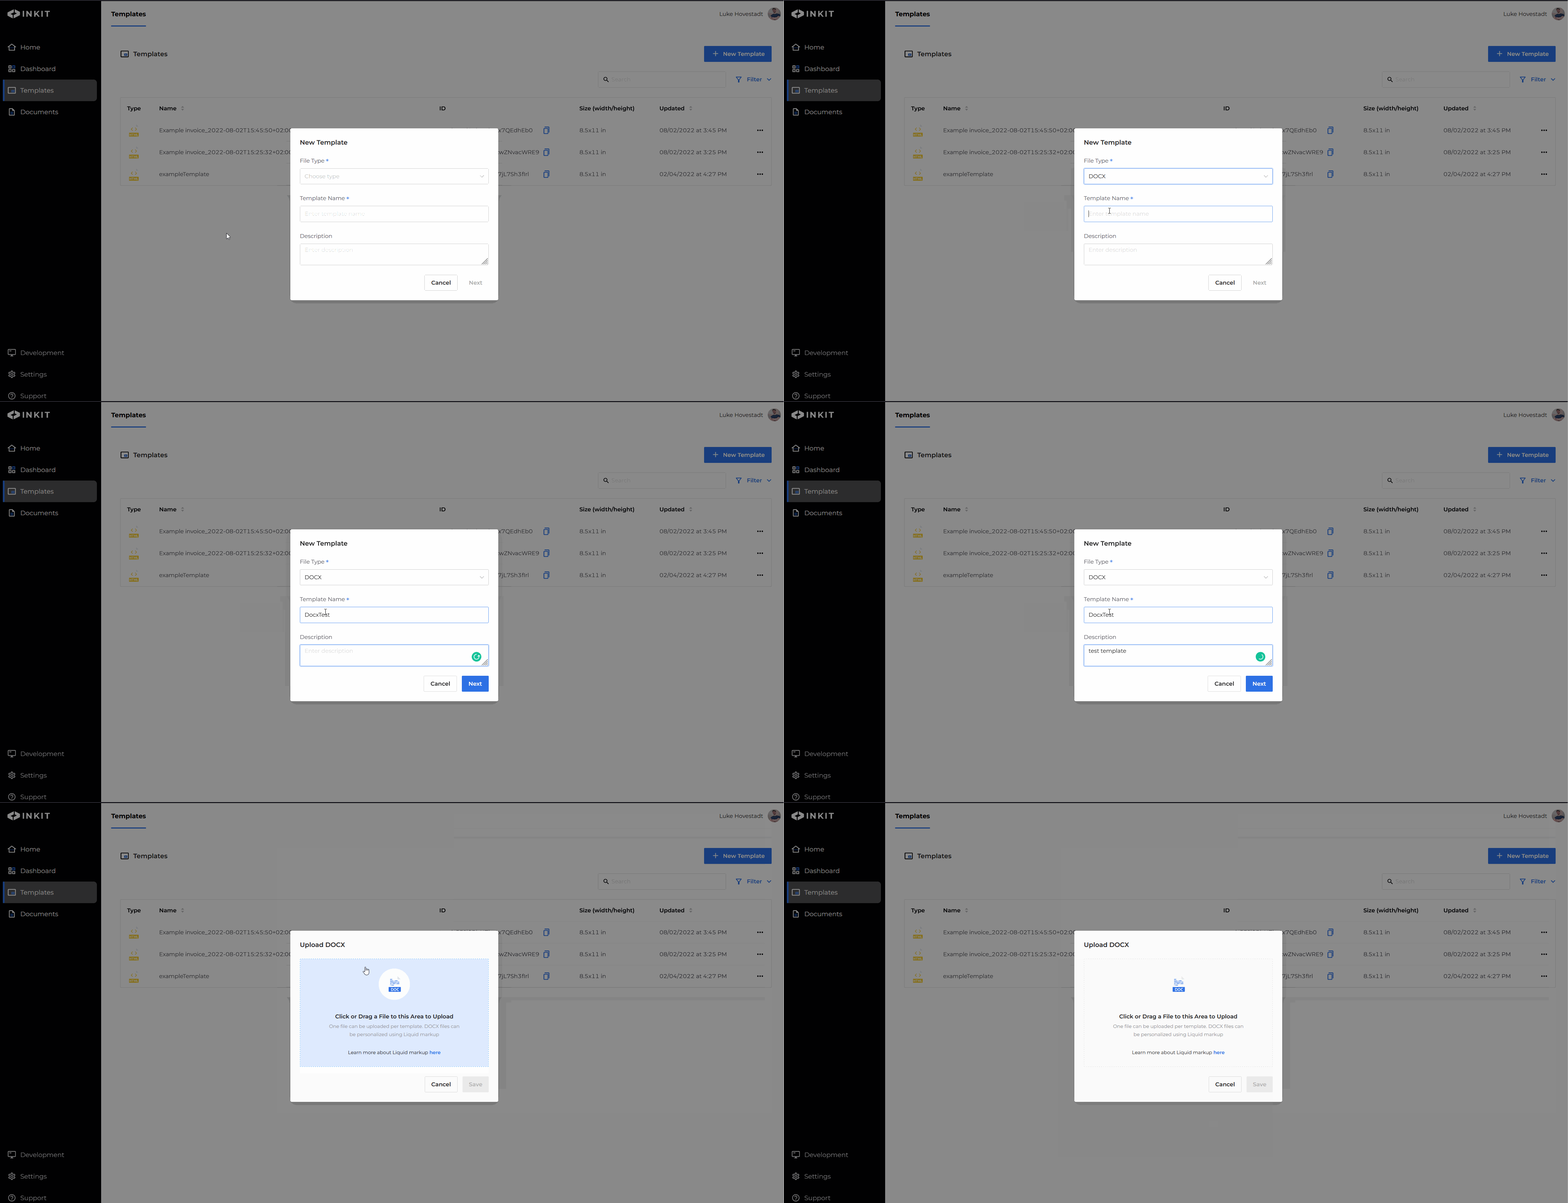
Upload the .docx file you would like to use as a template.
Make sure to put variables within the .docx file in liquid formatting: for example, the variable price or customer_name should be written as {{price}} or {{customer_name}}
Option B: HTML to PDF
This time, select HTML in the dropdown and input the necessary metadata.
You will be taken to the HTML editor in which you can create your template.
Here is a test template you can input. When you press "preview", you are prompted to input variable data for the {{replaceMe}} variable.
<html>
{{replaceMe}}
</html>
Of course, you can make as many variables as you like. You can use these variables to create dynamic documents -- useful, isn't it?
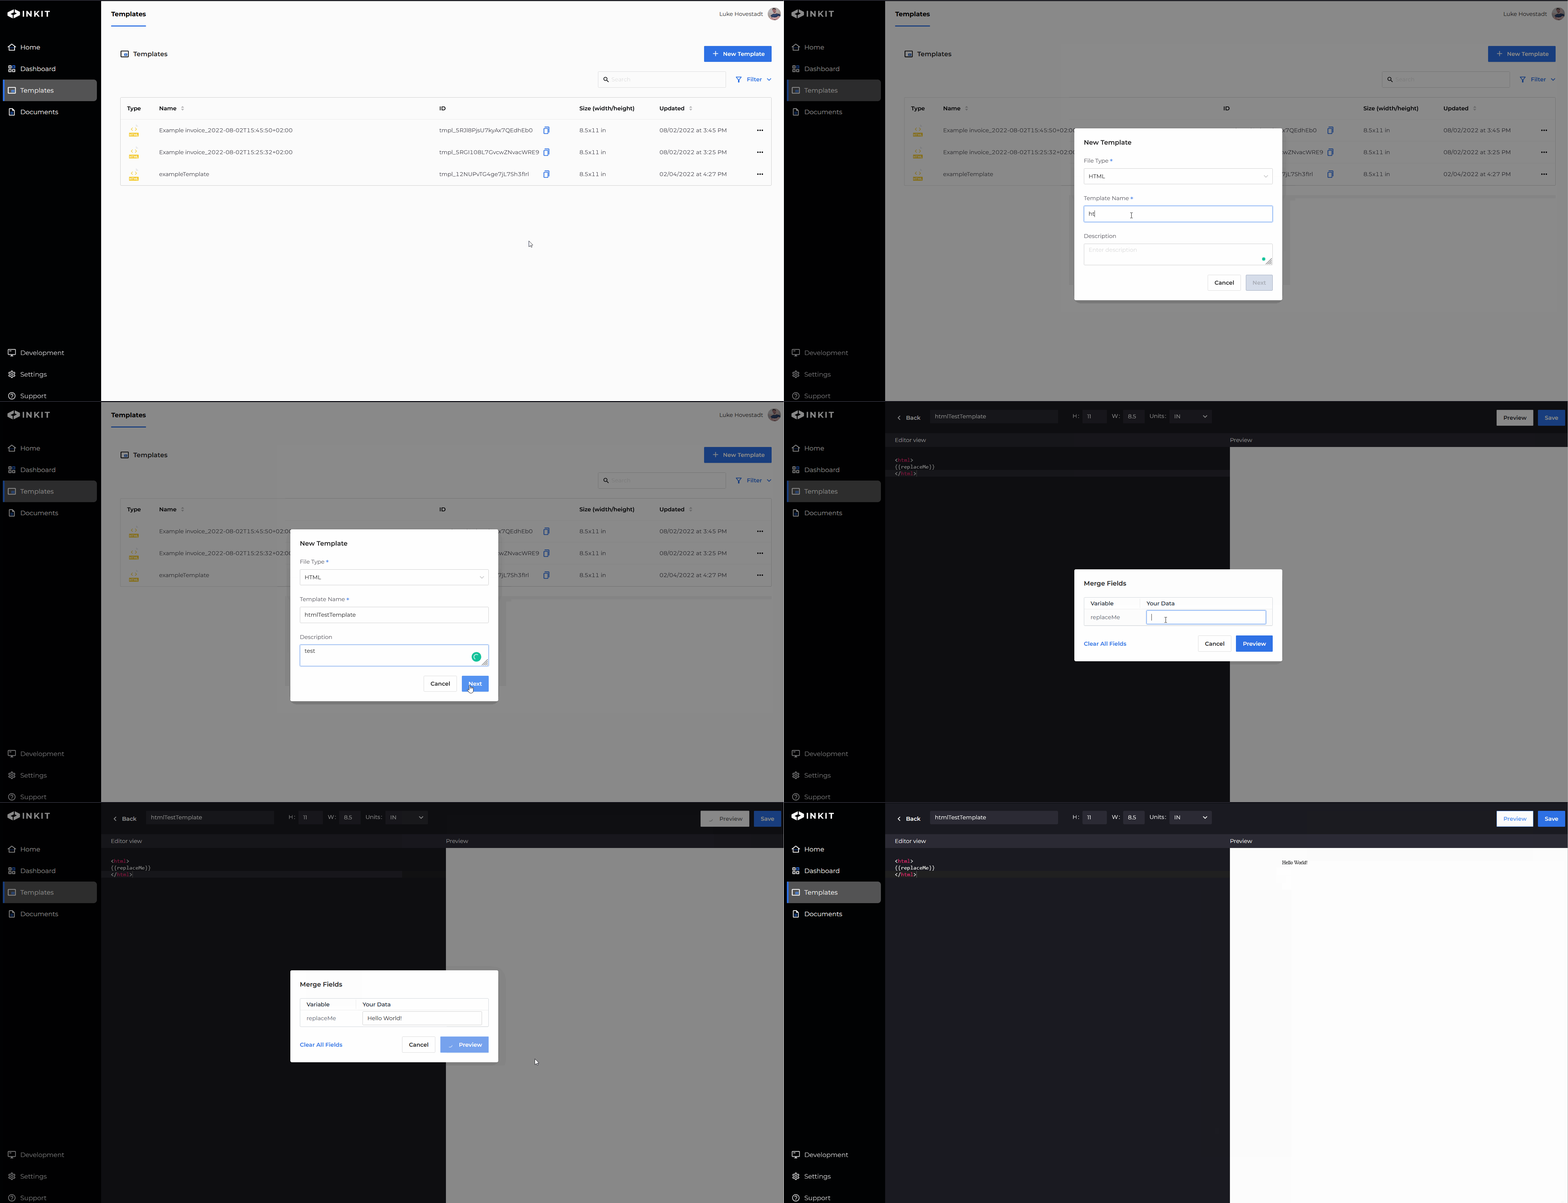
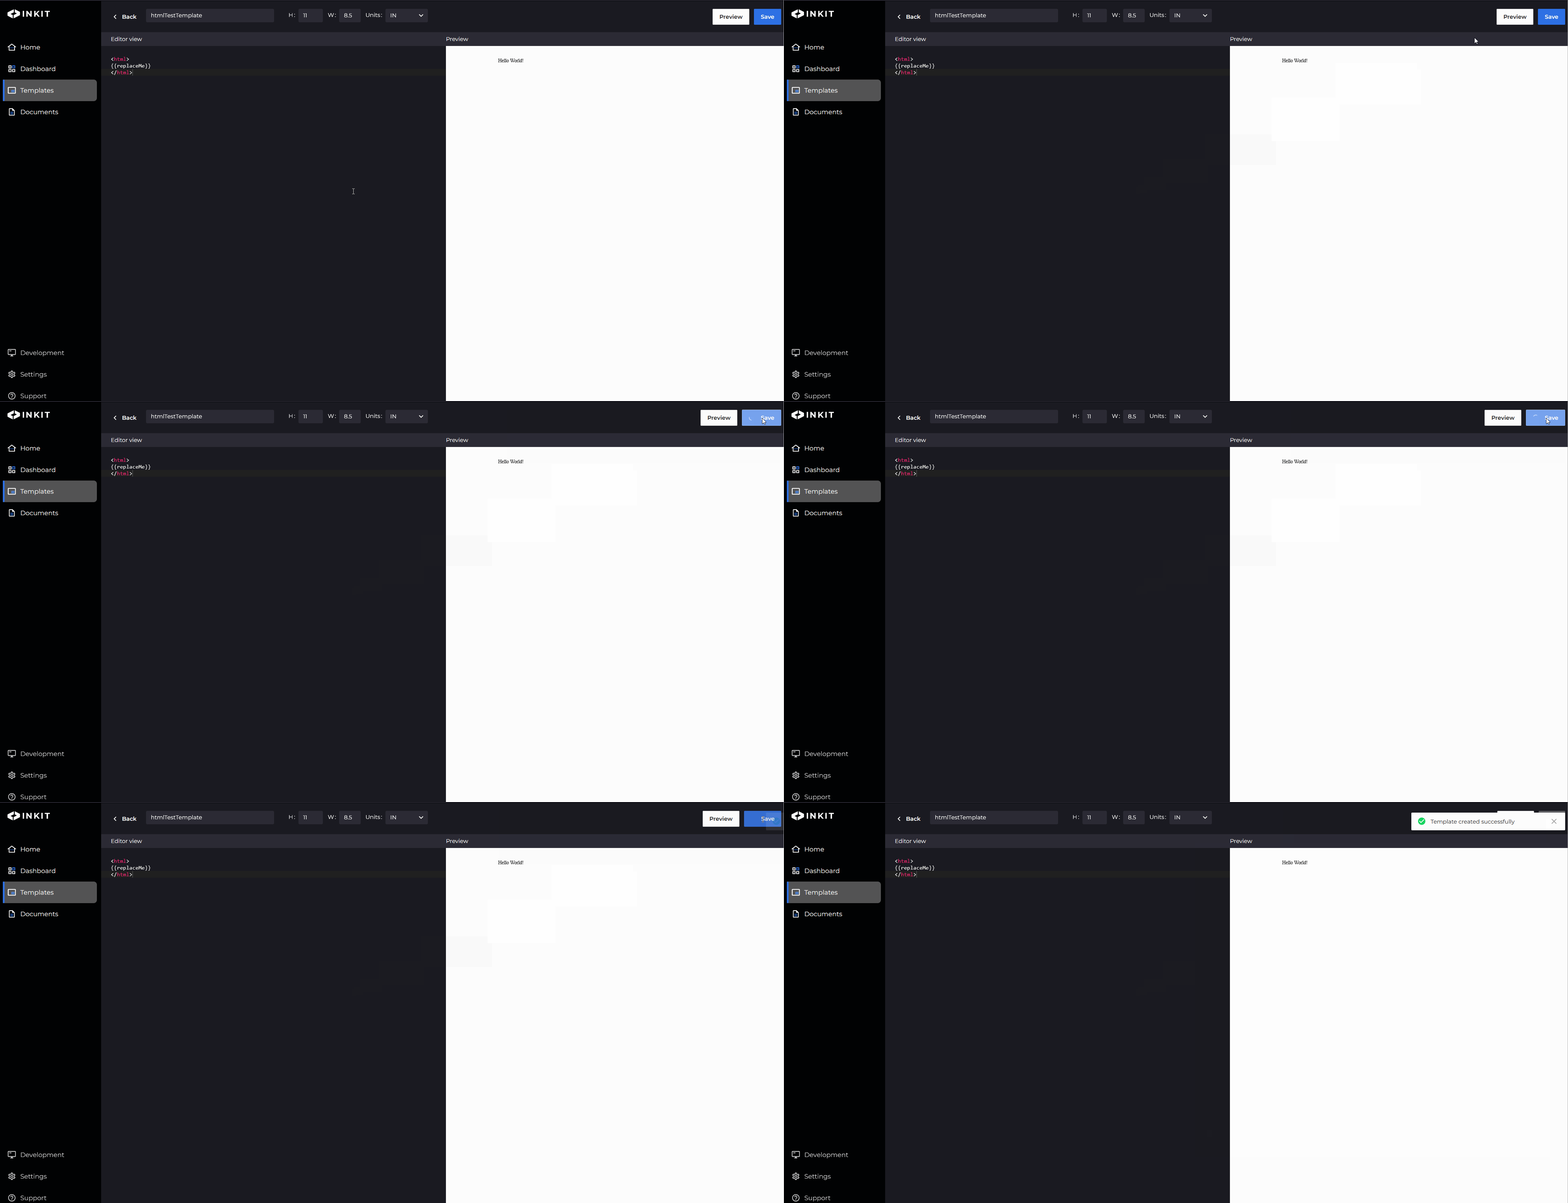
- To confirm and save your template, press the "Save" button.
Option 3: PDF to PDF
You can also upload an existing PDF file and turn it into a template.
This option will let you edit your uploaded PDF in the in-browser template editor. Just drag and drop your variables in this editor and save your template when ready.
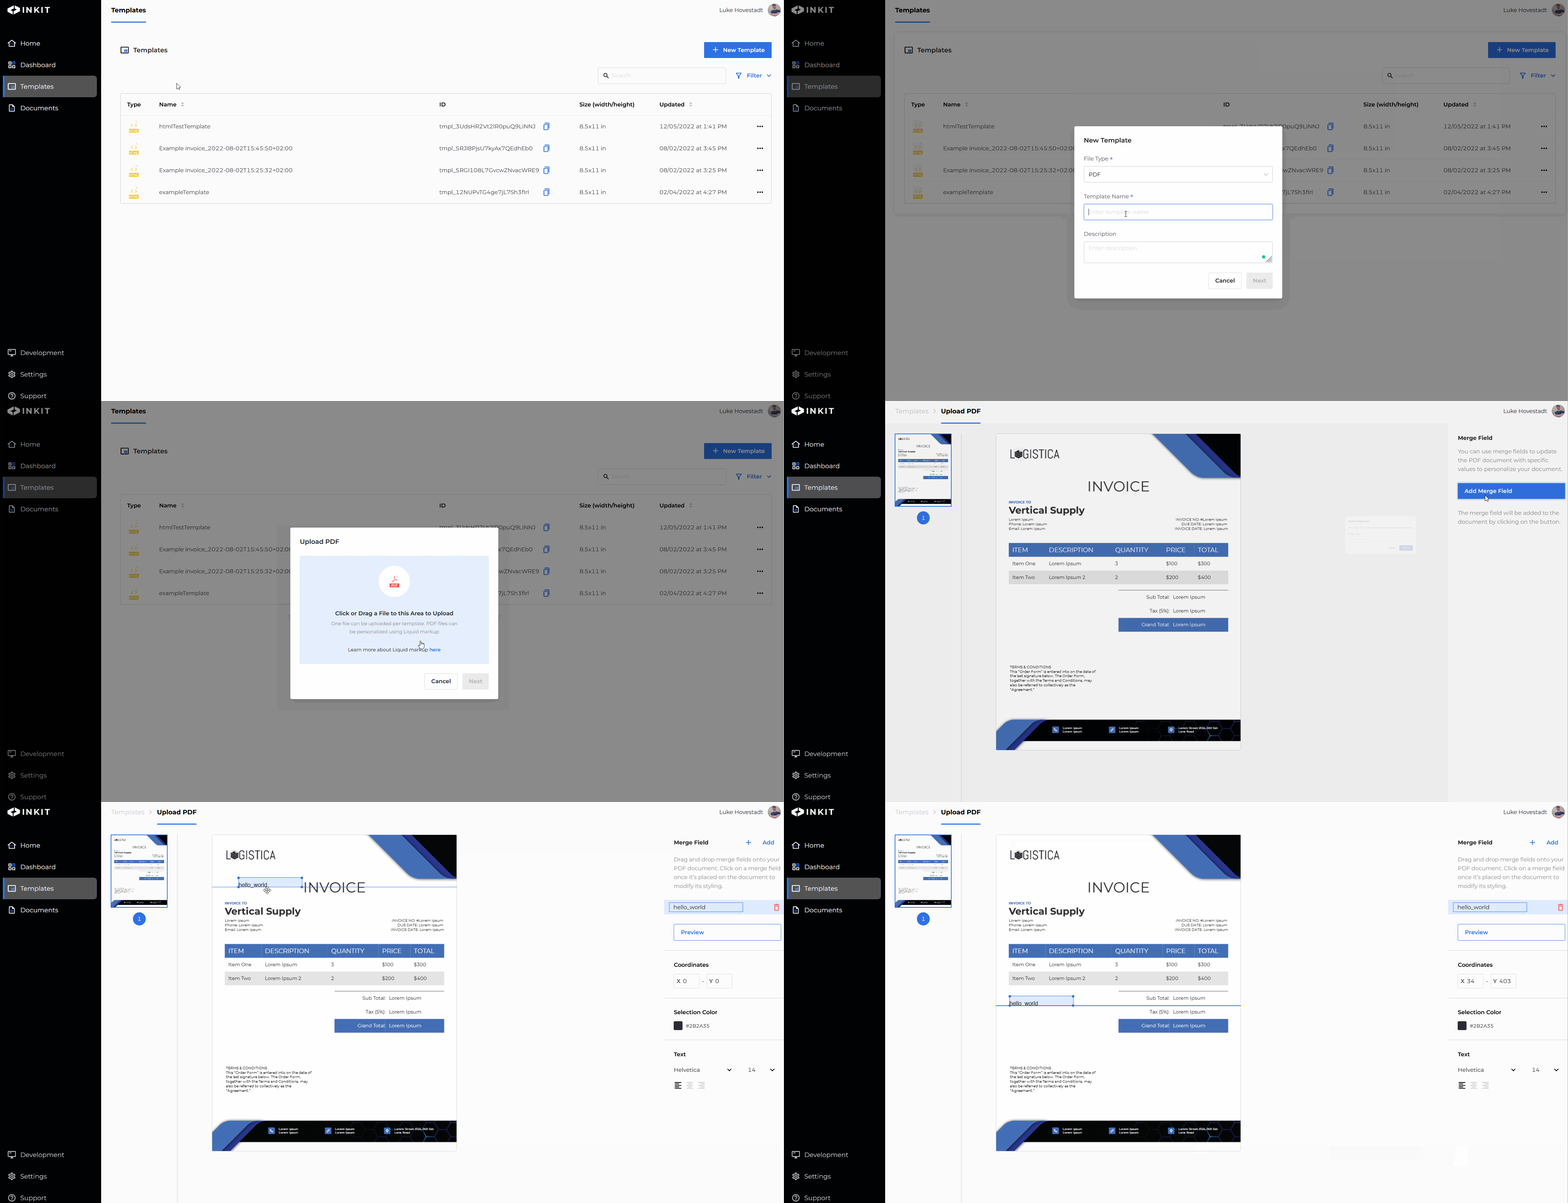
Congrats! You now have a template. But, of course, this is a very rudimentary and simple template. You most likely want to have more elaborate templates with many more variables, styling, and paragraphs in practice.
You can use HTML and all its features to make your templates as complicated as you wish.
Note: the double percentage symbol signals the Inkit environment that this is a variable. You can have as many of these variables in your document.
So long you name them %%yourVariableName%%
Be sure to refer back to them in your create requests. Unsure how to do this? See this topic:
Example: Letter template
You can make your templates complicated or straightforward. It is up to you and the needs of the technical processes of your organization.
You may decide to use a template for automated letters that you send to your customers. For example, you could make a template as such:
<html>
Dear {{firstName}} {{lastName}},
Thank you for selecting {{yourCompany}}’s Escrow Management Services, an application that simplifies the way you can administer your client funds. With this service, you will receive a monthly consolidated escrow account statement as well as the standard monthly checking account statement.
</html>
%%firstName%% and %%lastName%% are the variables firstName and lastName. Sames goes for {{yourCompany}}
You could now use your create requests to create this document with varying first and last names.
If you’d like to learn how to do this in practice, please refer to this topic:
Updated 5 months ago