Connect Sepire
Learn how to connect your Inkit environment with Sepire to print and send documents. With this guide you will see how to go through the onboarding process Sepire wants you to undertake to make use of the paper-out & send service.
Additionally, this guide shows you how to set up your return address and view the mail pieces you sent.
Prerequisites
- You have a Pro or Enterprise account on the Inkit Document Generation Platform (Contact sales to set up yourself with the right plan).
- You want to remotely print and send mail to your recipients
Read more:
Set up yourself with Sepire
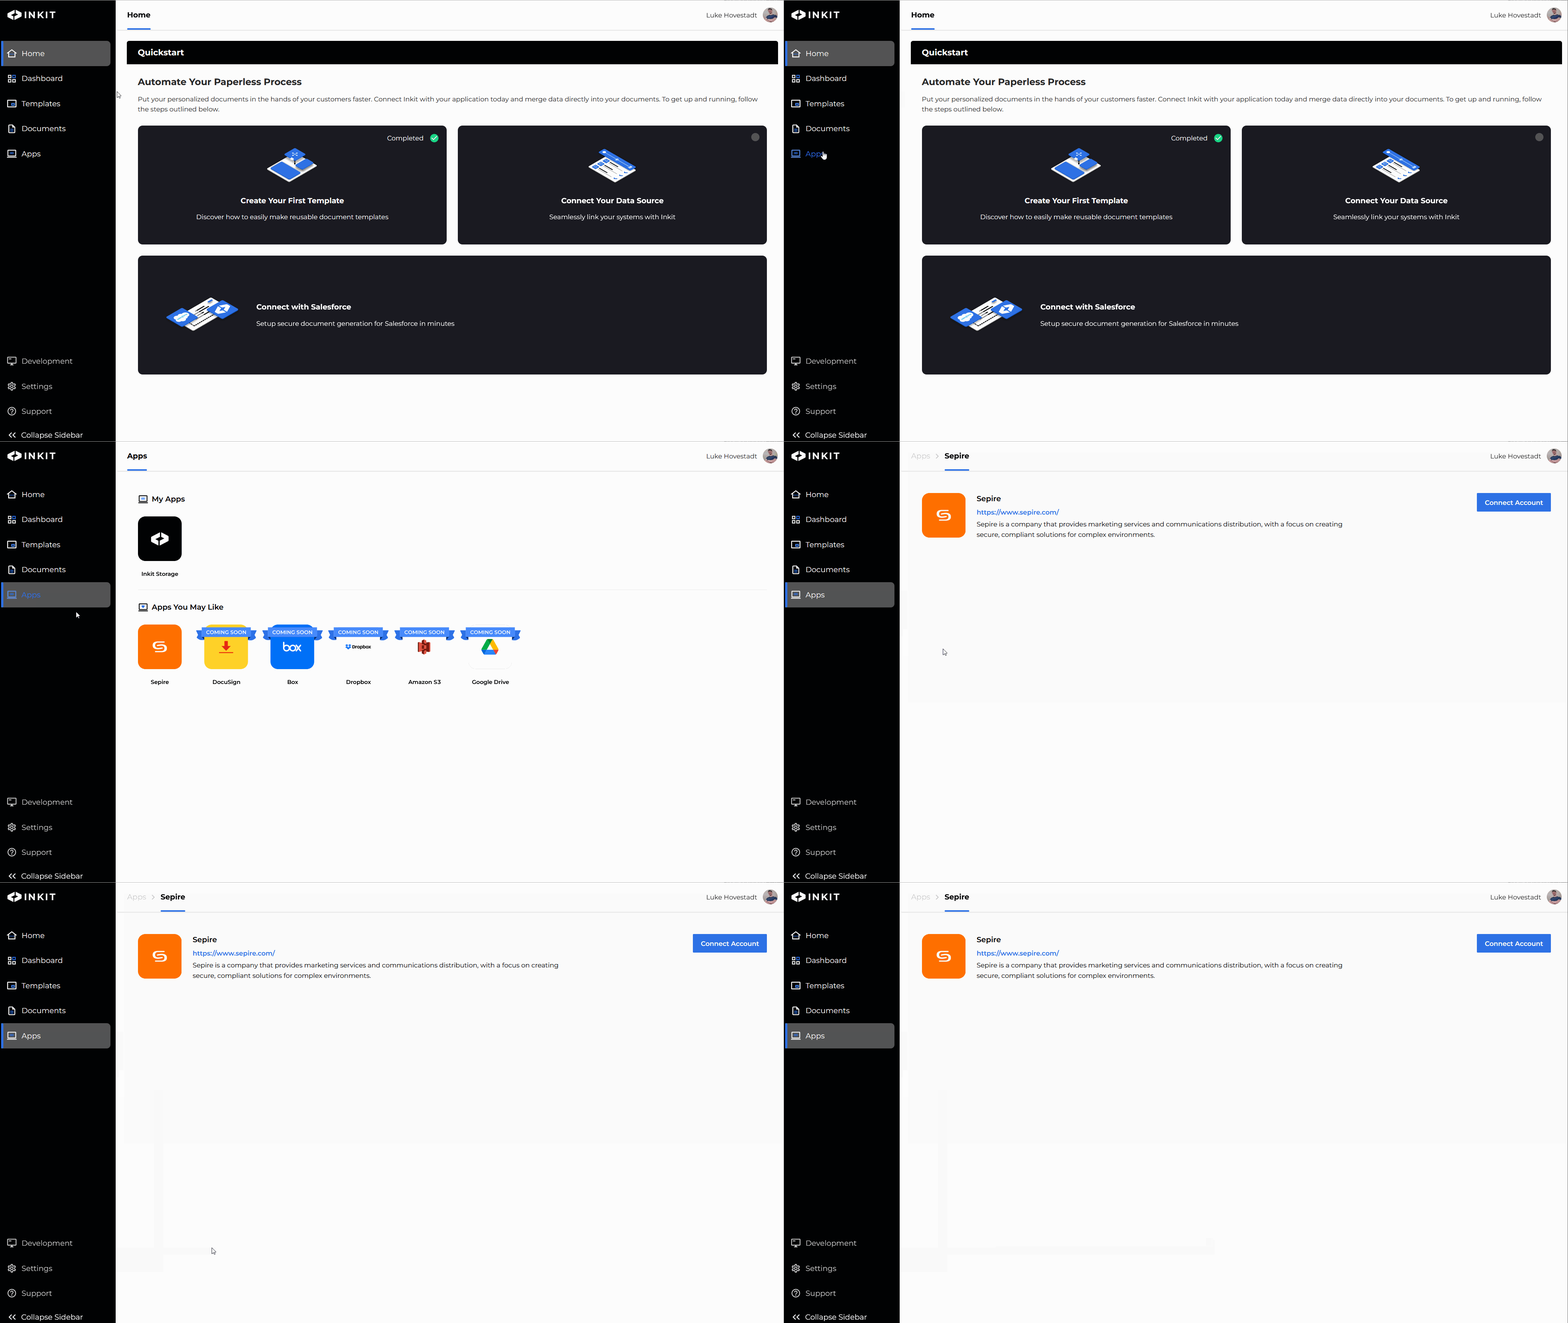
Log in to your Inkit environment at https://app.inkit.com and browse to the Apps section as can be seen on the sidebar on the left side. Click on the Sepire tile.

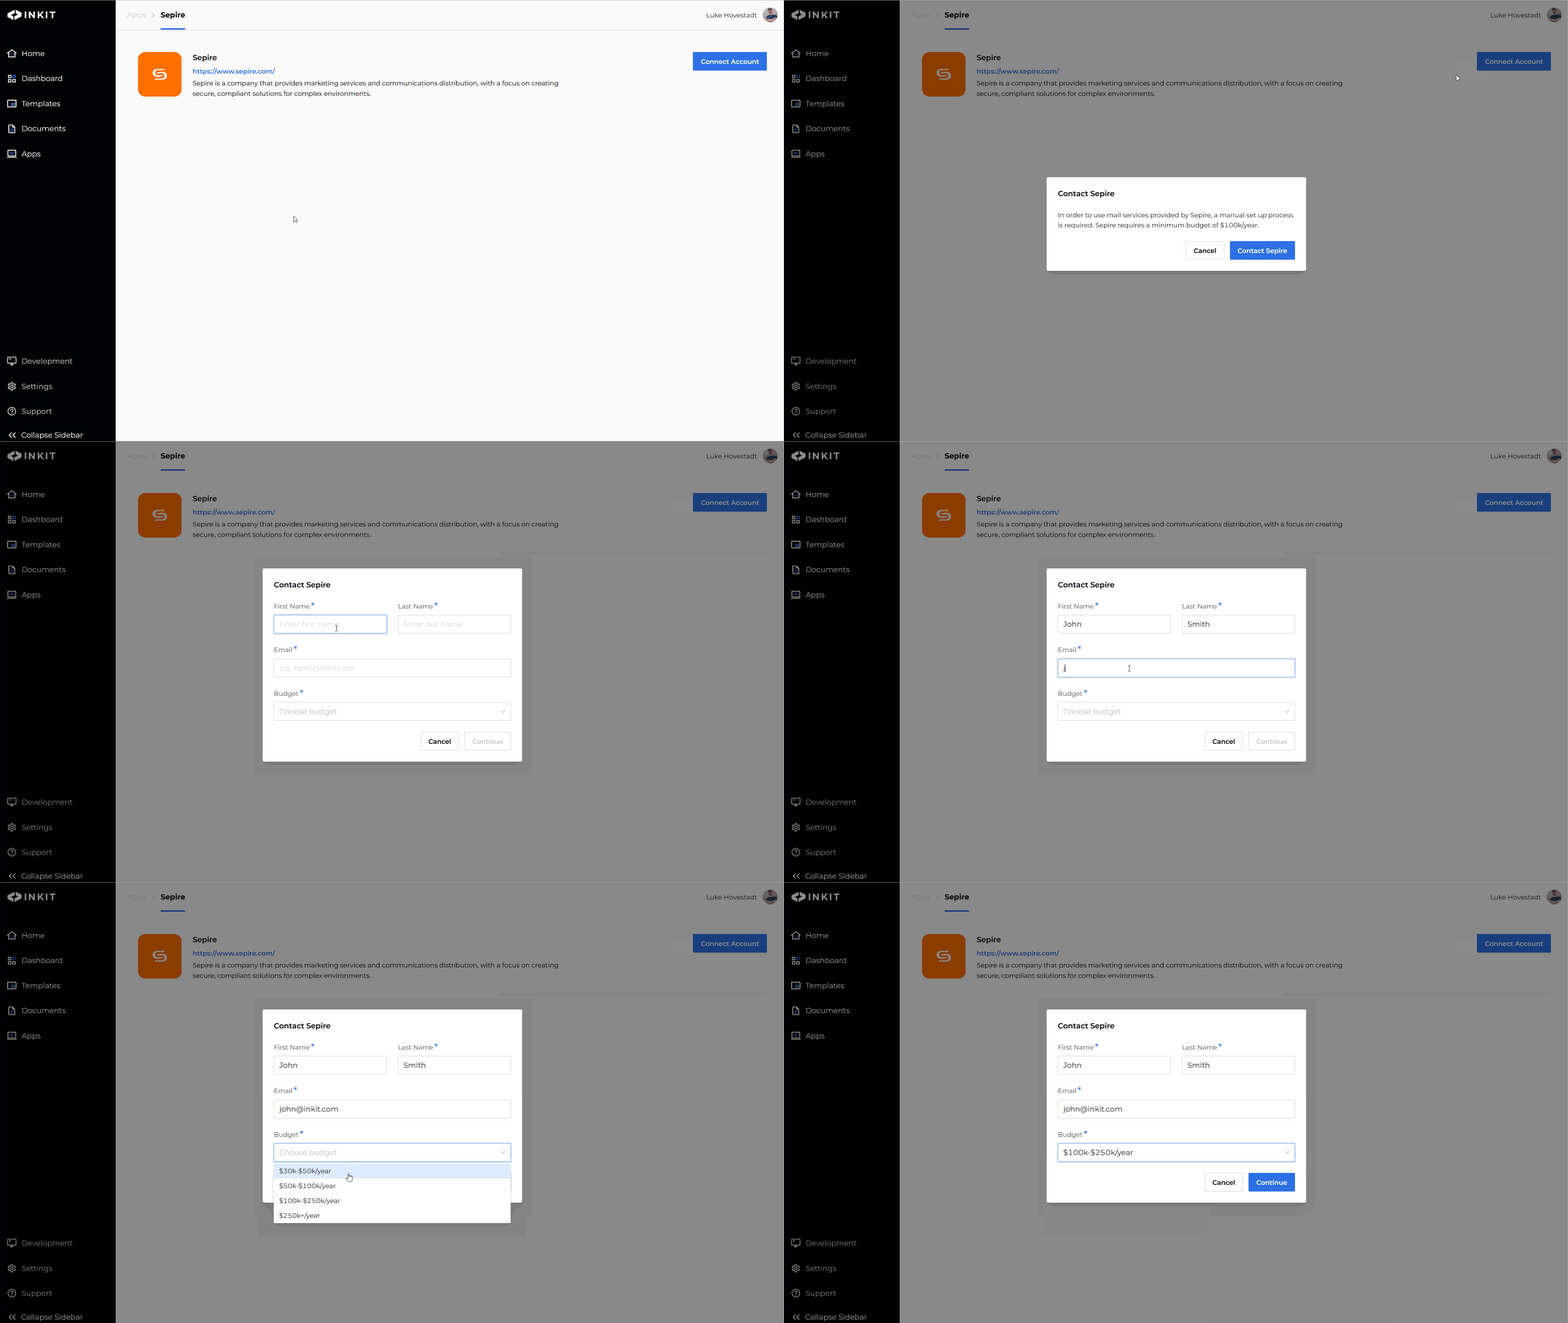
Click on the "connect account" button. A form pops up asking you to fill out your information. When you press submit, your information is sent to Sepire. If you have done this a contact person from Sepire will reach out to you soon to inform you about the required documents and information they need to onboard you.

We get notified once you have completed the onboarding process with Sepire. The moment we are notified, your Sepire as a connected app integration is complete and you can use Sepire as a printer and sender.
Set your return address
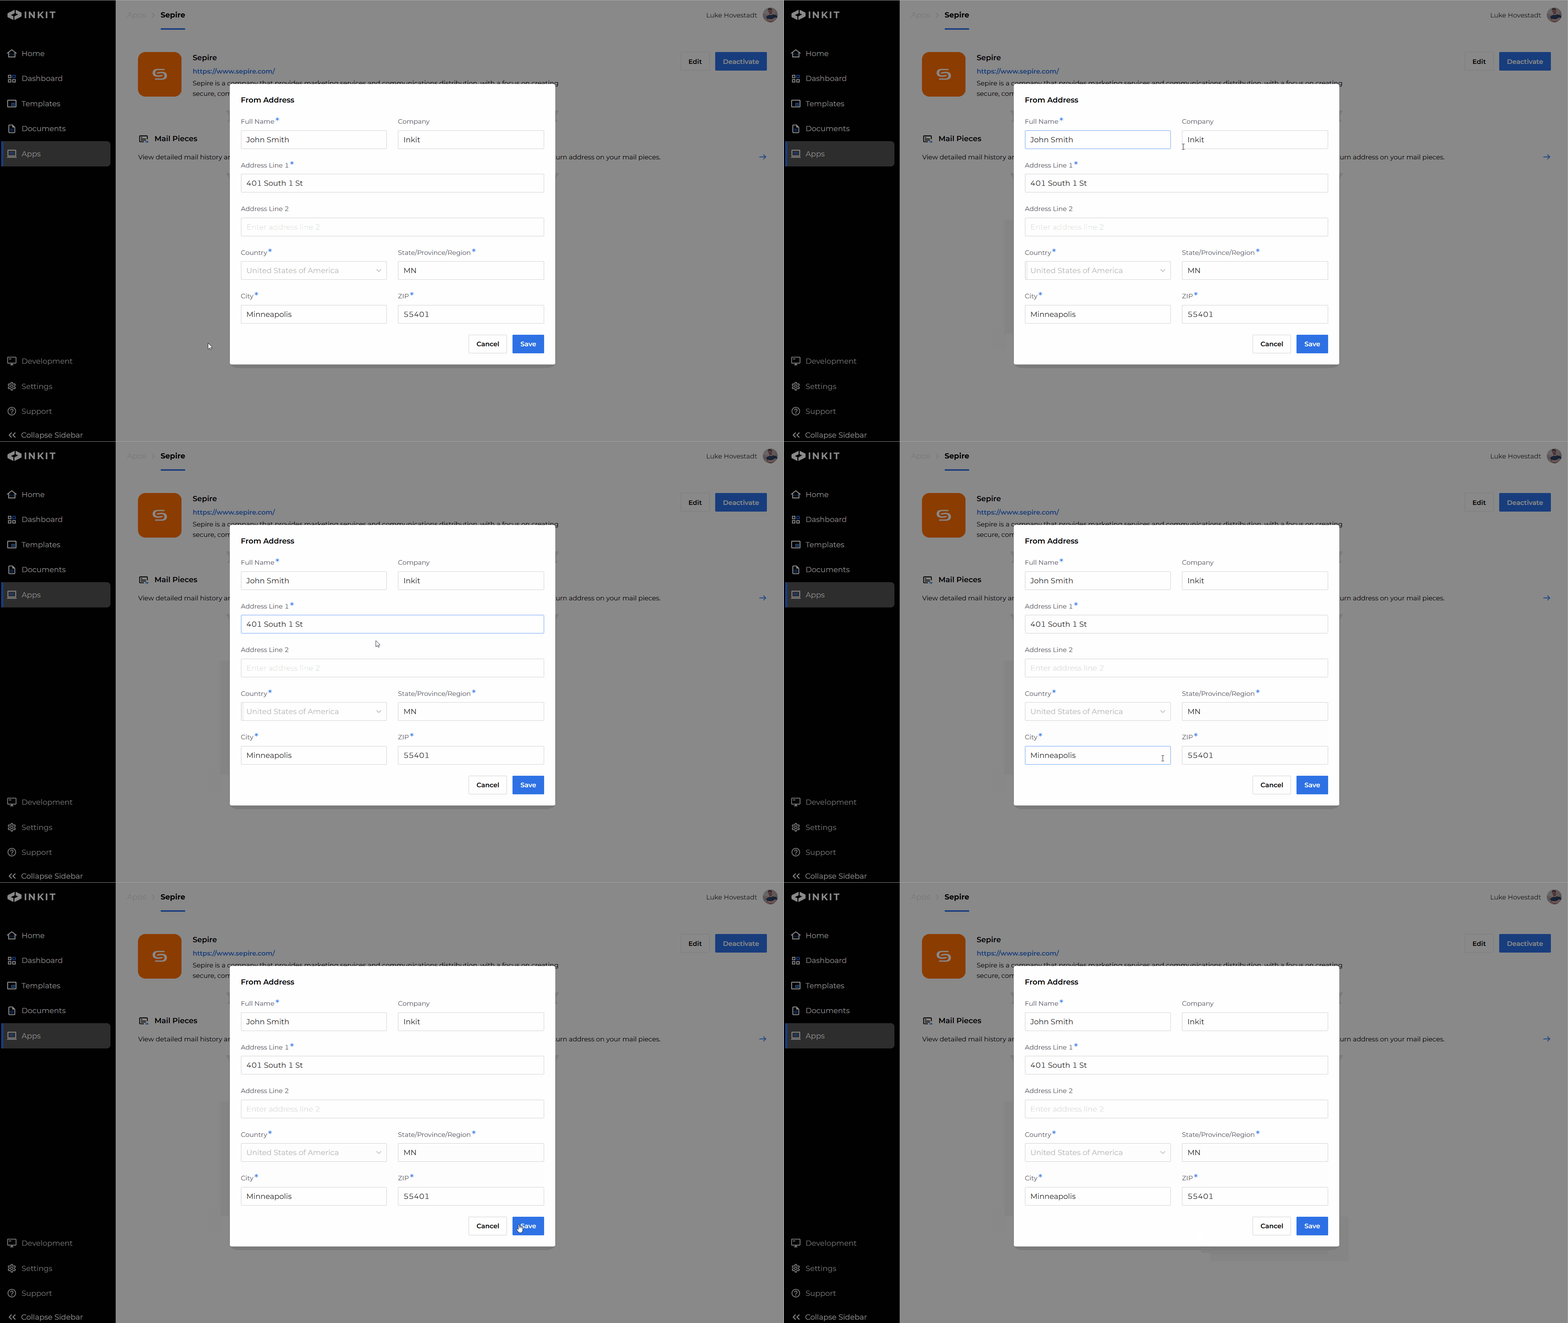
For example, press on the "Form Address" tile to set the address you want to show as a return address. Any document that you send using Sepire will now include your address on the document.

View sent mail pieces
You can keep track of your sent mail by pressing on the "Mail pieces" tile. After clicking you will see an overview listing all the mail that's been printed and sent.
Updated 3 months ago
Learn about destinations and how to use Sepire automatically with templates. Discover how you can generate documents and send them right after they're made.