Installing the Inkit package in Salesforce
Before you can use Salesforce data in the documents you generate through Inkit, you must install our Salesforce package, which will install the Inkit app within your Salesforce implementation.
To install our Salesforce package, do the following:
-
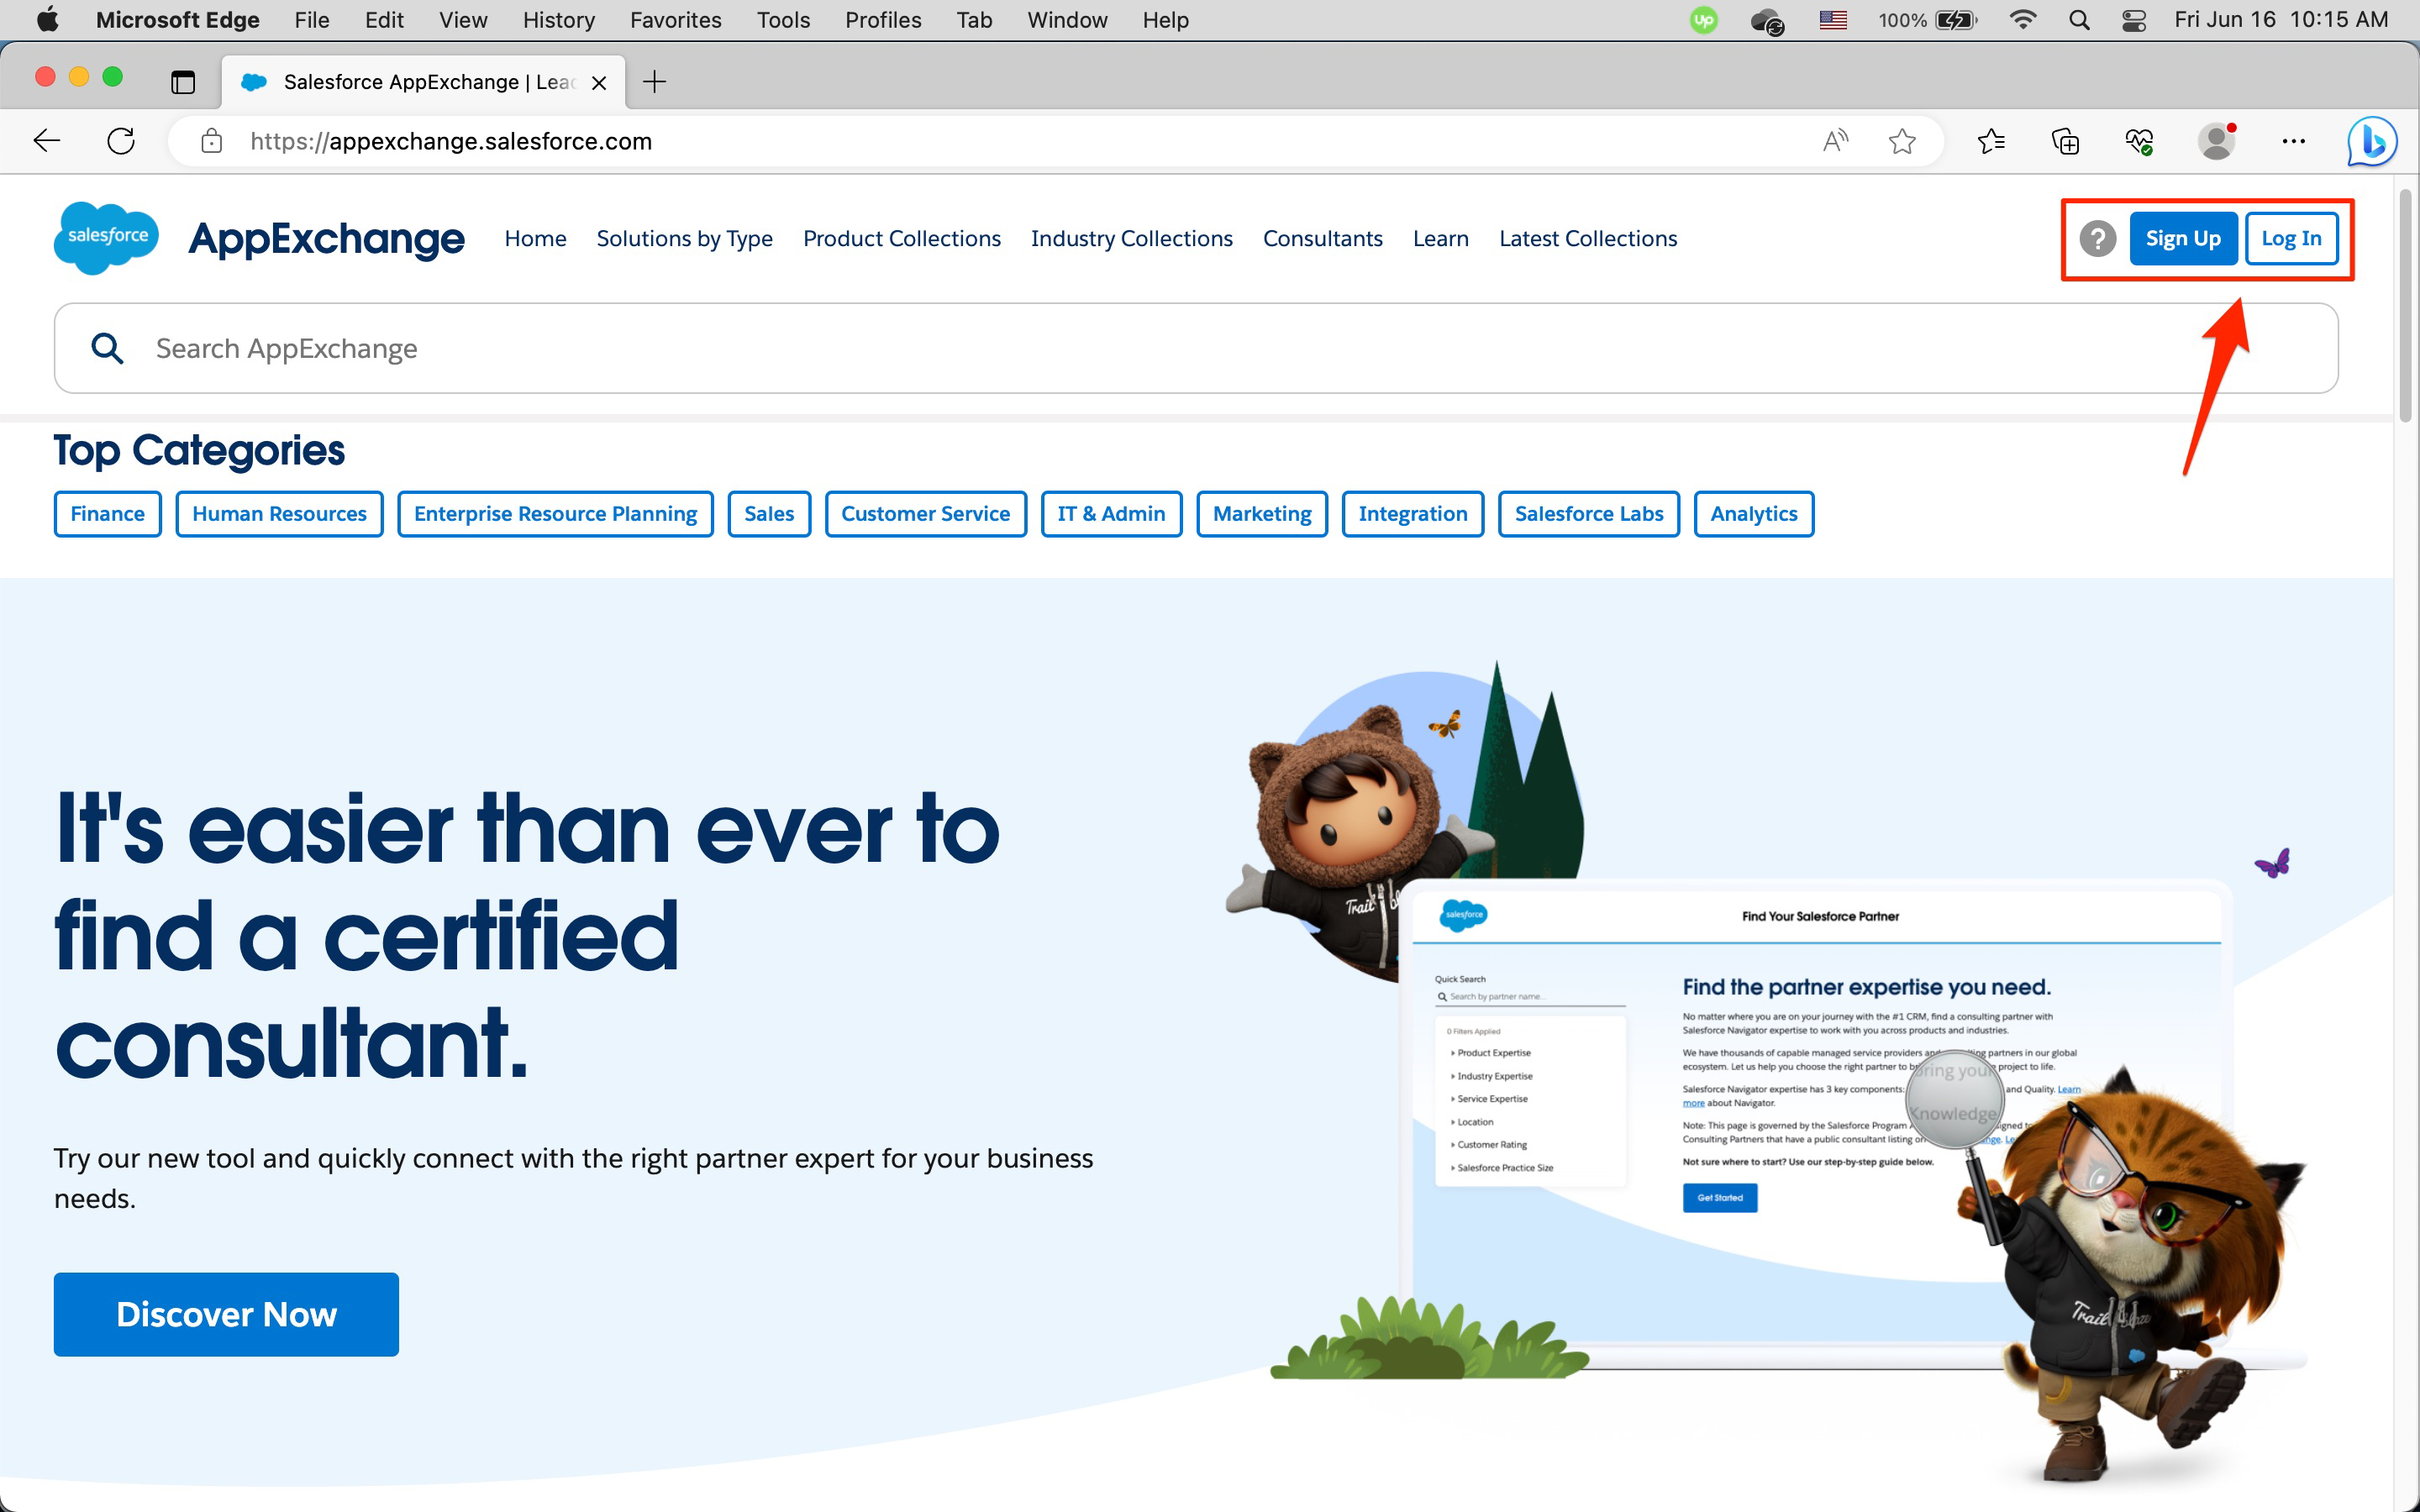
Go to the Salesforce AppExchange.
-
On the AppExchange homepage, if you do not have an account, click Sign Up and follow the instructions for creating one. Otherwise click Log In.
-
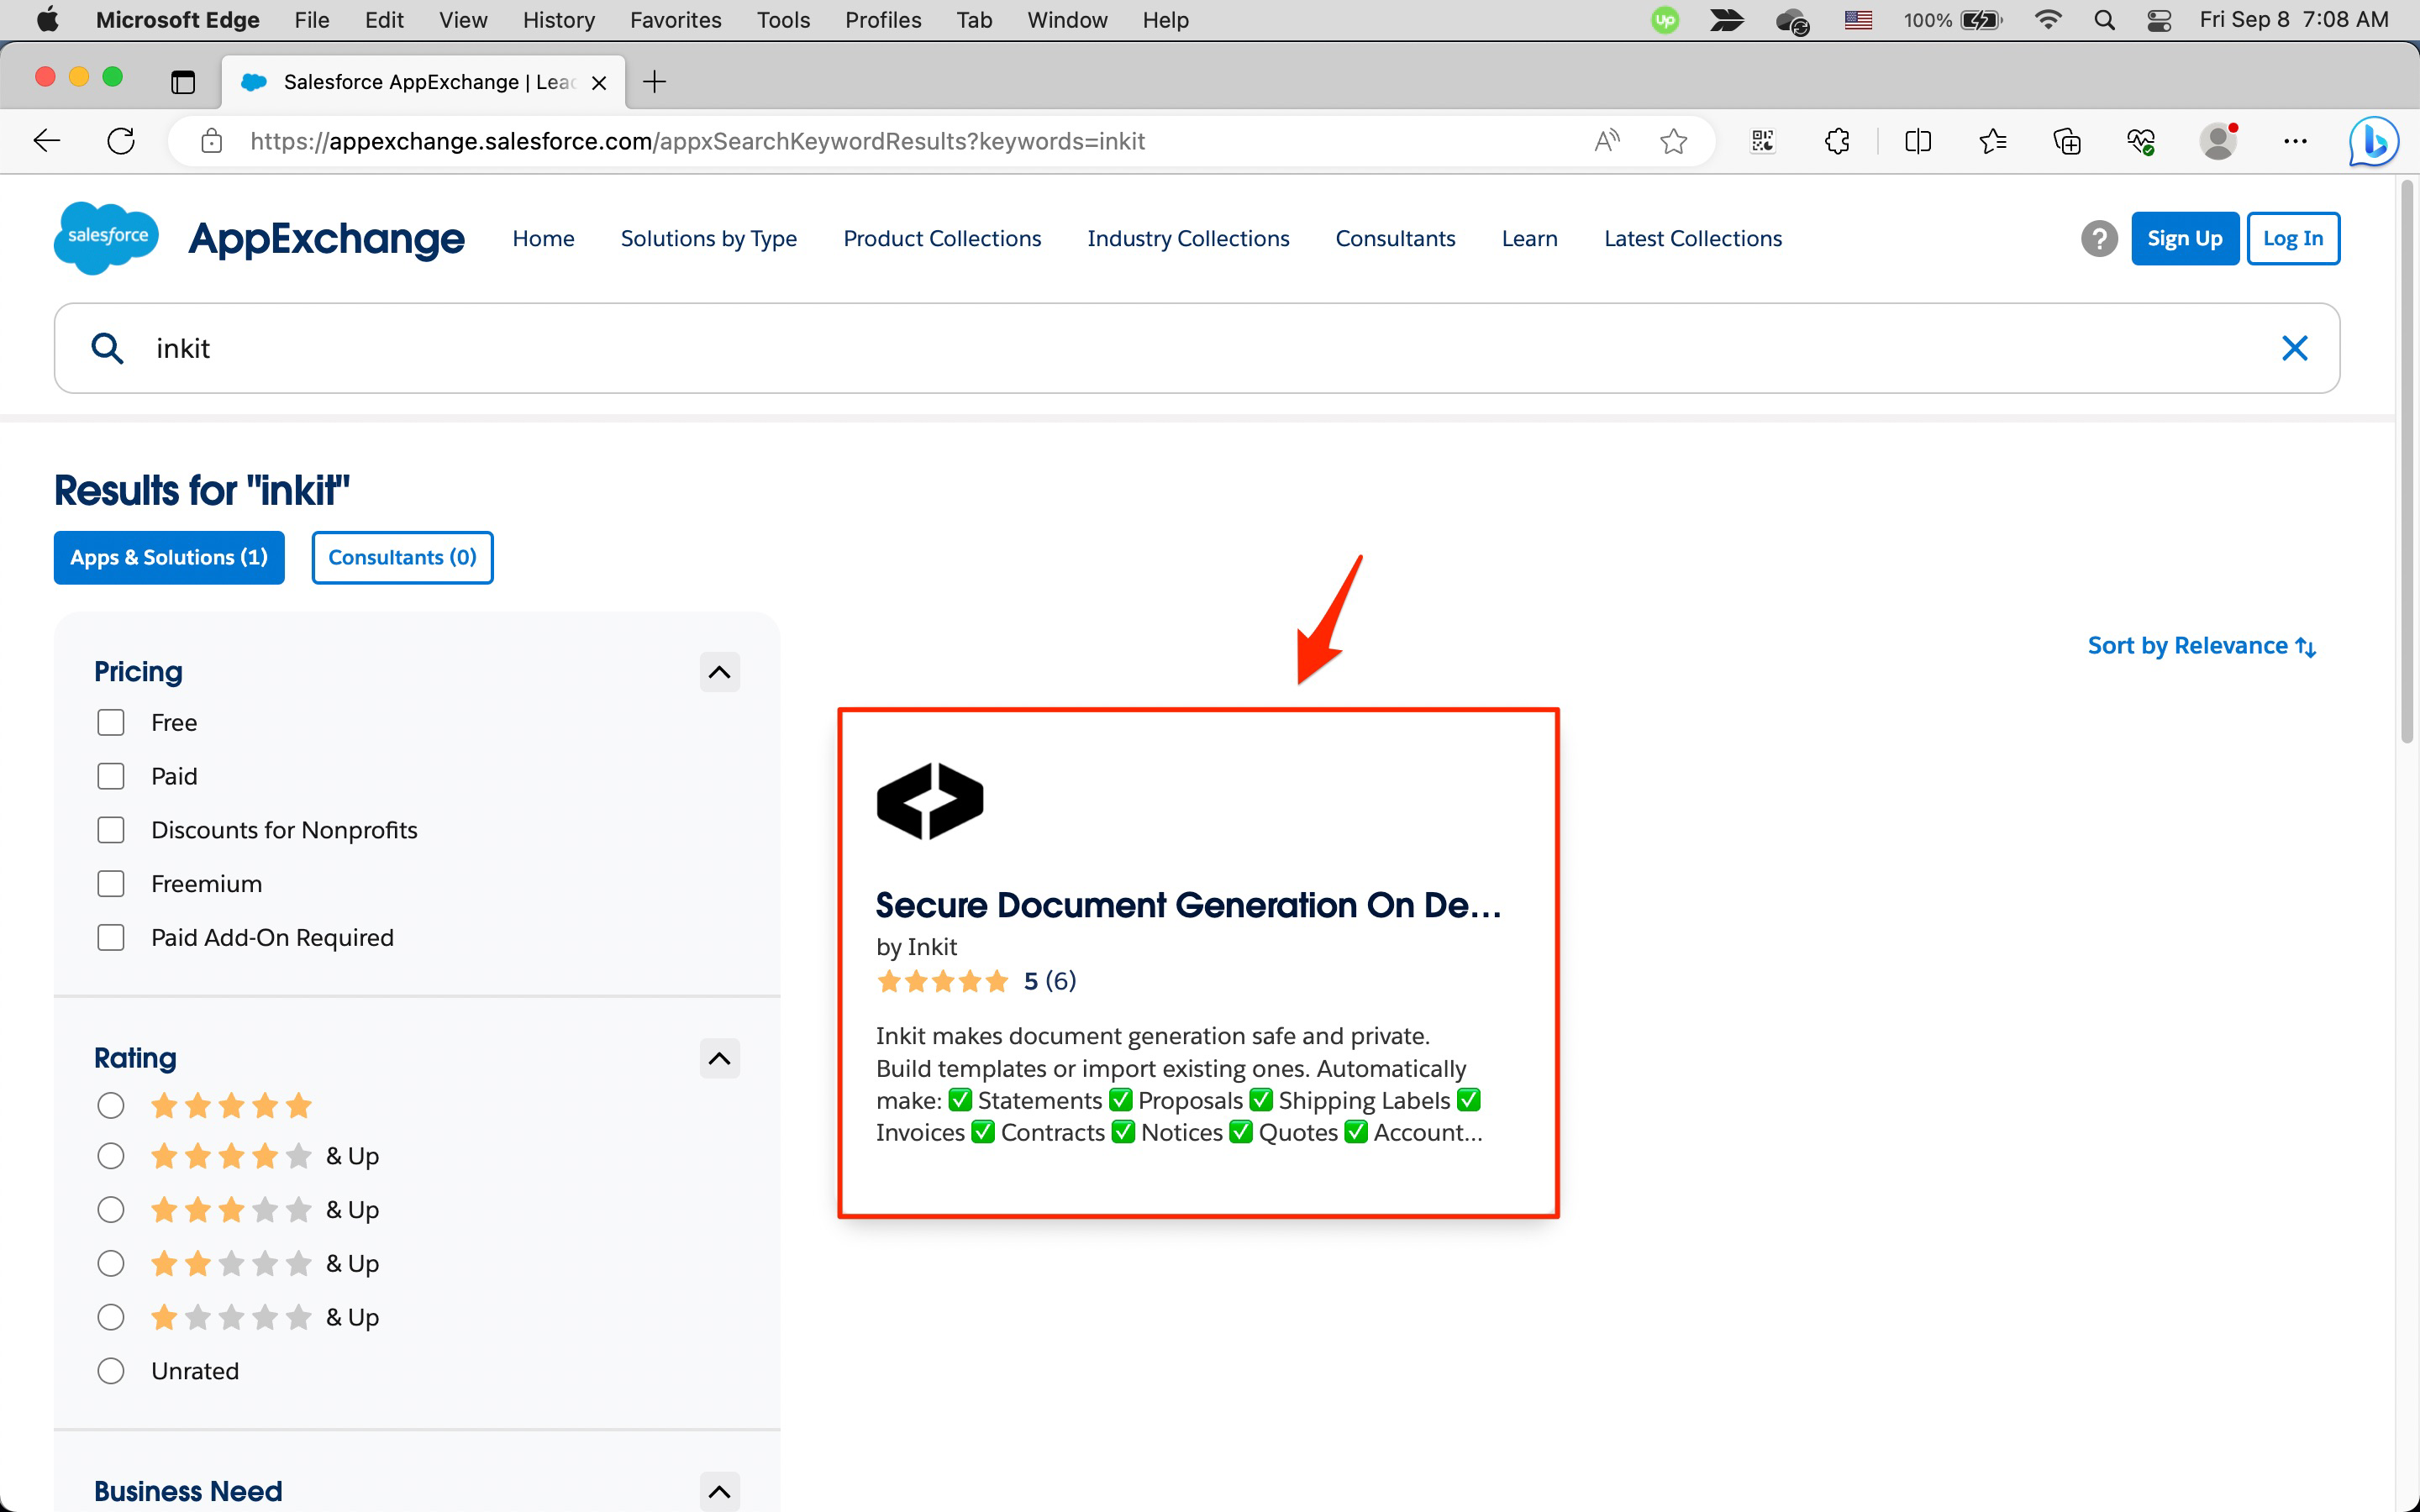
Once you are logged in, in the Search AppExchange field, type Inkit and press enter.
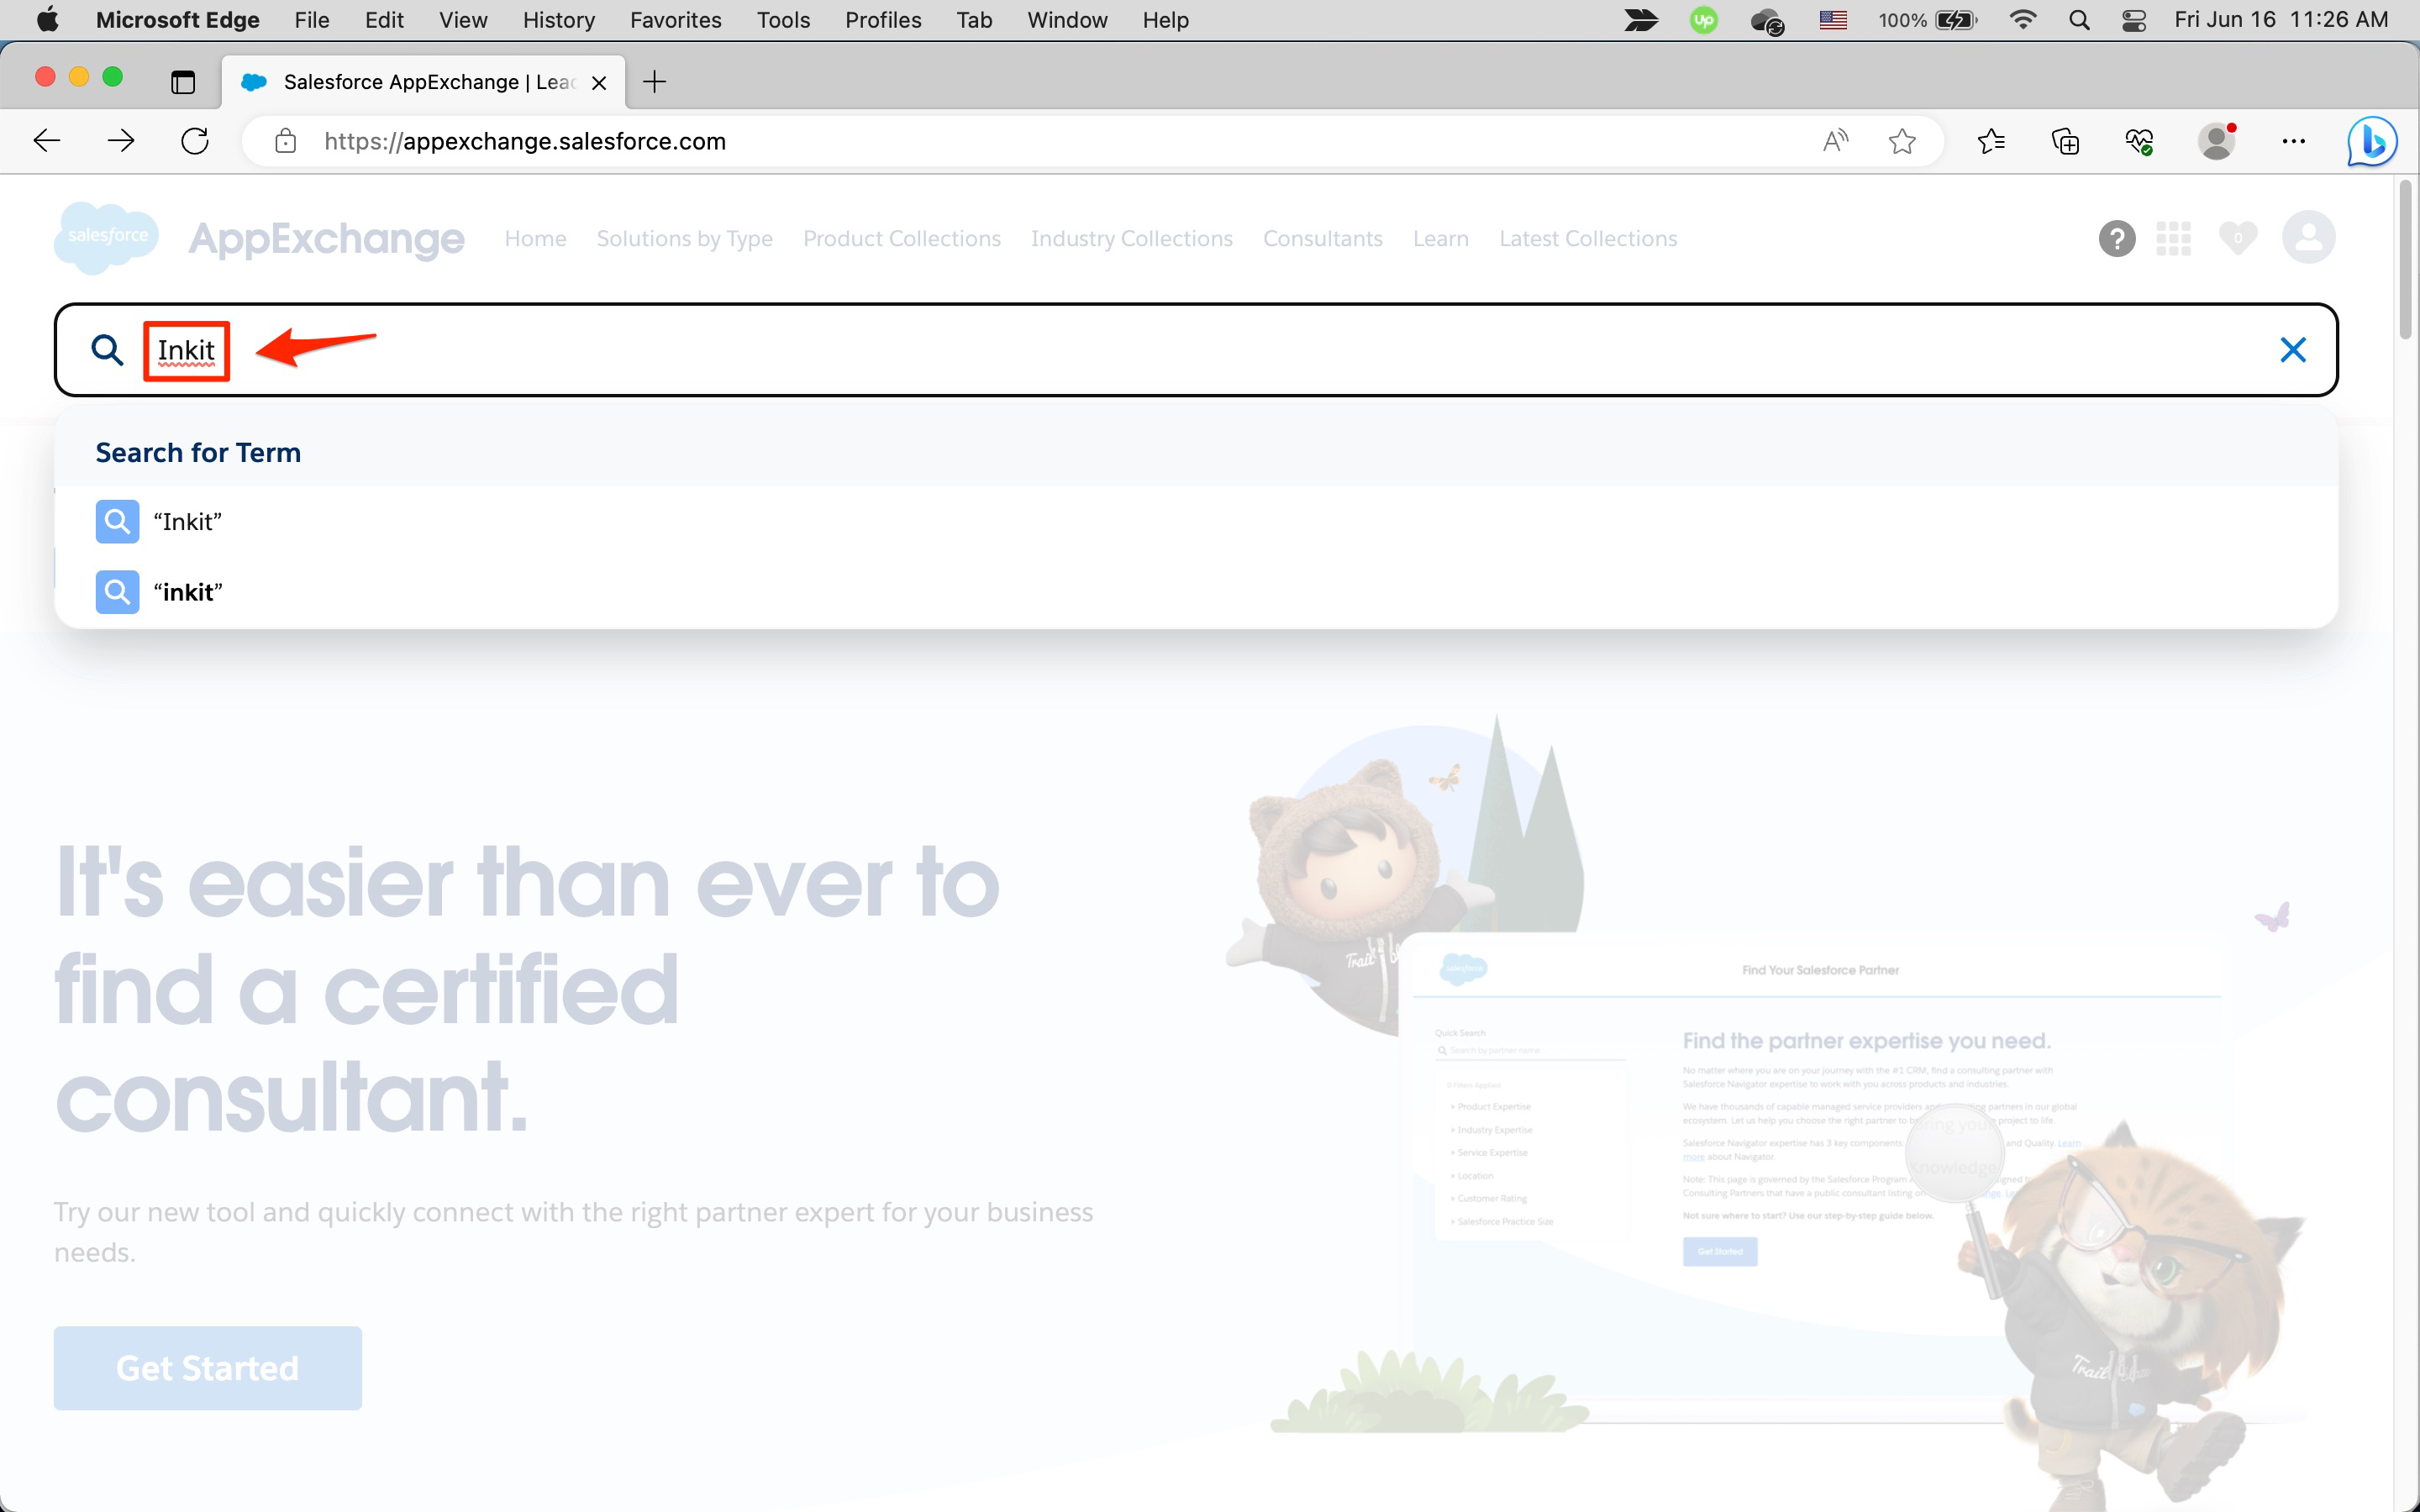
Then click Secure Document Generation on Demand.
-
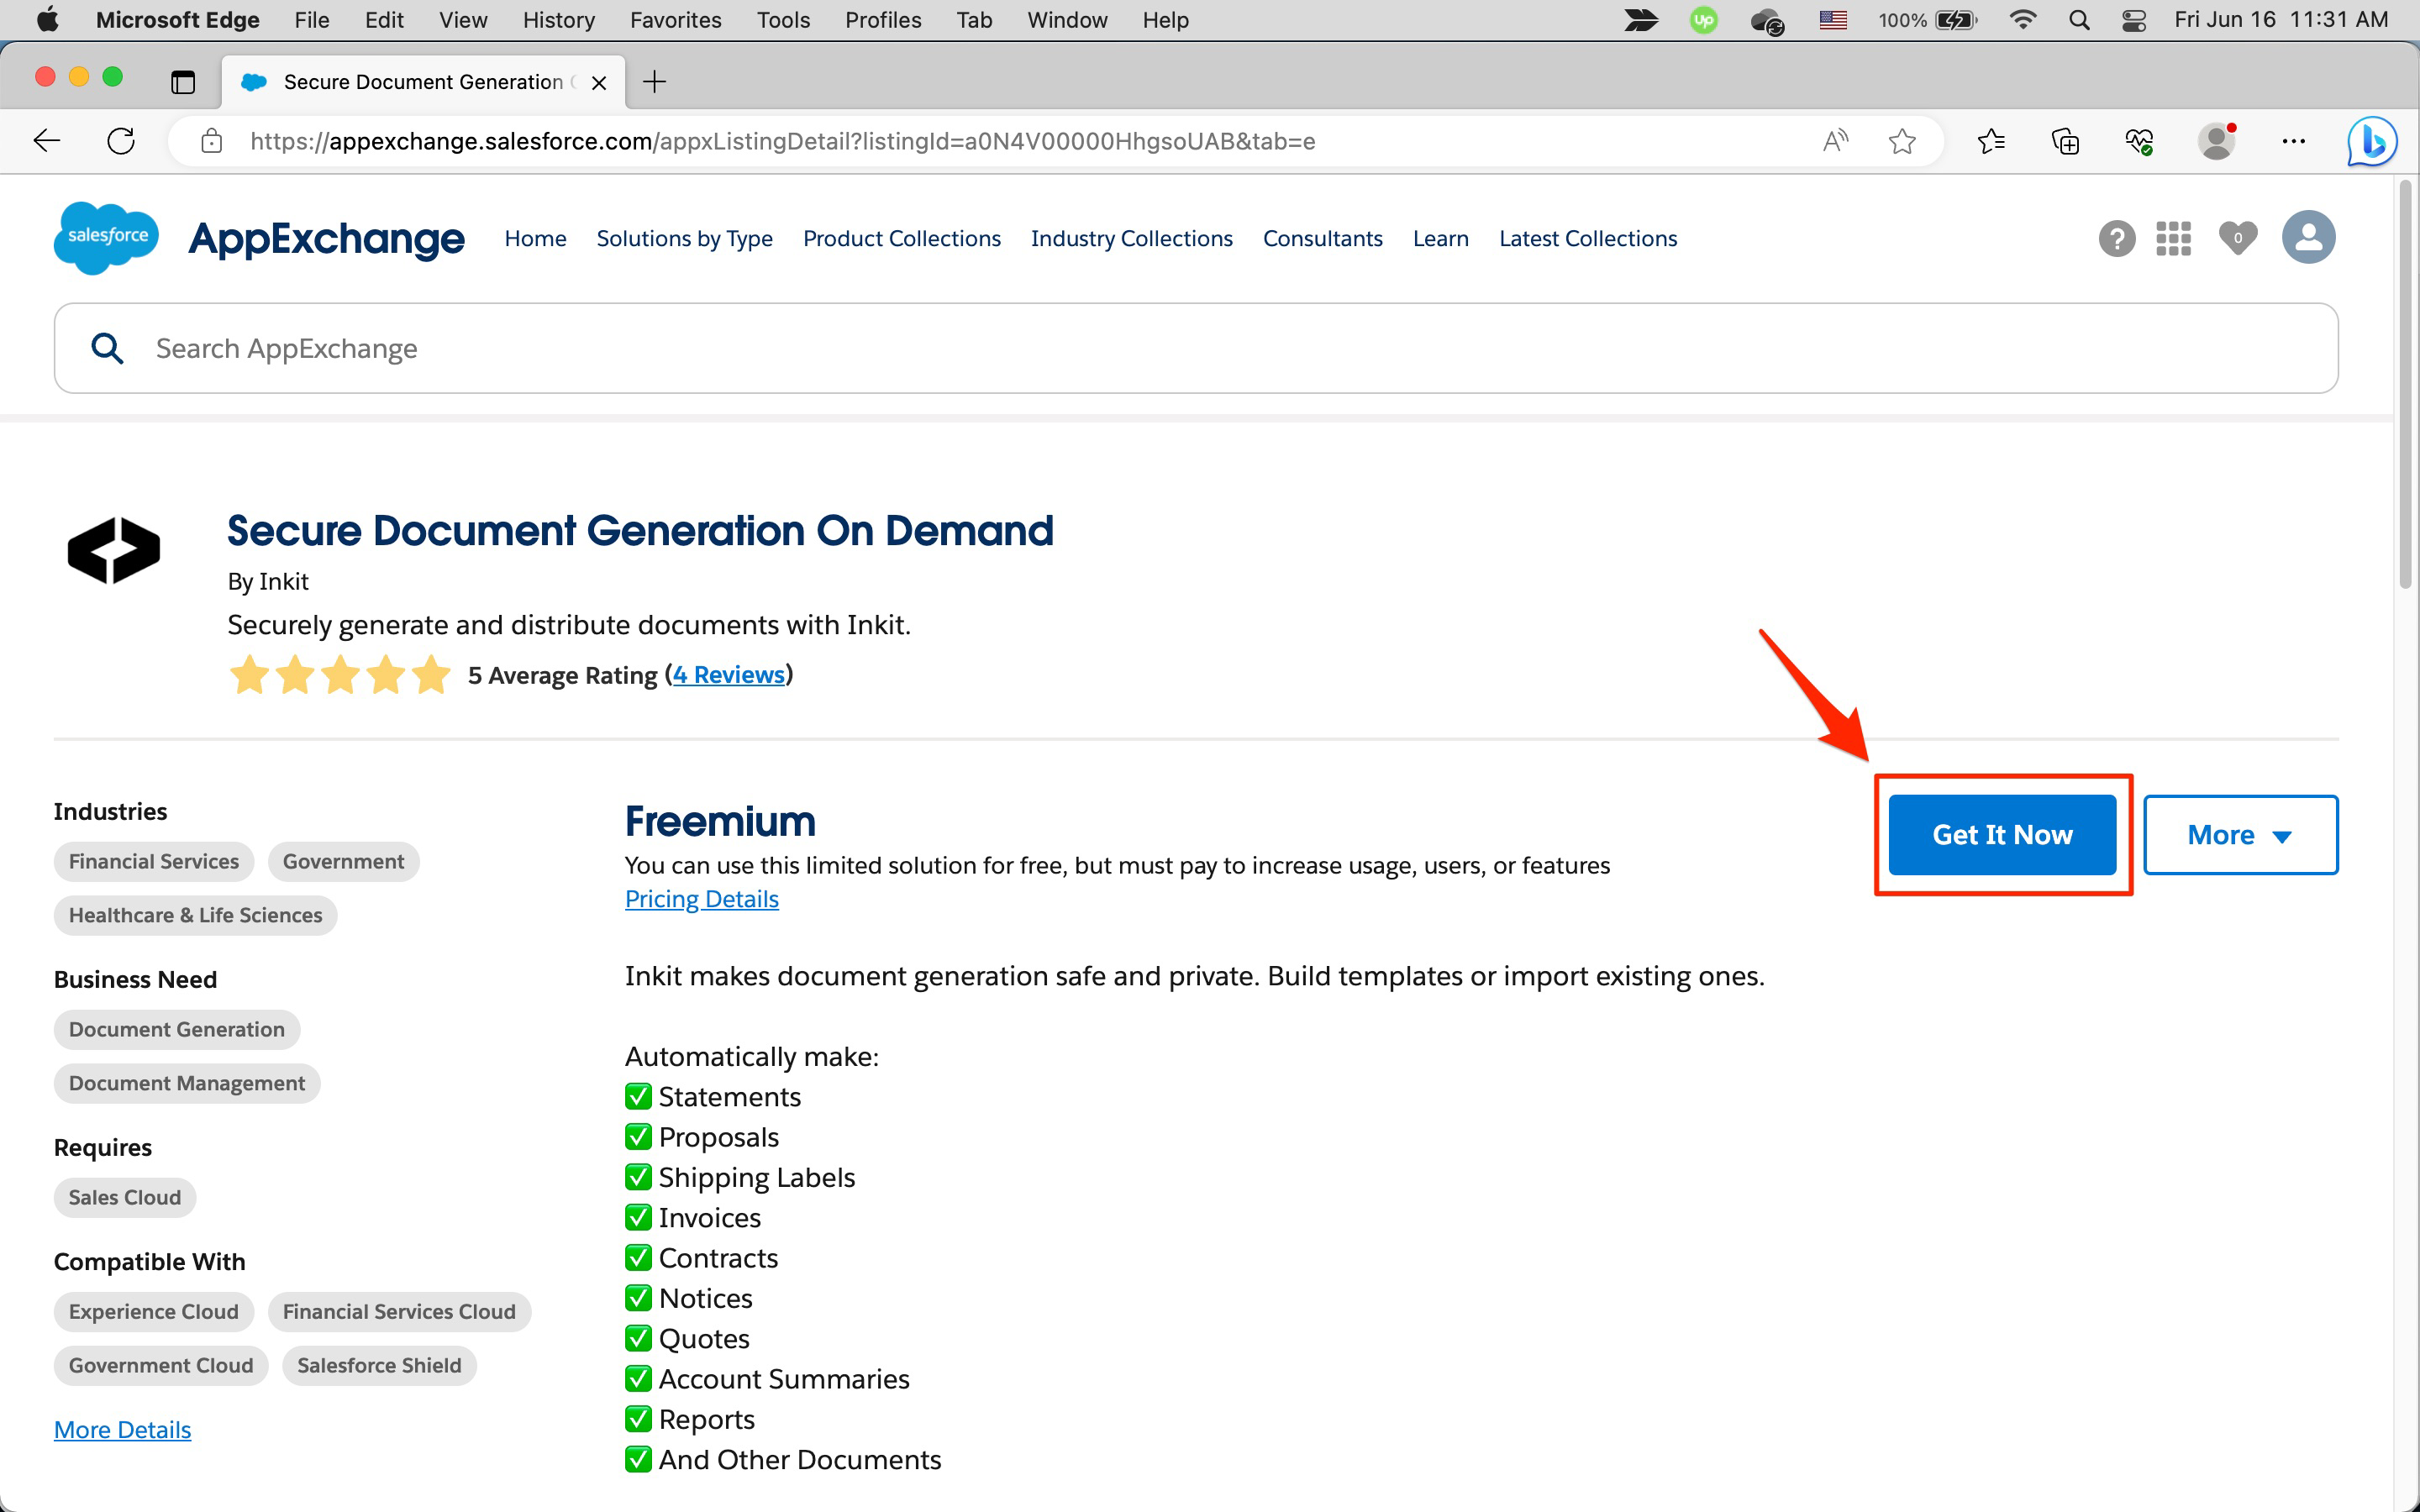
In the Secure Document Generation On Demand page, click Get It Now.
-
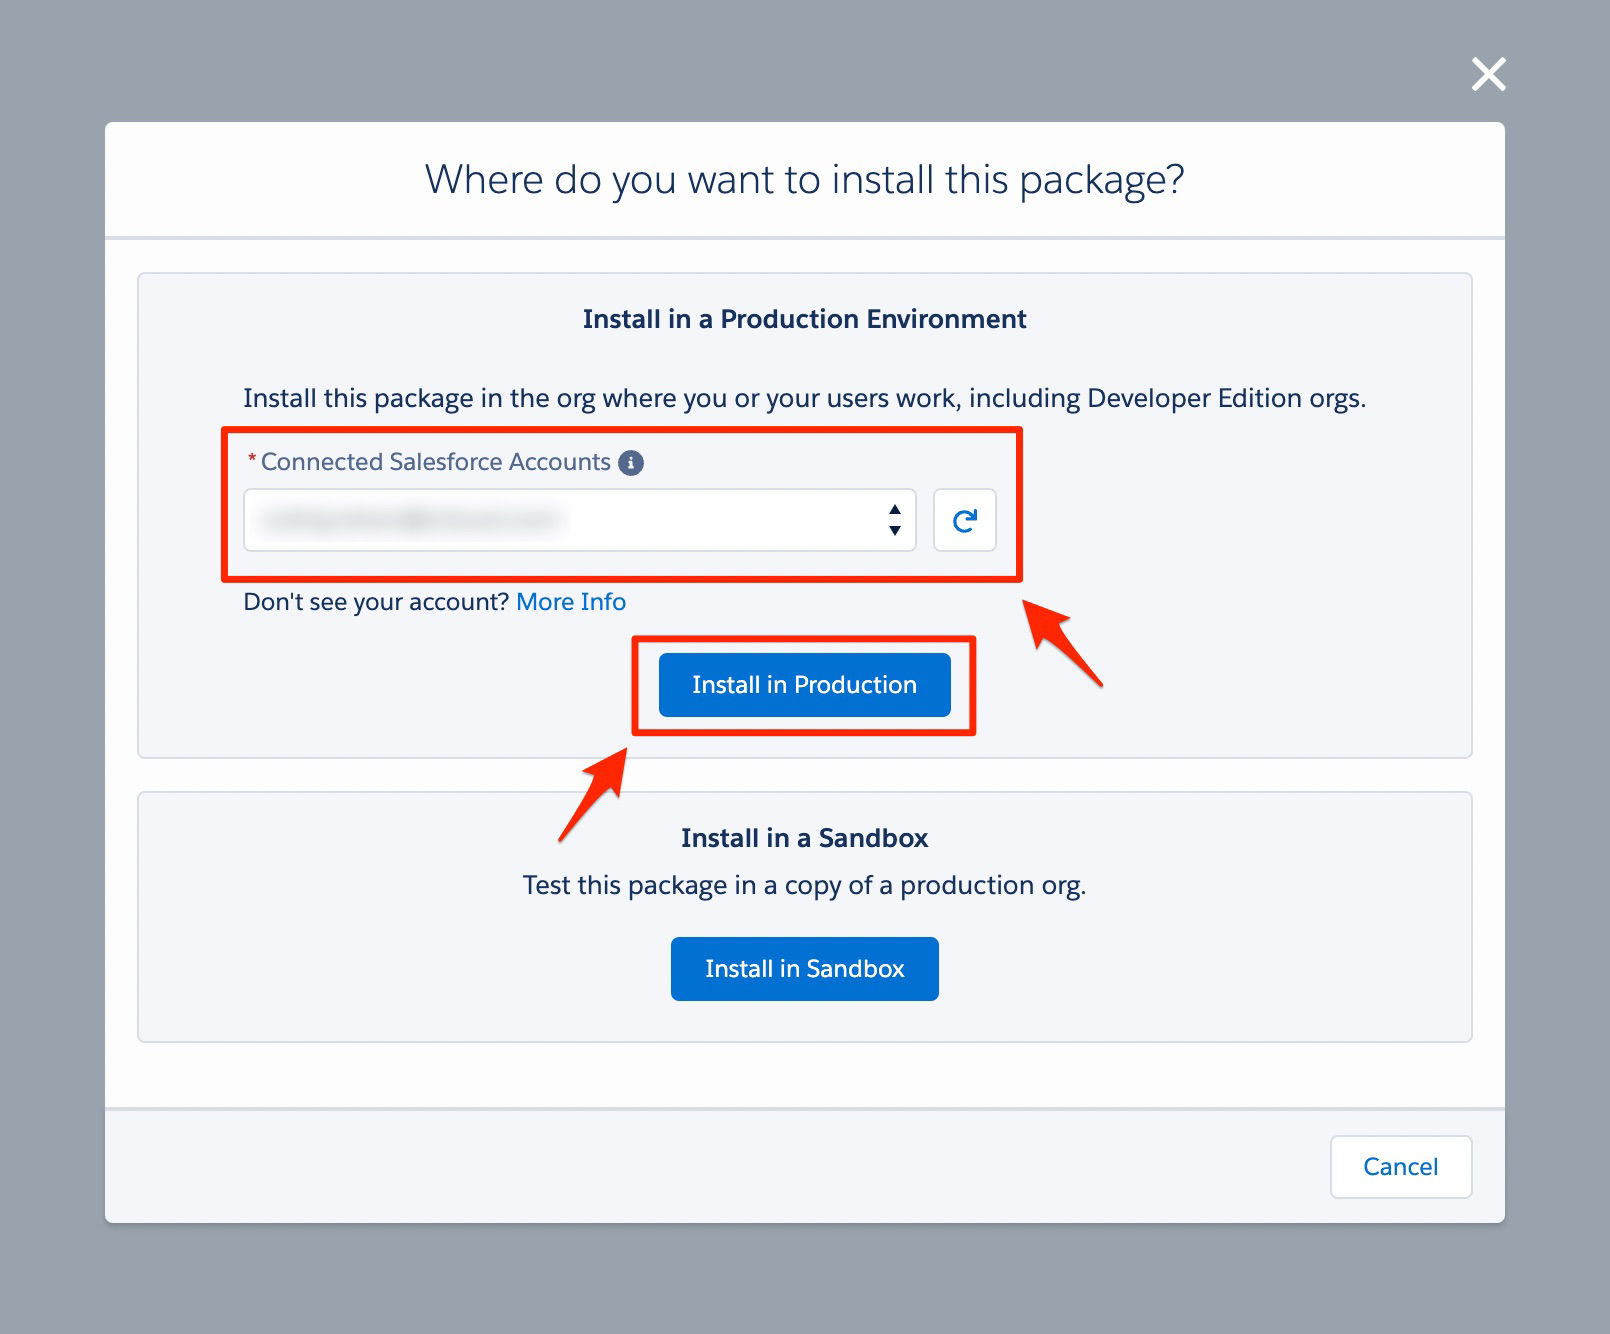
In the Where do you want to install the package? dialog box, choose the enviroment you want the package installed.
To install the package in a production environment, in the Install in a Production Environment panel select the Salesforce account that you would like to install the package into from the Connected Salesforce Accounts dropdown box and click Install in Production.
To install the package in a sandbox environment, in the Install in a Sandbox panel click Install in Sandbox.
Note: You can install the package in both environments.
-
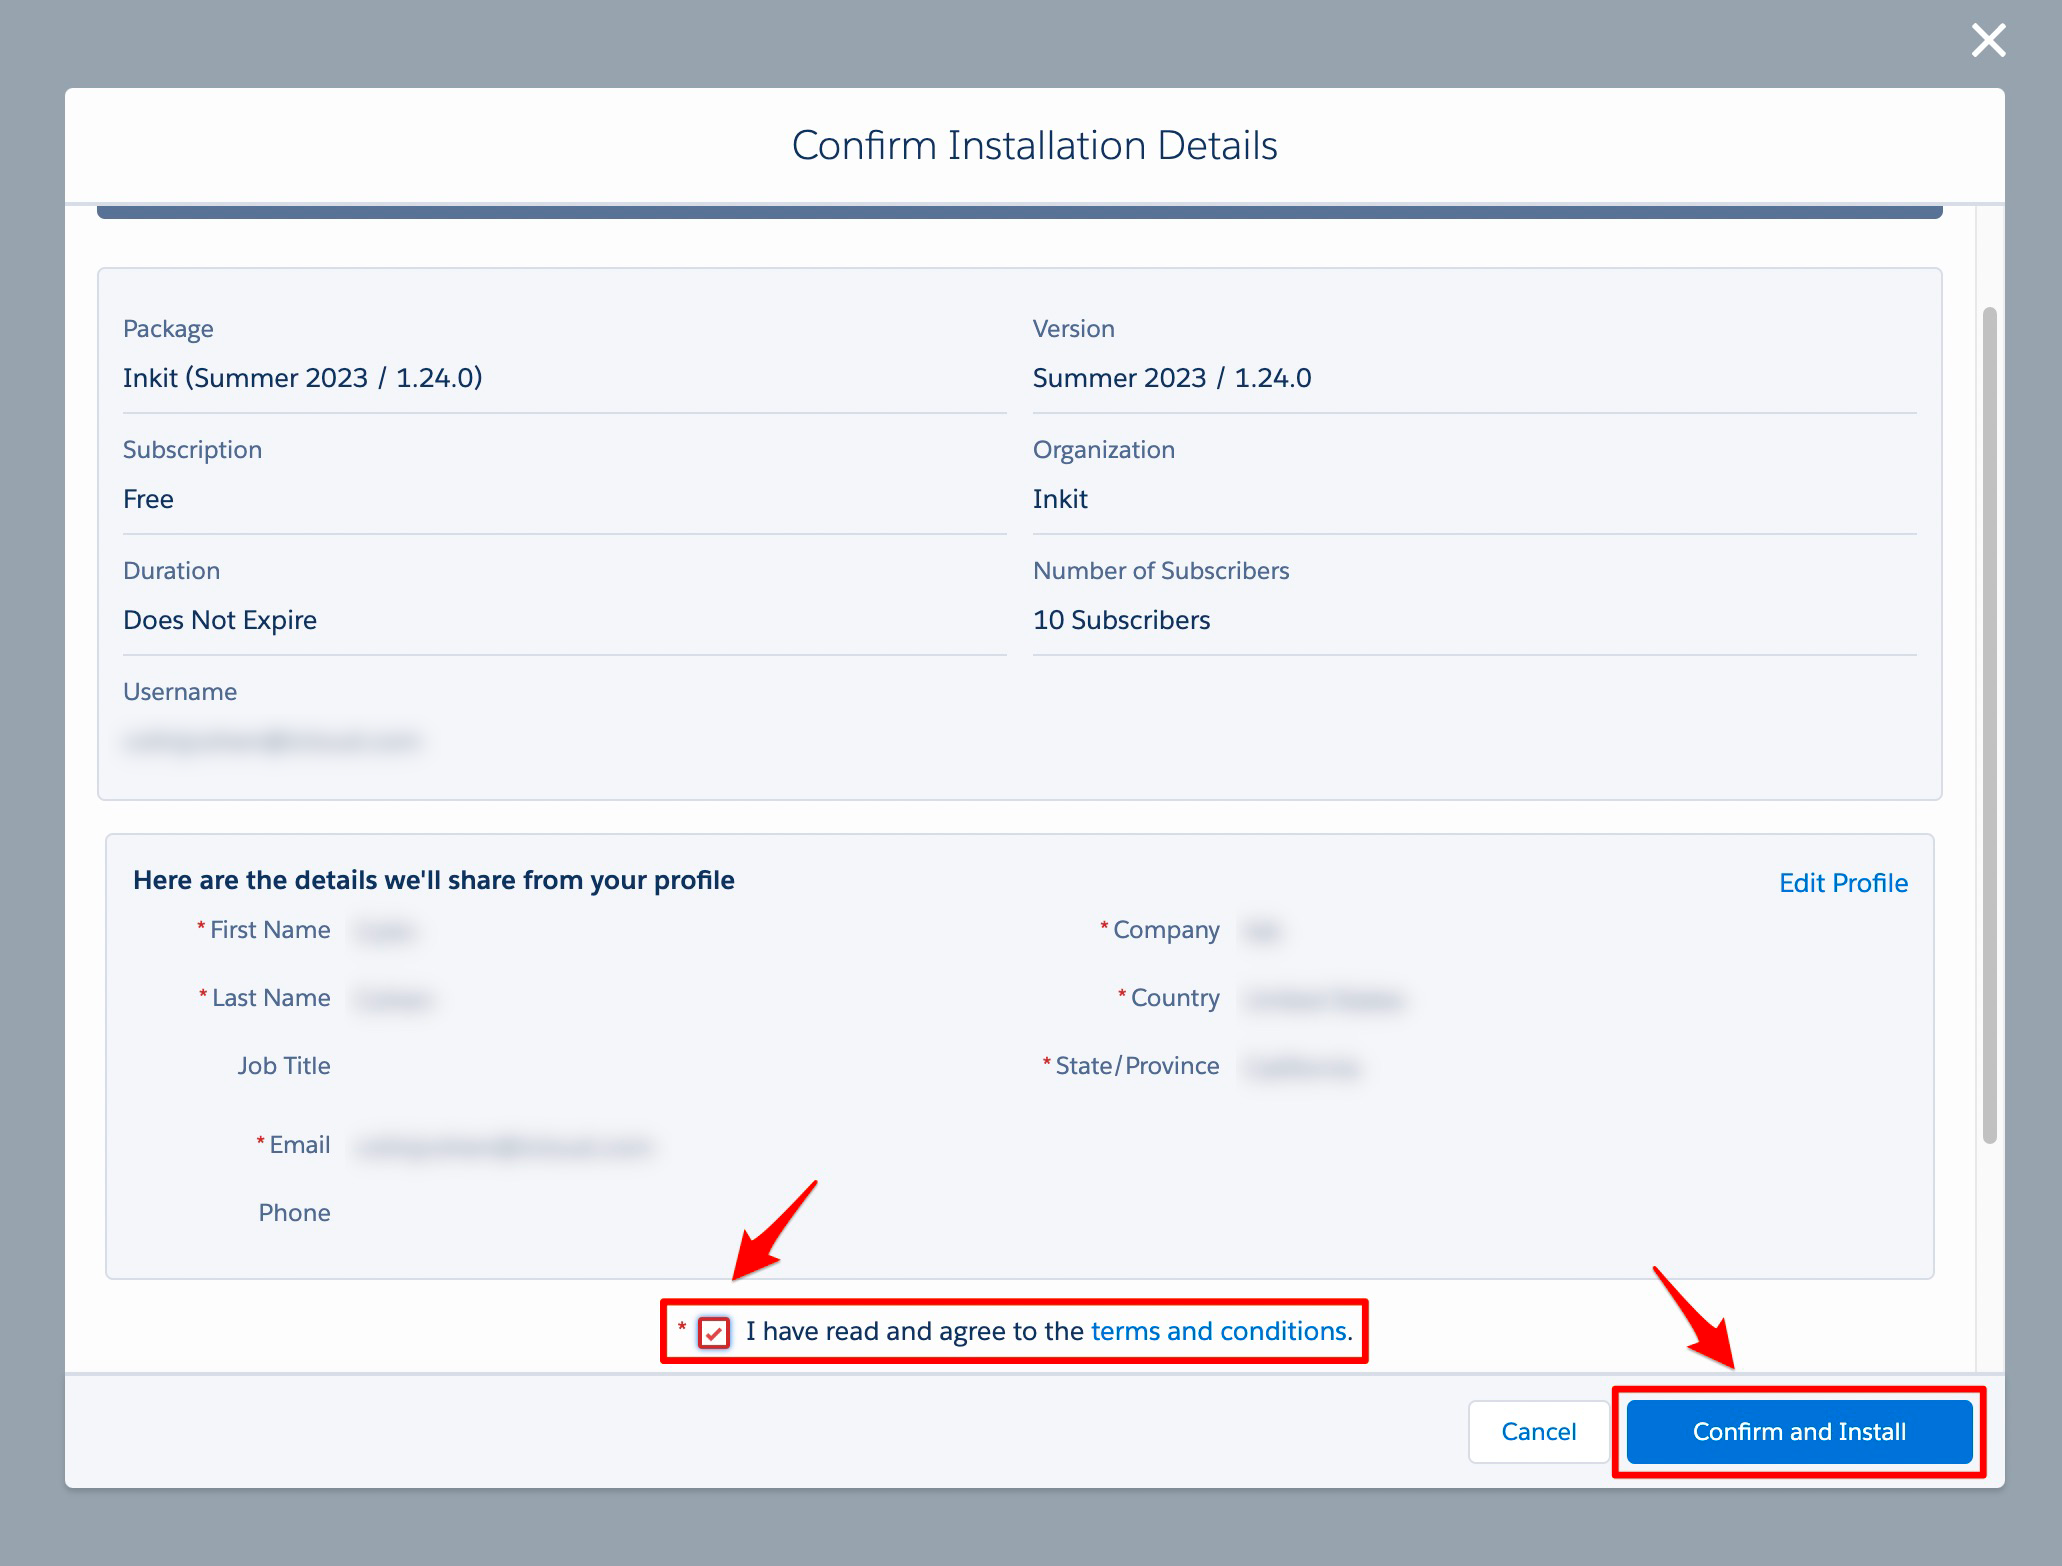
In the Confirm Installation Details dialog box, check your information. Then click on the I have read and agree to the terms and conditions checkbox and click Confirm and Install.
-
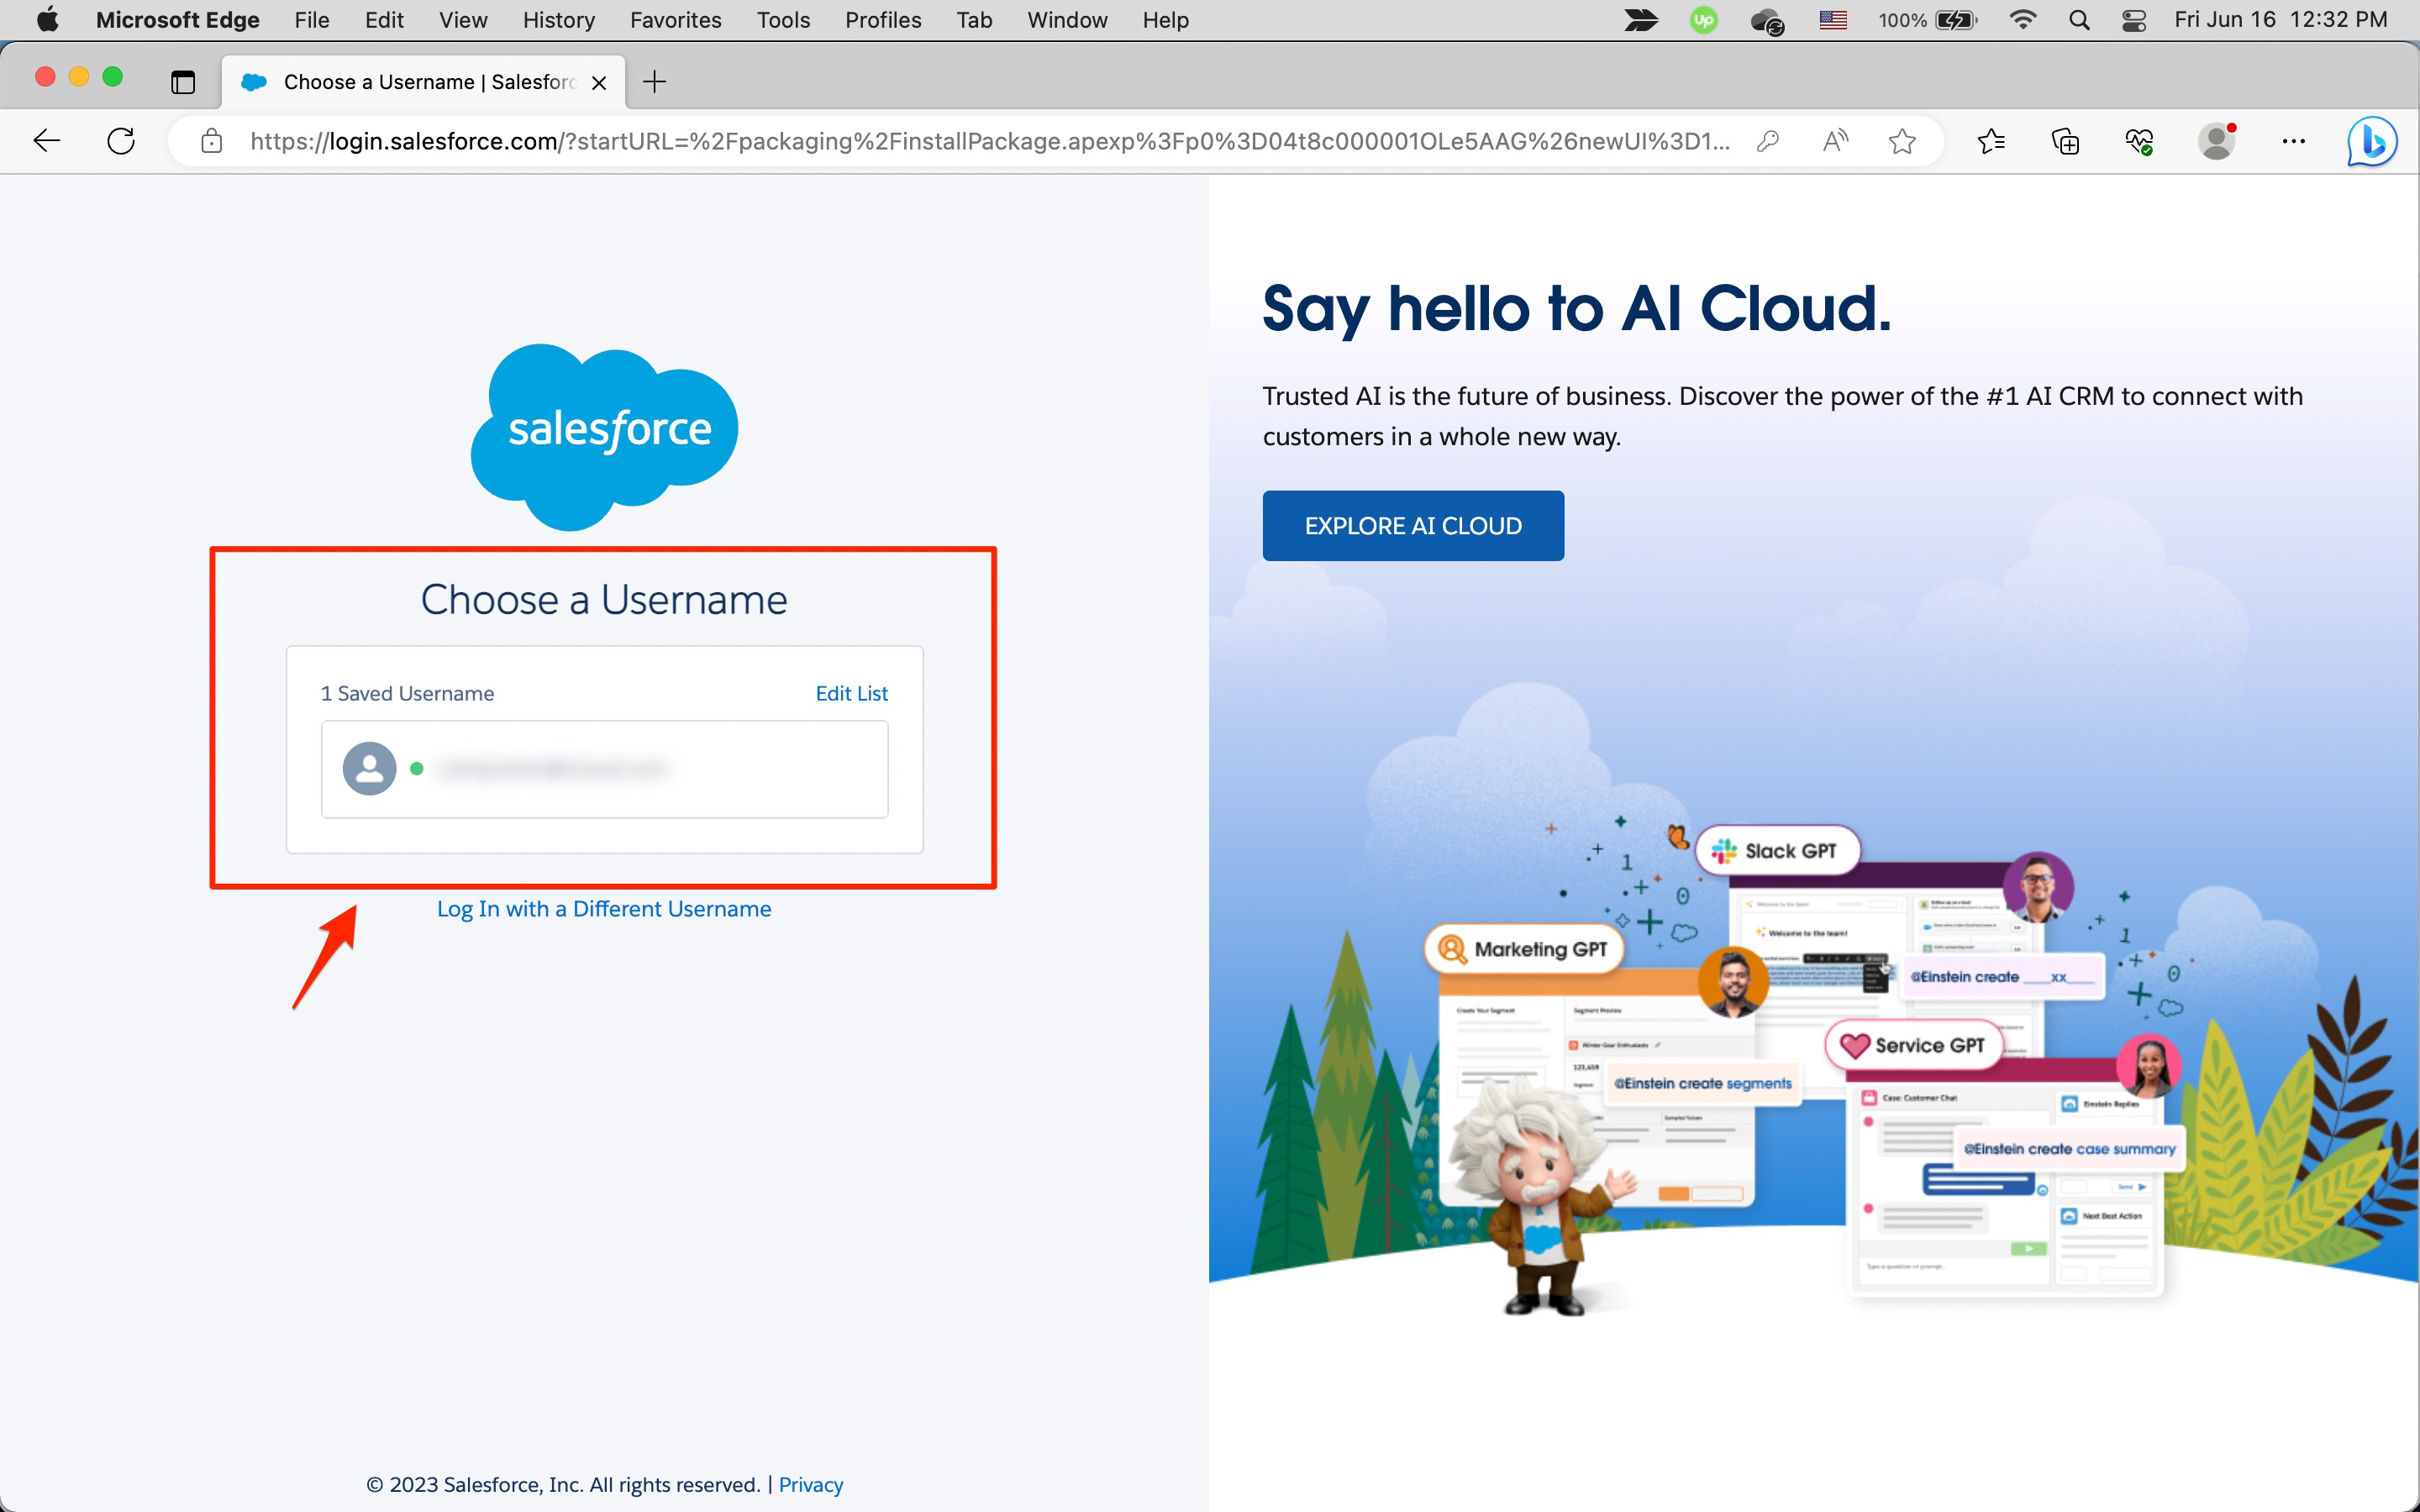
The Salesforce AppExchange will automatically redirect you to Salesforce, where you will need to log in by clicking on your Username.
-
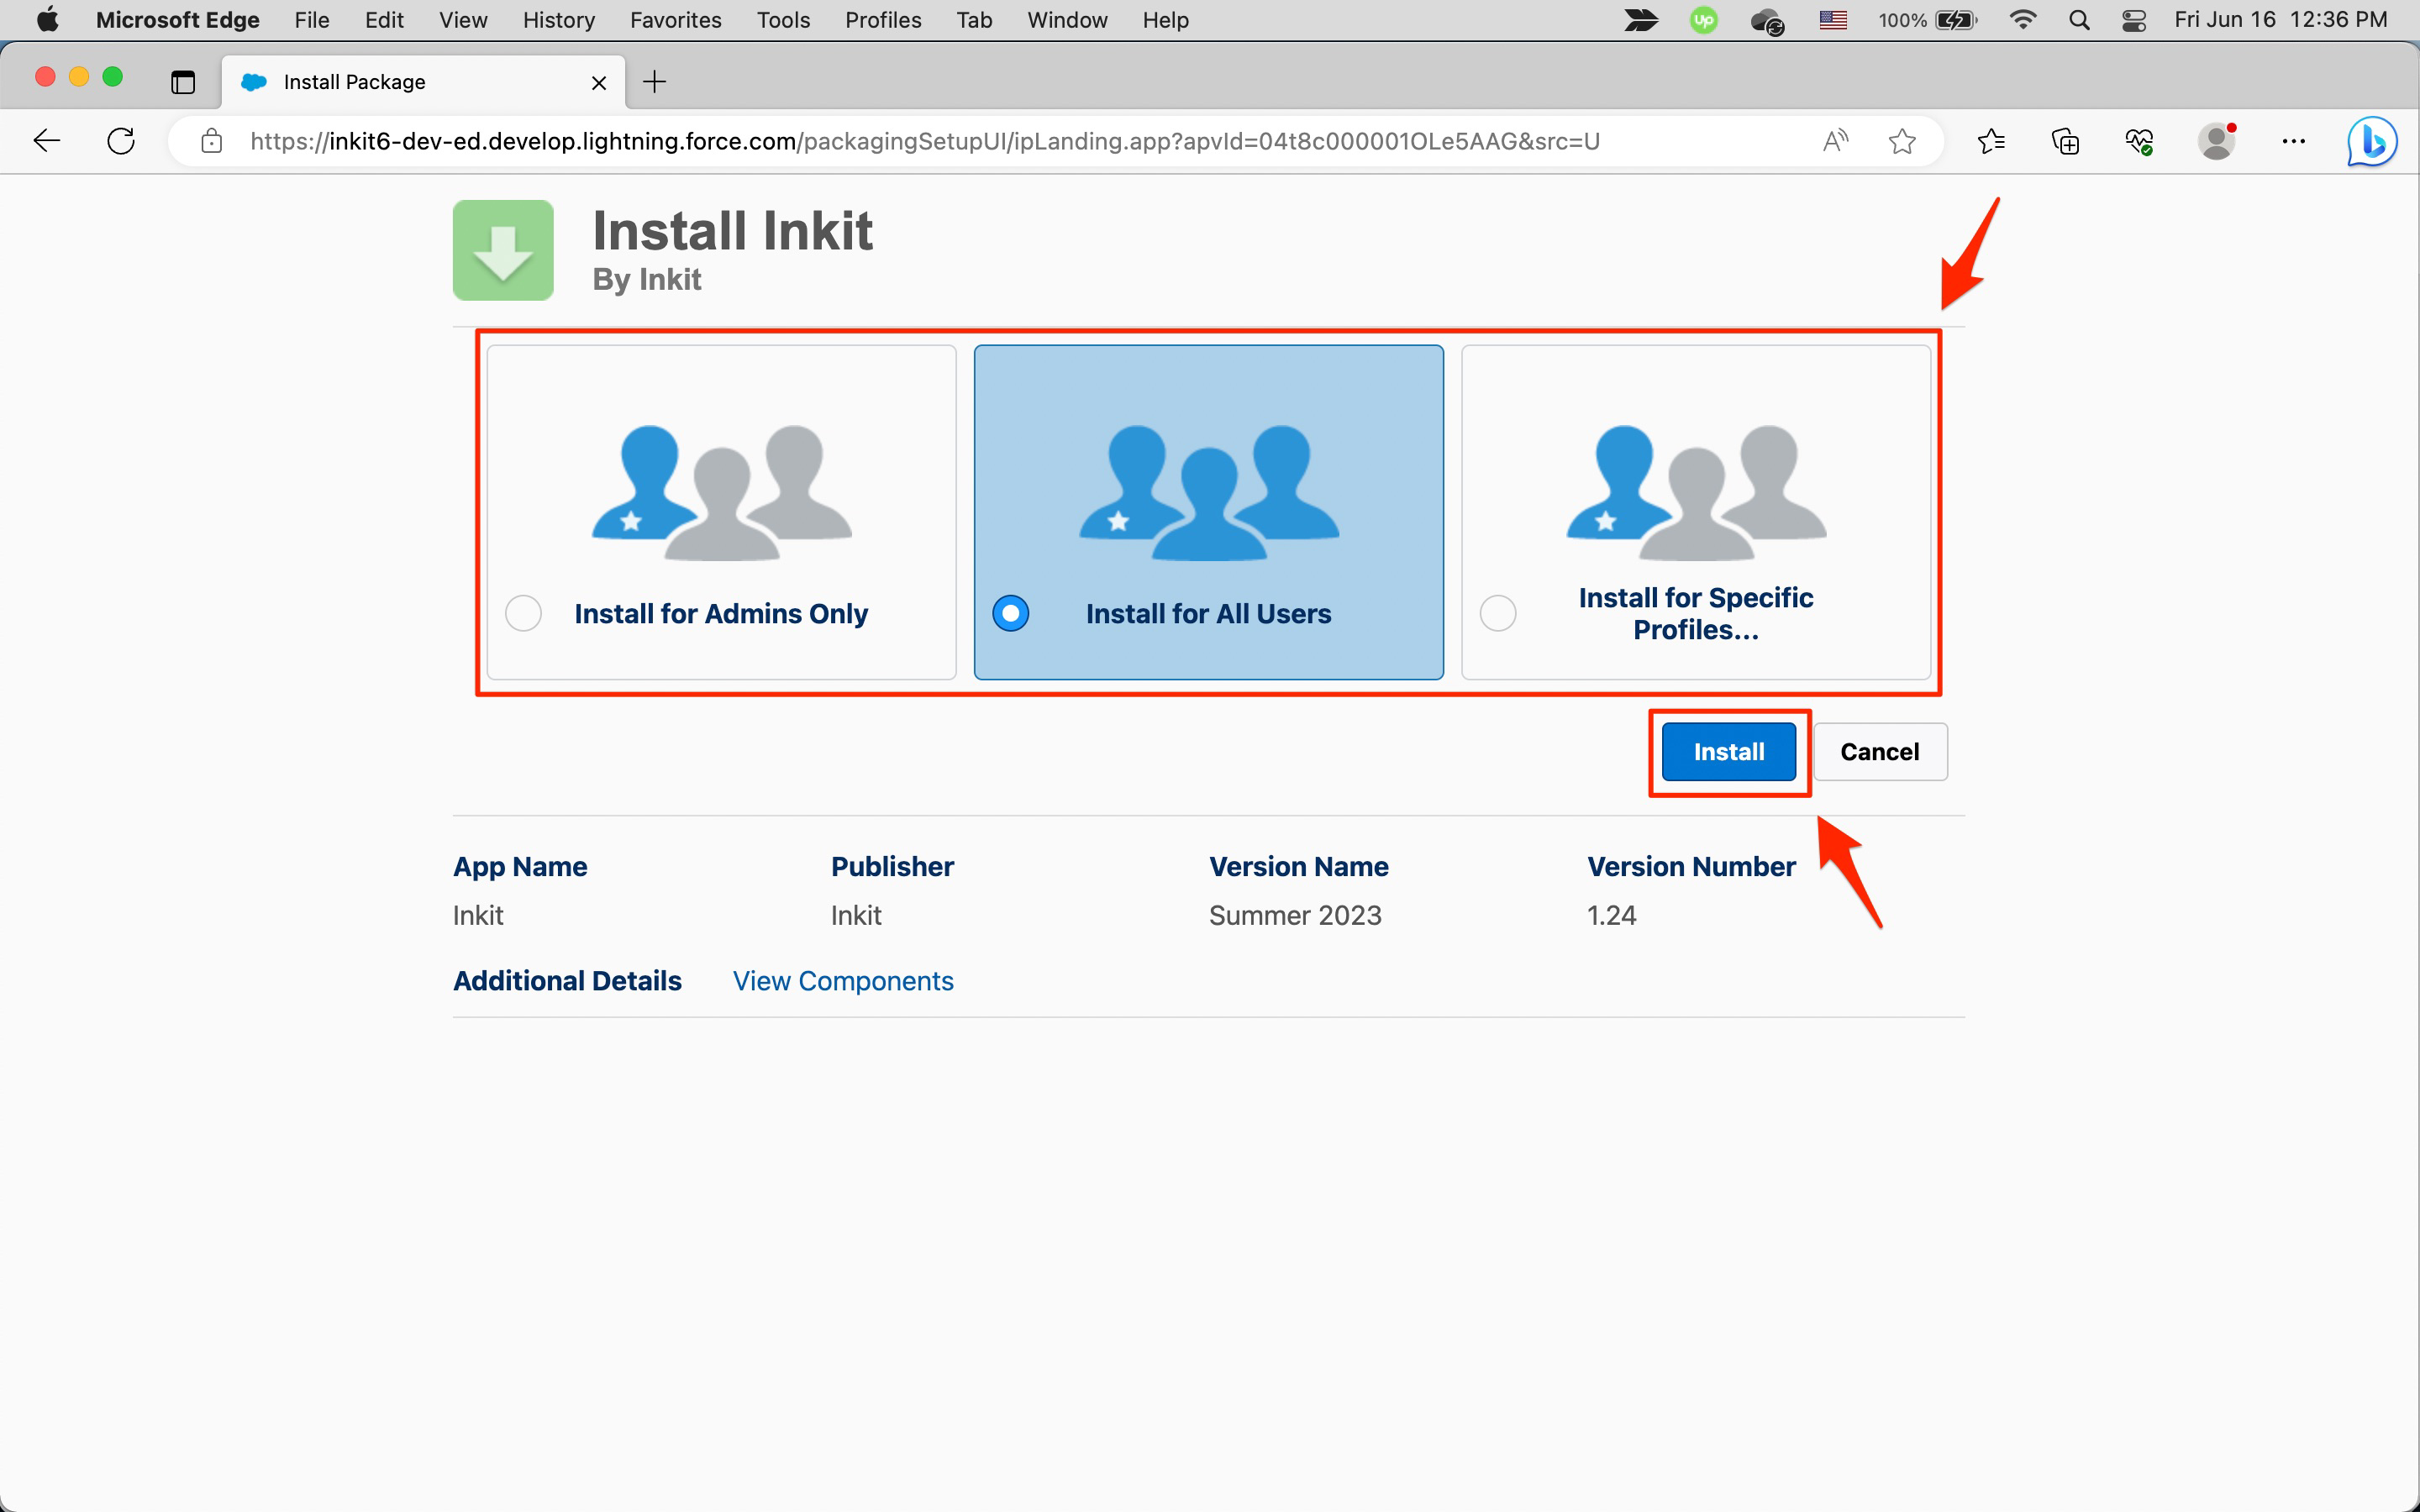
In the Install Inkit page, select how you want to install the package. You have the following options:
- Install for Admins Only
- Install for All Users
- Install for Specific Profiles...
Note: We recommend choosing Install for All Users, as you can always remove users later.
Finally, click Install.
-
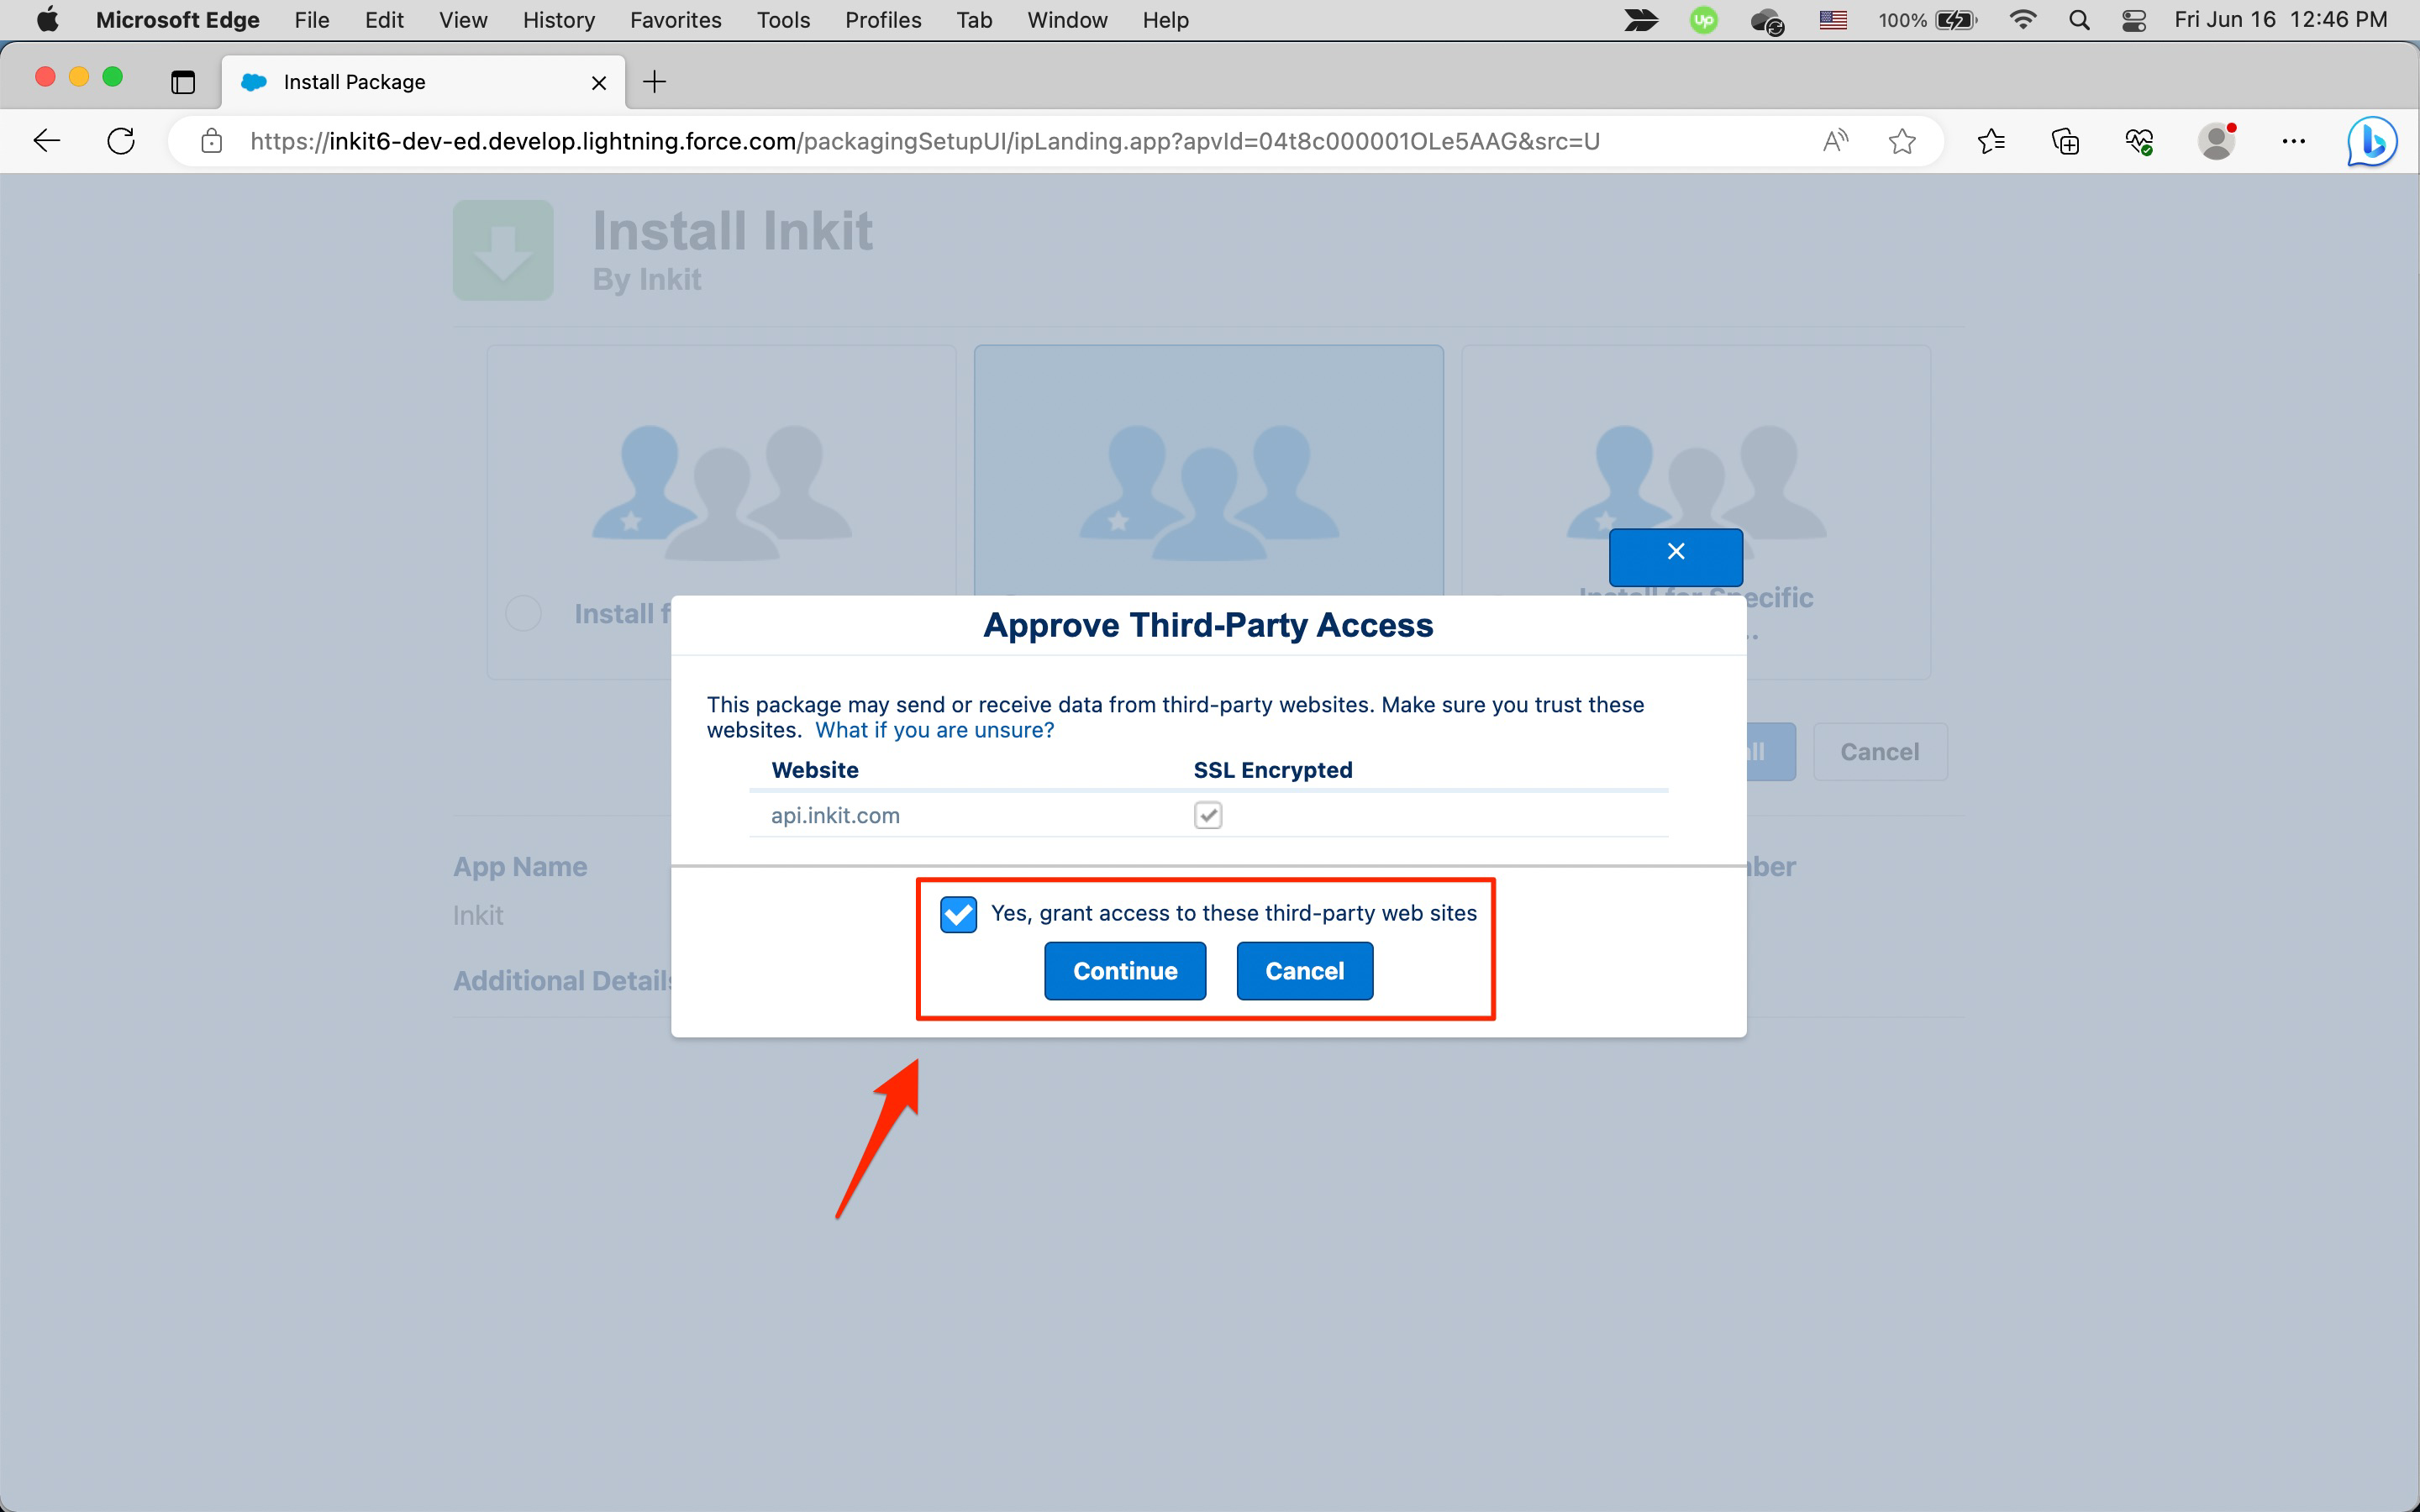
In the Approve Third-Party Access dialog box, click on the Yes, grant access to these third-party web sites checkbox and click Continue.
-
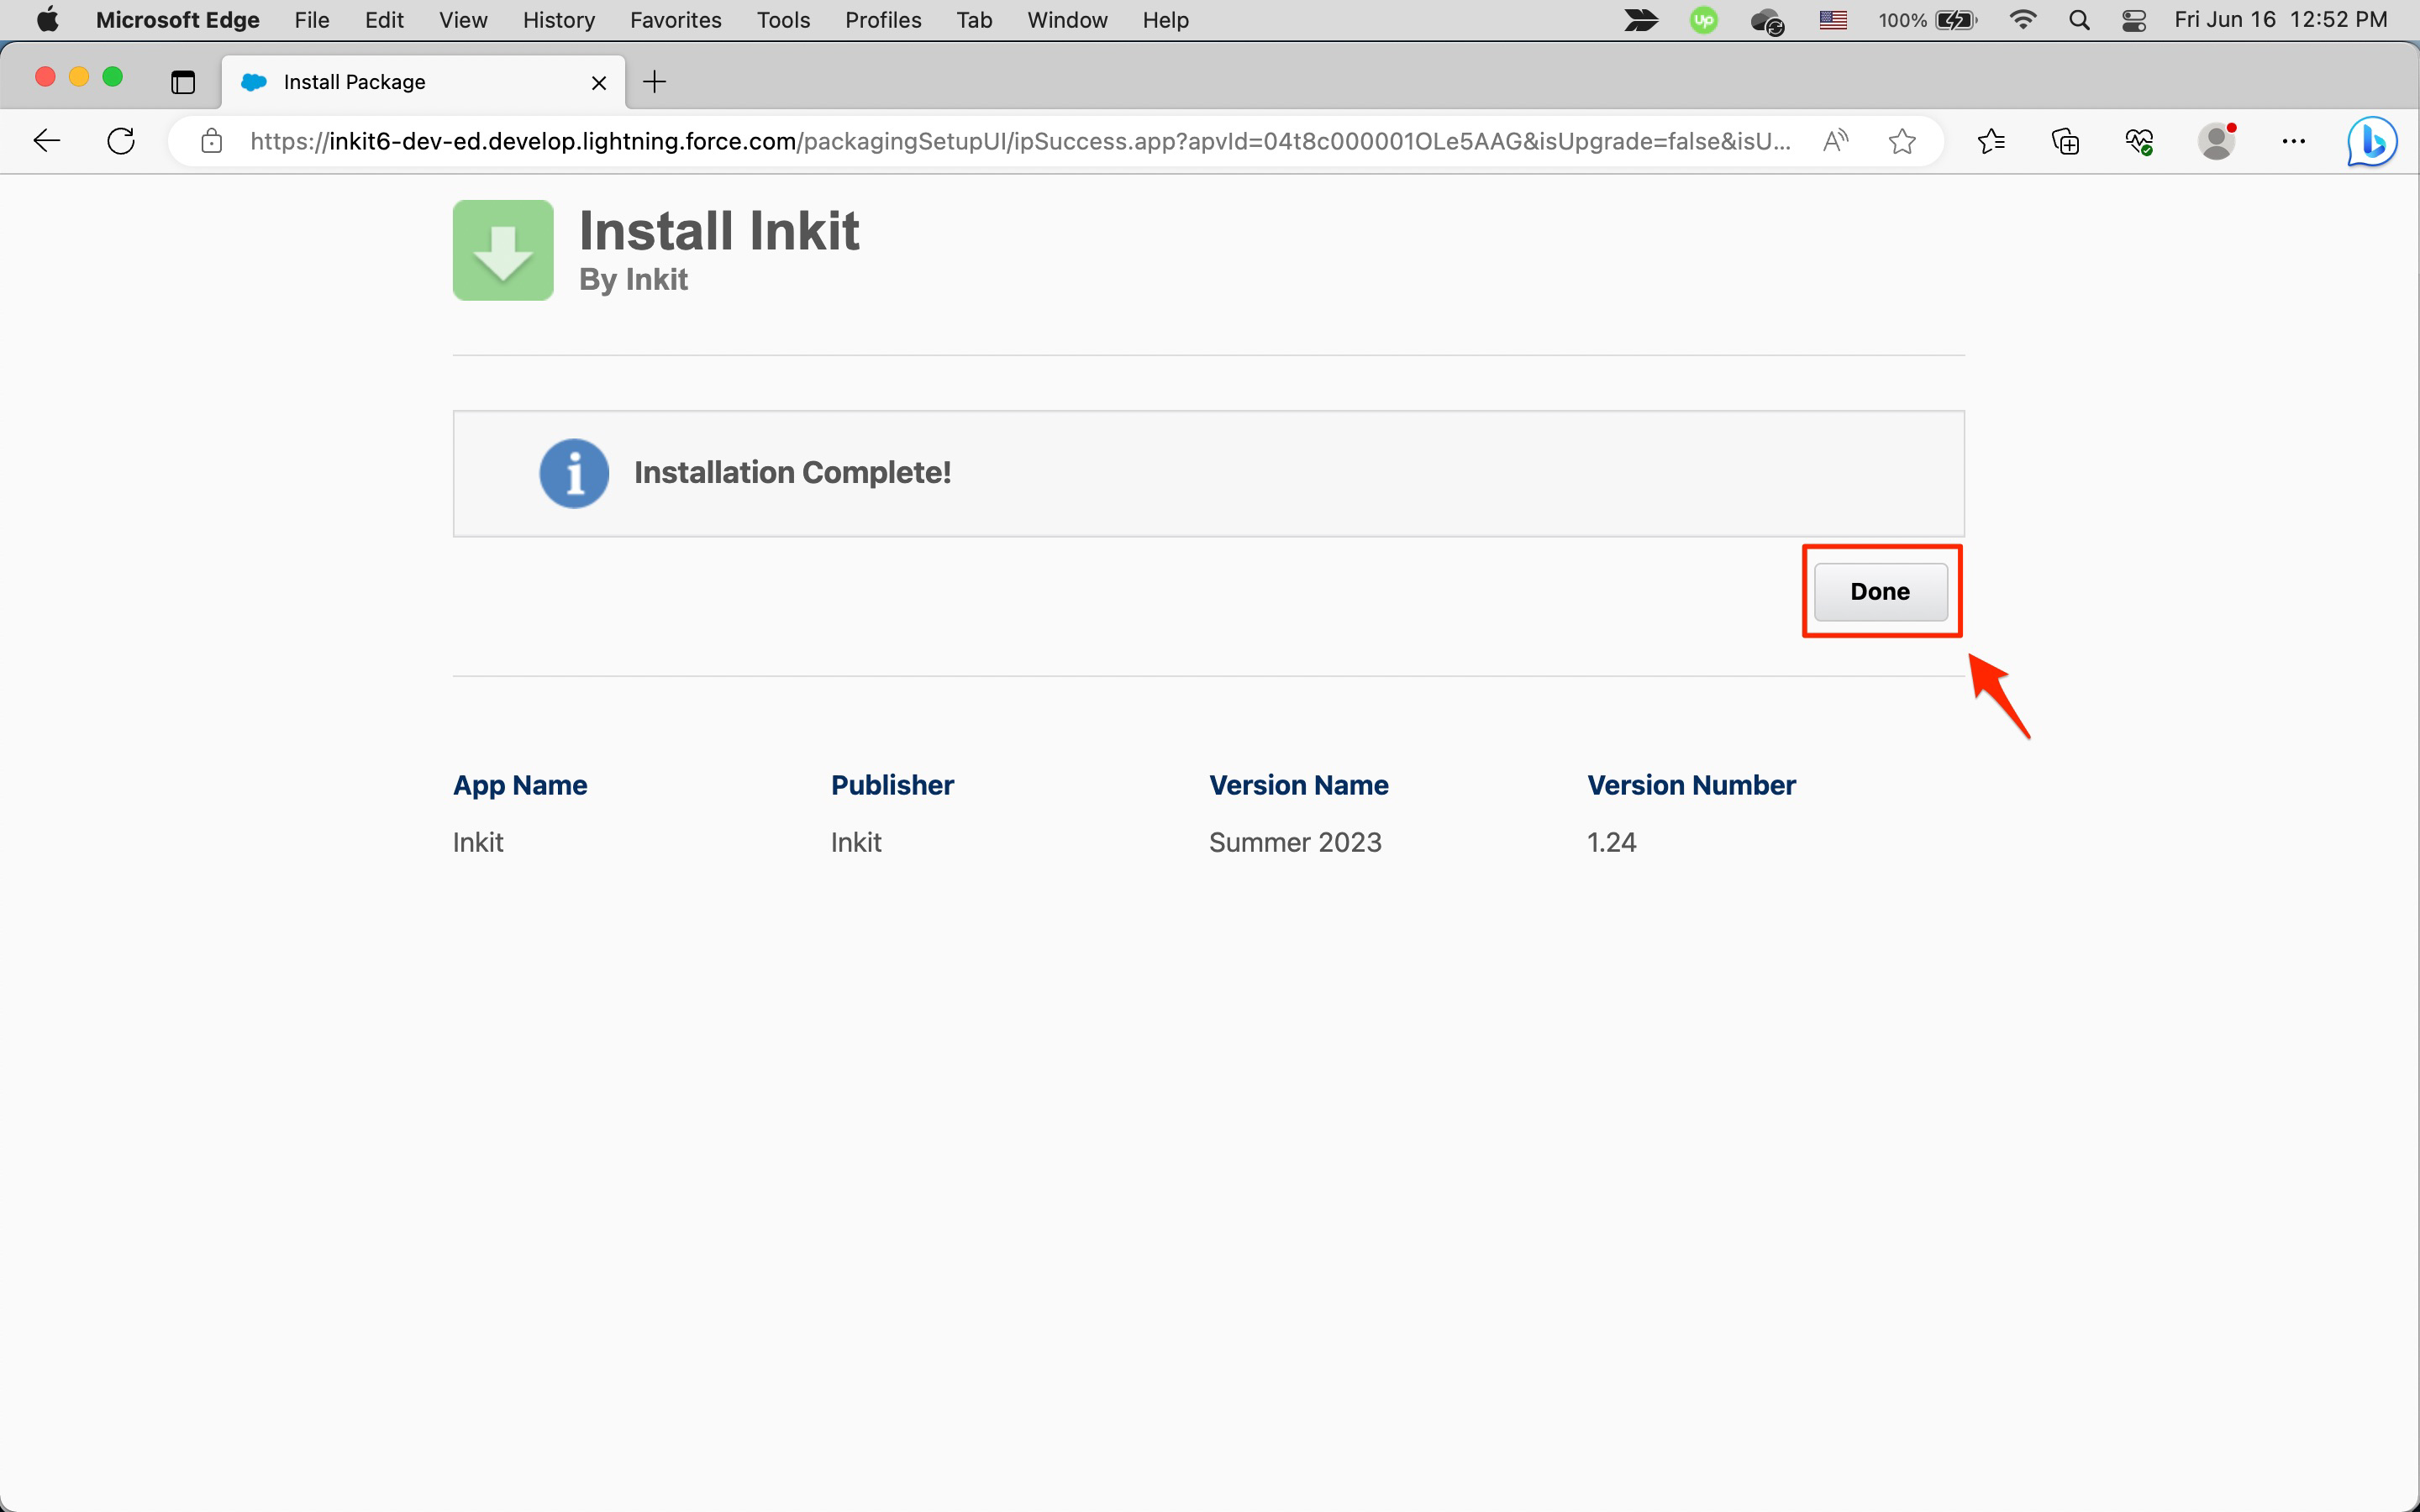
In the Install Inkit page, click Done.
-
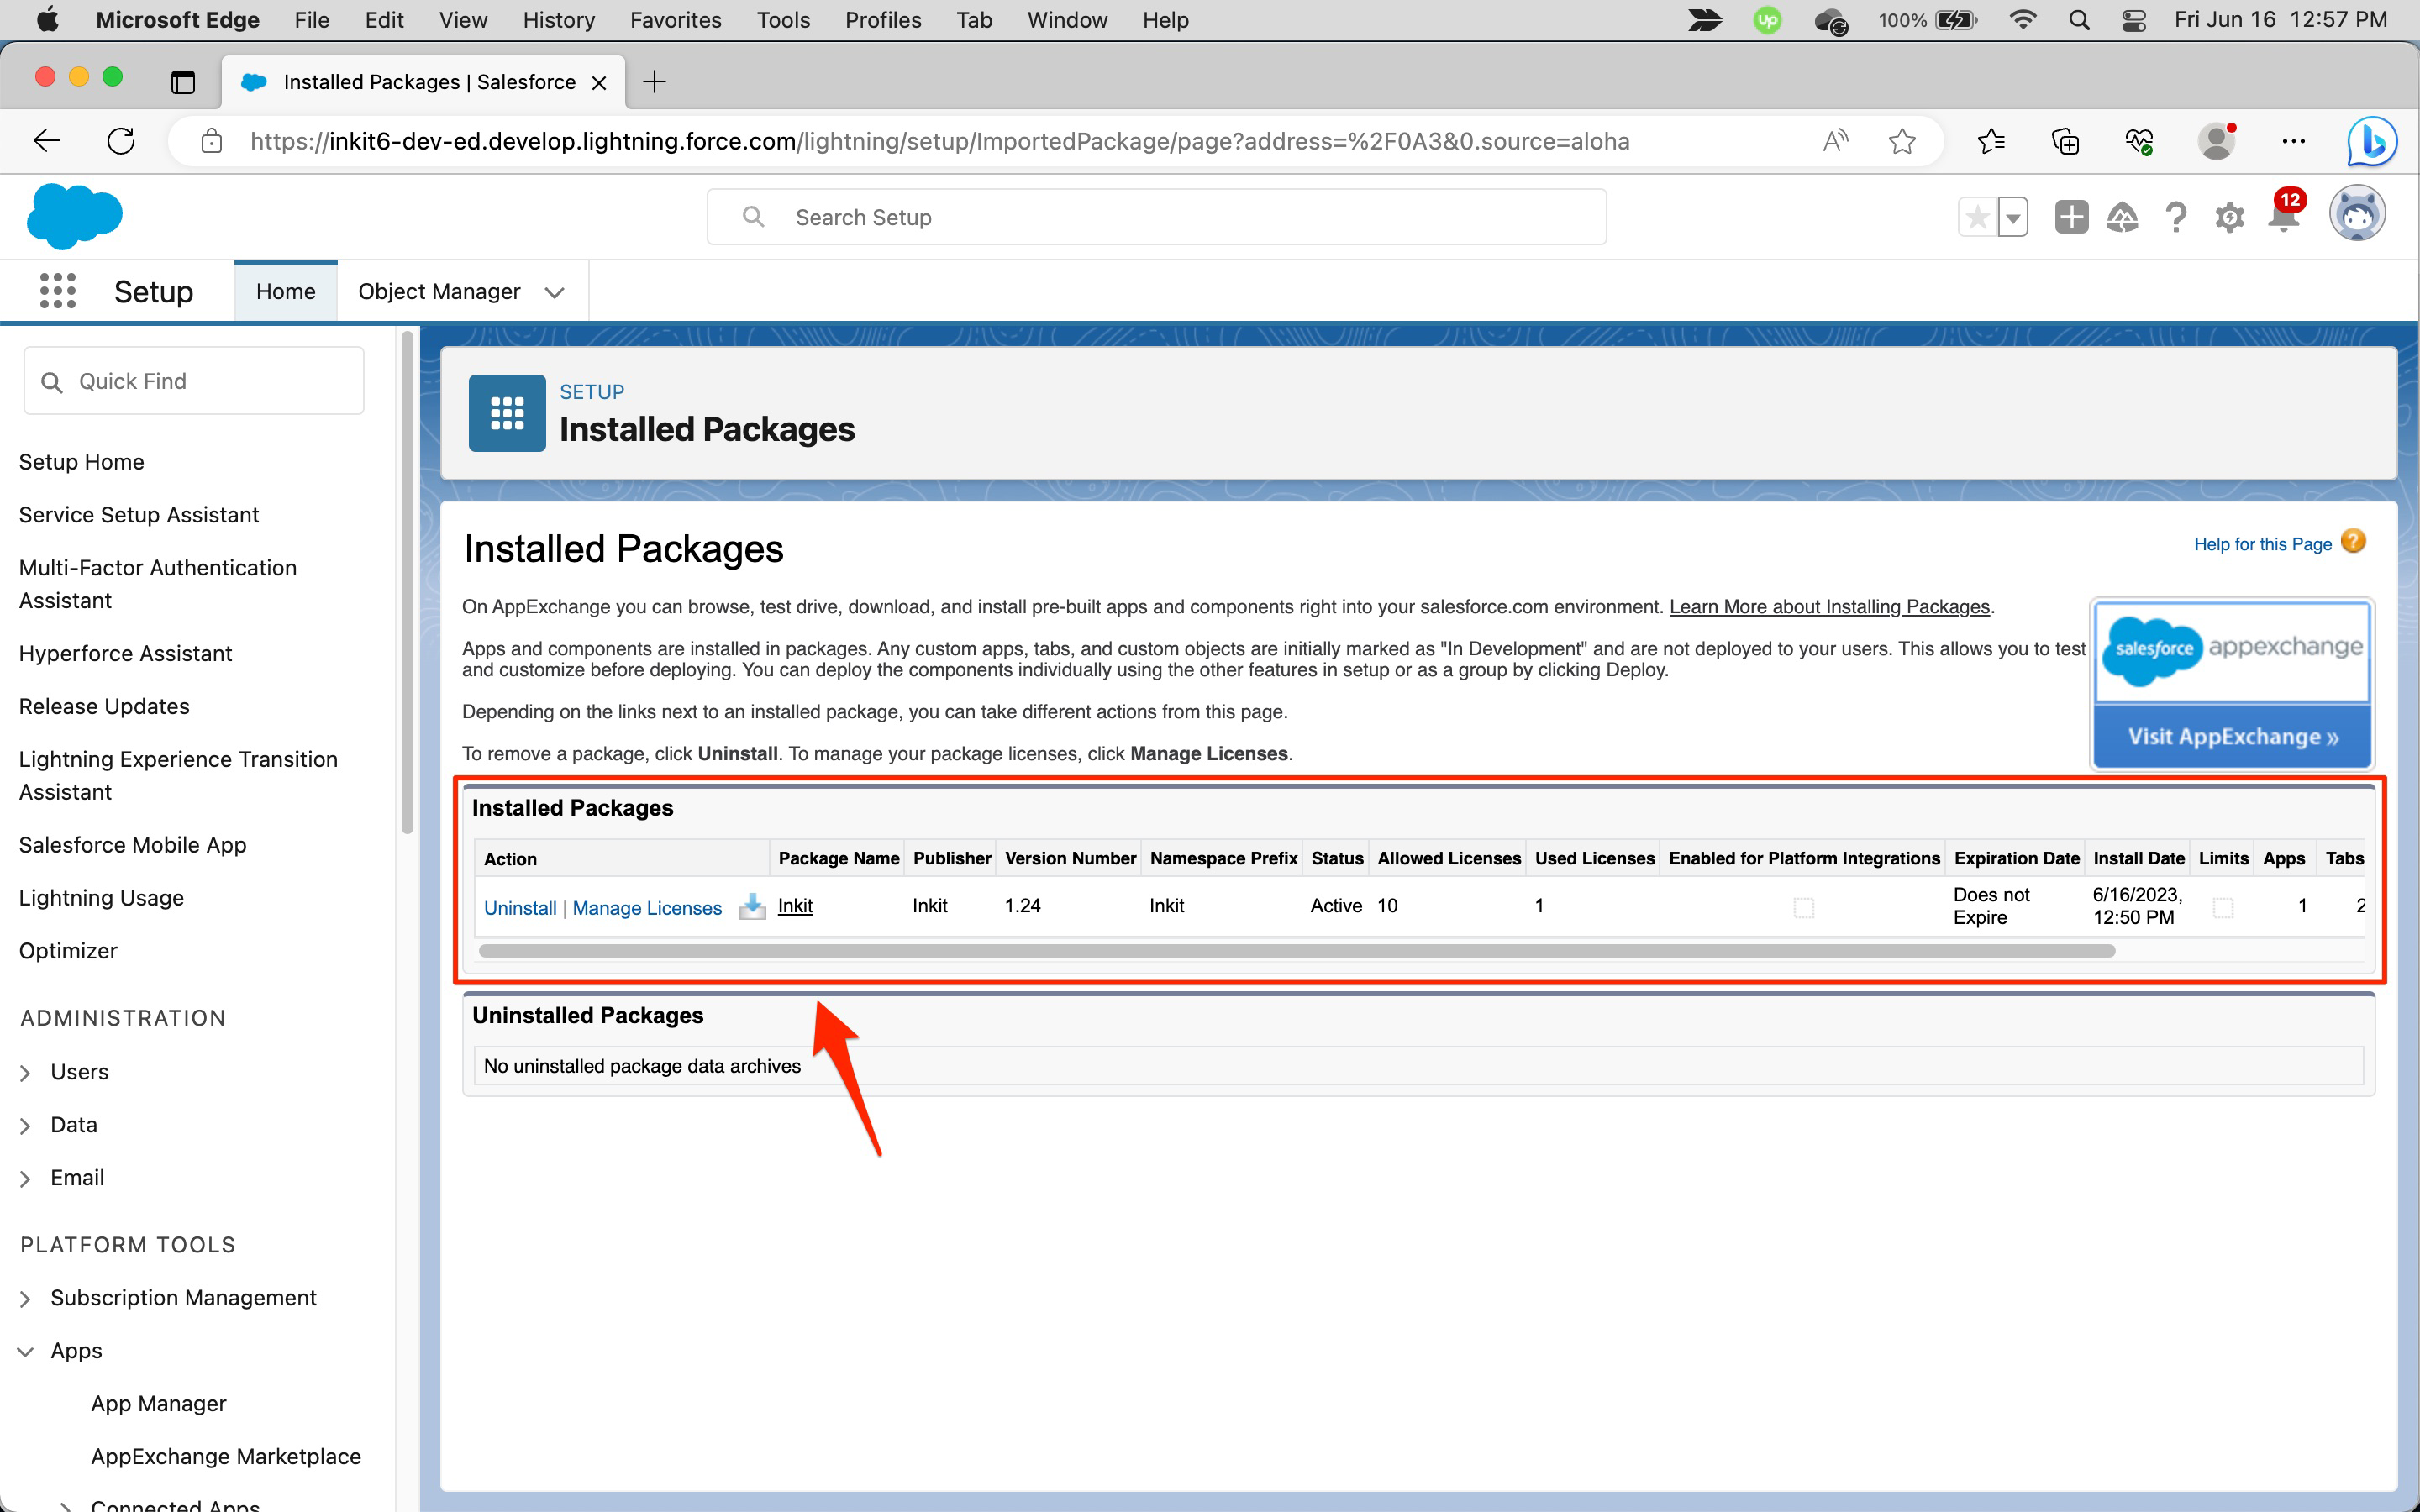
In the Install Packages page, you should see Inkit in the list.
After you have installed our Salesforce package, you need to set up the Inkit app.
Updated 6 months ago