Physical mail quickstart guide
reading time 7 minutes
Follow our instructions to launch a mail marketing campaign, select the most suitable settings, and start using the benefits of direct mail automation right now.
This step-by-step guide is a reliable backup both for martech newbies and experienced professionals who want to enhance their strategies with automated mail.
1. Create an Account
Request a demo and Inkit’s experts will help you with creating your Inkit account.
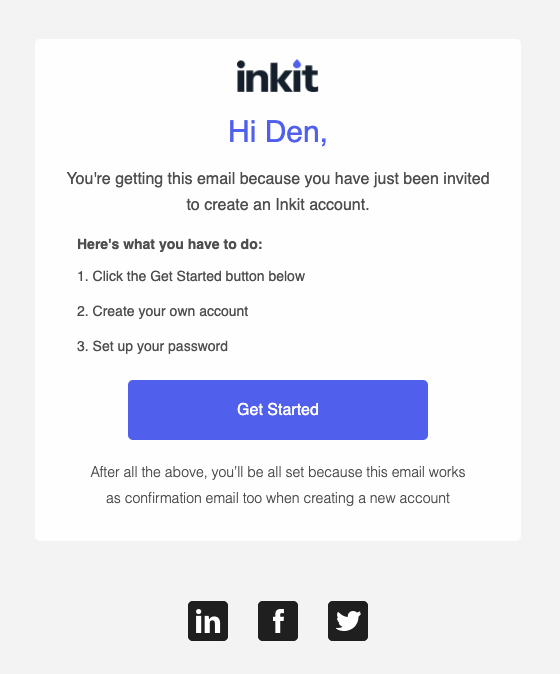
2. Verify Your Email
As soon as you create an Inkit account, you will receive a verification email. Click on Get Started button to complete the activation and go to setup form.
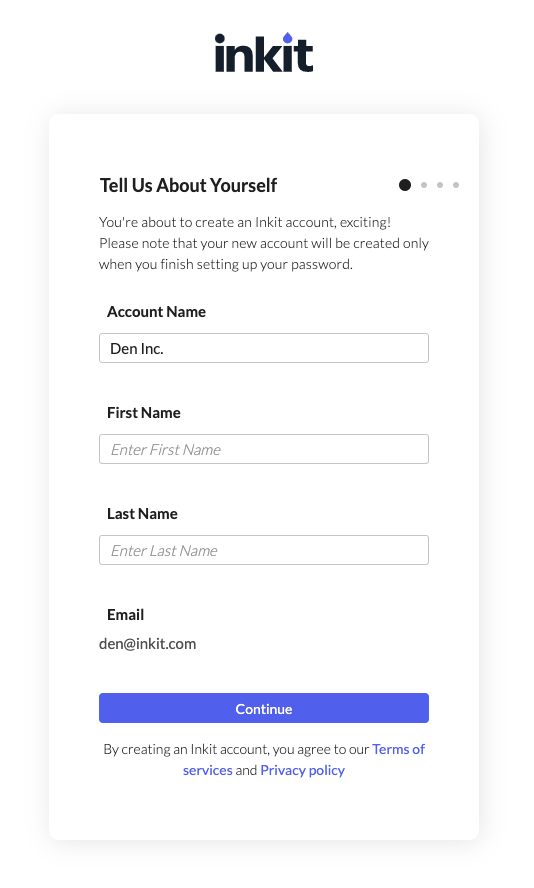
3. Fill The Information
Once you have clicked on Get Started from email you will be redirected to signup form to fill the information and setup password. All of the steps are intuitive and easy to understand.
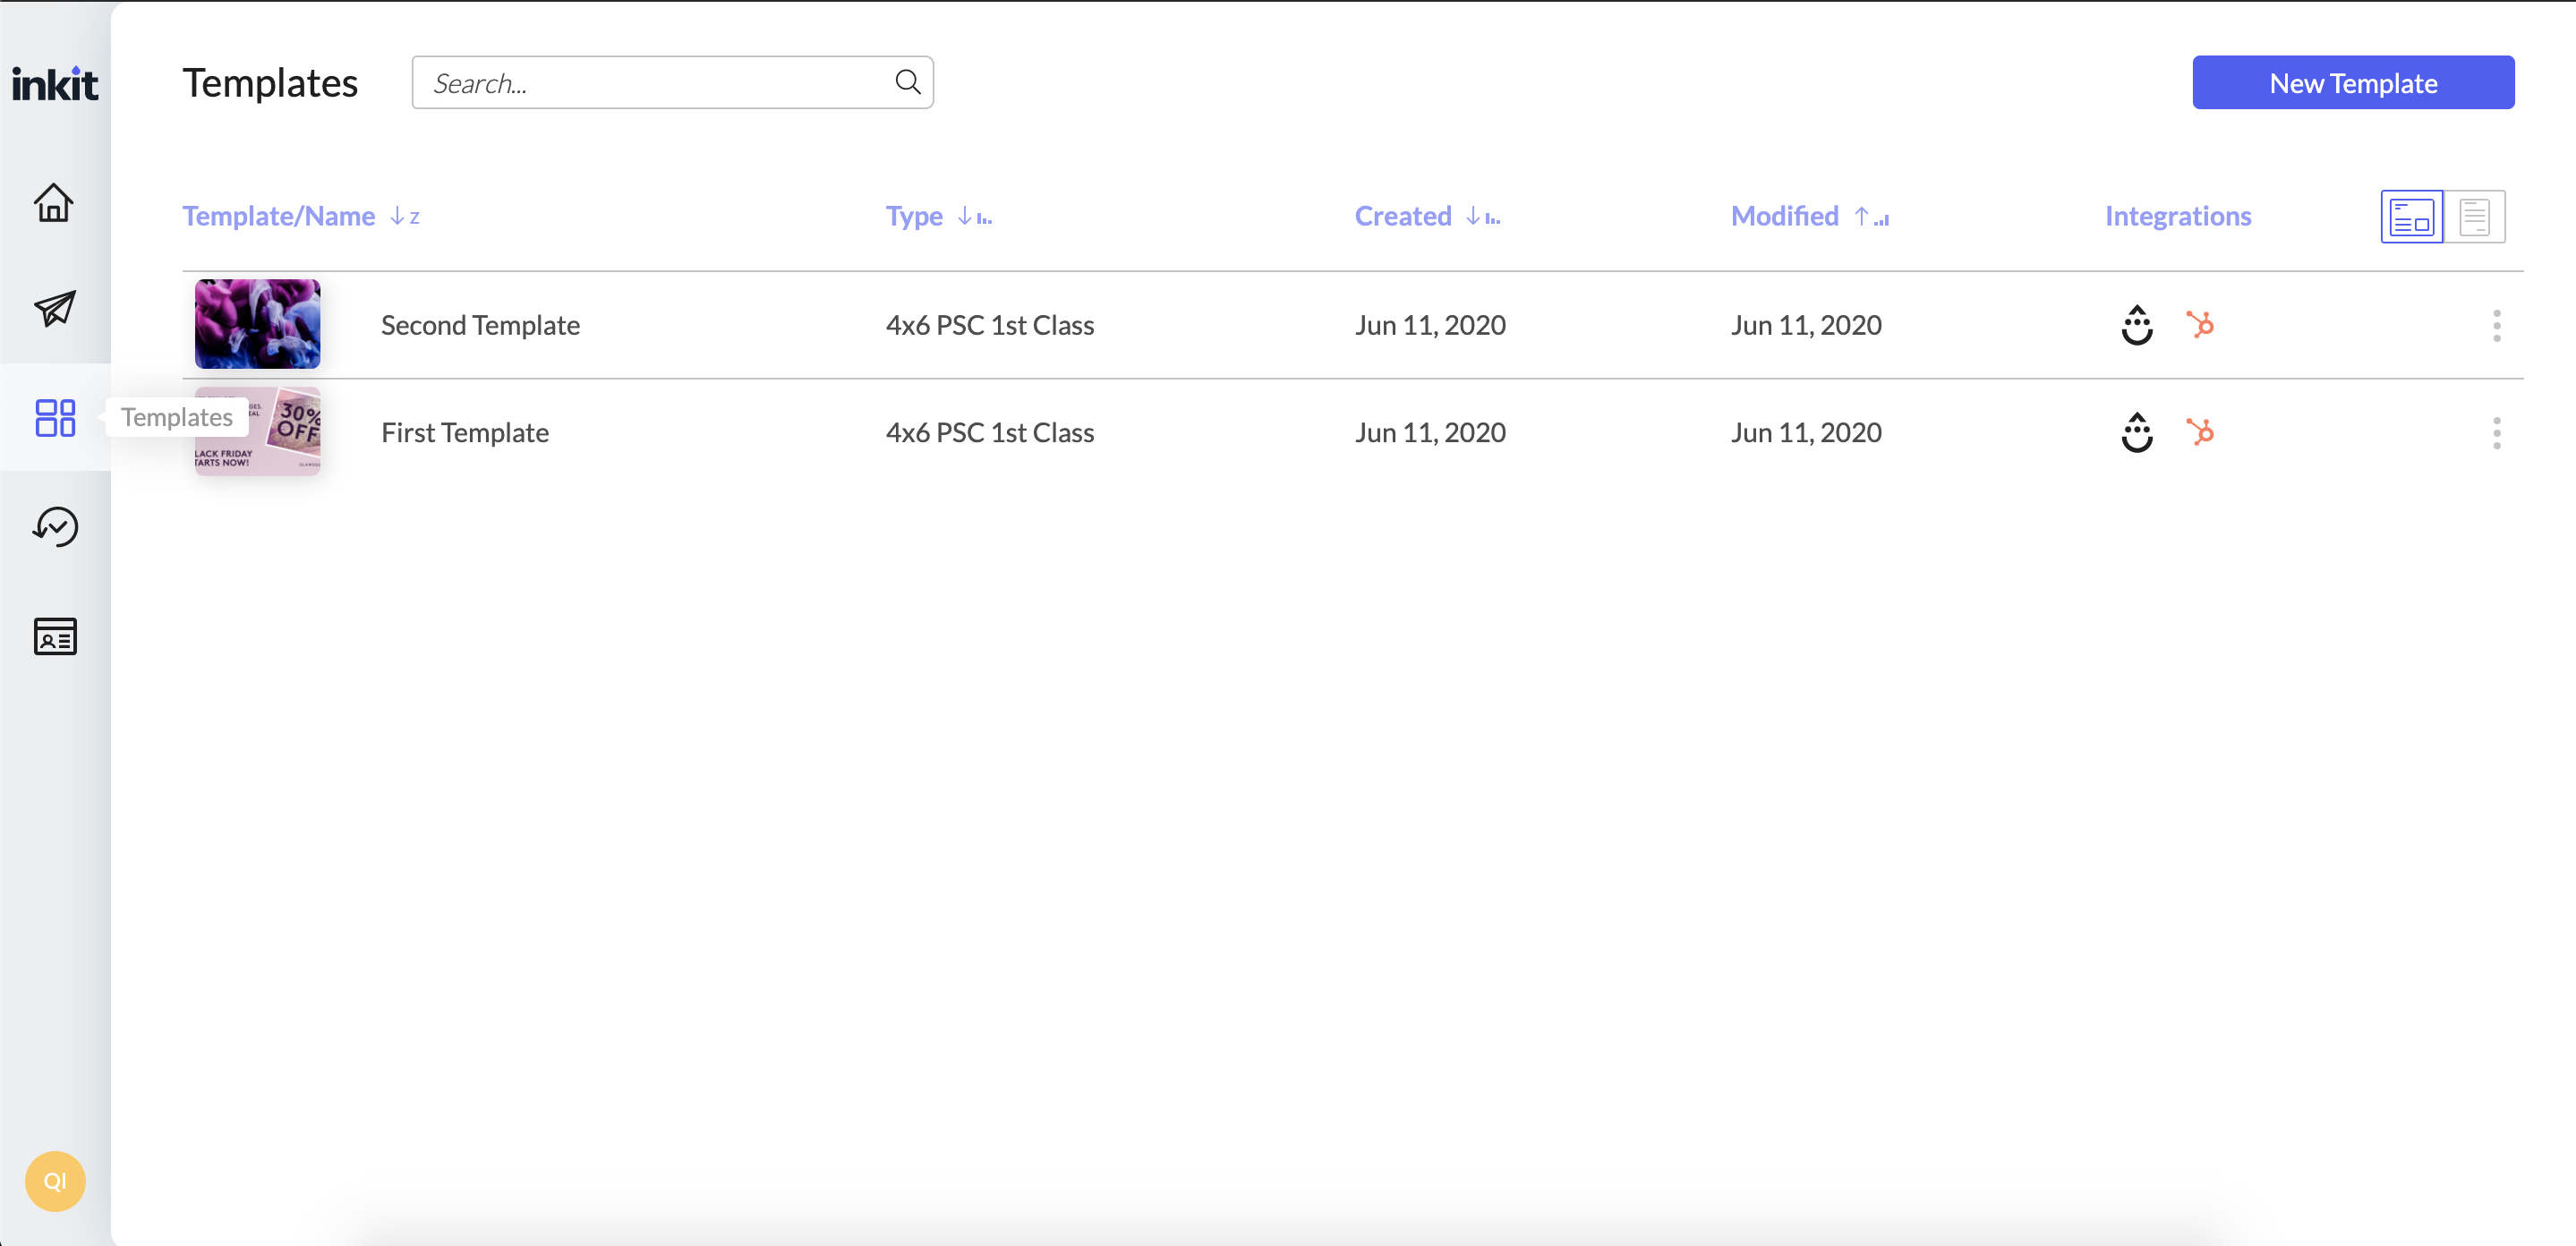
4. Create a Template for Your Future Mailing Campaign
Open the Templates section.
Click the New Template button at the top right corner, select the template type (Postcard or Letter) and hit Continue.
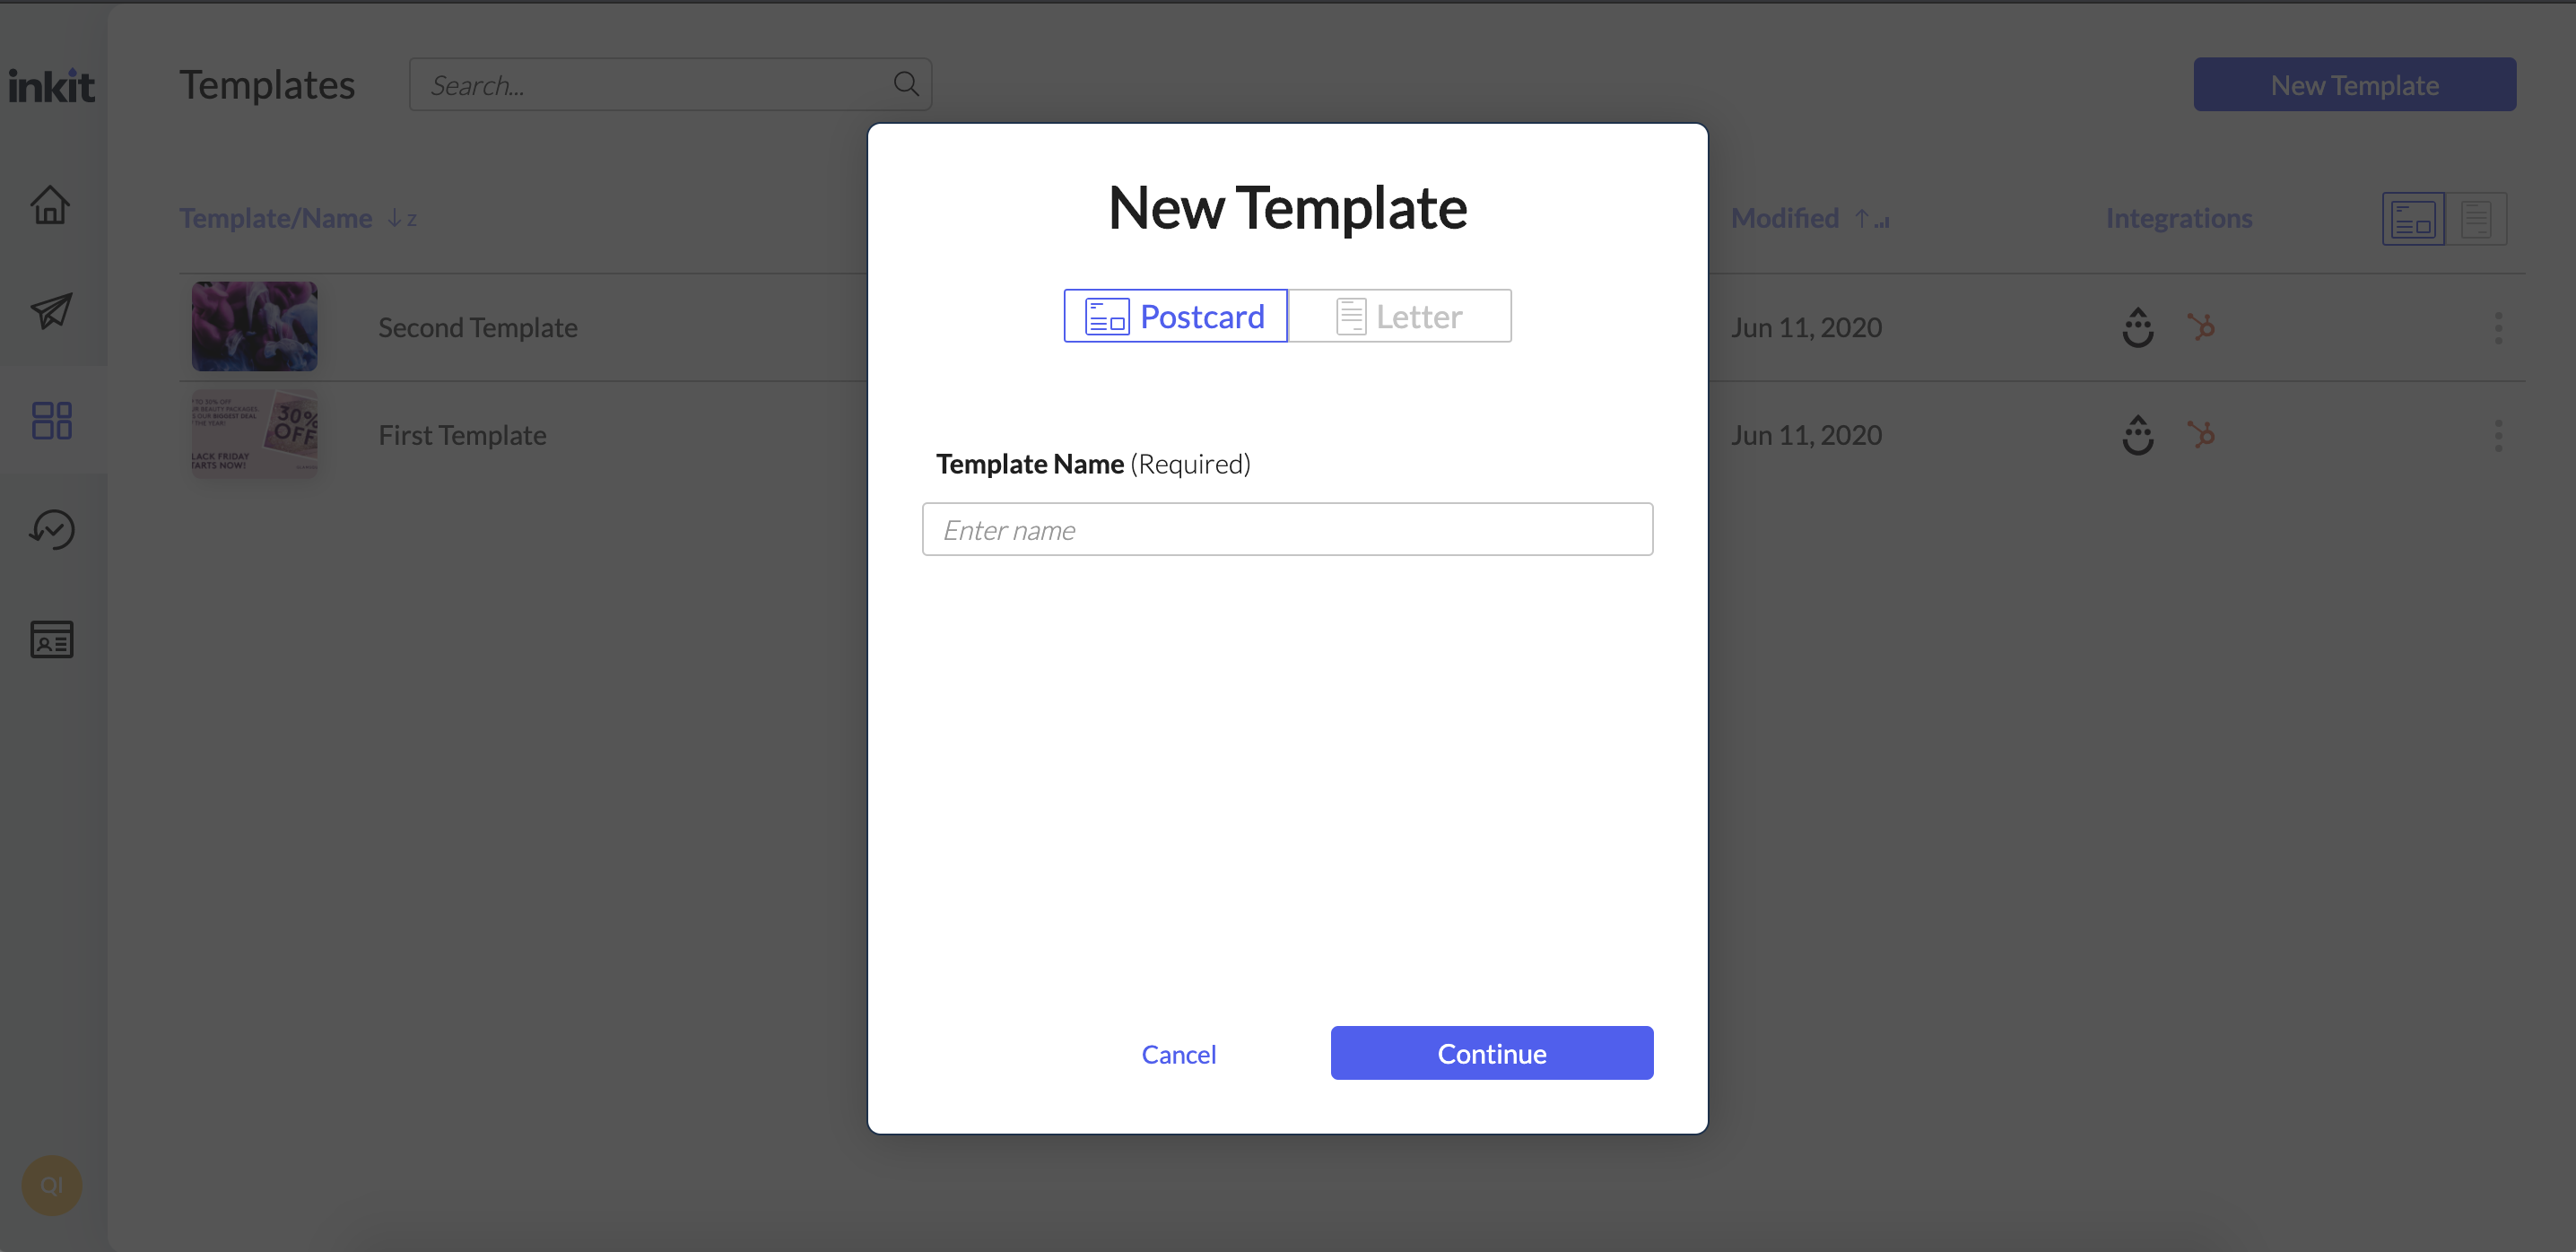
You will be taken to the template settings page, where you can setup template options, such as template size, source (builder or raw html) - for postcards, mailer options for both (letters and postcards).
Let's take a look how it looks like with Postcard template.
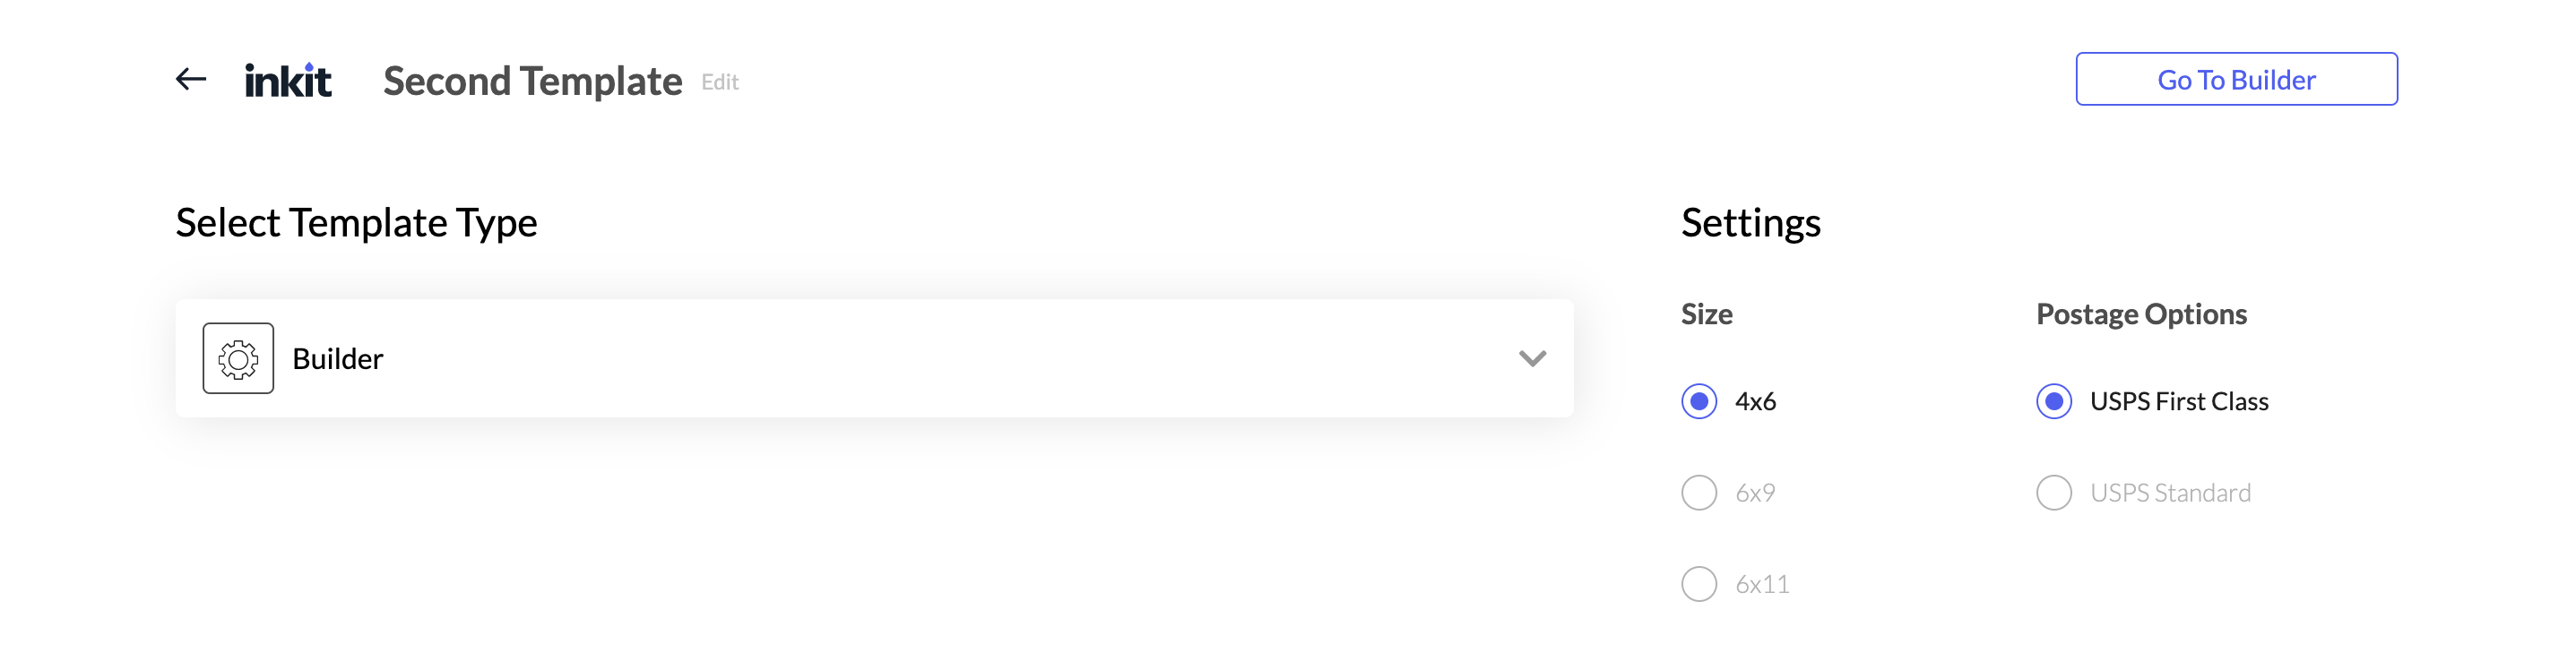
5. Setup template settings
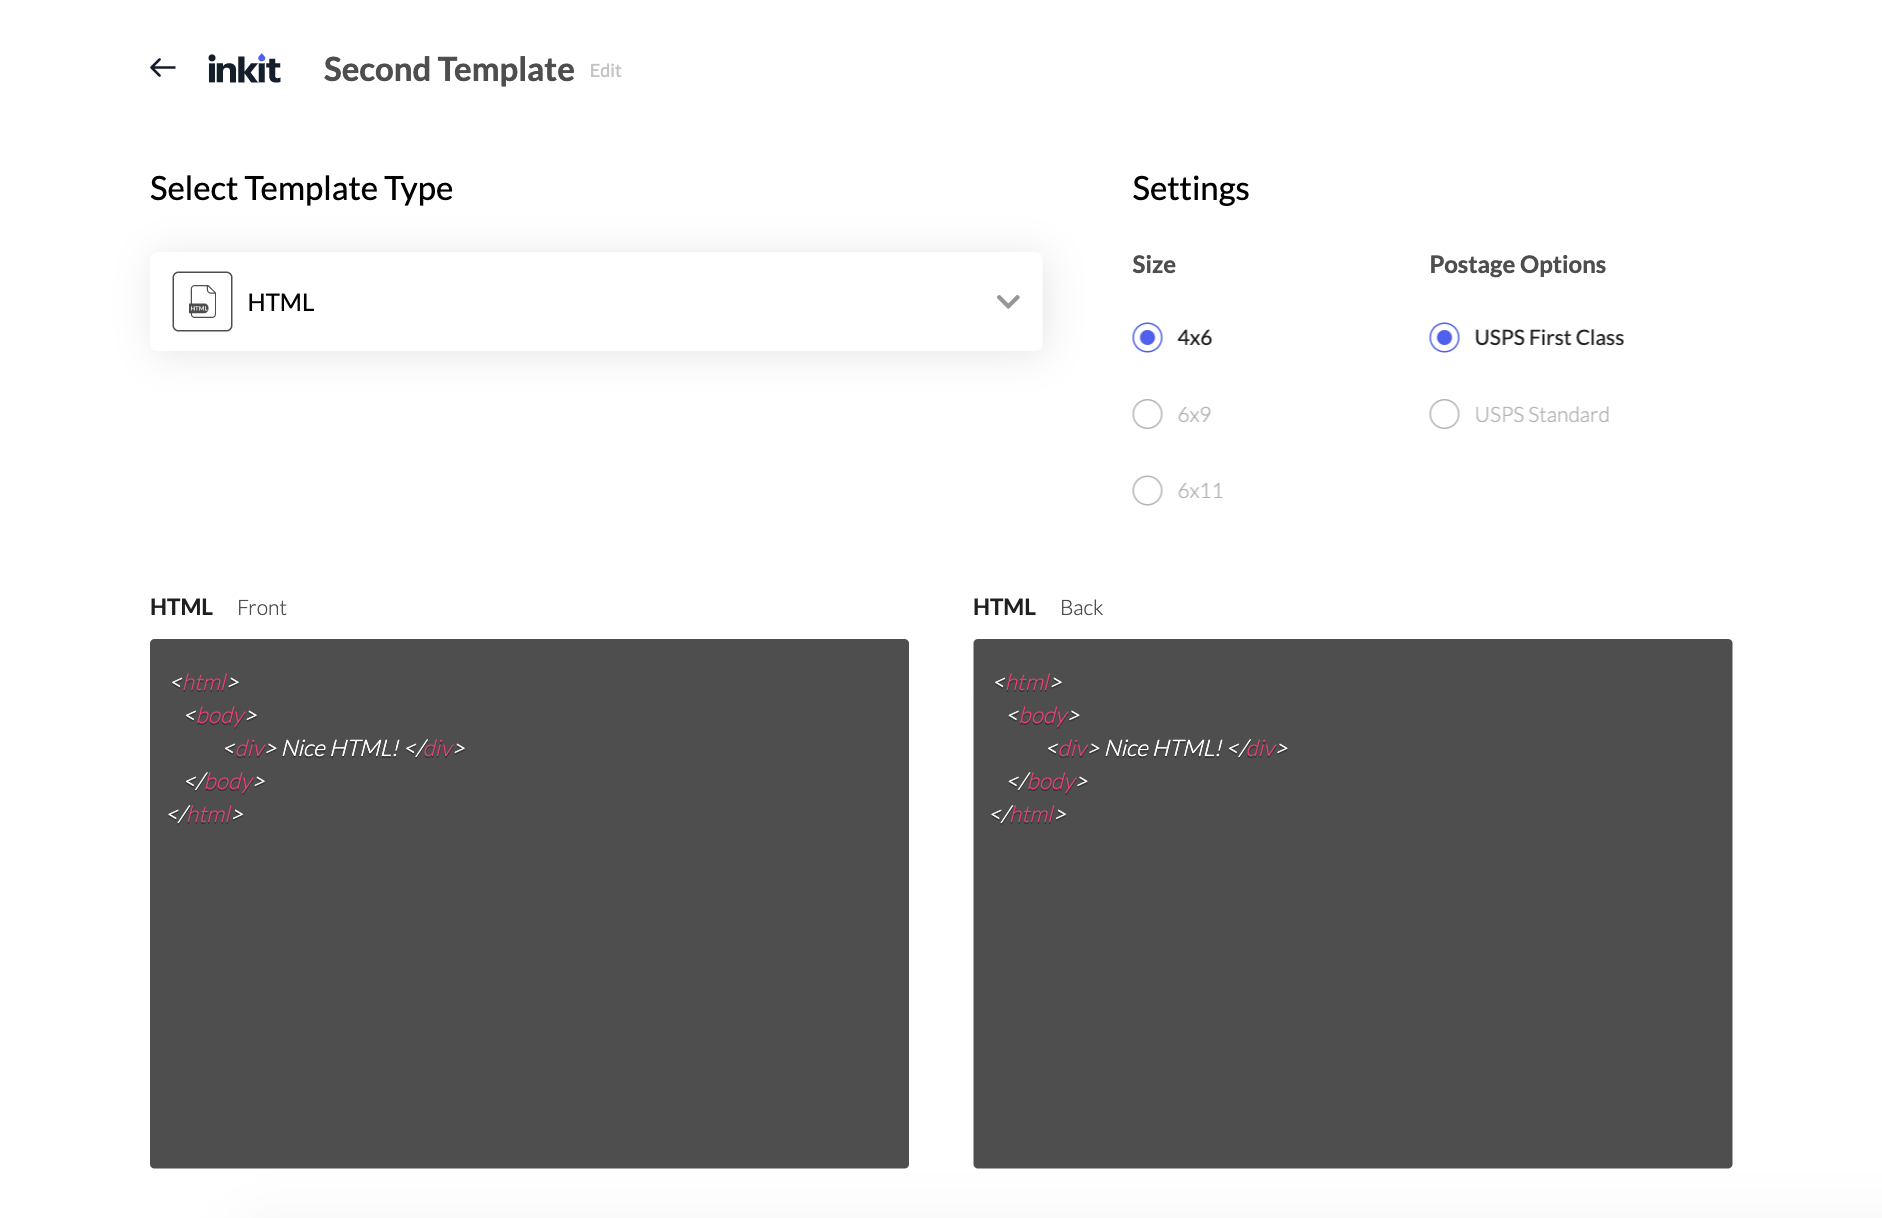
Select template type, size and postage options (this page is different for letters templates) and click Go To Builder if template type is Builder or choose HTML, insert raw HTML code, setup settings and click Save.
Template with template type HTML ends up template creation at this step (as you have been setup what you need for template, right?)
In case of Builder option - you will be taken to the Postcard Builder, where you can customize the design of your mail piece.
6. Customize your template using builder
Upload your own background image and add any text elements that you need. For example, you can include a field from your CRM such as First Name, Bonus Amount, or Last Purchase. This allows personalizing every postcard in the process of dynamic printing. You can also upload custom fonts to make the design truly unique.
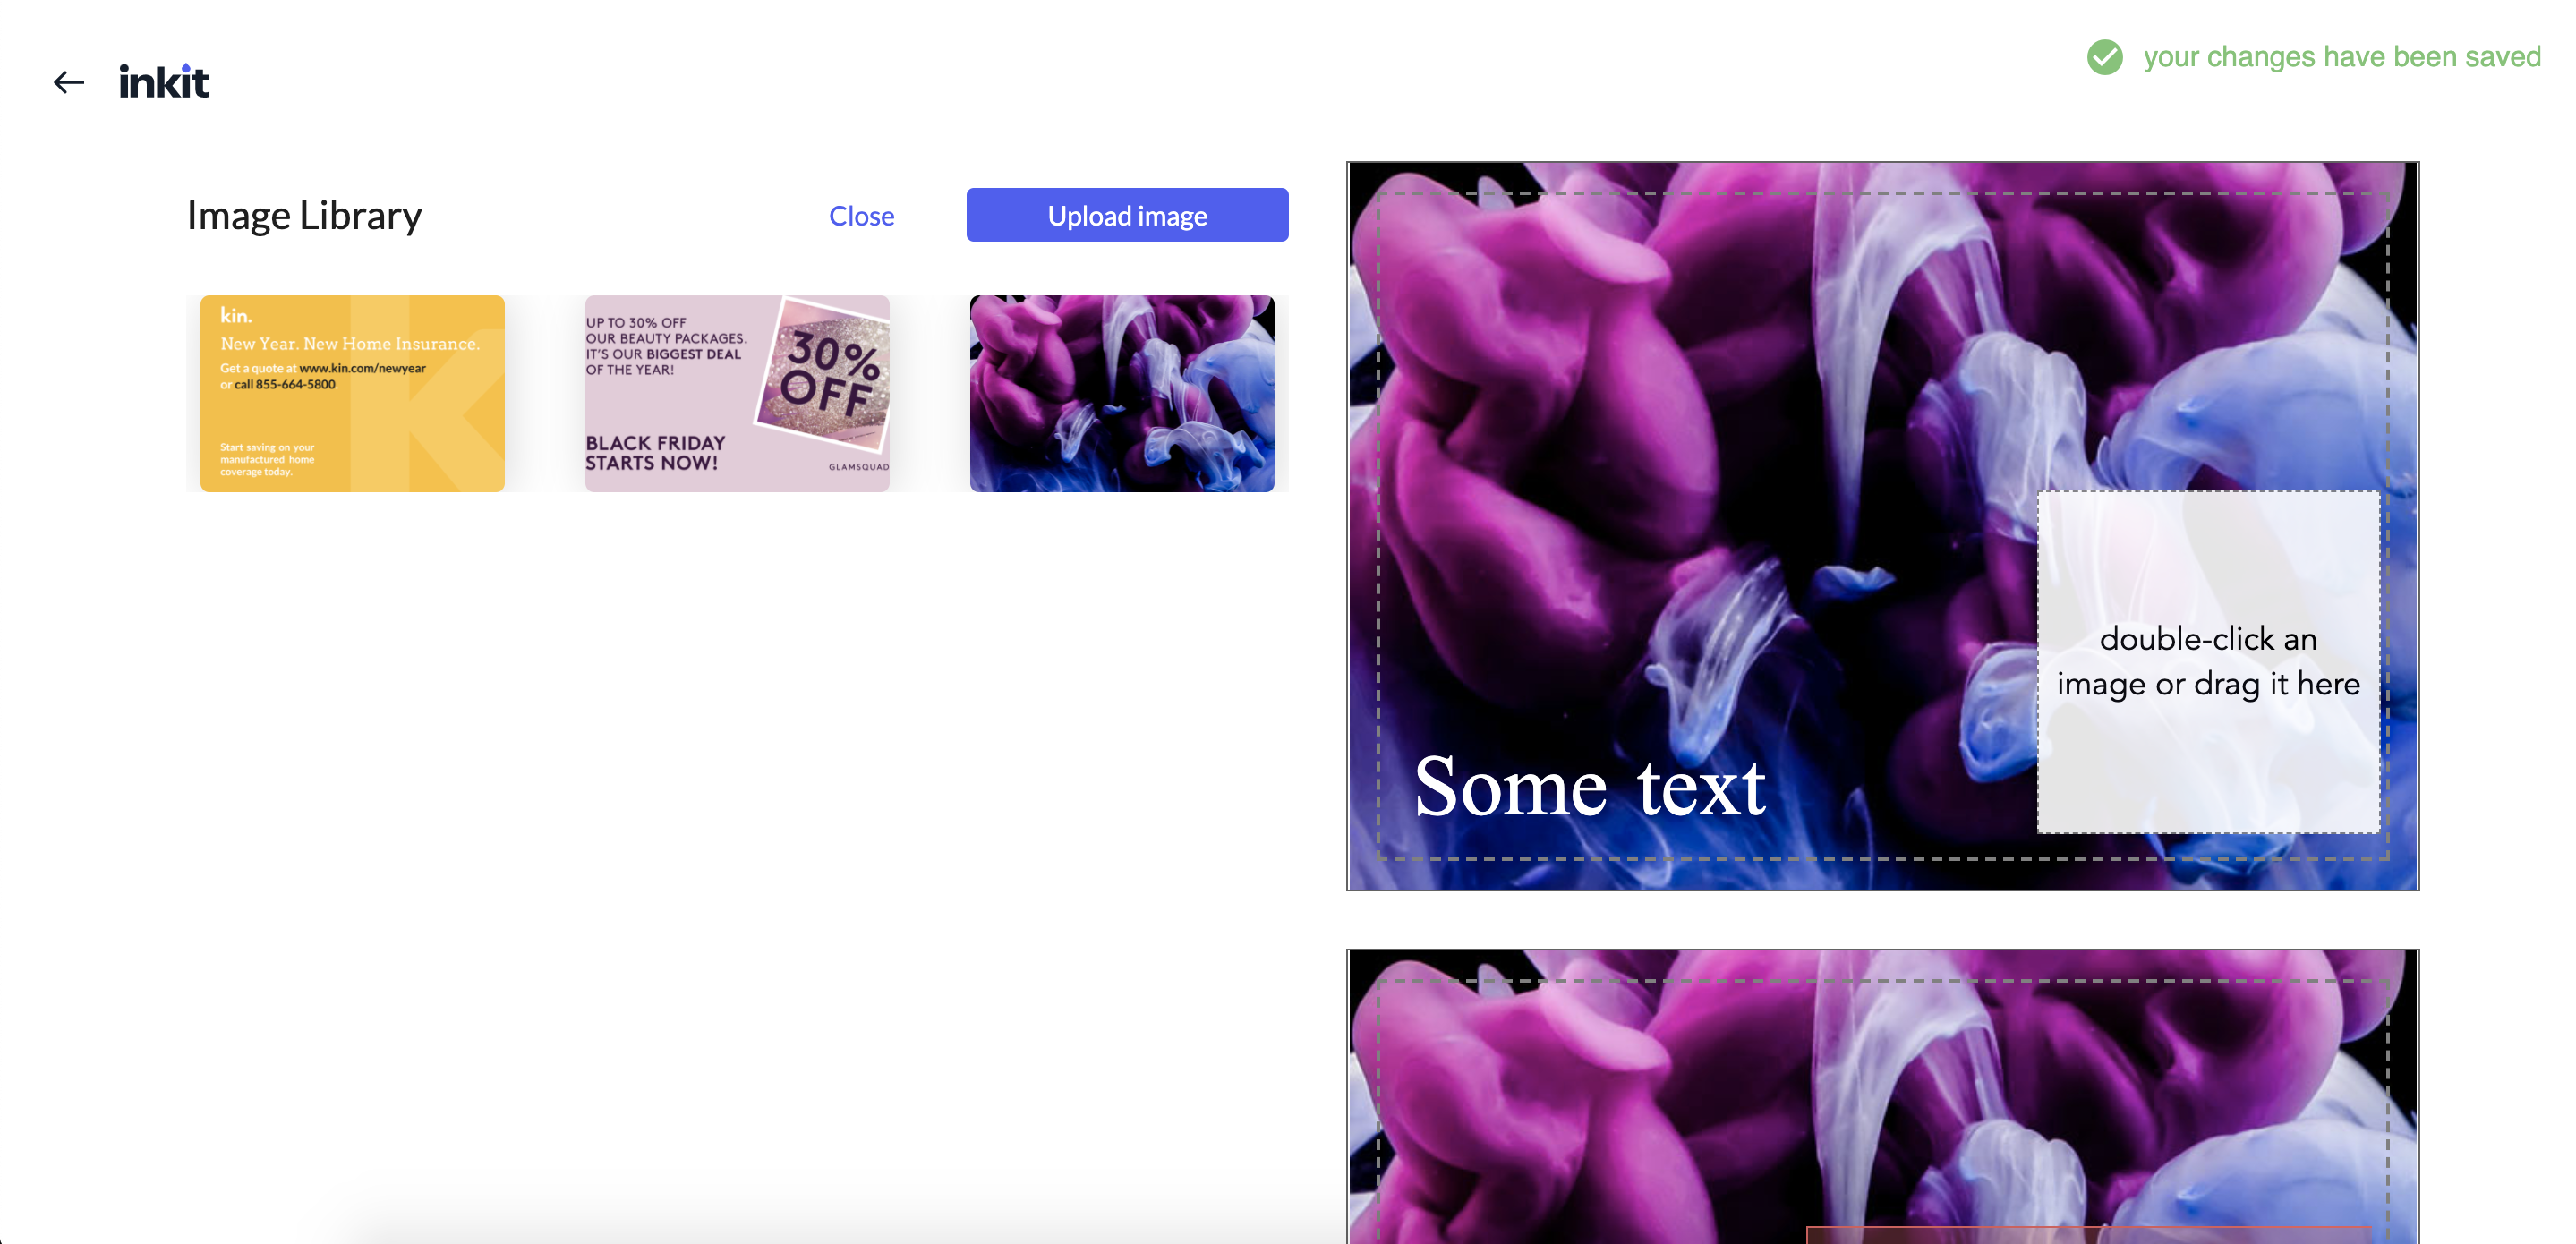
Try dragging a block from the right to see how easy it is to add more content!
To learn more about postcard formats and requirements, visit the Postcard Templates page.
As mentioned above, Inkit’s functionality also allows you to send official letters. Find more details on automated printing and delivery of letters on the Letters Integration page.
Once you finalize the template, click Back to return to the main dashboard and continue the configuration.
7. Launch Automated Mailing or Initiate the Delivery Manually
We recommend integrating Inkit with a third-party CRM or marketing platform to get the most out of its capabilities. Inkit supports numerous integrations and provides step-by-step guides detailing the integration process in this section of the Help Center.
See more details about integrations here.
If the desired tool isn’t supported, use the Postcards Webhook or Letters Webhook Integrations that allows connecting Inkit with third-party systems and databases.
After a quick setup, you can incorporate Inkit’s webhook into a CRM workflow and connect the necessary template from Inkit. Now, when the trigger event or action happens, the CRM will automatically instruct Inkit to launch printing and delivery.
Postcard/Letter webhooks Information
You can find how to setup and use:
When Inkit’s webhook is activated and request sent, the relevant contact automatically appears in the Contacts section of your Inkit’s dashboard.

You can click the contact to check the profile details, address enrichment data, and the timeline of all mailings with their progress.

In case you don’t use any CRM or database and cannot integrate the webhook, you can still run a mailing campaign manually.
Go to the Contacts Section > Import and upload the file with your contact list. Once the upload finishes, the names of all contacts will appear in this section.
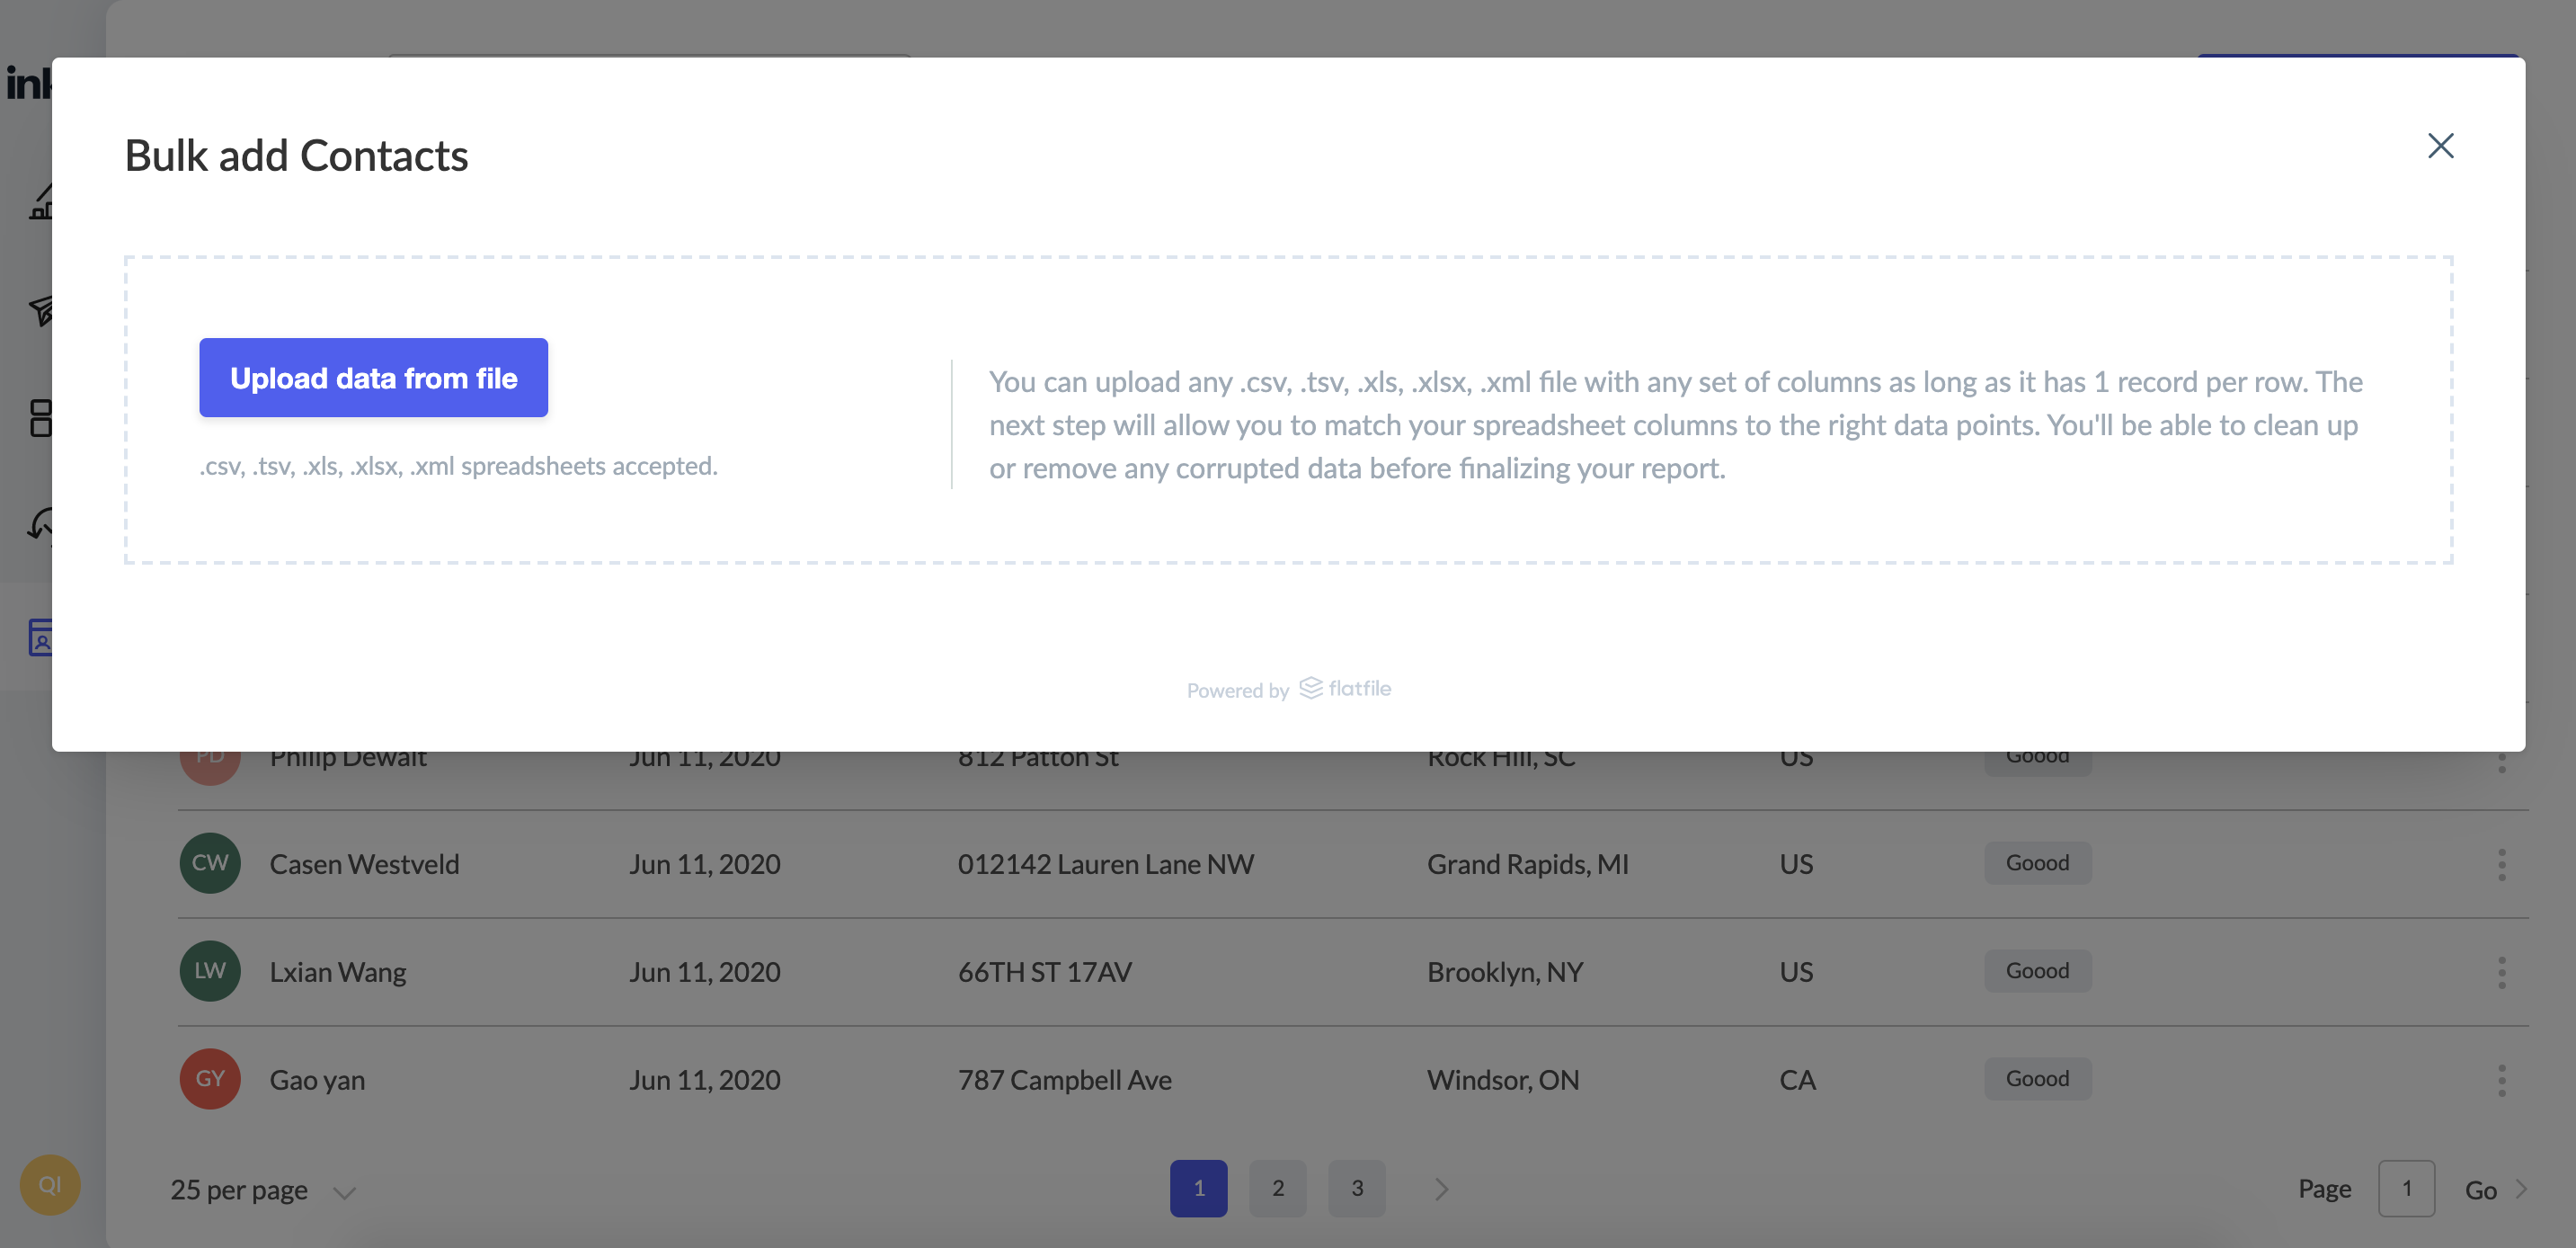
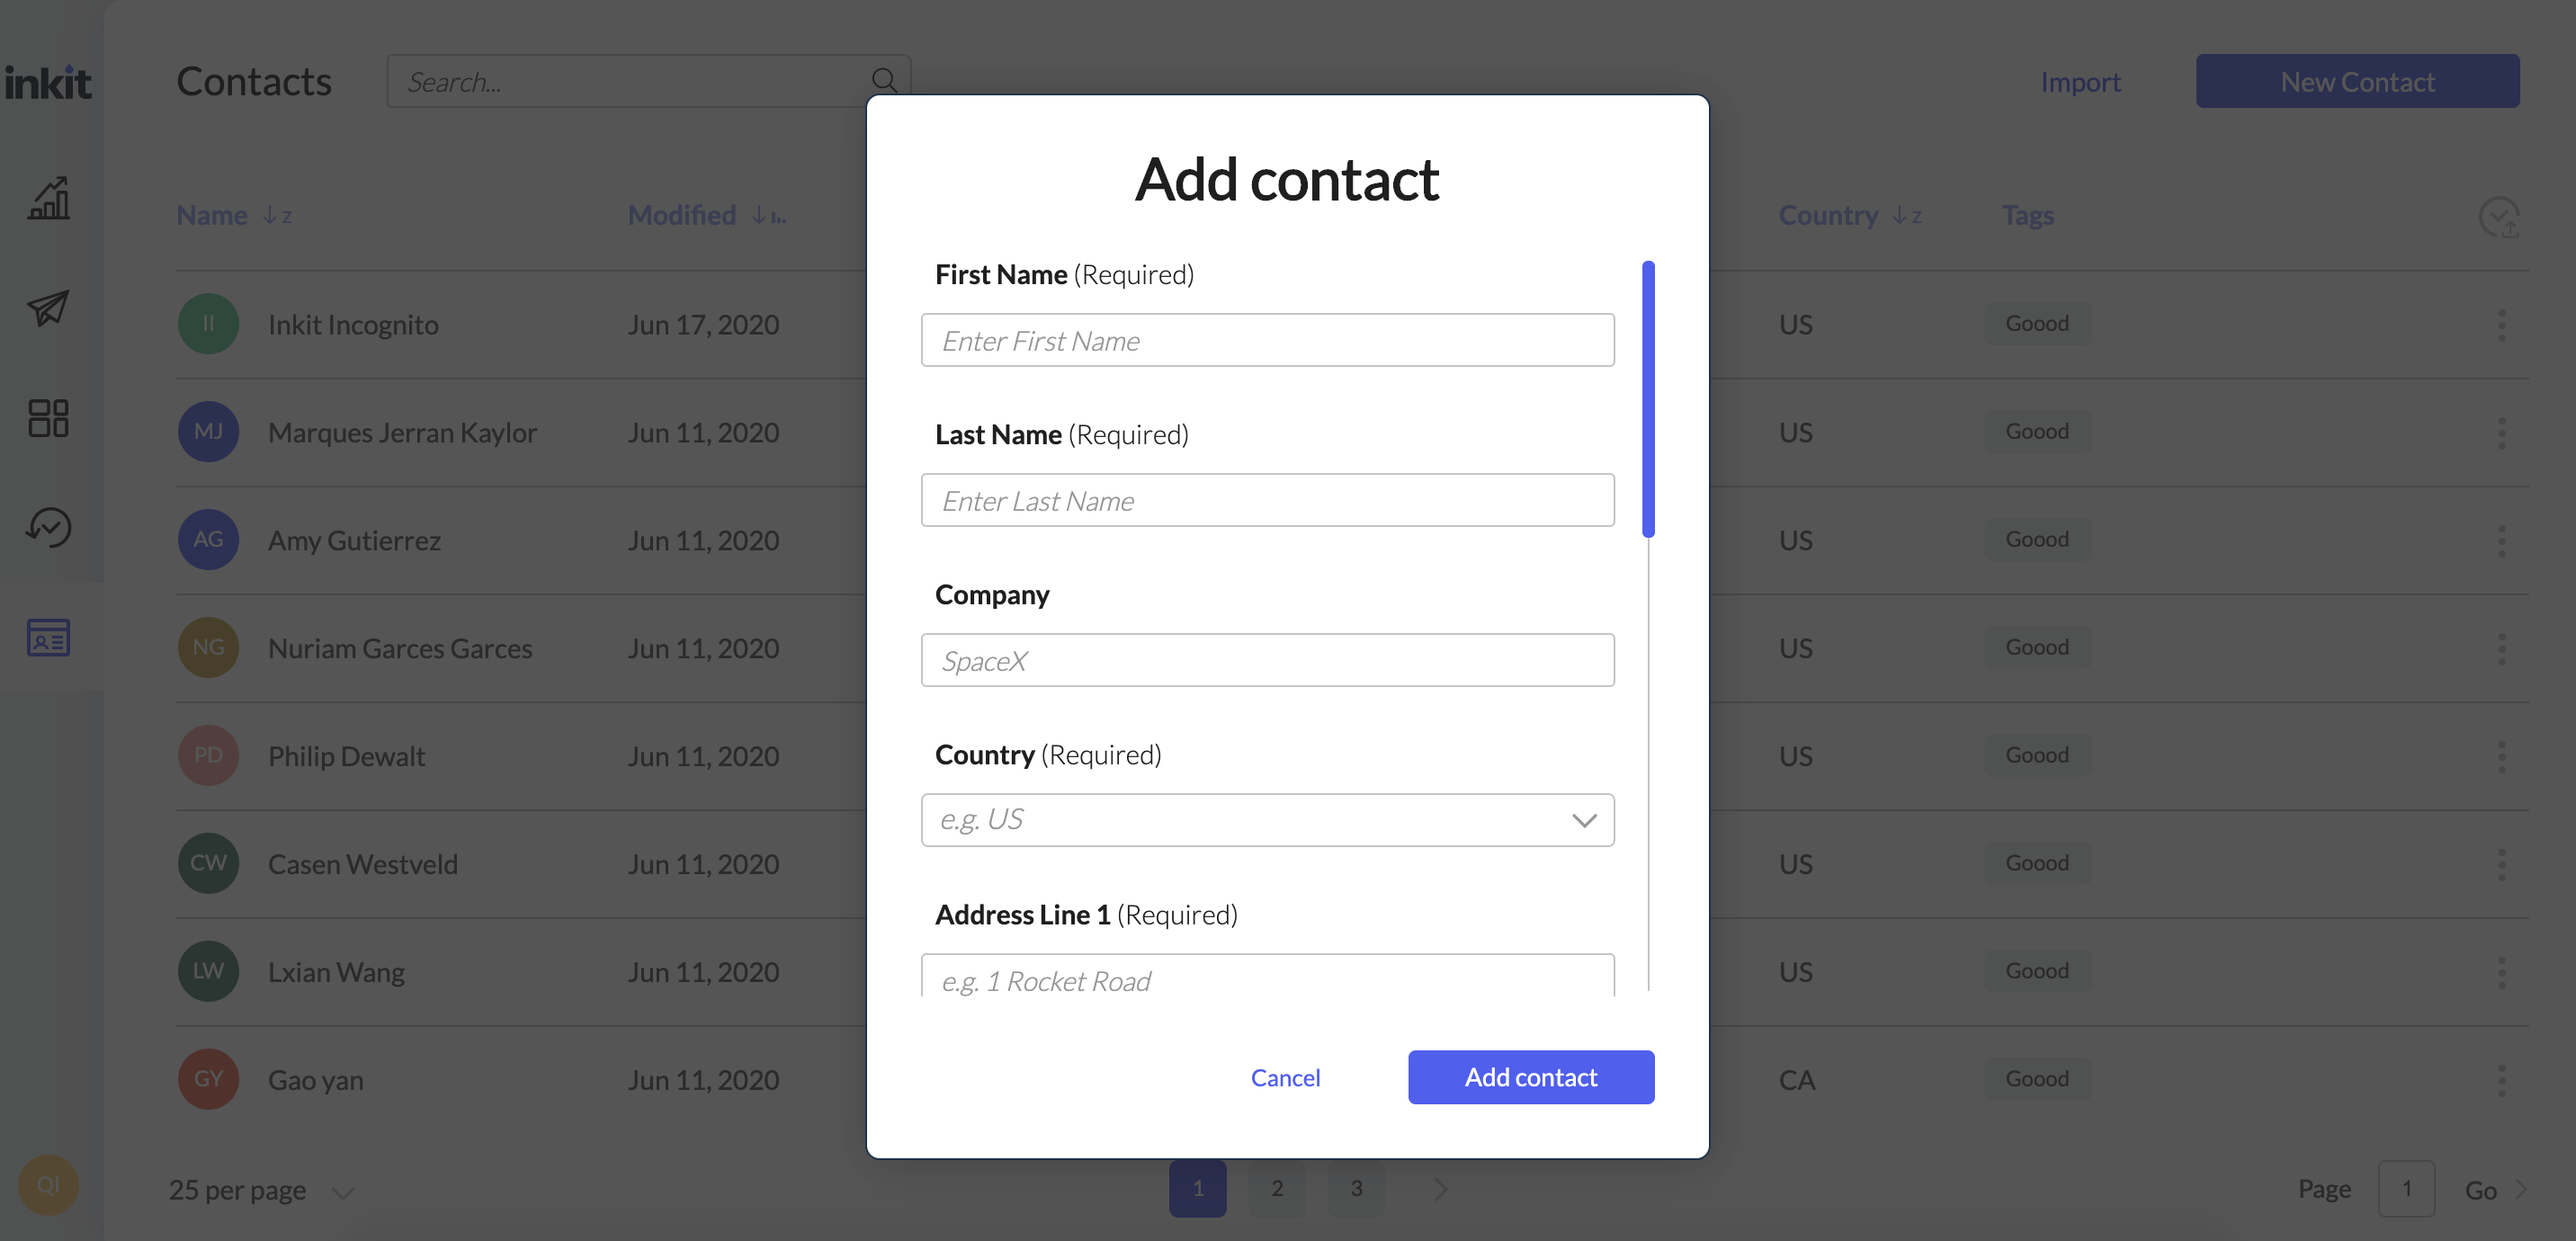
You can also enter a separate contact manually, indicating the full address, ZIP code, and other required details.
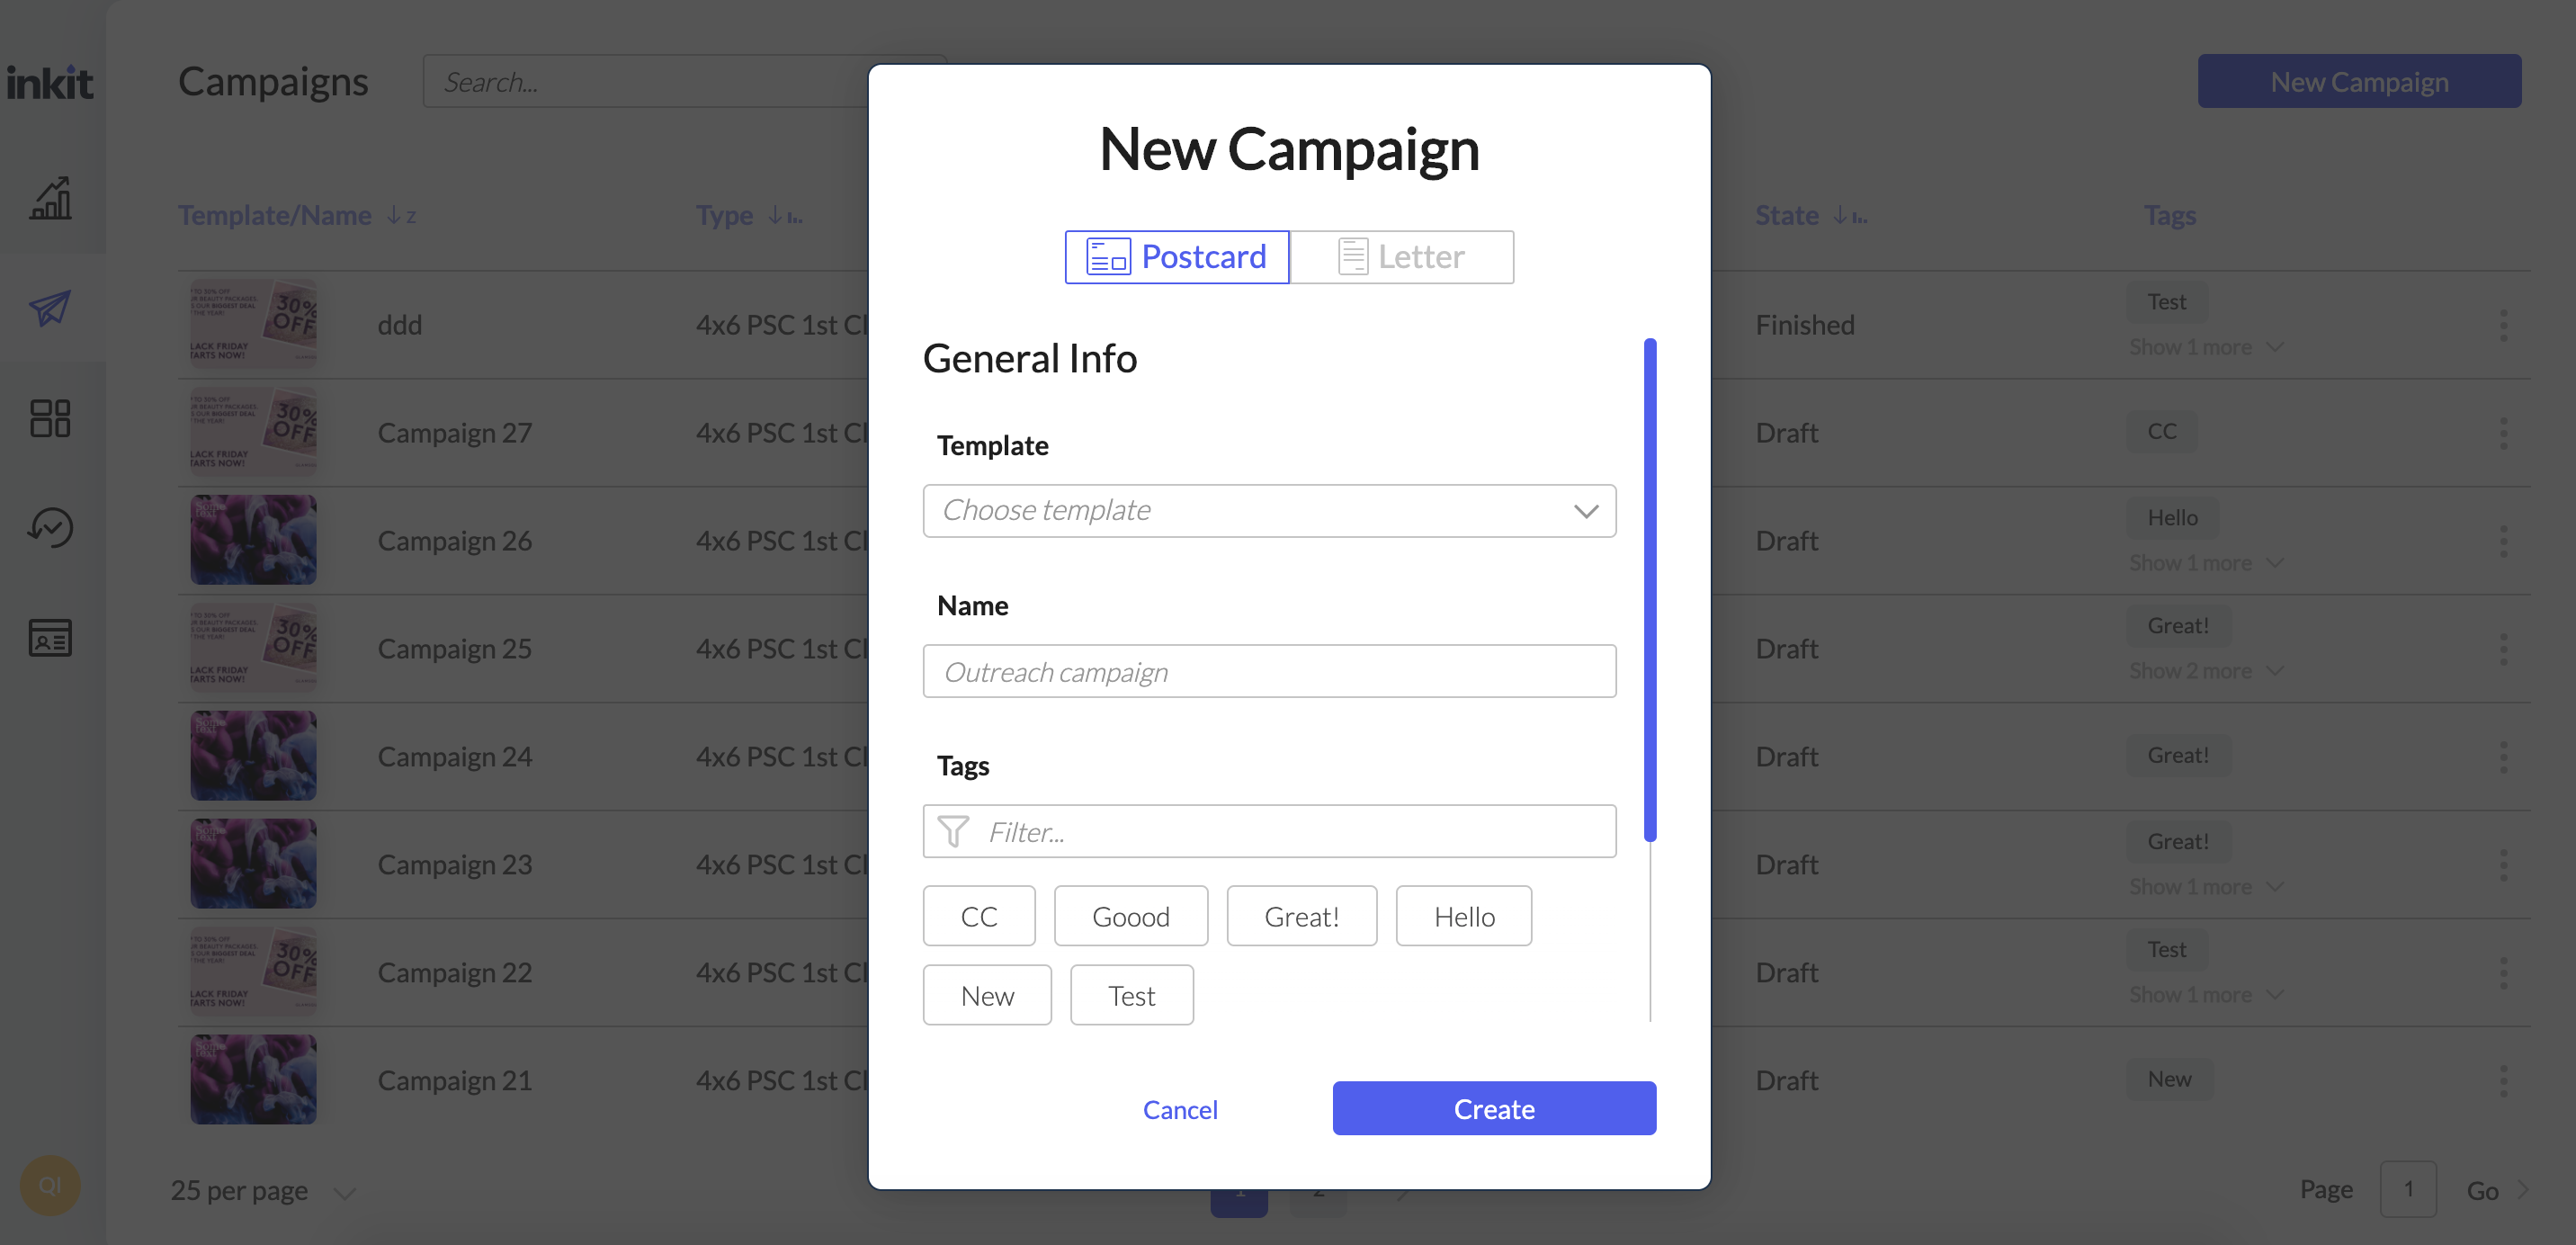
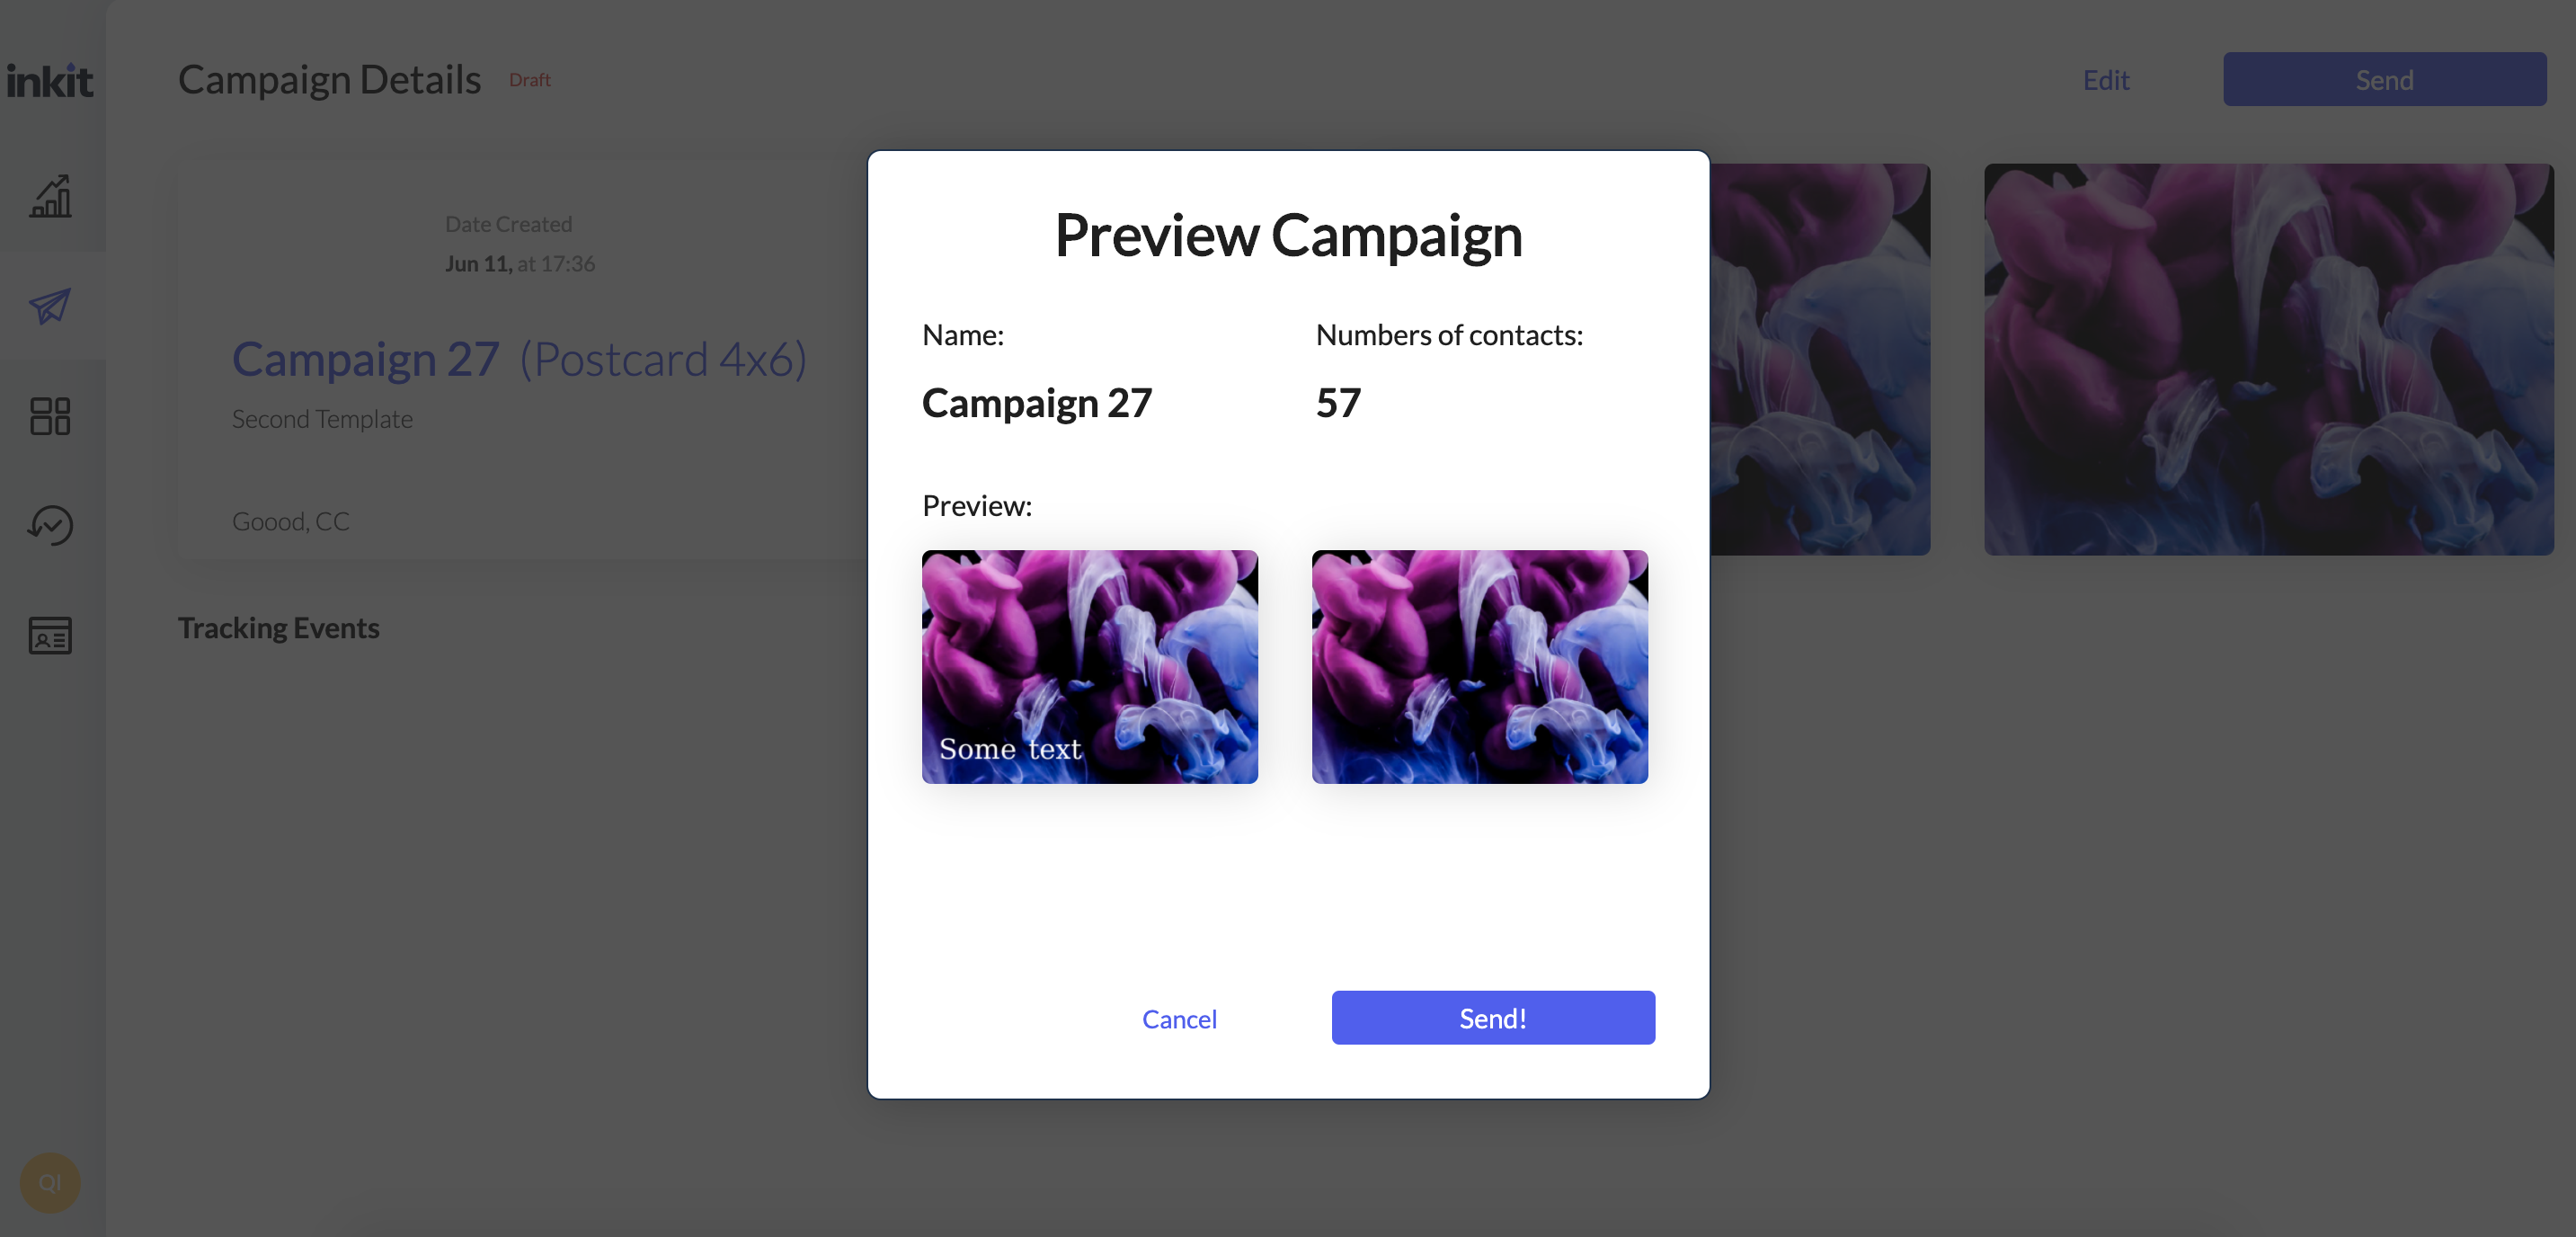
When the contacts are ready, go to the Campaigns section, and click on New Campaign button. Name the new campaign and select a template previously created in the templates section. Now you can mail the chosen postcard or letter as a one-time send by clicking the Send button.
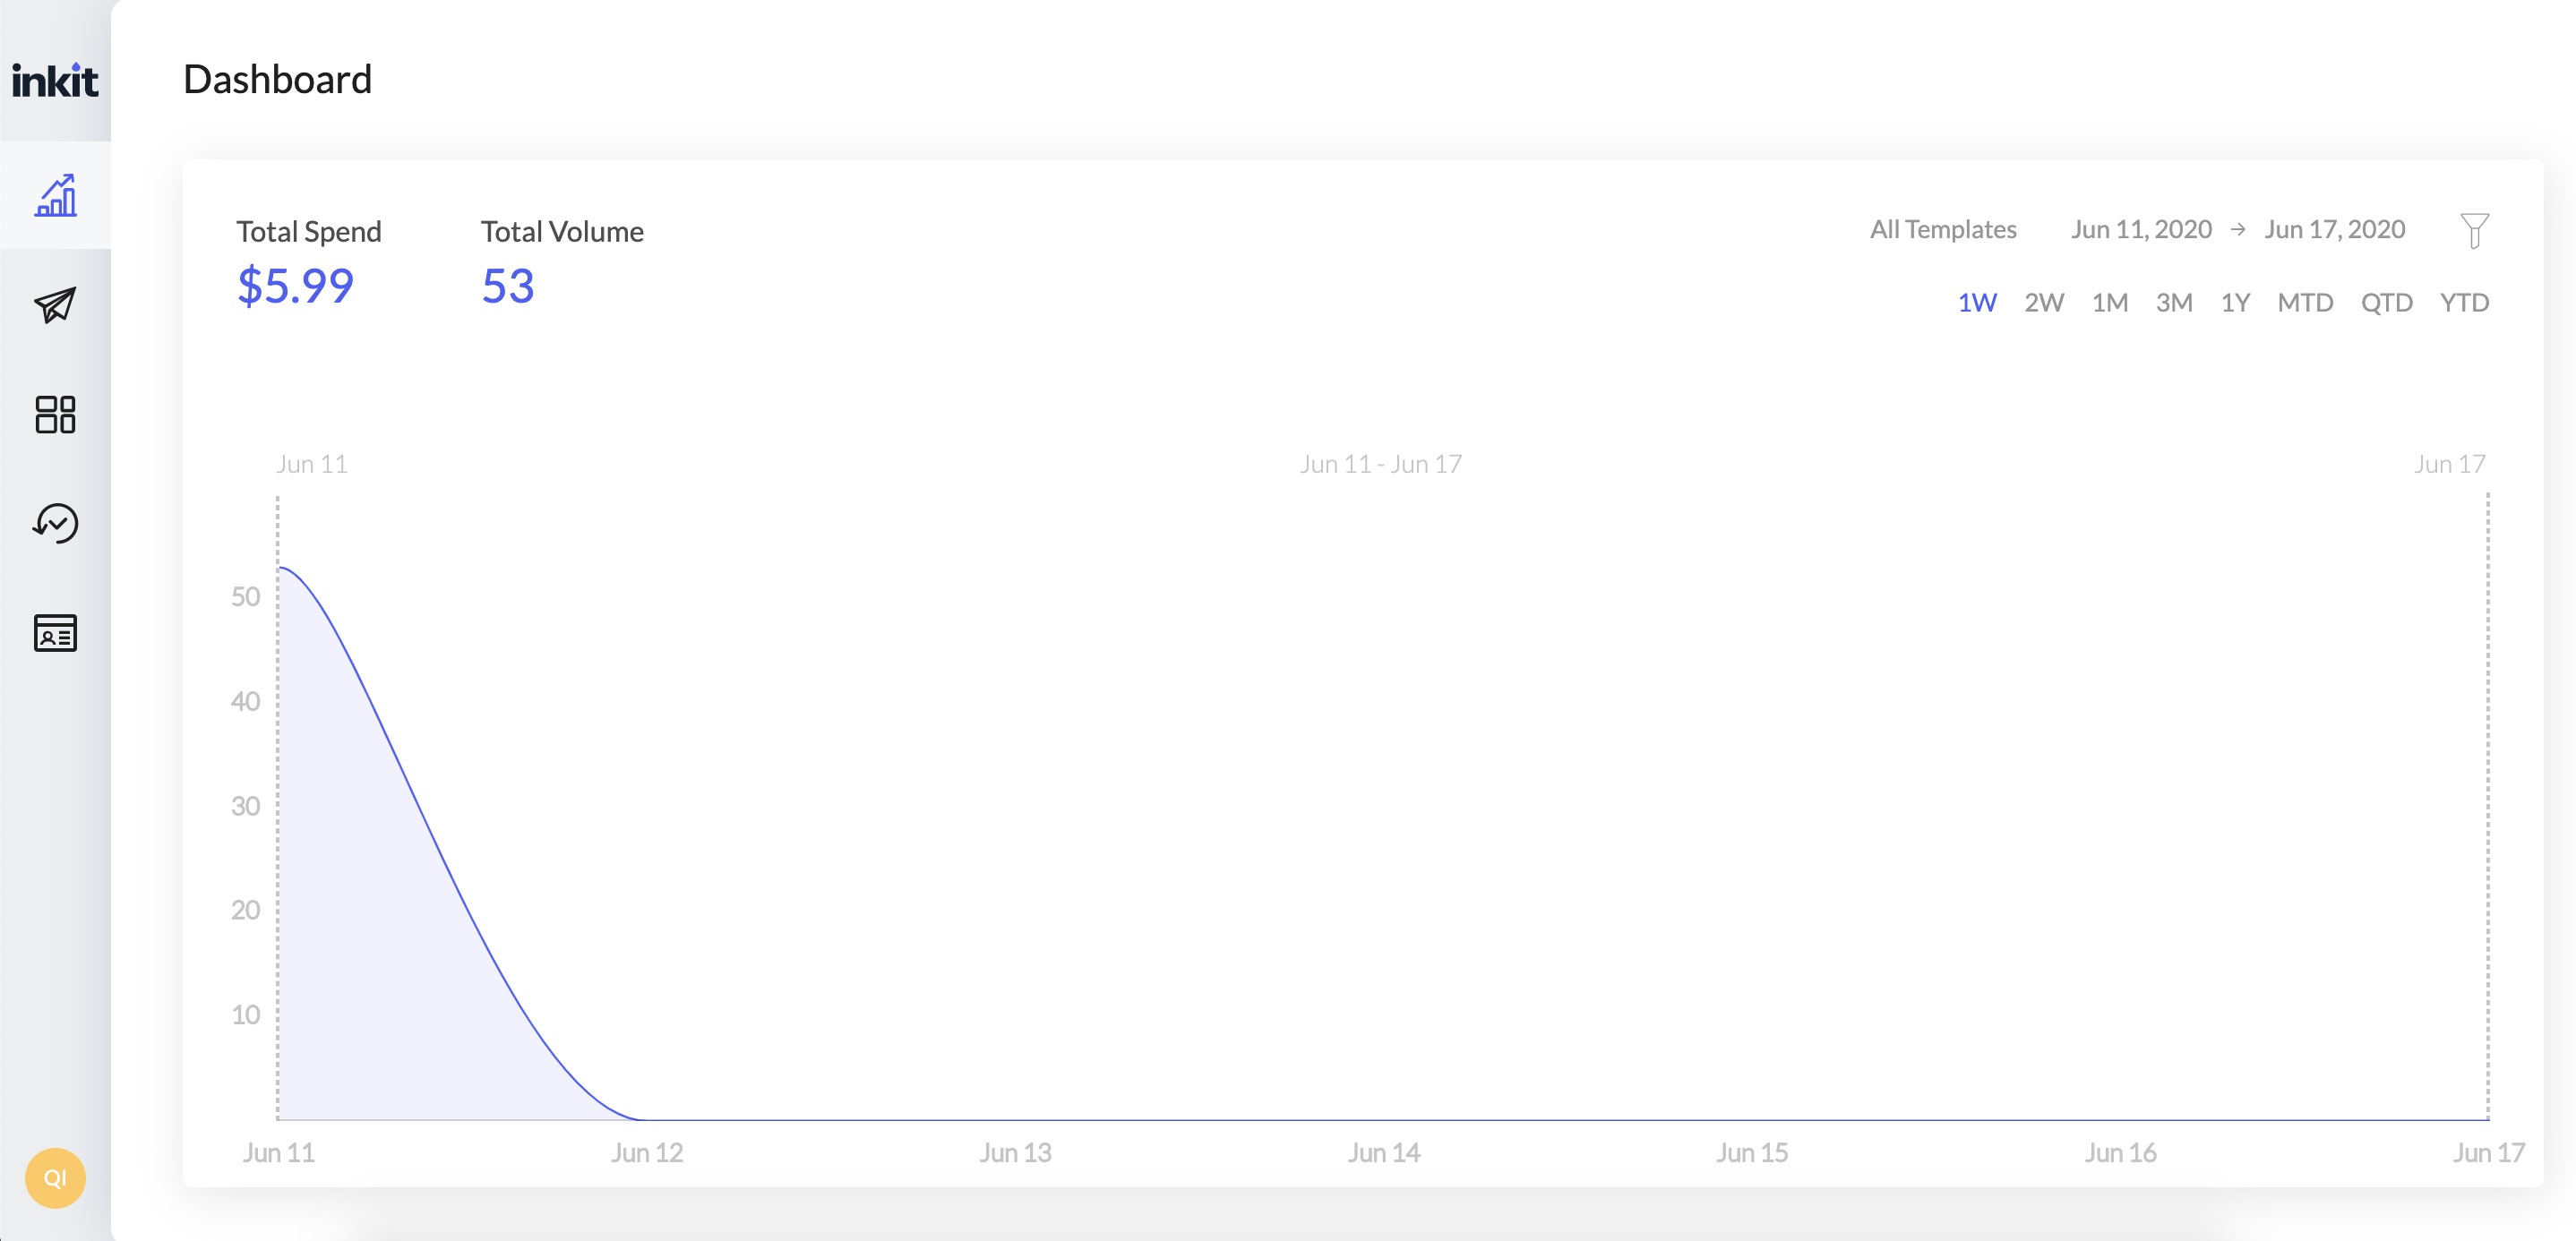
8. Monitor Performance on the Dashboard
From Inkit’s Dashboard section, you can view the overall statistics on your mailing campaigns. Select the time period for a summary of your spendings and mail volume.
9. Use Additional Settings
- If you want to minimize the bounce rate and ensure the highest efficiency of your mail campaign, don’t forget to enable mail address verification. Go to Settings > Advanced > Turn on US Address Validation. This way, Inkit will automatically verify every address in your mailing list to make sure it exists.
- Enable email notifications to receive a daily/monthly summary of your mailings (Go to Settings > Notifications > check the necessary box). You can also indicate other email addresses that need to be updated about the mailing progress.
- Open General settings to indicate or change your account details, such as name, return address, company, etc.
- Go to the Integration section of Settings to view the supported integrations and connect your mail campaign with CRMs and other marketing platforms.
Questions?
We're always happy to help with code or other questions you might have.
Search our documentation, check the help center, or connect with our sales team.
Ask questions to our support team ([email protected]) if you run into any technical roadblock or the links above are not helpful.
Updated over 1 year ago